
Handmade 5-String Fiddle coming along!
Oregon Douglas Fir Top Plate
Otto Erdesz, 1917-2000 often made top plates for violas and violins out of Douglas Fir. Professional players bought and played his instruments. They are still playing them today, although many classical players insist that European spruce is the only “proper wood” for an instrument soundboard.
Frankly, I usually agree: all my experience with Douglas Fir has seemed to indicate that it would not be a very good choice. (I believed this, even though I have played one of his instruments, and it was excellent.) So, I simply didn’t try it, until this instrument.
Game-Changer!
Earlier this winter, a friend gave me a load of clean, dry Douglas Fir firewood. I use wood heat, and we had all been told it would be a bad winter (it wasn’t.) So I felt truly grateful for the gift. Later, as I split some of it, I noticed that, unlike most Douglas Fir, it had no twist at all, and it split easily and cleanly. I picked up a chunk and tapped it, and it gave a very clear, bell-like ring. (Hah! That spells “time to try some Douglas Fir!”)
So, I searched through the pile, and found one of the few pieces long enough to use. Then I carefully split it into useable billets. Next, I sawed along the center-line to book-match a plate.
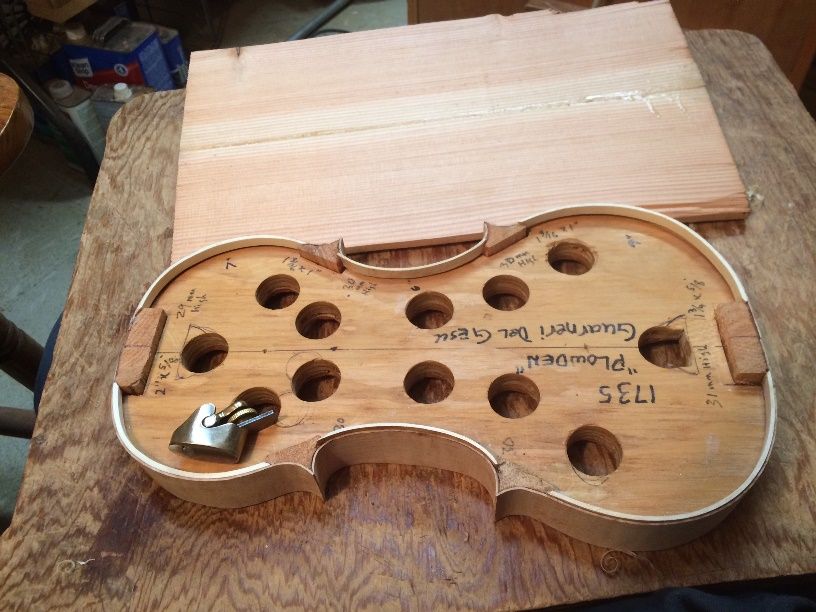
I frequently use a pattern modeled after the 1735 “Plowden” Guarneri del Gesu. And…I like it, so I installed blocks in the mold, bent the ribs, and got going!
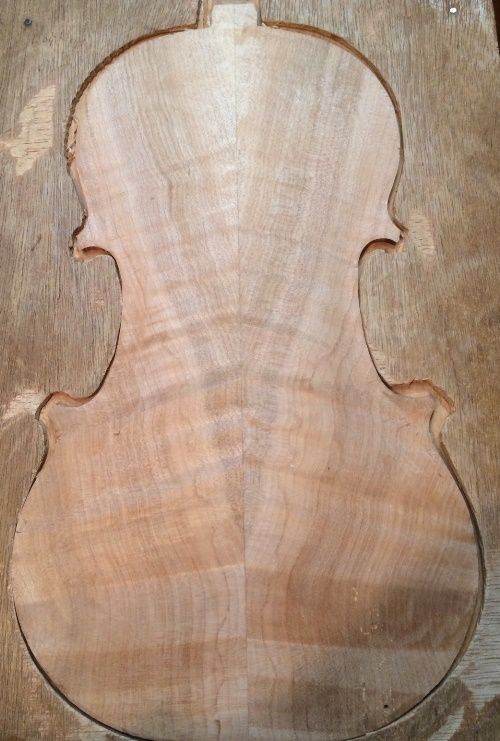
I had one more piece of “scrap” of Oregon Big Leaf Maple. Happily, I had saved it, too, from the 5-string Double bass I built last year. Understandably, I was looking forward to making a fiddle out of it. I had already made one 5-string fiddle from scrap from the other side of the bass-back, (which I sold to a bluegrass fiddle player in Ohio.) It had turned out very well, so I was anxious to get the “sister” instrument made.
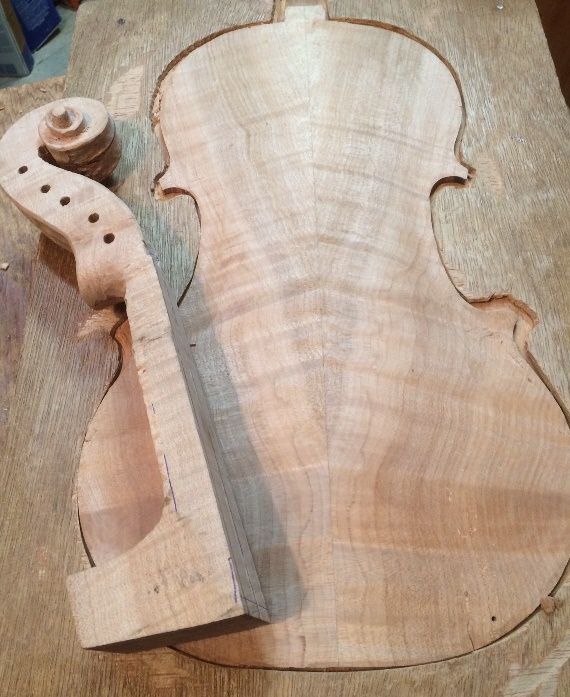
Back Plate Arching Nearly Complete:
And, the Neck
I obtained the neck billet from a tree on my wife’s parent’s place. Every time I looked at it, I found the wood very attractive, so I got started on it, as well:
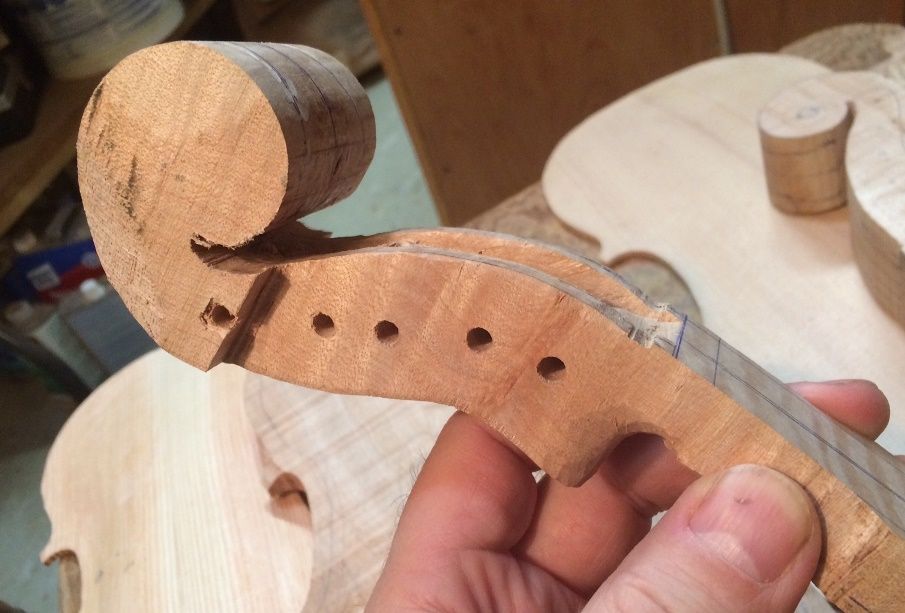
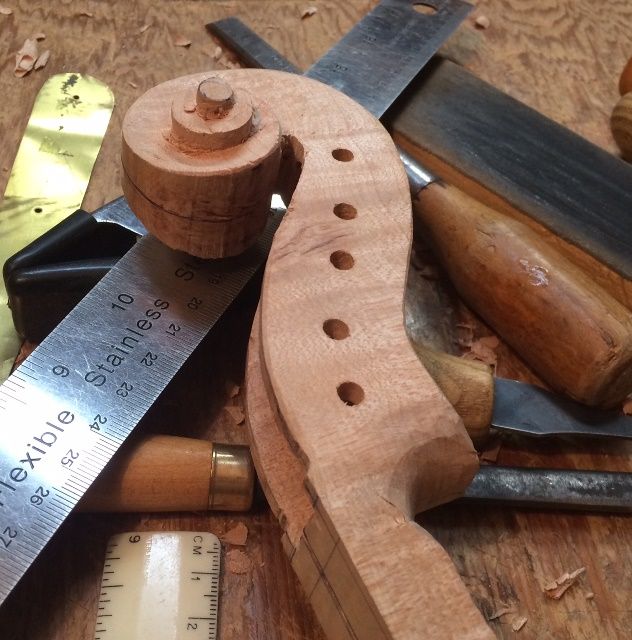
First. I began to carve the scroll and pegbox. I find that this task requires a lot of saw-cuts, to outline the actual curl of the scroll, and then to remove the waste wood. Alternately, I can use either a saw or a gouge, but I find that the saw saves a lot of effort. Here, I use the saw.
.JPG)
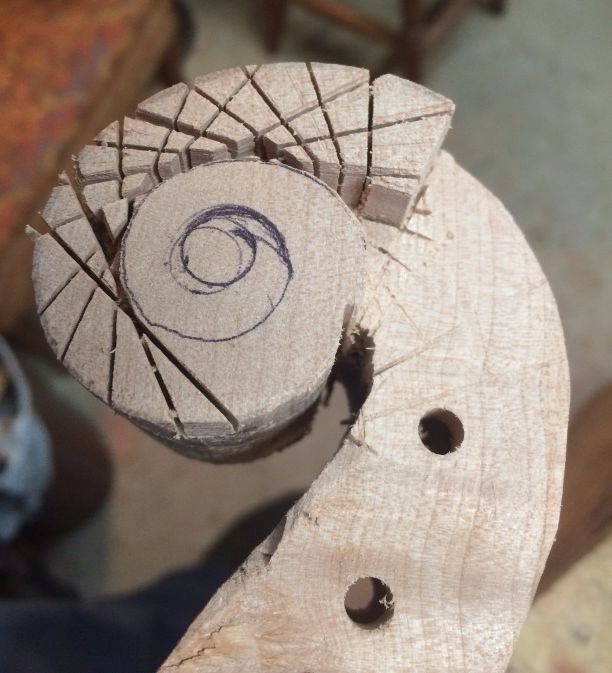
Then, I used various gouges and chisels to complete the scroll and the inside of the pegbox.
I prepare and attach the fingerboard after the scroll and pegbox are very close to complete. Then I can carve and shape the two as a unit. That hasn’t happened, yet, so the handle portion of the neck is still rough and untouched.
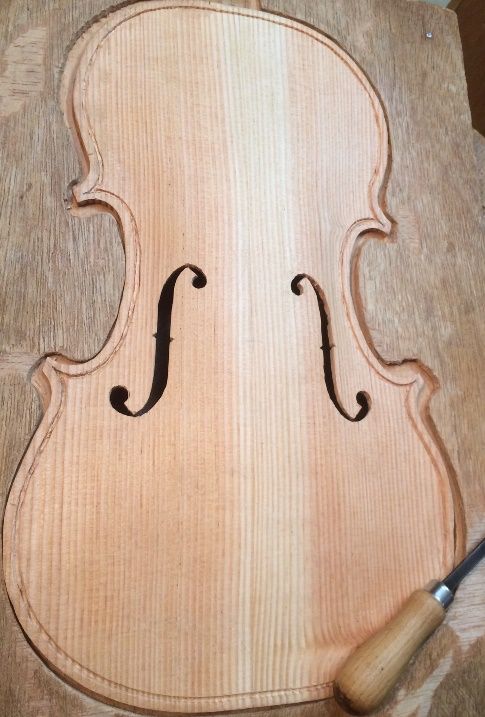
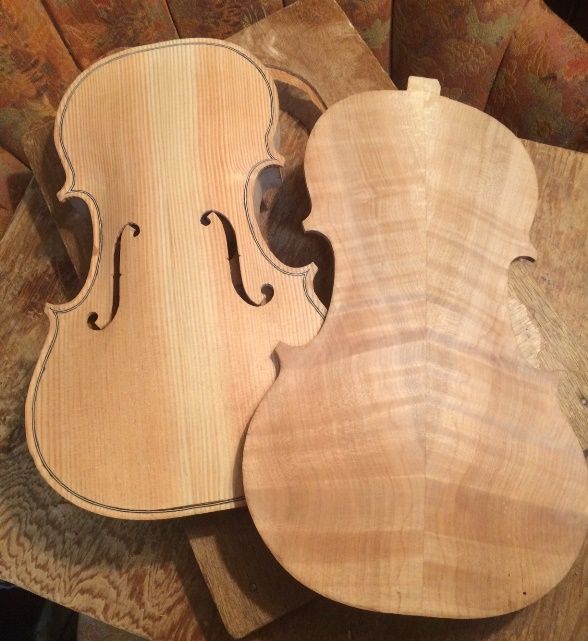
Completing the Front Plate
Meanwhile, I completed the carving of the front plate. Then, I laid out and cut the f-holes and began the purfling. Cutting the purfling slots by hand on Douglas Fir is quite difficult, because the winter reeds are exceedingly hard, compared to the softer summer reeds. The knife just “pops” over them so that it feels as though it is running over corrugated roofing.
As a result, I took much longer to purfle this plate than I usually do for a spruce plate. (Ah, well! Perhaps that is one reason so few luthiers are willing to use it!) But, I still have high hopes for the power and tone of the resulting instrument. This plate has exceptionally strong and clear tap-tones.
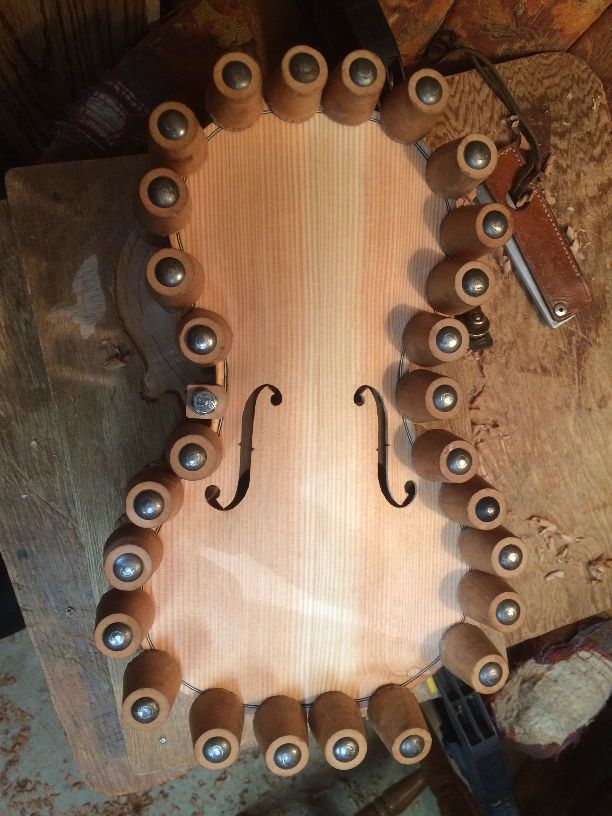
Garland leveled and Front Plate installed!
(Unfortunately, I neglected to get photos of the bass-bar process. I made it also of Douglas Fir, from the same billet. I hope to show it after I remove the mold…sorry.)
Well…I’m tired. I nearly completed the graduations for the back plate, but today was a long day. So, I will simply have to finish them tomorrow. However, the progress stands here, for tonight:
Tomorrow! (yeah, tomorrow!)
I hope to get the back plate completed tomorrow, except for the purfling, which will have to wait until after I install the plate. Then, I will prepare the fingerboard and get it glued onto the neck, and I will feel as though I am “On the Home-stretch!” (But it won’t really be true: there still will be a great deal of work left to do, before it is anywhere close to completed.)
Thanks for looking!