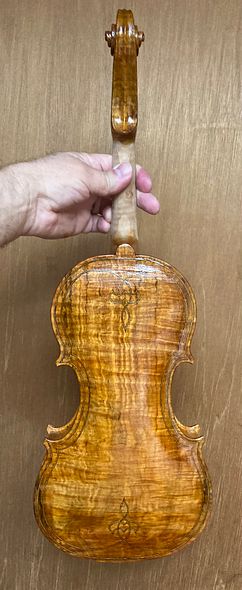
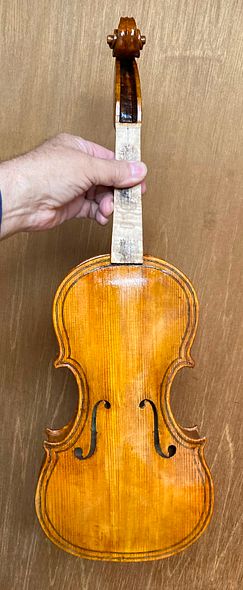
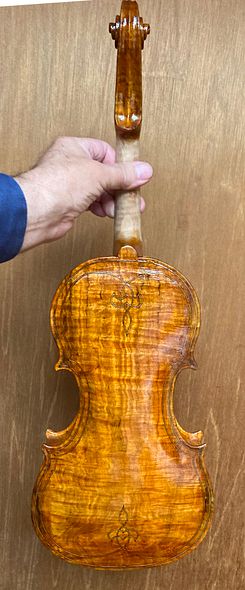
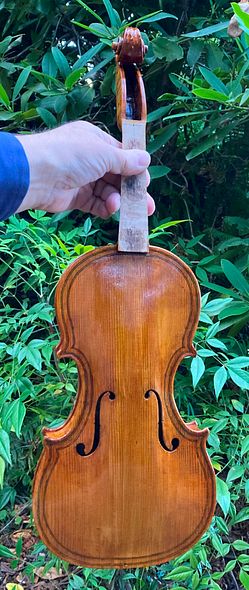
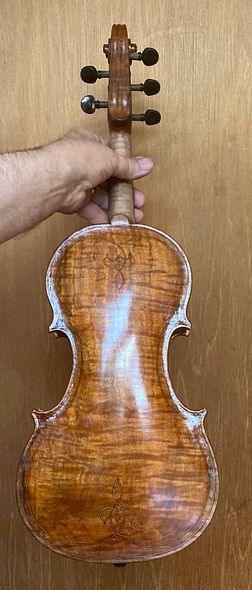
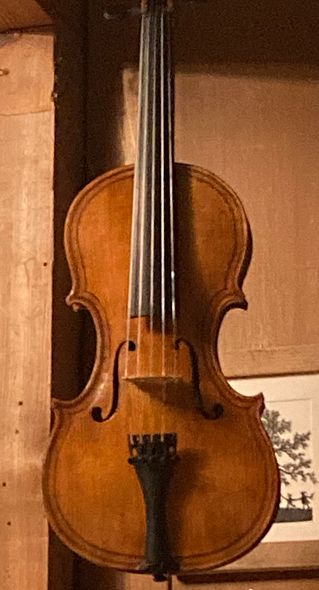
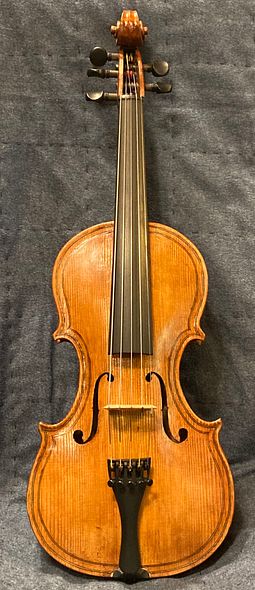
Five-String Progress

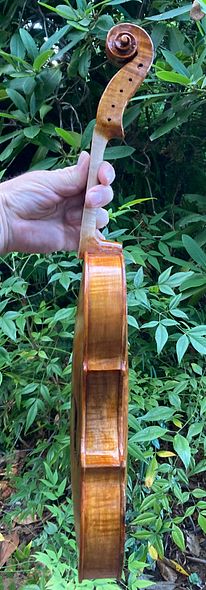
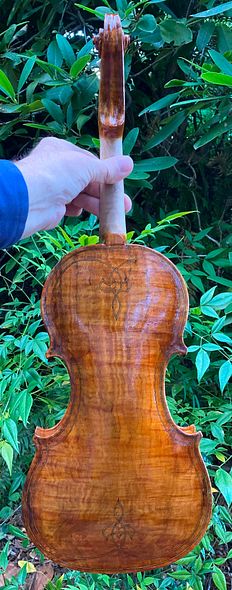
Handmade 5-String Fiddle coming along!

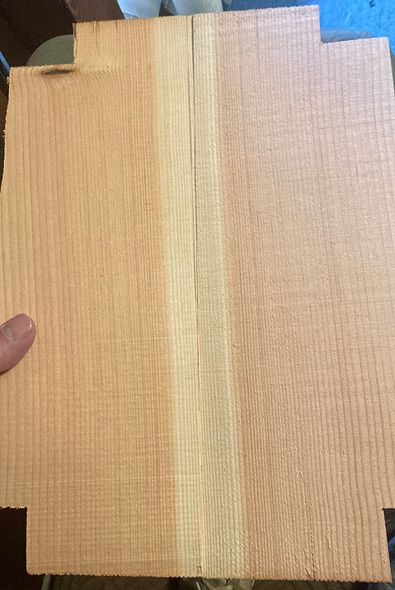
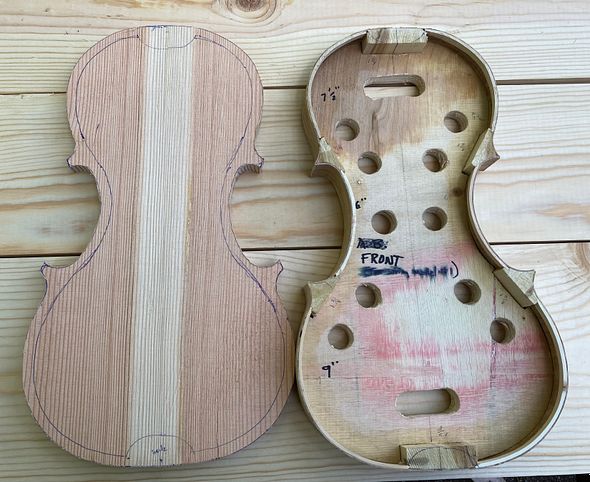
Oregon Douglas Fir top plate

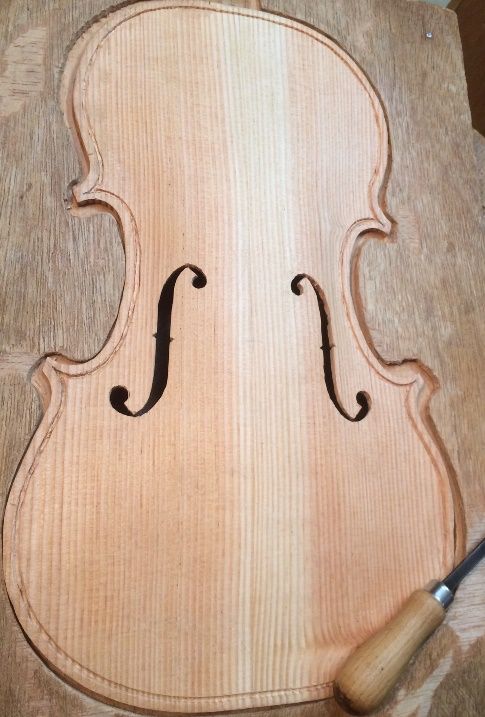
There was a famous maker, years ago, (Otto Erdesz, 1917-2000) who often made top plates for violas and violins out of Douglas Fir. Professional players bought and played his instruments, and they are still being played today, although many classical players insist that European spruce is the only “proper wood” for an instrument soundboard. Frankly, I usually would have agreed: all my experience with Douglas Fir seemed to indicate that it would not be a very good choice, even though I have played one of his instruments, and it was excellent. So, until this instrument, I simply didn’t try it.

Early this winter, a friend gave me a load of clean, dry Douglas Fir firewood. I heat with wood, and we had all been told it would be a bad winter (it wasn’t) so I really appreciated the gift. As I split some of it, I noticed that, unlike most Douglas Fir, it had no twist at all, and split easily and cleanly. When I picked up a chunk and tapped it, it gave a very clear, bell-like ring. (Hah! That spells “time to try some fir!”)

So I found one of the few pieces long enough to use, and carefully split it into useable billets, then sawed a center-line to book-match a plate.

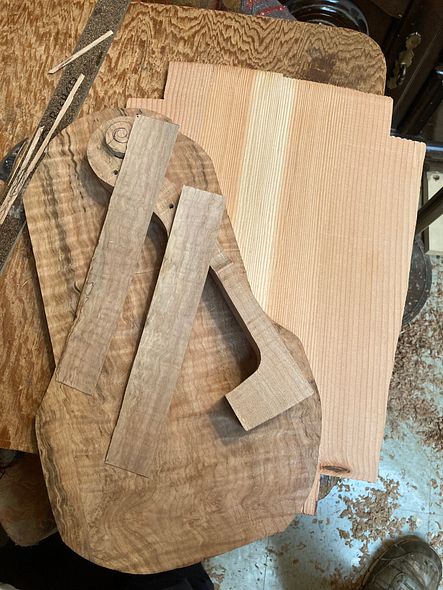
Douglas Fir billet with Rib Garland
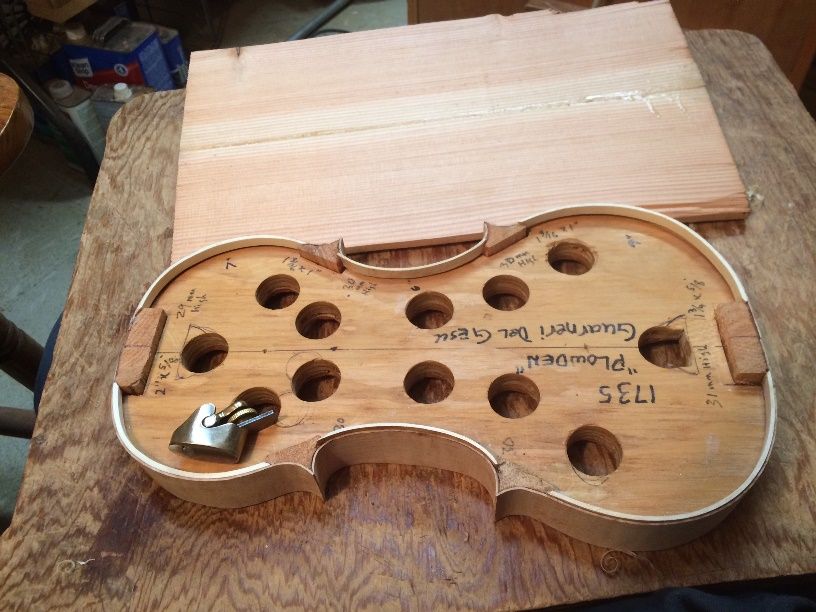
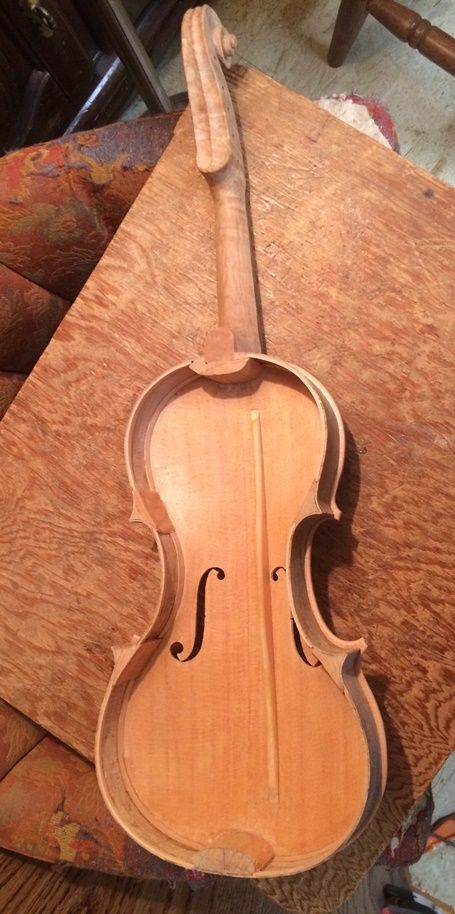
Douglas Fir billet with Guarneri Rib Garland

I have been using a pattern modeled after the 1735 “Plowden” Guarneri del Gesu, a lot, lately, so I installed blocks in the mold, bent the ribs, and got going!

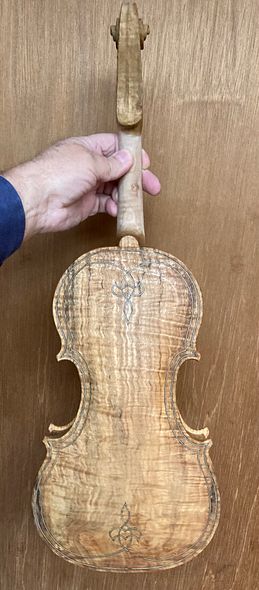
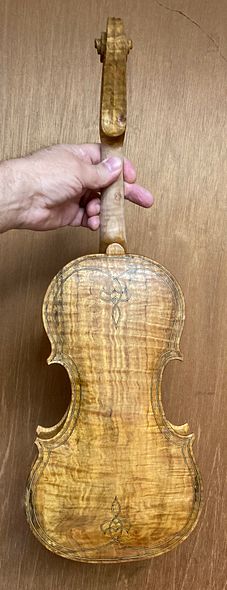
I had one more piece of “scrap” of Oregon Big Leaf Maple, from the 5-string Double bass I built last year, too,  and I was looking forward to making a fiddle out of it. I had already made one 5-string fiddle from scrap from the other side of the bass-back, (sold to a bluegrass fiddle player in Ohio) and it turned out very well, so I was anxious to get the “sister” instrument made.

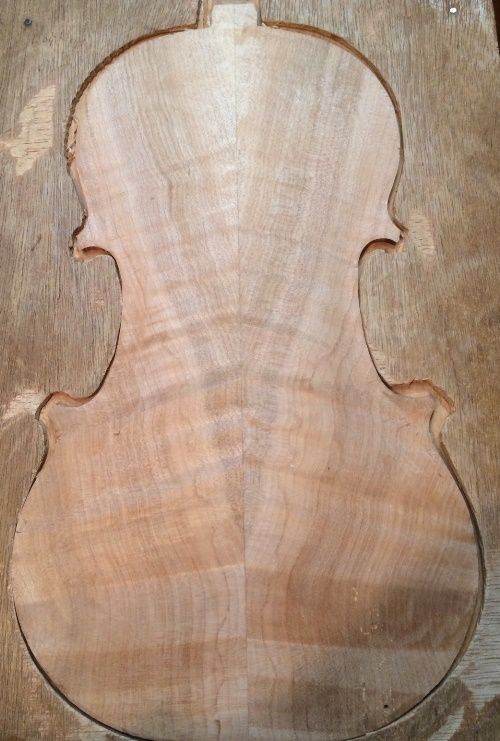
Back Plate Arching nearly complete:

Back arching nearly complete.


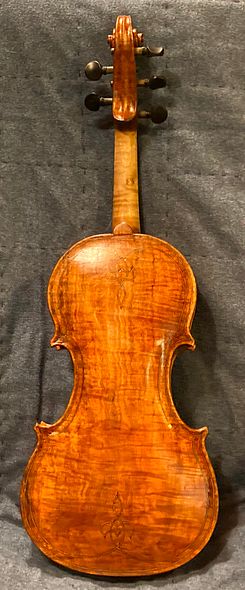
The neck actually came from a tree on my wife’s parent’s place. I got started on it, as well:

neck billet in progress
Neck billet in progress.


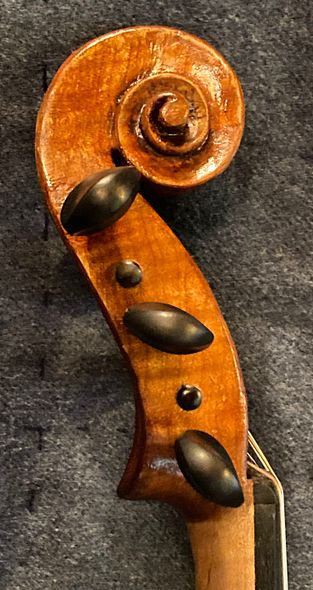
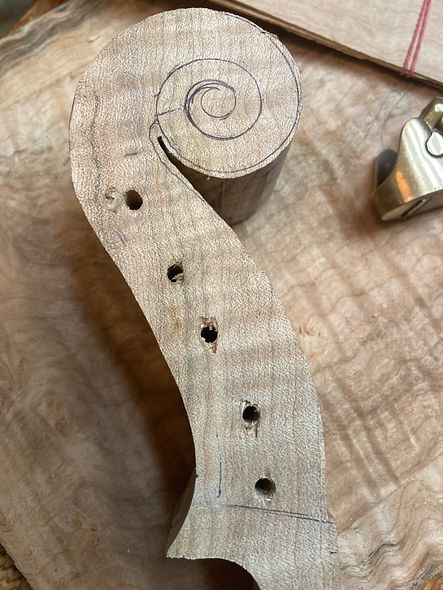
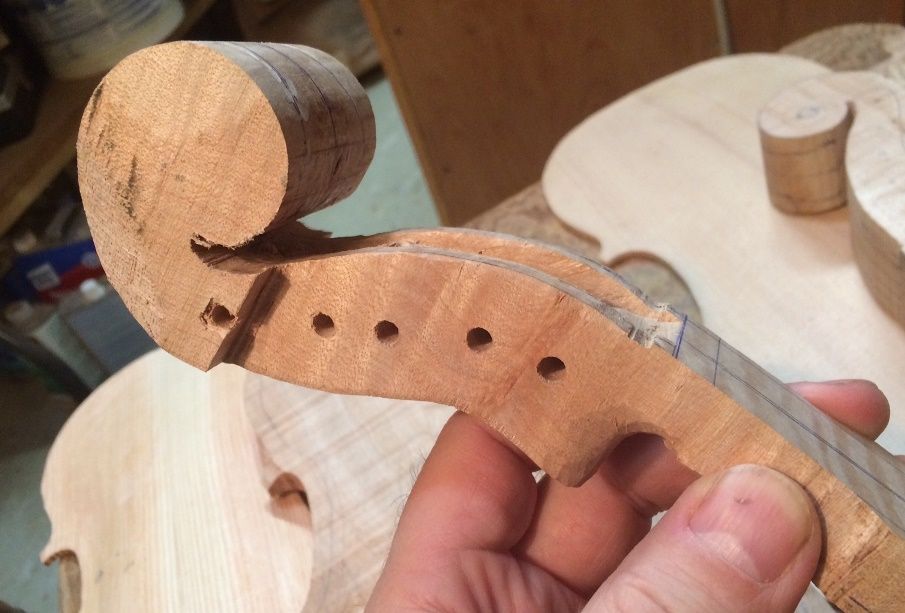
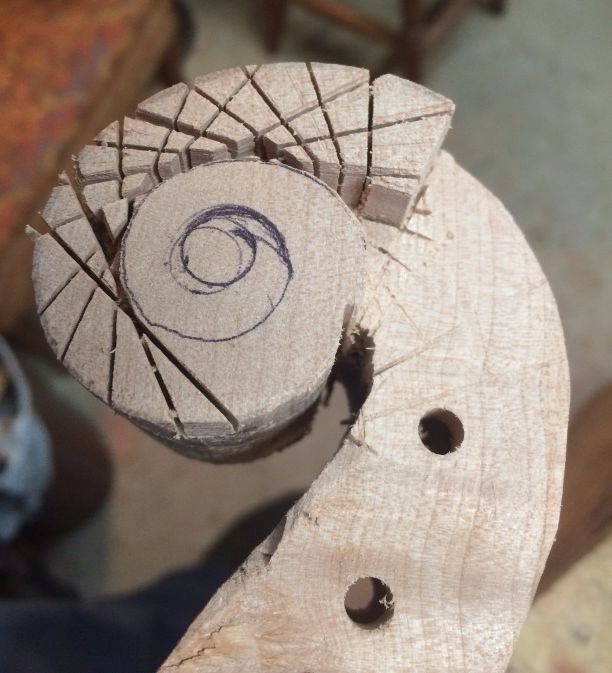
Beginning to cut out the scroll requires a lot of saw-cuts, to outline the actual curl of the scroll, and then to remove the waste wood, using either a saw or a gouge…I used the saw, in this case.

beginning the scroll cuts
Beginning the scroll cuts.


Continuing the scroll cuts.


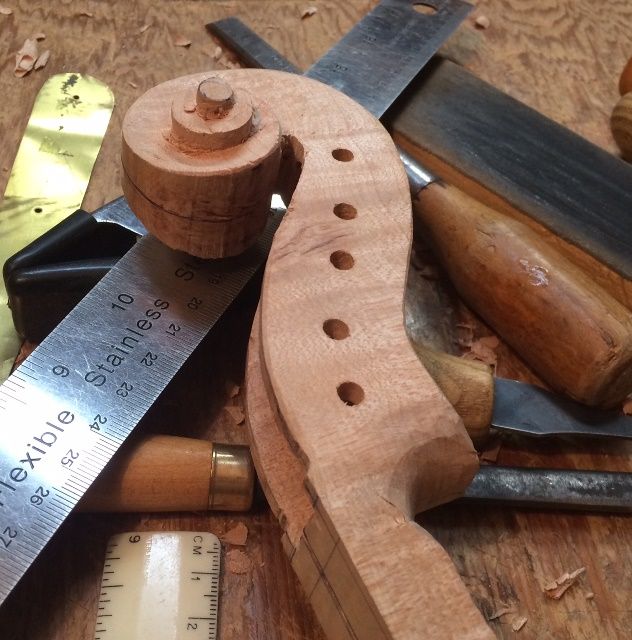
Then I use various gouges and chisels to complete the scroll and the inside of the pegbox.

Scroll and pegbox nearing completion.


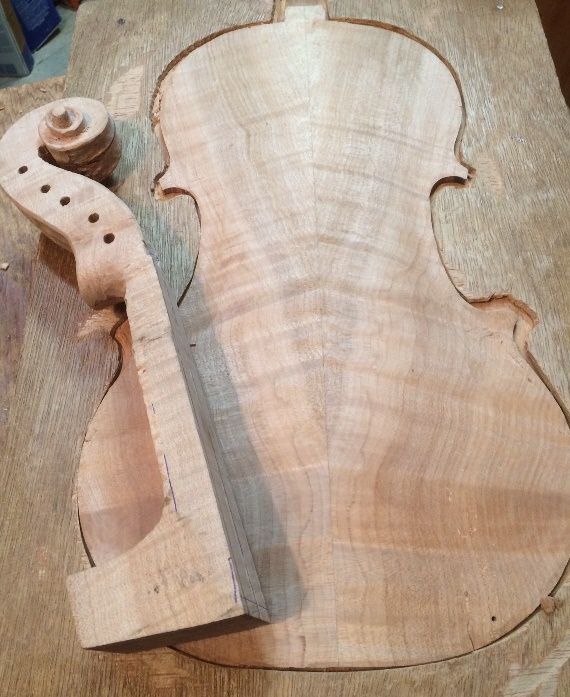
After the scroll and pegbox are very close to complete, I will prepare and attach the fingerboard and shape the two as a unit. That hasn’t happened, yet, so the handle portion of the neck is still rough and untouched.

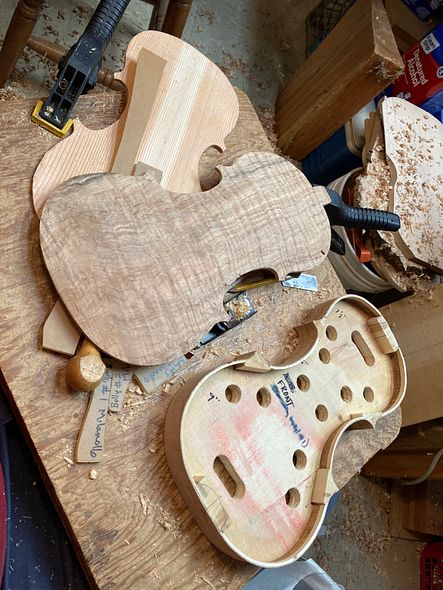
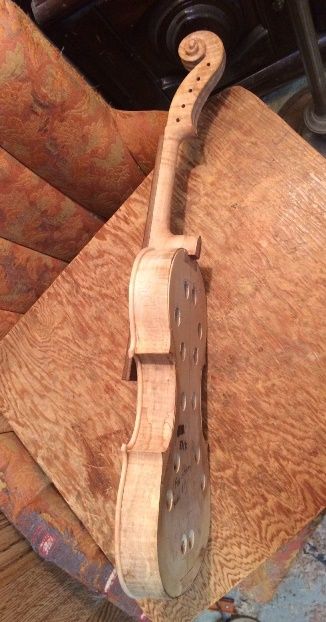
Scroll ready for fingerboard; Arching complete on back plate.
Scroll ready for fingerboard; Arching complete on back plate: ready for Graduations.


Completing the Front Plate

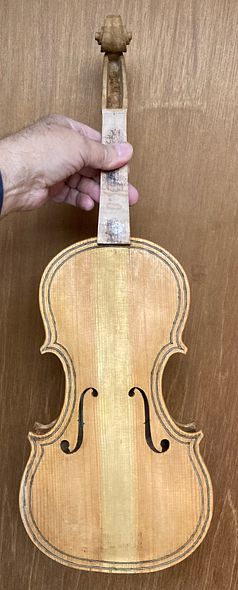
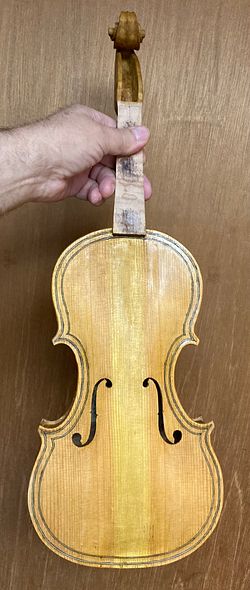
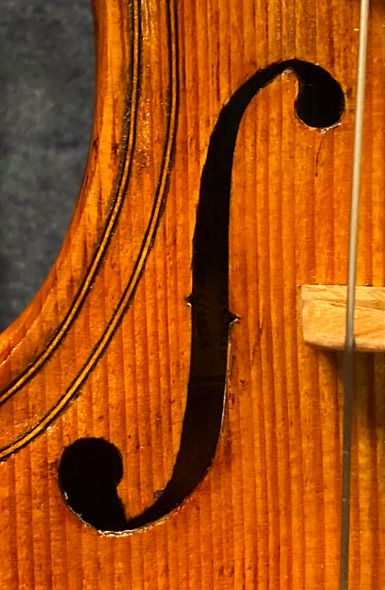
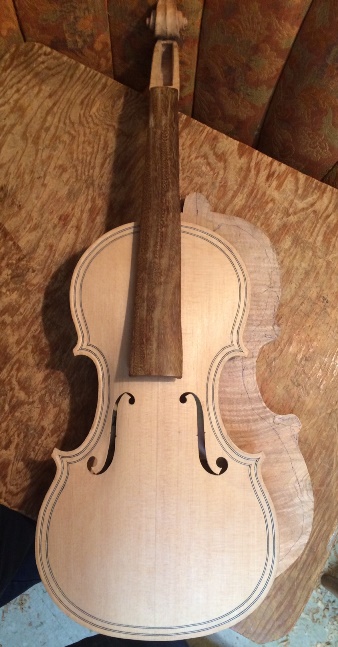
Meanwhile I completed the carving of the front plate, laid out and cut the f-holes and began the purfling. Cutting the purfling slots by hand on Douglas Fir is quite difficult, because the winter reeds are exceedingly hard, compared to the softer summer reeds, and the knife just “pops” over them so that it feels as though it is running over corrugated roofing. It took me much longer to purfle this plate than it usually does for a spruce plate. (Ah, well! Perhaps that is one reason so few use it!)  But the tap-tones of this plate are exceptionally strong and clear: I still have high hopes for the power and tone of the resulting instrument.

Purfling the front plate.

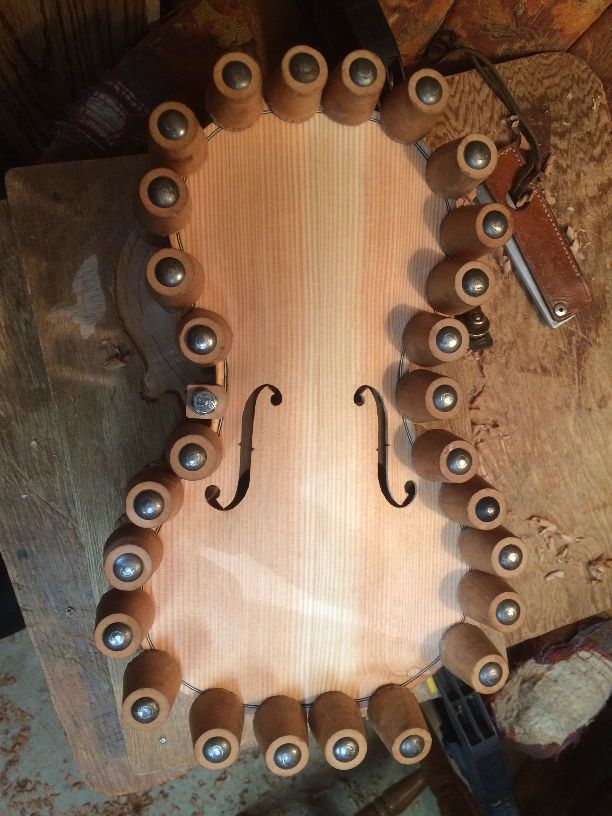
Garland leveled and Front Plate installed!

(I neglected to get photos of the bass-bar process: it is also Douglas Fir, from the same billet. I will show it after I remove the mold…sorry.)

Front plate installed and waiting for glue to dry.


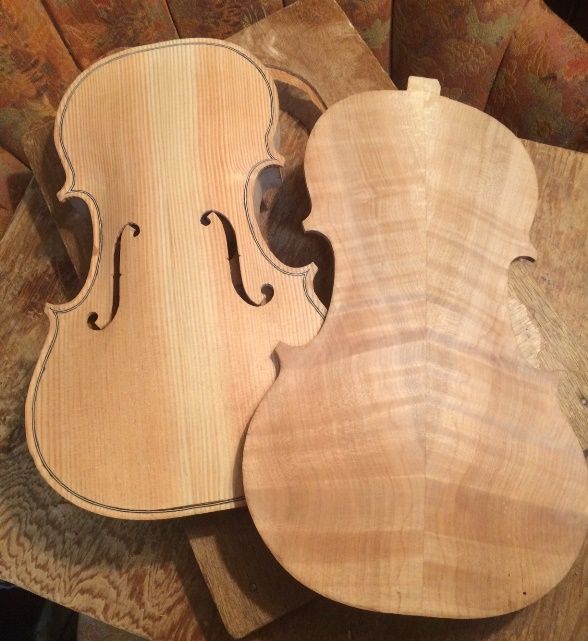
The graduations for the back plate are nearly complete, but today was a long day, and I will have to finish them tomorrow. So, here is where the progress stands, for tonight:

Completed front plate on garland, with nearly completed back plate.


Tomorrow! (yeah, tomorrow!)

I hope to get the back plate completed tomorrow, except for the purfling, which will wait until after I install the plate. Then I will prepare the fingerboard and get it glued onto the neck, and I will feel as though I am “On the home stretch!” (But it won’t really be true: there still will be a great deal of work left to do, before it is anywhere close to completed.)


Thanks for looking!


Wintergrass 2020 Exhibit

Guitars and 5-string fiddles at Wintergrass 2020

For most people, the Wintergrass Bluegrass Festival is an opportunity to hear dozens of dynamic players and bands. For a maker, like myself, it was an opportunity to present my instruments to a variety of players. for examination and “test-drives.”

My son (Brian Bishop, of Bishop Guitars) and I, had only heard of Wintergrass a month earlier, from a wood vendor and Mandolin-player, Bruce Harvie of Orcas Island Tonewoods.  We attempted to contact Wintergrass, to ask whether any exhibitors’ booths remained available, and ultimately, Bruce Adolph, one of the main organizers, contacted me to say that one exhibitor had backed out at the last minute, so, if we wanted it, that table was available. (Yes, we wanted it!)

As it turned out, we were squeezed between two other outfits, both with huge, prominent signs, so there was occasionally a little confusion, as folks assumed we were part of one or the other of our neighbors’ companies, and never even saw our lovely sign.

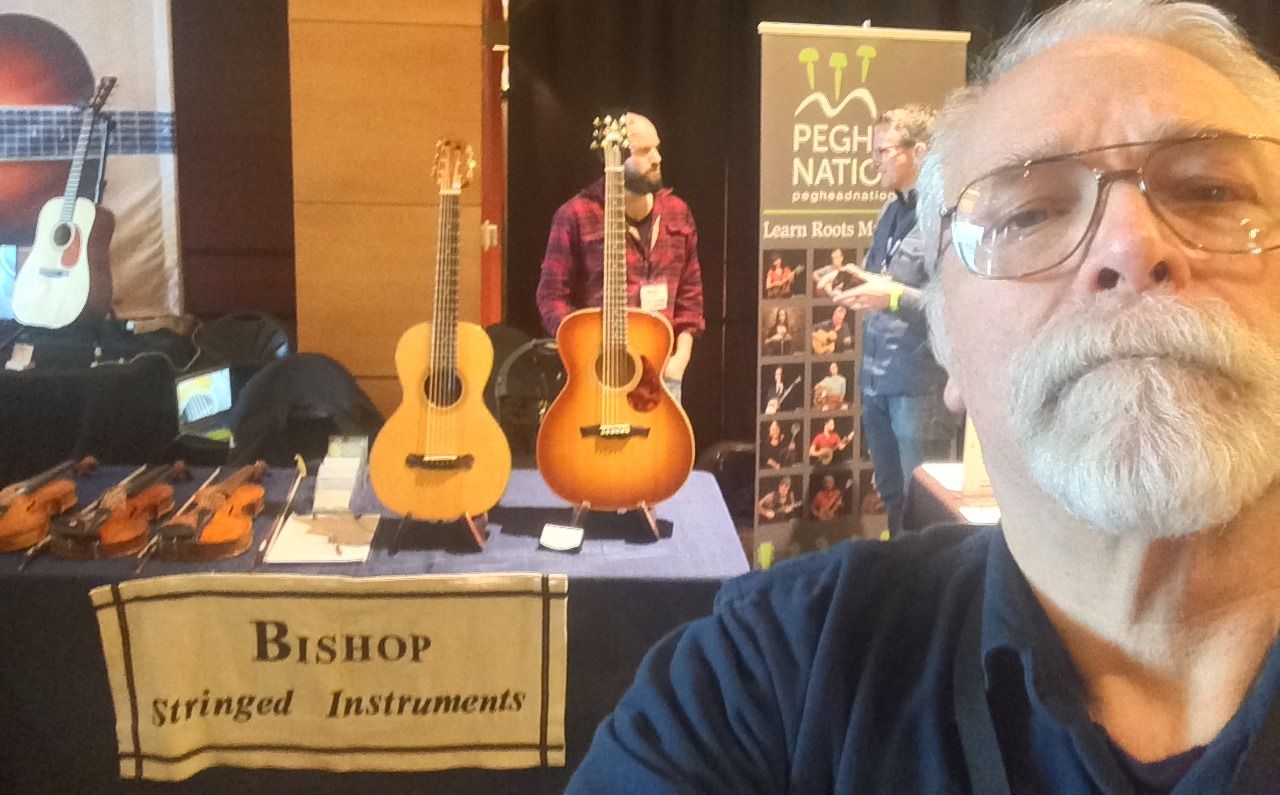
One little table fro two makers of guitars and five-string fiddles.
One little table fro two makers. But we got a lot of positive attention.

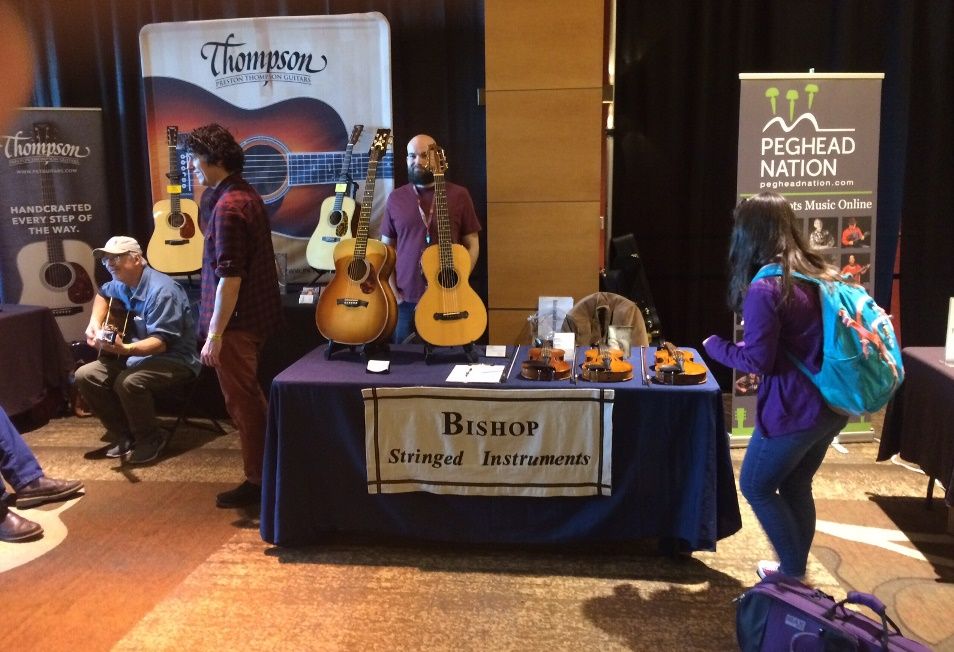
People frequently thought we were either with Thompson Guitars or with Peghead Nation. We had to point out the sign (It got a little crooked in the photo below.) Notice, too, that Brian and I had traded ends of the table. Why?

Because the big outfit two booths over to our right evidently persuaded the maintenance people to change the lighting, during the night, which robbed both Thompson Guitars and us of light. So Brian and I just swapped ends, so that Brian’s guitars would glow in the light, and my violins would be a little more subdued. It was an improvement for both of us, and we were fine, but Thompson was really robbed, with no such remedy. Sad. Not a good way to treat your neighbors.

Our little table. Room for two guitars , two five-string fiddles, and one violin.
Our little table. Room for two guitars and three fiddles. Brian (in the red shirt) had a third guitar, which we handed to interested players.


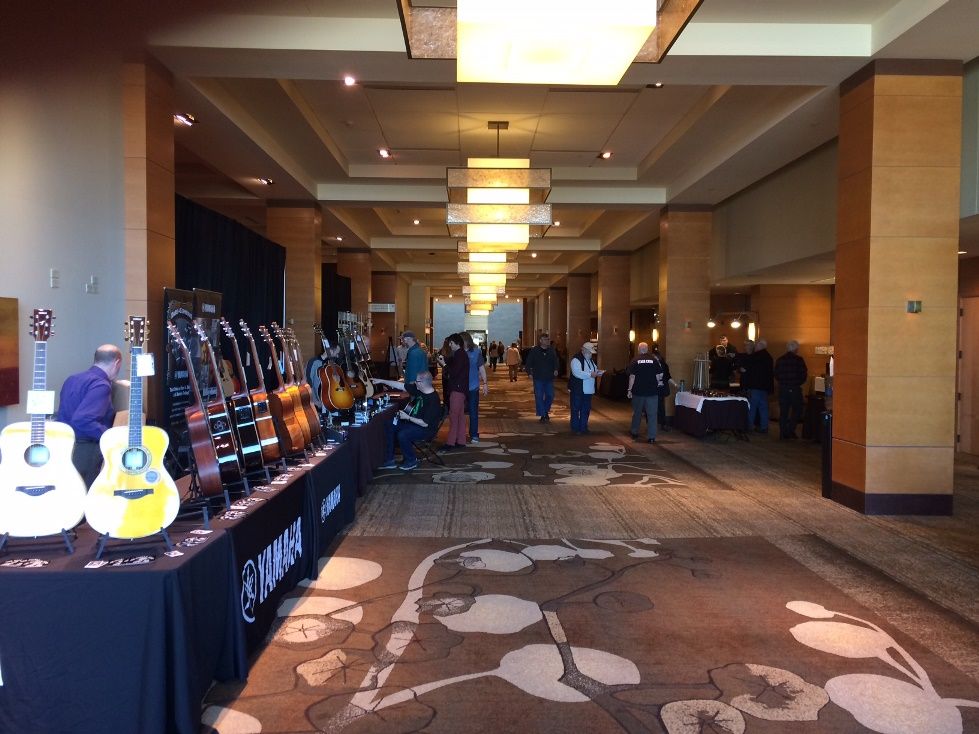
We were the only actual makers in the Dealers’ Hall where our table was located…the rest were big instrument factories, mostly: Taylor, Eastman, Yamaha, etc. Our instruments were each individually handmade by a single luthier. Brian’s parlor guitars and OM guitars were very well received, as were my 5-string bluegrass fiddles and my 4-string fiddle.

Dealers' Hall, before the show opened: our guitars and five-string fiddles were apparently the only handmade instruments in the hall.
Dealers’ Hall, before the show opened. (We were just past the second post on the left.)


We got a fair amount of attention, though we were small and obscure, as players came by the table. Some had come there to perform in the show, and just decided to check out the makers. Others were there to enjoy the show, but, as players, they wanted to try out the instruments. It was very enjoyable.

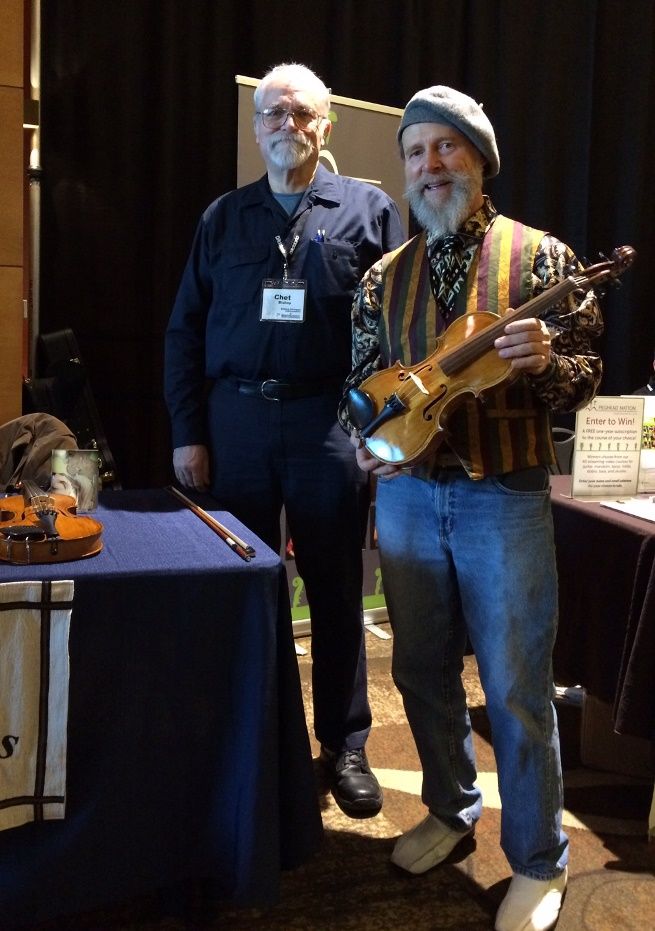
Joe Craven, a well-known entertainer, and a friend of the lady who commissioned this Five-string fiddle.
Joe Craven, a well-known entertainer, and a friend of the lady who commissioned this instrument. (I was hoping he would play it, but he was exhausted from his work and chose to not try it out.)


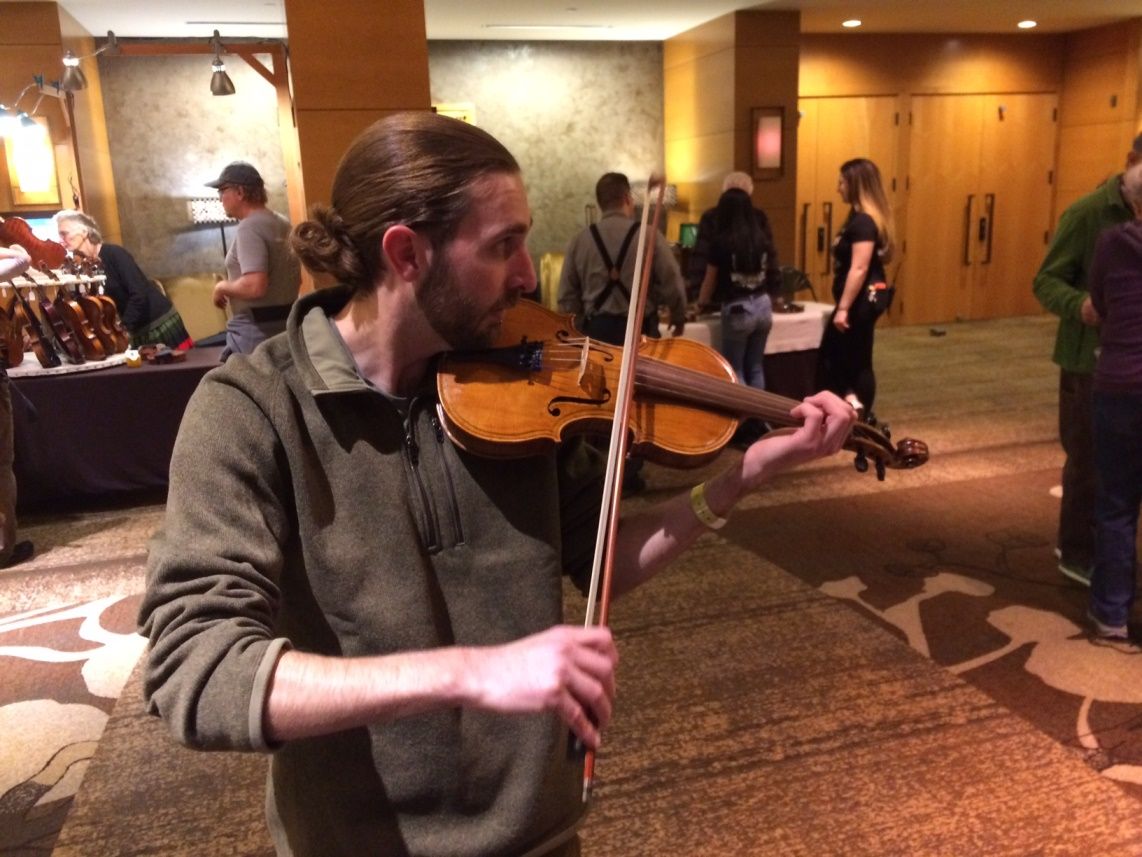
Very good fiddler...wish I knew his name! Playing the commissioned Five-string fiddle.
I wish I knew this young player’s name! He was very friendly and a great player.

Everyone loved our handmade instruments (both the guitars and the fiddles) and some sales may eventually result. Either way, we will be back next year!

Thanks for looking.


Carving the Five-string fiddle Back Plate

Five-string fiddle Inside Complete

Before I could prepare the back plate of this five-string fiddle, I had to complete the rest of the corpus (body of the violin:) First, the inside willow blocks and willow linings had to be tapered and shaped so they are completely smooth. Then, the back of the entire corpus (including the heel of the neck) has to be leveled, so that it will lie flat on the back plate. So, here is the main part of the 5-string violin, with the interior clean and smooth, and the back leveled and flat:

Five-string fiddle Inside complete, and back leveled.
Inside complete, and back leveled.


Beginning the Back Plate

I clamped the corpus flat on the back plate billet, then traced around the ribs, using a small washer to establish the correct rib overhang. Then I corrected the corners, using a straightedge and a series of circle patterns. Finally, I cut out the plate “footprint”, and began the arching process. Oregon Big Leaf Maple is a relatively soft maple, but it is still a good deal harder and tougher than Sitka spruce, so the back plate is a lot more work to carve. Here is the beginning:

Beginning Five-string fiddle Back Plate arching.
Beginning Back Plate arching.

In the above photo, the back plate is sitting in a work cradle, so that it will stay in place while I carve it. The Ibex plane in the photo has been slightly modified, to add the palm-fitting handle. This reduces the stress on my fingers and transfers the force to the palm of my hand as opposed to my thumb and forefinger. (To Ibex plane-owners: you will observe that I have removed the adjusting screw and reinstalled it upside down to allow insertion of the maple handle.)

I have been on vacation for two weeks, which has allowed me to accomplish more work than usual, in a shorter period of time. I go back to my regular job, on Monday, though, so things are about to slow to a crawl. (Sorry…that’s life. :-))


Thanks for looking.

More 5-string Fiddle Progress

Five-String Fiddle Progress

(Further progress on building a custom-made 5-string bluegrass fiddle.)

Neck Set

The neck was ready to set into the neck-block, late last night, but I had reached my physical limit. So, today, I prepared both the neck and the garland, by ascertaining that all angles and dimensions were correct, and then laying out the shape of the neck mortise on the neck block of the garland.  This is a critical step in violin-making and always raises my blood pressure a little, as I know that, if I make a mistake, it will require serious rework to get back to a usable status.

However, this time, the job went pretty smoothly, and I was able to set the neck in a fairly short time. One thing I do a little differently than I was originally taught, is that I set the neck before installing the maple back plate. This allows me to achieve a good fit with the rib garland and neck block, and not have to worry about the fit against the back plate button. Then I saw off the stub of the neck heel, and plane and file it flush with the rib garland. After I remove the mold and add the back linings, I will level the back of the garland, and be ready to trace the back plate shape.


Five-string fiddle neck Set Complete.
Neck Set Complete: still have to remove the neck-heel stub.


Here is the completed corpus (Sitka Spruce top plate and Big Leaf maple ribs still on the mold) with the wild-grain Big-leaf maple back plate billet.

Completed Corpus of Five-string fiddle with Back Plate Billet.
Completed Corpus with Back Plate Billet.


Mold Removal

So, the next step was to remove the plywood mold. This is another stressful step because it involves literally using a hammer and chisel, to break the glue-bond between the blocks and the mold, so as to release the garland from the mold.  I used to have a difficult time doing this, because occasionally a drop of hide glue had seeped between the rib and the mold, and anchored the fragile rib material to the very solid mold. The likelihood of breaking a rib at that point became nearly 100%. Eventually, however, I learned to liberally coat all the non-gluing surfaces of the mold with candle-wax (paraffin,) by vigorously rubbing a candle over all the areas I felt were likely to get a drop of glue on them.

The result today was that, when I removed the mold, it went smoothly, and I could see a place where glue had definitely intruded but it had dried with zero adhesion to the waxy mold. (What a relief!)

Five-string fiddle mold removed, ready for back linings.
Mold removed, ready for back linings.

Installing the Back Linings

The linings are important for two reasons: they strengthen the fragile rib-edges, and they triple the gluing surfaces between the rib-garland and the front and back plates.

So, I cut the mortices in both sides of each of the six blocks to receive the lining strips, and then inserted the linings dry, to get a perfect fit.

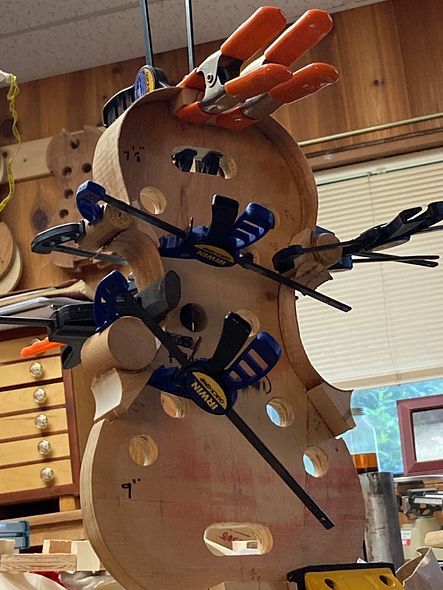
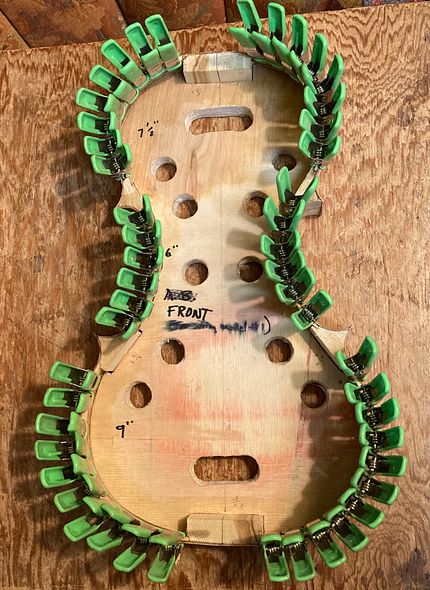
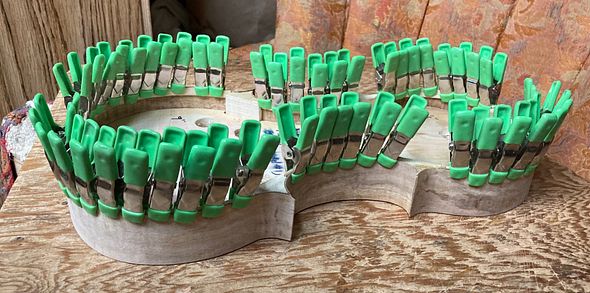
Afterward, I removed each lining, one by one, coated them liberally with hot hide-glue, and re-inserted them, clamping immediately with small spring-clamps.

Five-string fiddle back linings installed, glued and clamped.
Back linings installed, glued and clamped.

Shaping Blocks and Linings

If you look closely you can also see, in the above photos, that I had trimmed the blocks on the front side, before removing the mold. After the glue is dry on the back linings, I will also trim the back side of the blocks, to achieve a smooth, curved surface on the interior of all the blocks. At that same time, I will taper the linings so that they are very thin on the edge toward the middle of each rib, but still 2 mm thick at the edge where they will contact the back and front plates.

After that, it will be time to level the back surface of the entire corpus (garland and neck-heel) so as to fit tightly against the back plate billet. Then I can trace the final shape of the back plate, cut it to shape, and get going on completing the back plate.

For now, I am satisfied to allow the glue to dry, and take the rest of the evening off.


Thanks for looking.

Commissioned Handmade Five-string Fiddle Beginning

Starting a new 5-String Fiddle

The Materials:

A few weeks ago I announced that a new fiddle would be beginning. Now I have a few photos to show:

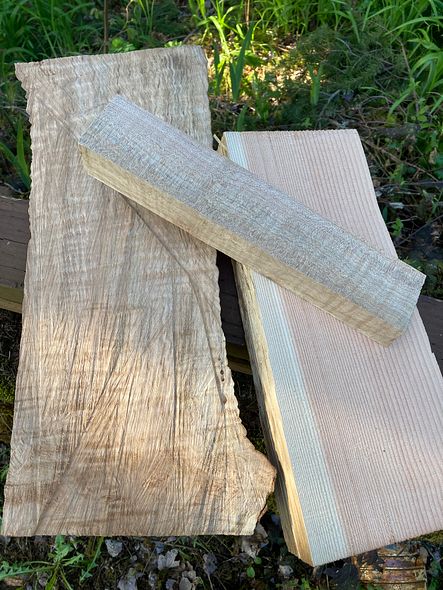
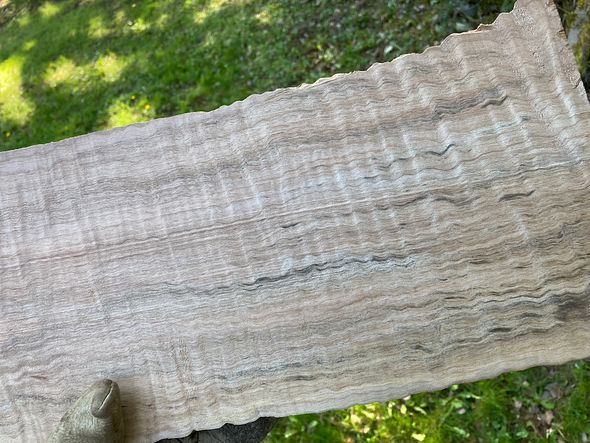
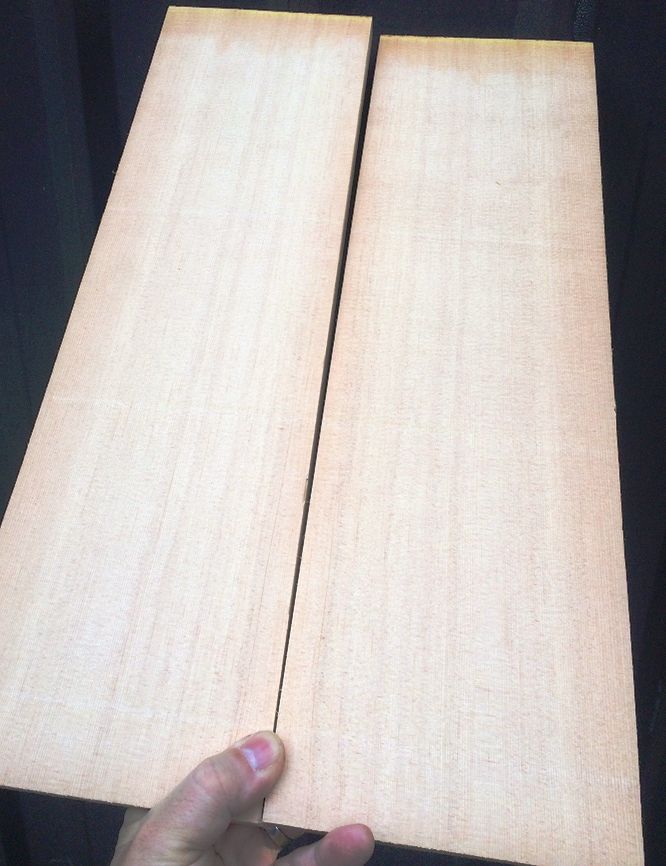
The top plate is Sitka Spruce, from Bruce Harvie. The customer wanted “Oregon wood,” and the Big Leaf Maple is definitely from in my neighborhood, here in Oregon (I helped harvest it;) but the Sitka is just a species that grows here…I don’t know where it was harvested.

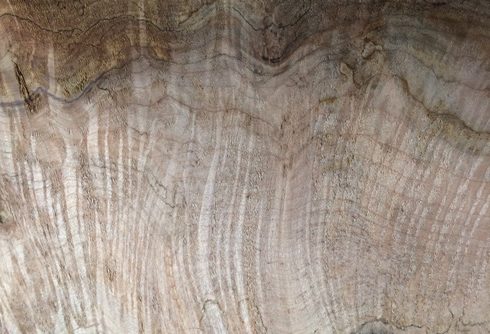
Wild-grain Big Leaf Maple for Five-string fiddle back and ribs!
Wild-grain Maple for back and ribs!


Fine-grained Sitka Spruce for Five-string fiddle top plate.
Fine-grained Sitka Spruce for the top plate.


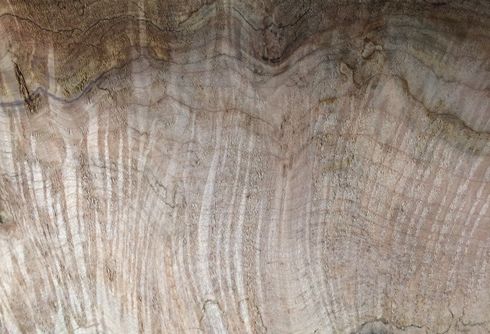
Preview of the grain in the Five-string fiddle neck billet.
Preview of the grain in the neck billet.


Beginning the work of building a 5-string fiddle:

I book-matched the spruce, to form the basis for the front plate: a solid plate with a tight glue-line down the center.

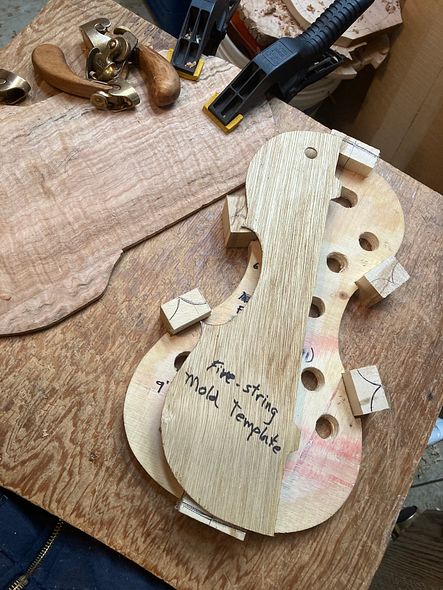
I used the mold (or form, as many people prefer to call it) that matched the fiddle the customer liked best. Then I added willow blocks to become the corners and end-blocks, and I traced the intended shape of the blocks from the mold template onto the back-side of the blocks, where they are flush with the mold.

Blocks and mold with Five-string fiddle template.
Blocks and mold with template.


Five-string fiddle Preliminary block-shaping complete.
Preliminary block-shaping complete.


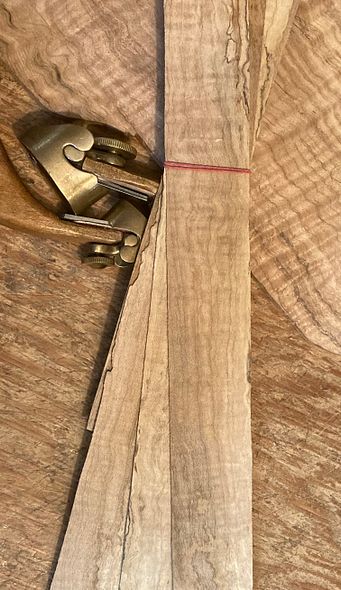
Added the ribs, of the spalted maple the customer liked, and glued them to the willow blocks. Afterward, I added linings, also of willow, and let them into the blocks and glued them to the ribs and the blocks.

Spalted Maple ribs and willow linings on beginning of Five-string fiddle.
Spalted Maple ribs and willow linings.


Five-string fiddle Rib garland nearly complete.
Rib garland nearly complete.


Then I traced the shape of the garland onto the top plate material, using a small washer as a spacer, and a ball-point pen as a scribe. I completed the corners using a straightedge and a series of circle templates. Finally, I marked the edge at exactly 4 mm thick, and carved the arching, using gouges and planes and scrapers.

Sitka top-plate arching complete for Five-string fiddle.
Sitka top-plate arching complete.


Then I marked the layout of the double purfling and the f-holes, and began incising them into the Sitka Spruce.

F-holes and purfling traced and cutting begun for Five-string fiddle.
F-holes and purfling traced and cutting begun.


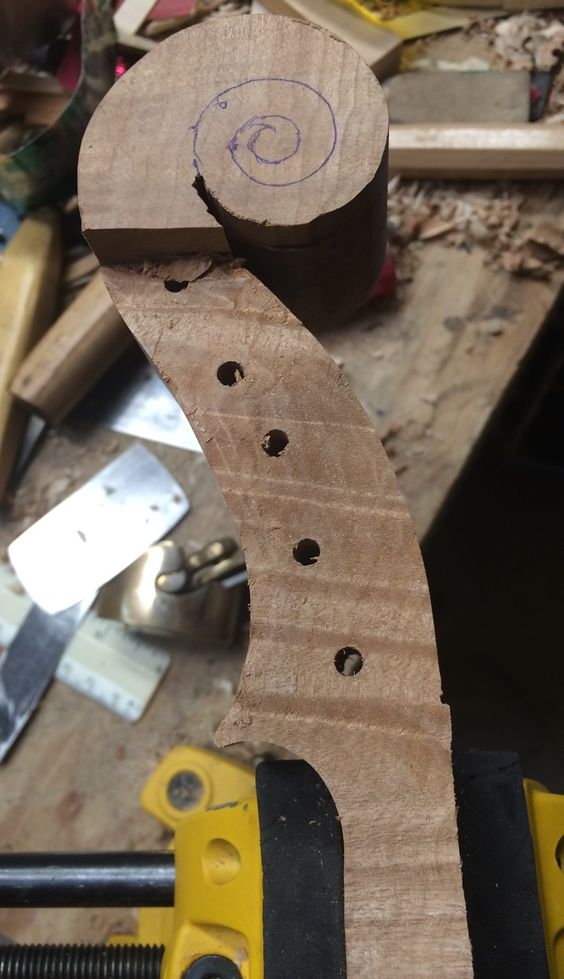
Sometime in the midst of all the above work, I laid out and began carving the scroll and pegbox. That wild grain is very tricky to carve, as it changes direction constantly.

Rough-carved scroll and pegbox of Five-string fiddle.
Rough-carved scroll and pegbox.


I went ahead and completed the purfling and the f-holes, so that I could prepare the plate to be glued to the garland.

Completed top plate and neck work with garland for Five-string fiddle.
Completed top plate and neck work with garland.


I also added the bass-bar, chalk-fitting it to perfection, and gluing it in place, with hot hide glue. The bass-bar will be carved, planed and scraped to the proper shape after the glue dries.

Five-string fiddle Bass-bar glued and clamped.
Bass-bar glued and clamped.


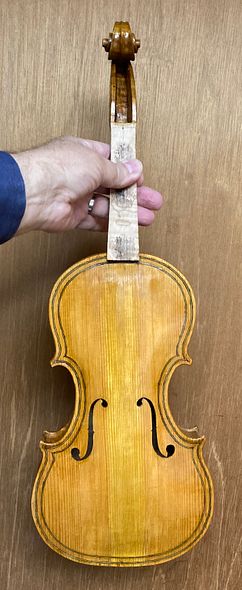
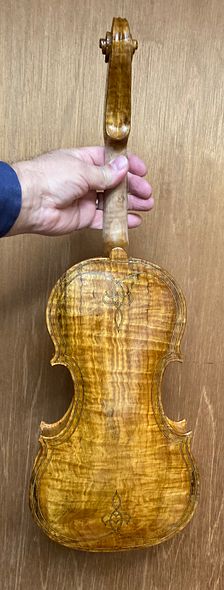
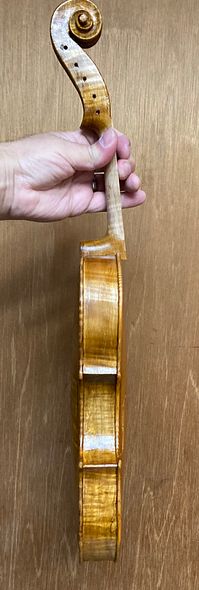
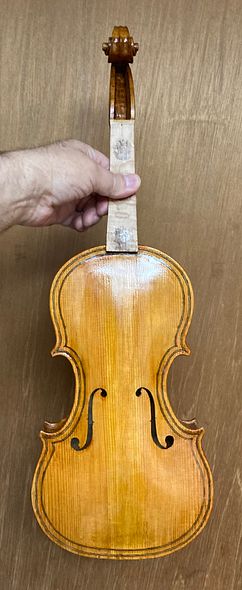
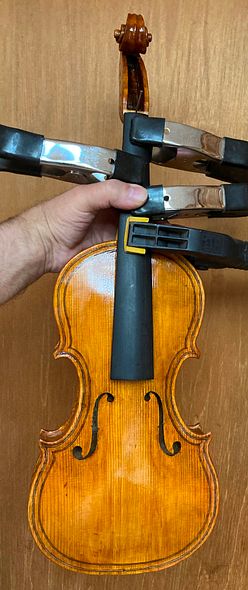
Five-string fiddle Top plate glued and clamped to the garland, fingerboard glued to the neck.
Top plate glued and clamped to the garland, fingerboard glued to the neck.


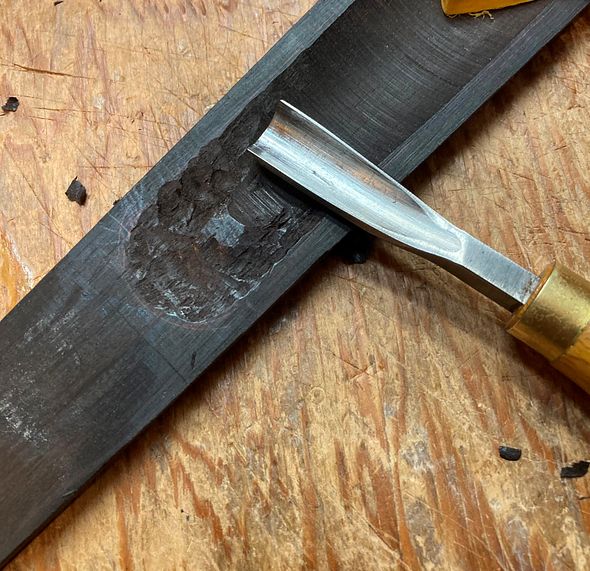
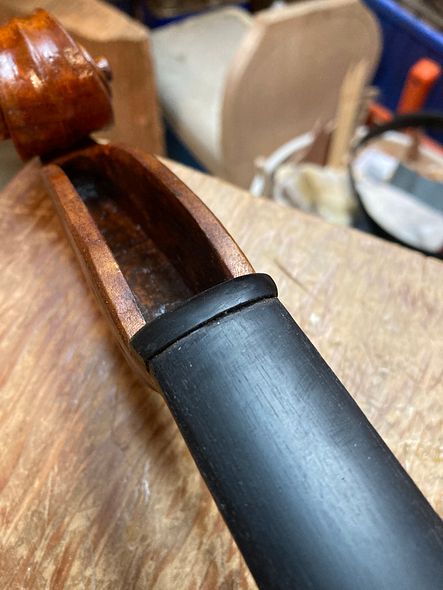
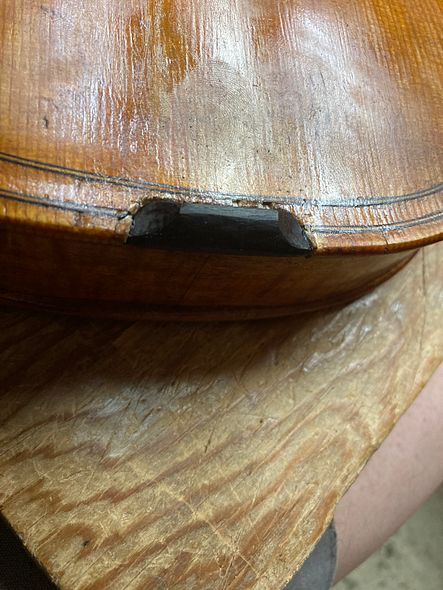
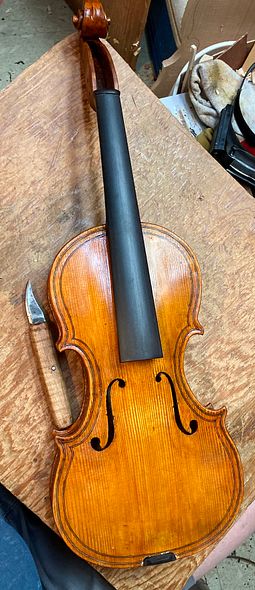
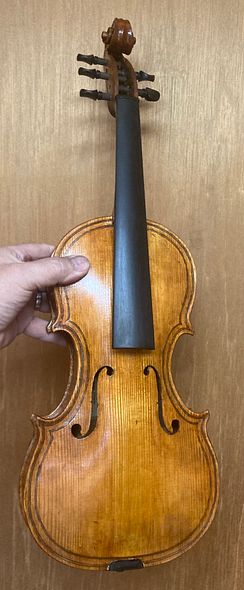
The fingerboard is Ipé, as requested by the customer. It is an extremely dense hardwood, but not threatened as Ebony is beginning to be. It finishes to a dark brown and looks good, as well as wearing well. It is extremely difficult to work, though, so it may take time to become popular with makers. The saddle and the nut will also be Ipé, but the pegs will be ebony, simply because I have never mastered the lathe-turning of tuning pegs.

Working on the fingerboard for the Five-string fiddle.
Working on the fingerboard.


And that is pretty much where things stand, for now. I will try to post pictures as they become available.


Thanks for looking.