
Carving the scroll on a 15″ Five-string viola
Beginning with the Saw
When I first tried making an instrument (a viola) I did not know about using a saw to start, and I carved the entire scroll by hand with a set of small gouges my wife had presented me with a few years earlier. That took a long time, and it was very difficult to keep both sides symmetrical with one another.
Later, I saw a series of photos posted by a maker in Brasil, who showed how he used a thin-bladed saw to outline the scroll, making many small cuts, then removing the waste wood with a combination of saw and gouges. That was a bit of a revelation, and I enthusiastically embraced the change. It did, however, take a bit of practice to master the concept.
So here is the process:
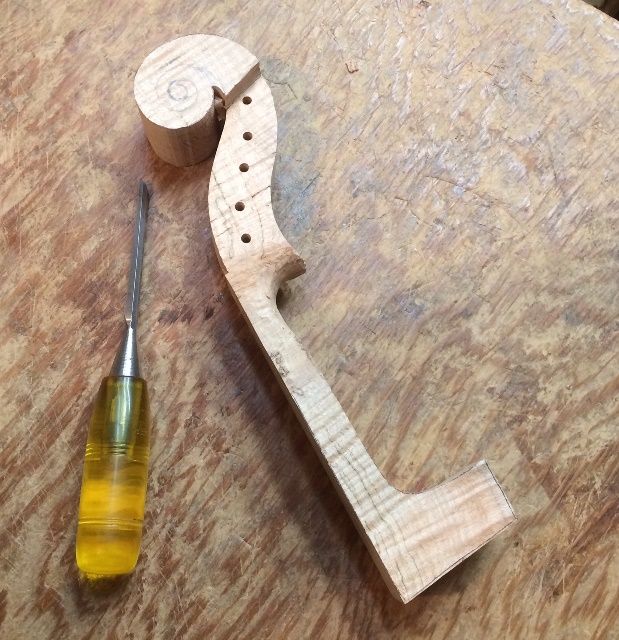
{You can see the dark lines and spots in the wood. This is called “spalting” and is very popular with some people, though it actually is caused by a fungus. This particular Big Leaf Maple billet, along with that of the back, was salvaged from an old tree taken down on my wife’s family’s property, and is quite heavily spalted.)
First, I carefully laid out both sides of the scroll, then I used my bandsaw to cut out the whole “footprint” of the scroll and neck.
Then I went back and laid out the volute, including the centerline, on the outside of the curve, all the way around, so I know what the scroll should look like from the front and back, as well as both sides. I also used a knife to scribe the centerline deeply enough that I will not lose it as I begin to shape the outside of the scroll.
Then I used the same bandsaw to remove the slabs from the sides of the pegbox, and a little way down into the neck: (You can see I already rounded the heel of the scroll a little, too, with a gouge. That is a personal quirk of mine…I want that heel looking “round” right from the beginning.)
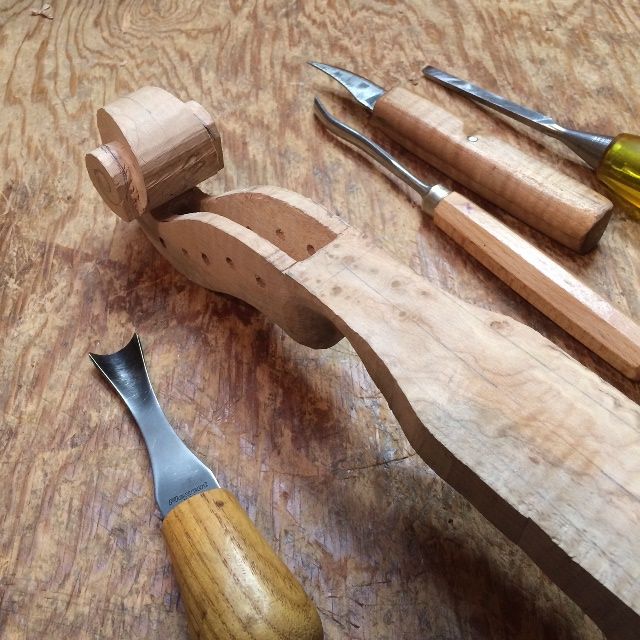
Then I use a small pull-saw (Japanese style, but I don’t know what brand) to cut beside the scroll profile lines just down to where they nearly touch the sides of the volute lines around the outside of the scroll. It is very important to keep these cuts perpendicular to the centerline of the scroll.
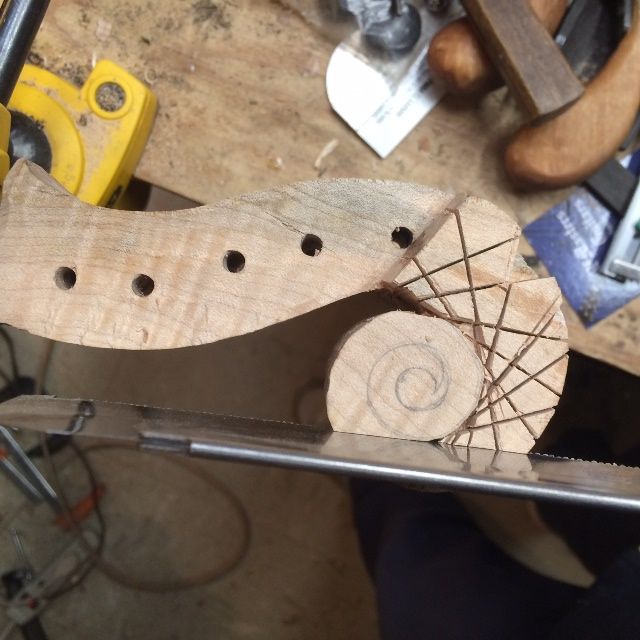
Then I use a combination of a thin saw and various gouges to remove the waste wood created by the saw.
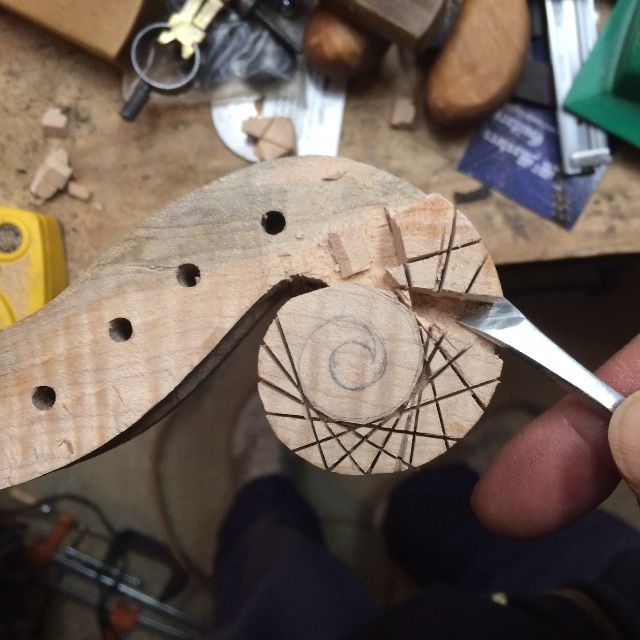
At some point (usually, the earlier the better) I will decide to carve out the interior of the pegbox. I did not take any photos of that process this time, but there are a variety of options. Some makers use a drill to carefully excavate a series of small holes, so that it is easier to remove the waste wood between the holes. That is practical, but you have to be very careful to not go too deep, or too far off to either side. (It is easy to destroy your scroll, in other words… ask me how I know. 🙁 )
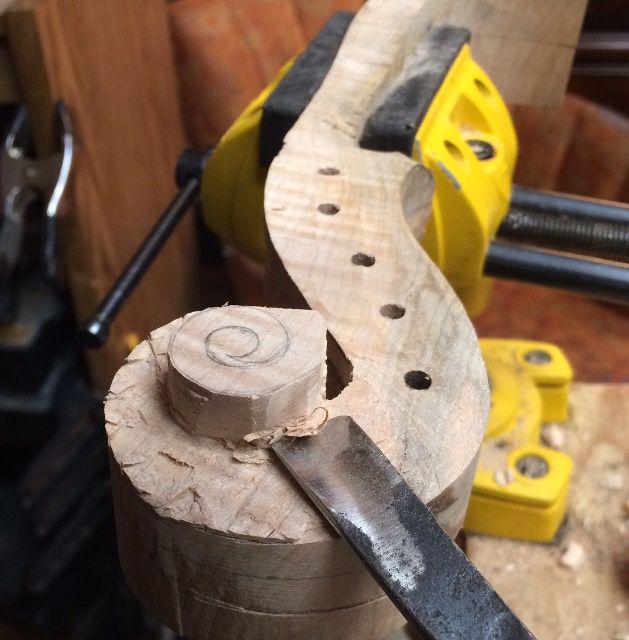
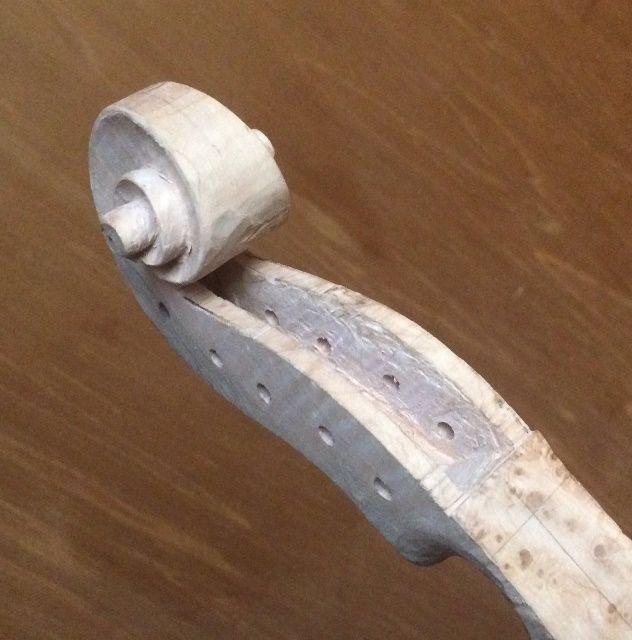
I outlined the opening with a small straight chisel, then used that same chisel to begin excavating the waste wood from the interior of the pegbox. You can also see the remaining layout lines for the neck, in this photograph.
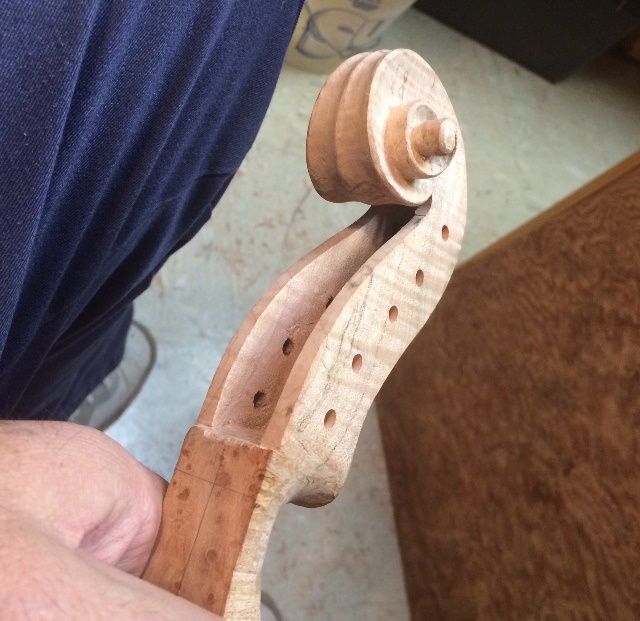
After the pegbox was mostly complete, I began carving the turns of the scroll, as well. This is another place where it is very easy to make serious errors. I continually examine the scroll from all angles to see to it that both sides are progressing equally, and that I am achieving a satisfactory symmetry. If I can keep the two sides looking like mirror images of one another up until the final smoothing, then there is little danger that the final smoothing will change that symmetry.

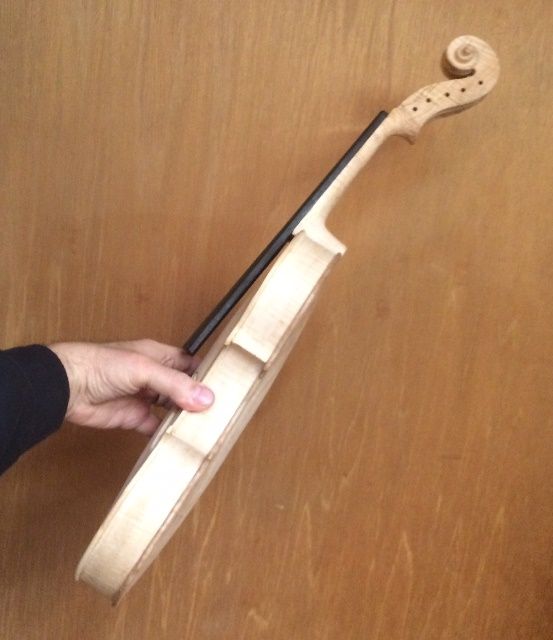
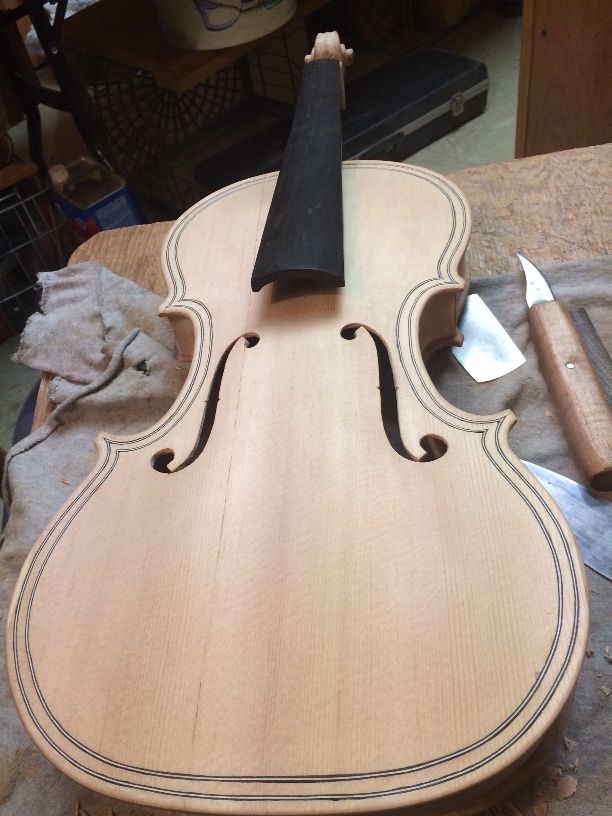
Once the scroll and pegbox were complete, I prepared the fingerboard and glued it in place temporarily. I need the fingerboard installed, in order to correctly set the neck. (I realize that some makers can successfully set the neck without the fingerboard, and I have done so in the past, but it is also easy to make a mistake. I like having the fingerboard correct, and use it to help me set the neck correctly.)
Setting the Neck
(I did not take photos of this process, but it goes as follows:)
- Lay out the location and footprint of the neck mortise.
- Use a thin razor saw to cut the sides of the neck mortise, but not too deeply.
- Use very sharp chisels and gouges to remove the waste wood from within the mortise.
- Keep checking the fit and adjusting the mortise, until the neck fits perfectly.
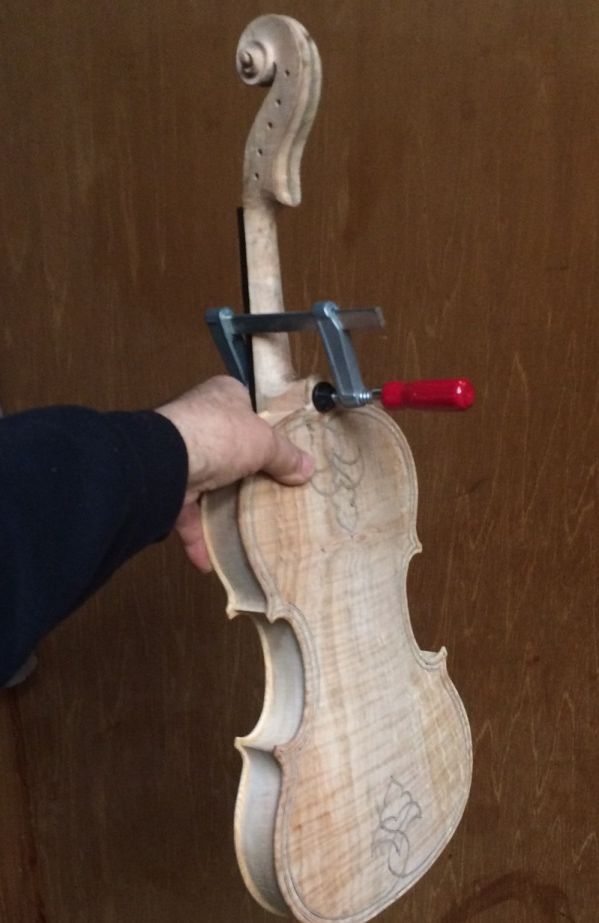
- Glue the neck in place, using hot hide glue, and a clamp.
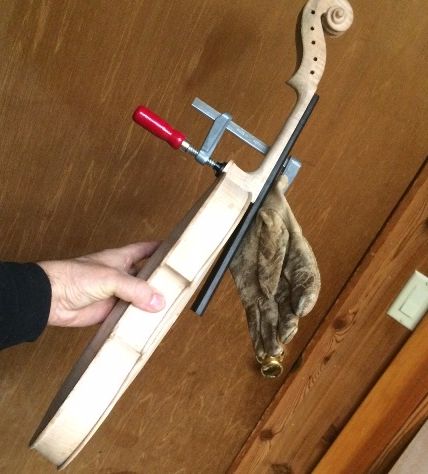
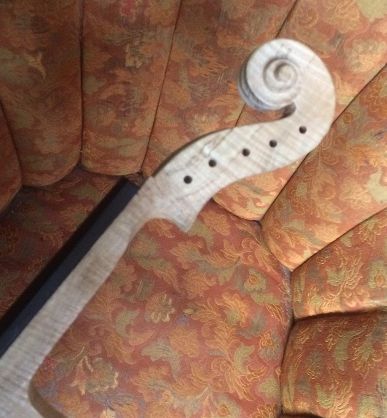
You can see in the above photograph that the neck heel has been left to be carved to the correct shape at the same time as the back button. (A lot of people do not realize that, in the violin-family instruments, the joint between the heel of the neck and the back button is critically important to the strength of the neck joint. It is not just to be pretty, as is sometimes the case in guitars.)
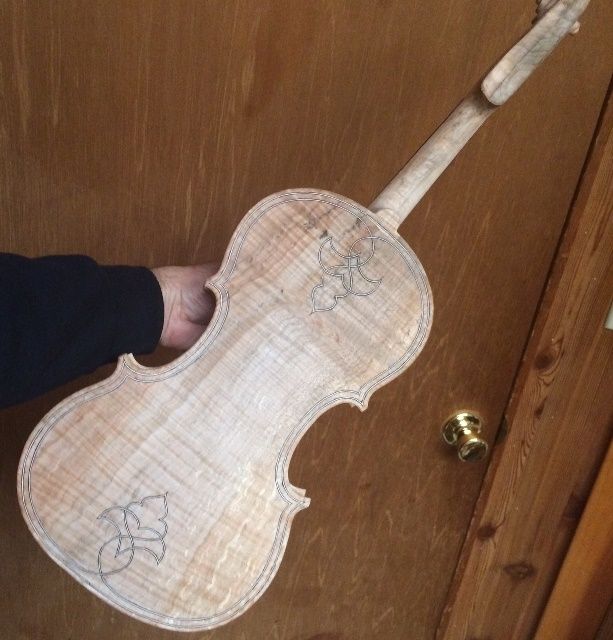
After I carved the heel to the correct shape, The instrument was essentially done, and final shaping and scraping for varnish preparation is the next step.
I will save the varnishing process for the next post.
Thanks for looking.