Completion is a Relative Term
I would love to just say, “There! All Done!” but the fact is, I will always be able to see little things I wish I could change, and perhaps could not see until it was pretty much too late. That’s OK…it’s part of being a maker. I just have to know when it is time to say, “That’s as far as I am going!” and call it good.
Varnish
Last time, I shared how one of those decisions was how dark to make the varnish. I came to that decision about two coats past the last time I posted, so I allowed the varnish to harden for about a week, and then gave it a final once-over, and began the set-up procedures. Here is how it looked before I began set-up:
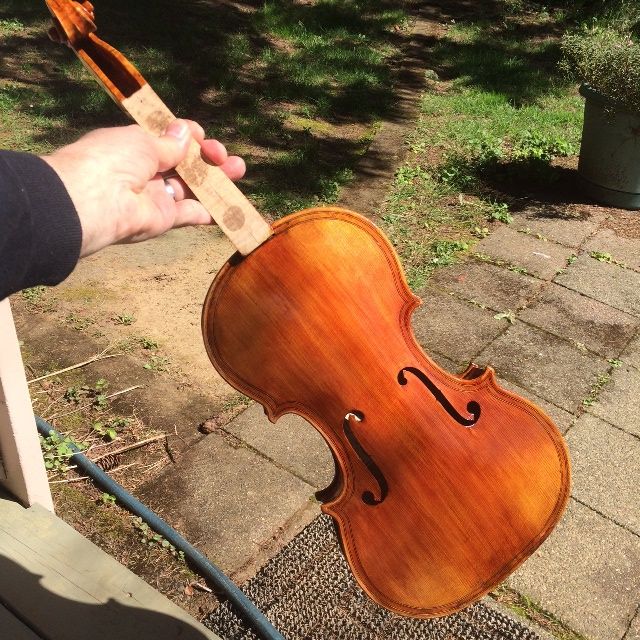
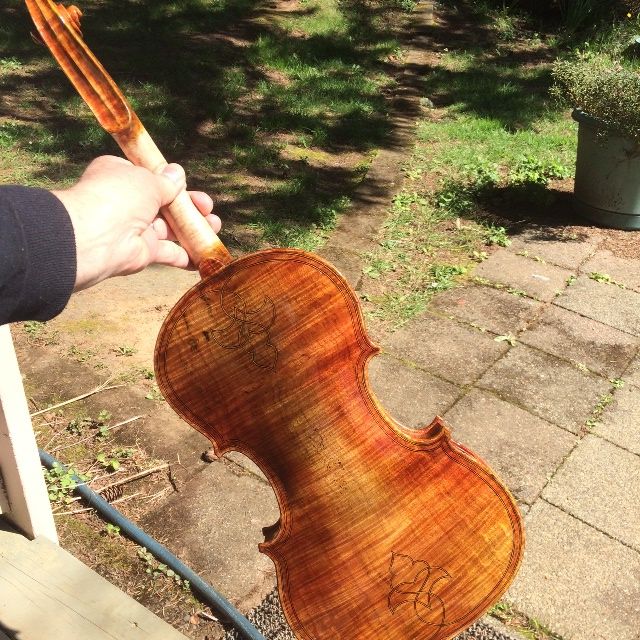
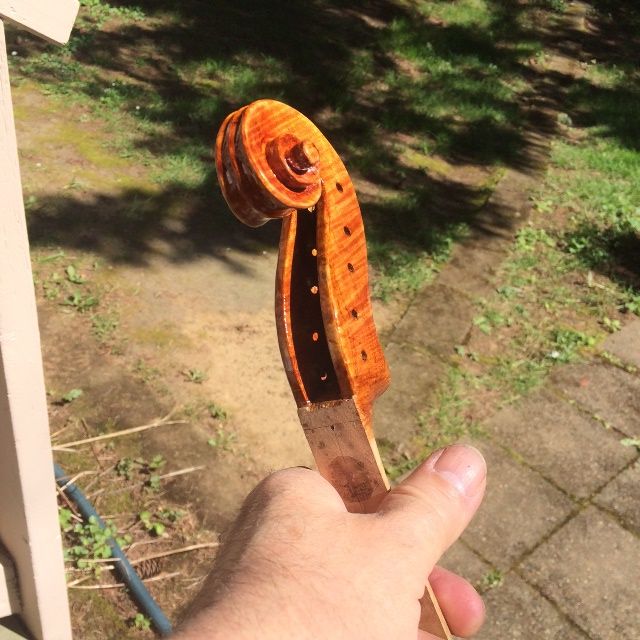
The varnish took several days to harden enough to work on set-up, and even when I thought it was ready, it still easily took fingerprints. 🙁 I guess I should have known. Anyhow, it means there will be some rubbing out to be done after set-up is complete, and the varnish is even harder.
Set-up
I did not take many photos during set-up. Set-up includes:
- Re-installing the Fingerboard,
- Installing the nut,
- Installing the saddle,
- Installing pegs,
- Fitting the soundpost,
- Fitting the bridge,
- Installing the end-button,
- Installing and adjusting the tailpiece and strings,
- Installing the chinrest, and
- Playing while adjusting for sound (balance, tone, etc.)
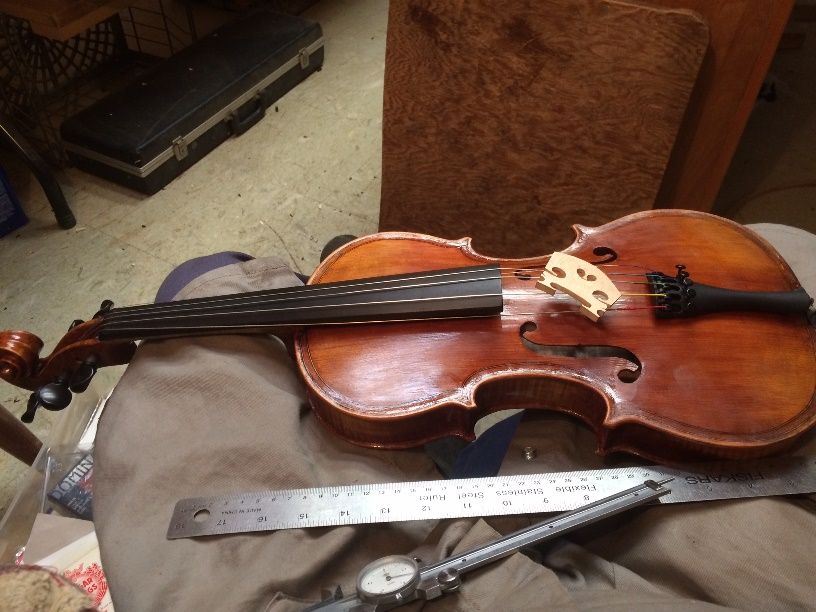
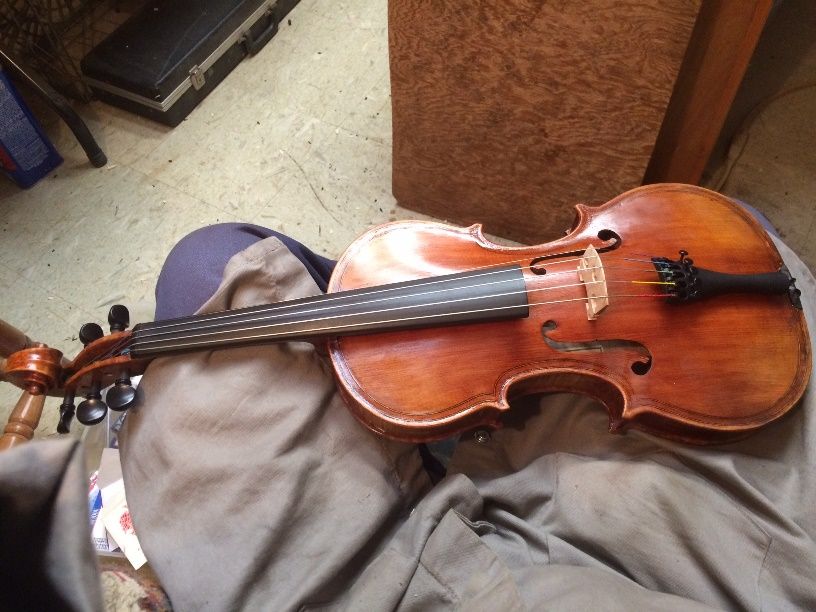
So, I had a fairly frustrating day, wherein it seemed nothing went right on the first try. It took me twice as long as it should have, but I got it done. I only took a few photos:
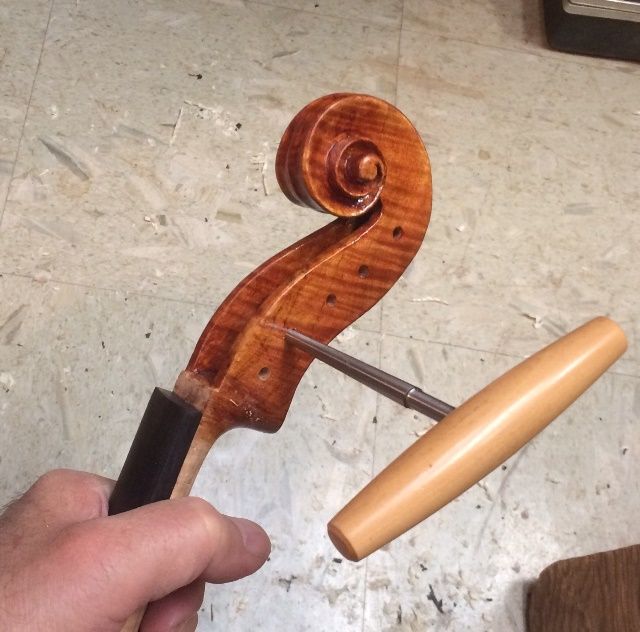
Sound
The 5-string 15″ viola had good sound from the first moment, but, as usual, it required some sound-post adjustment to achieve balance across all five strings. A sharp-eyed viewer also may notice all the mismatched strings; Jargar C, heavy Dominant G, D and A, and a regular Dominant E. I was unable to find the string sets I had bought recently (found them later), so, for the moment I simply used what I had, and adjusted accordingly. And, surprisingly, it sounded quite good.
It has a huge voice compared to my violin-size five-string fiddles, and except for the C, the balance is very good. I adjusted the soundpost to bring the C-string into line, and it is much better, now. I am anxious to try an actual “set” of strings on it, to see what I can achieve in terms of balance and over-all tone.
Anyway, here is what it looked like immediately after full set-up:
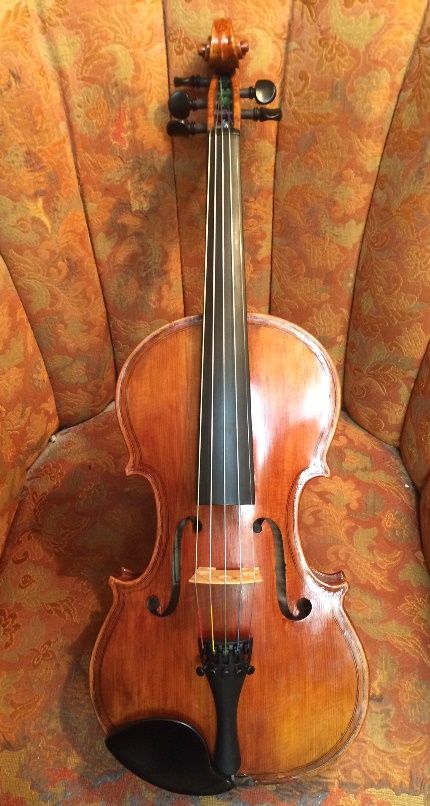
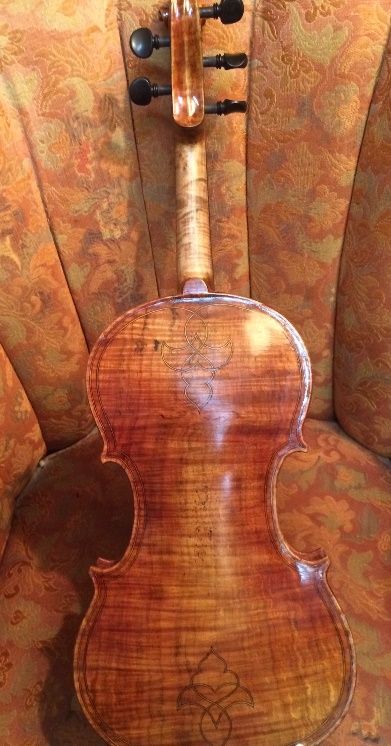
It still will need a final rub-down, but for now, I am playing it and just letting it finish hardening.
Thanks for looking.

One Reply to “15″ 5-String Viola Completed”