16-1/2″ 5-string Viola Varnish Sequence

Varnishing Process for the 16-1/2″ five-string Viola:

All Smoothing and Varnish-prep is done:

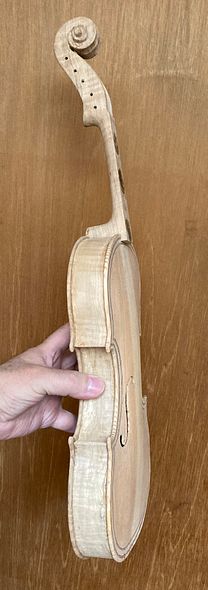
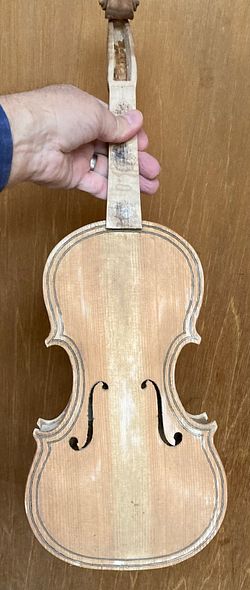
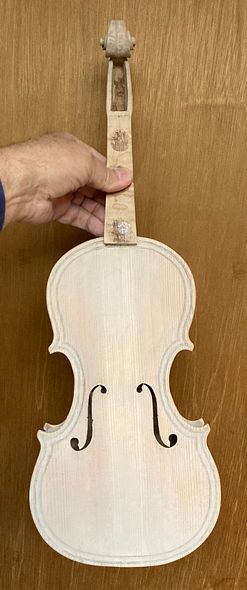
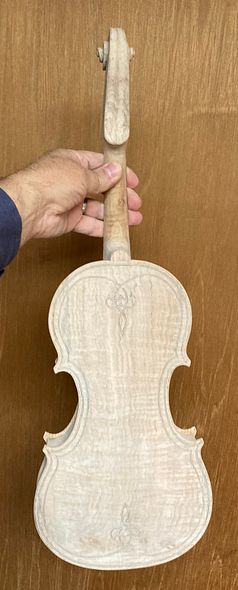
When I last posted, the final woodwork had been completed. I had twice wetted down the wood, to raise the grain, and scraped and sanded away the rough raised grain. The wood was stable enough to commence the tanning process.

After the wood is smooth, there will be:

    1. a tanning treatment,
    2. a mineral ground treatment,
    3. a sealer, to lock the mineral ground in place, and
    4. finally, the varnish itself in a series of 6-12 coats, depending on color.

Tanning the Wood

People who live in very sunny regions (New Mexico, for instance) need no light booth: they simply hang their instrument out in the sun for a few hours and it takes on a deep yellow-tan color. I live in Oregon. Western Oregon, between Portland and the coast. We are more likely to achieve a patina of bird-droppings than a sun-tan, if we hang instruments outdoors. (Sigh…)

So, a number of years ago, I bought an old cabinet, about seven feet tall, lined it with aluminum foil as a reflector, wired it with a strong UV source (two 48″ fluorescent UV tubes in a shop-light fixture), and I hang my instruments in it overnight. To heighten the effect, I brush on a coat of very diluted Sodium nitrite and let it dry before I expose it to the UV. This works pretty well, and I have pretty much adopted it as a normal pre-varnish treatment.

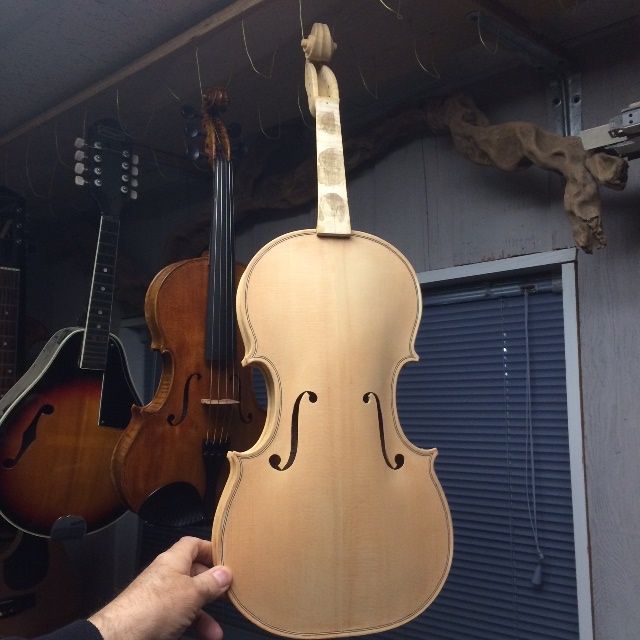
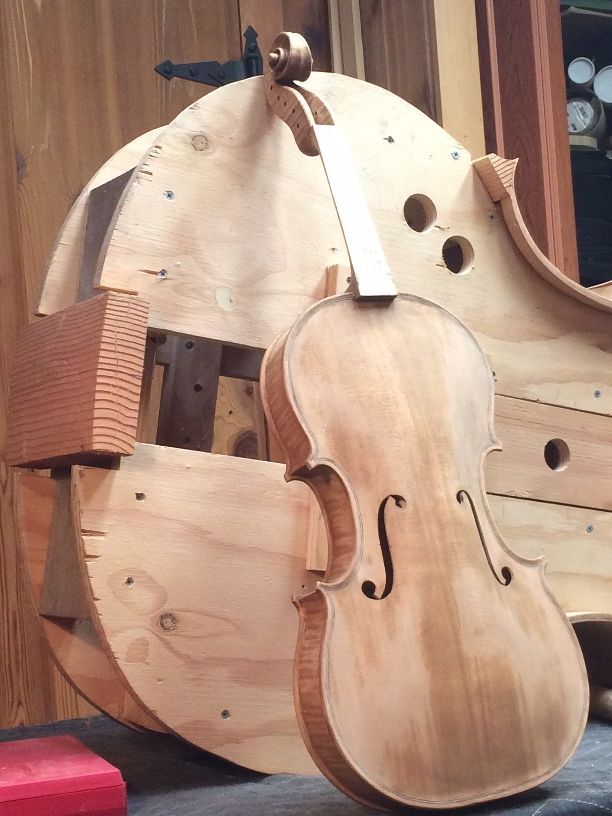
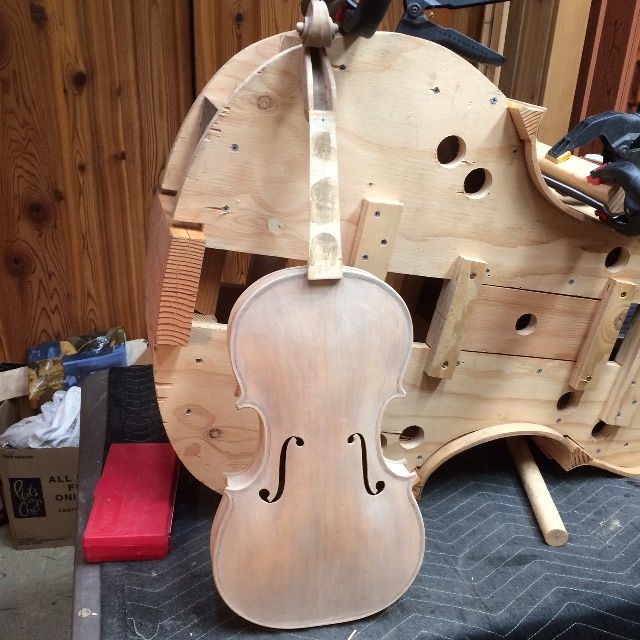
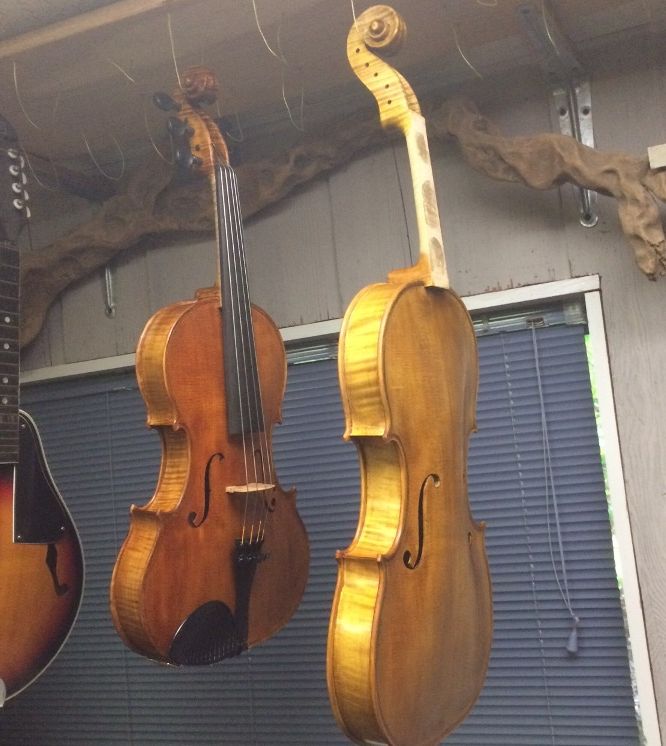
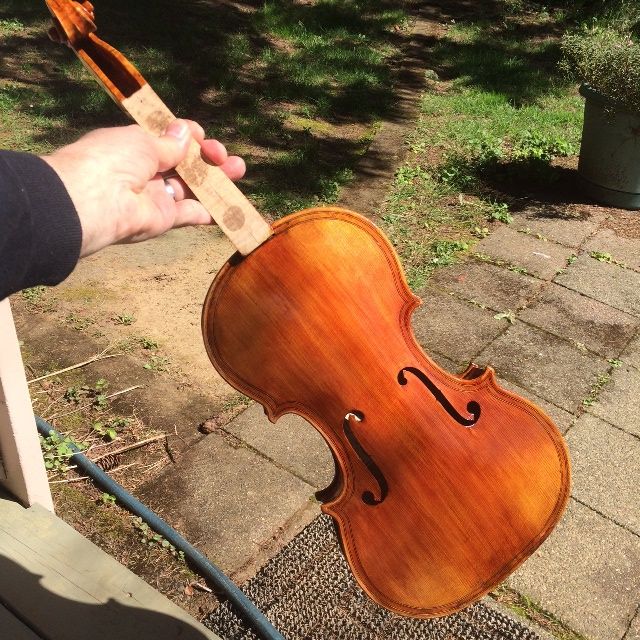
Tanned front of 16-1/2" 5-string viola
Tanned front side of the 16-1/2″ five-string Viola.


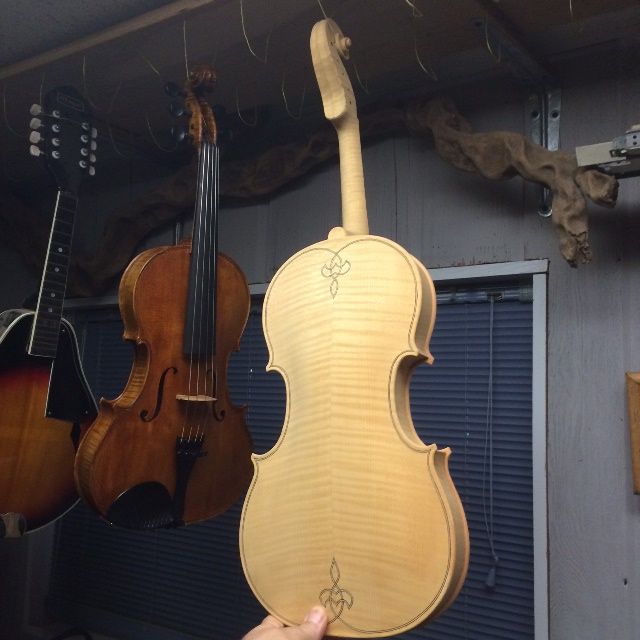
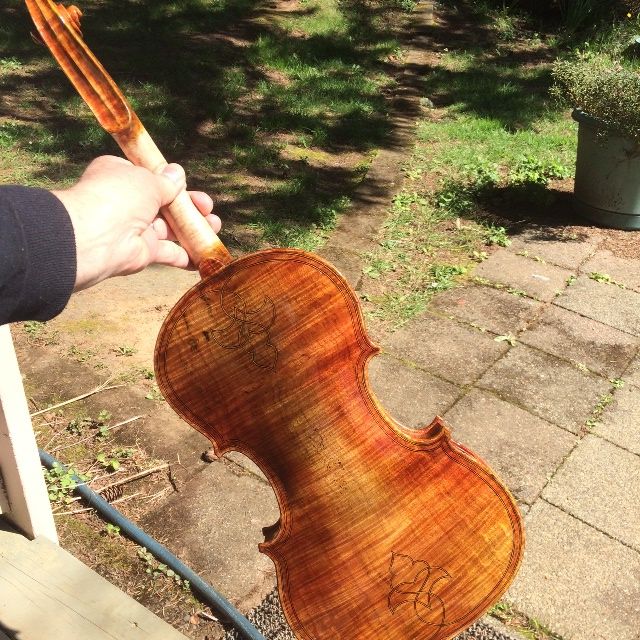
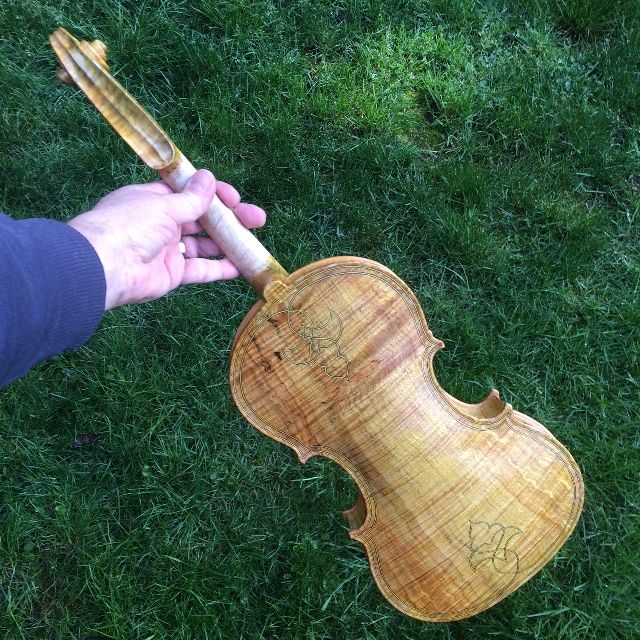
16-1/2" Five String Viola tanned back side.
Tanned back side of the same instrument.

Mineral Ground:

Years ago, an excellent luthier in Europe posted a detailed explanation of why and how he employs a mineral ground in his instruments, to improve projection. I tried it (because, “if it is good enough for Roger Hargraves…”) and immediately started getting better reviews on the sound of my instruments.

So…obviously, that became part of my process, as well. I use gypsum powder, suspended in coffee (gotta wake up the tone!) so as to achieve a little deeper color in the same move. I rub it in vigorously, trying to get the particles of gypsum to actually penetrate the pores of the wood, then rub off the excess with a rag, before it is fully dry.  When it is dry, it obscures the grain, and turns a chalky white color.

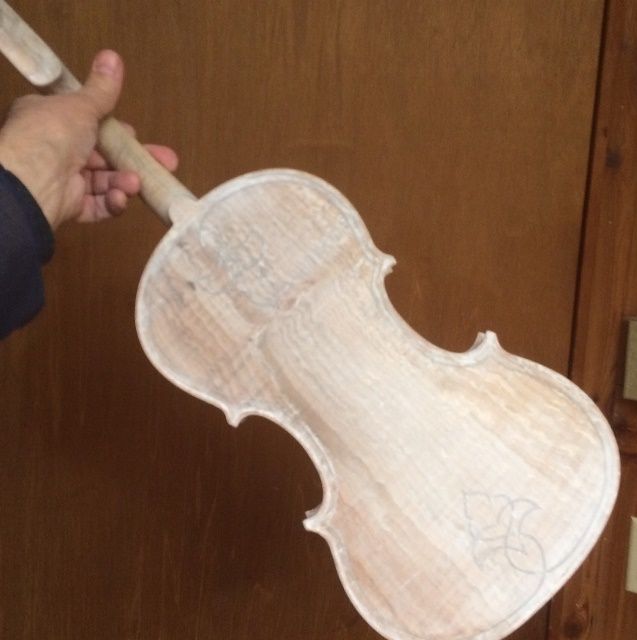
Mineral ground drying on 16-1/2" Five-String Viola.
Mineral ground drying on 16-1/2″ 5-string Viola. (5-string bass beginning in background.)


Mineral Ground is dry on the 16-1/2" Five-String Viola.
Mineral Ground is dry. I will sand off any excess mineral, and then apply the sealer.


Sealer

16-1/2" Five-String Viola with Sealer coat, front view.
Sealer coat, front view.


16-1/2" Five-String Viola with Sealer coat, back view.
Sealer coat, back view.


The sealer, in this case, is simply rosin, dissolved in turpentine and alcohol. The mixture soaks into the wood, causing the mineral ground to become transparent, then the solvents evaporate, leaving the rosin in the wood. The mineral ground will never again be visible.

Varnish Beginning

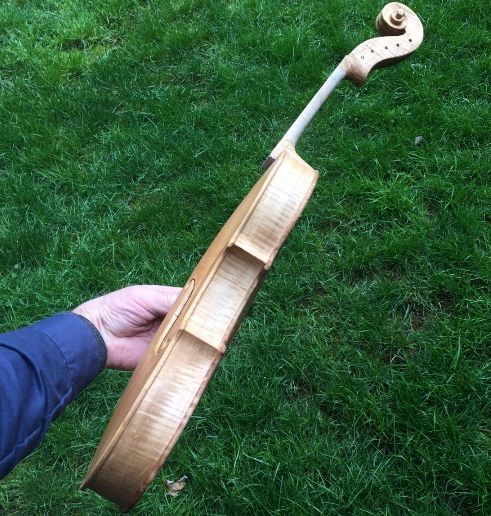
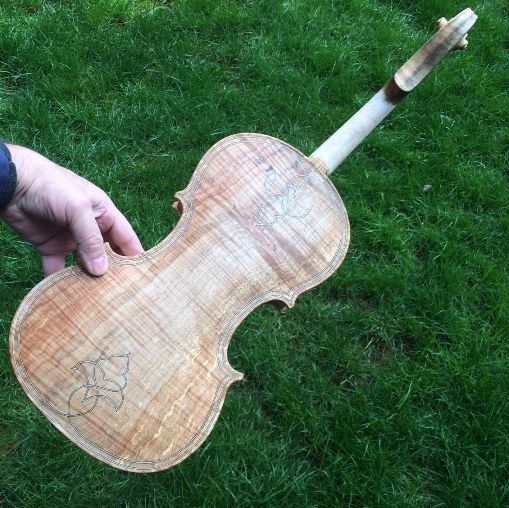
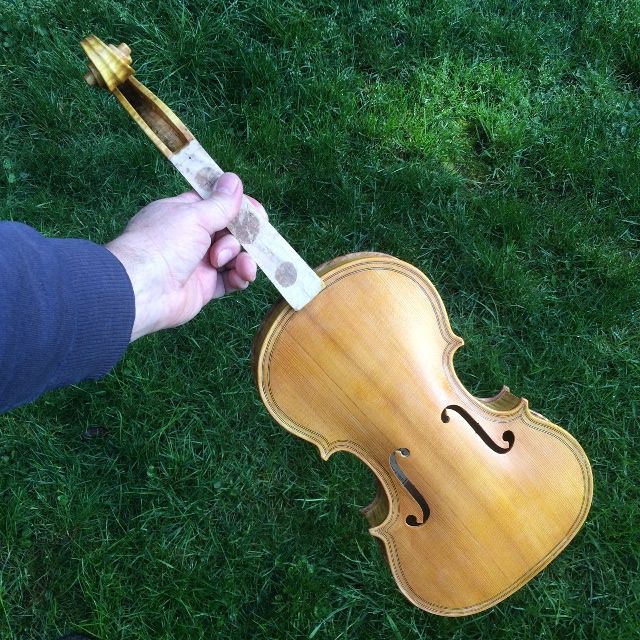
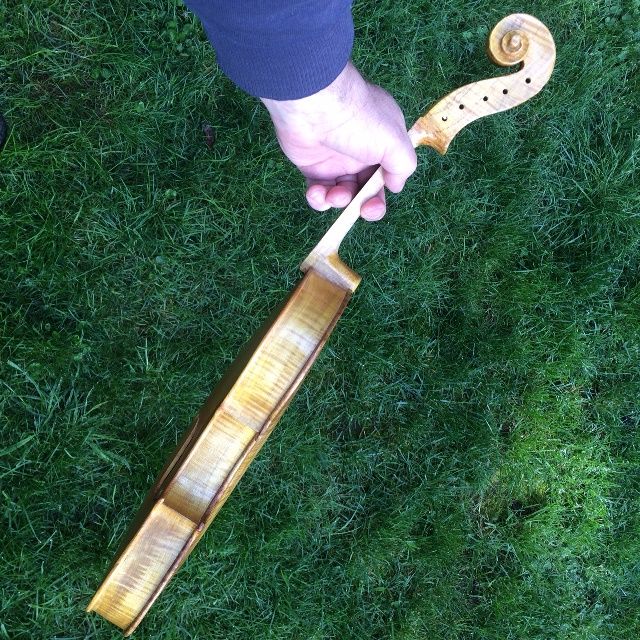
When the sealer is dry, I sand lightly, using 320 grit, to remove any lumps I may not have seen, and then I am ready to begin varnishing. I always begin with two base-coats of very yellow/gold varnish, so that the gold color will shine through the darker color coats.

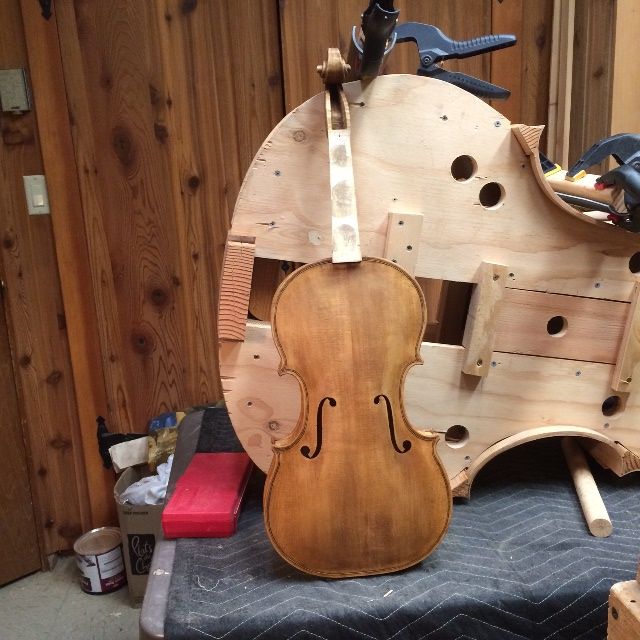
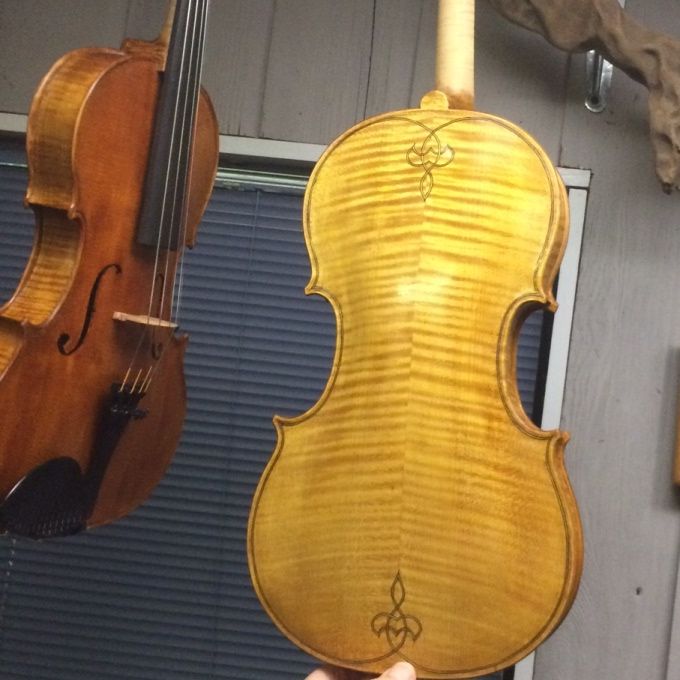
16-1/2" Five-String Viola with Two coats of yellow varnish, side and front view.
Two coats of yellow varnish, side and front view.


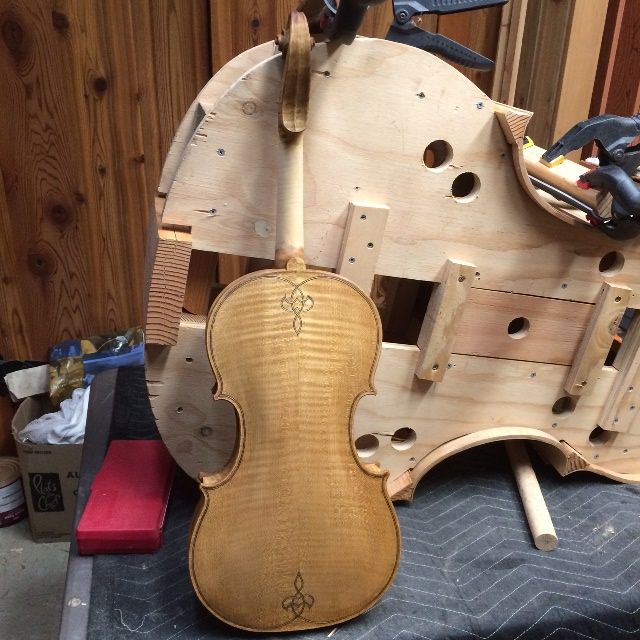
16-1/2" Five-String Viola with Two coats of yellow varnish, back view.
Two coats of yellow varnish, back view.

I like the way the European Maple and Spruce are shining through the varnish. I think they will sound great, too. Tapping on the corpus, it sounds as though it will have a big, deep voice.

I will follow the completion of the varnish process in a later post.


Thanks for looking.
 

15″ 5-String Viola Completed

Completion is a Relative Term

I would love to just say, “There! All Done!” but the fact is, I will always be able to see little things I wish I could change, and perhaps could not see until it was pretty much too late. That’s OK…it’s part of being a maker. I just have to know when it is time to say, “That’s as far as I am going!” and call it good.

Varnish

Last time, I shared how one of those decisions was how dark to make the varnish. I came to that decision about two coats past the last time I posted, so I allowed the varnish to harden for about a week, and then gave it a final once-over, and began the set-up procedures. Here is how it looked before I began set-up:

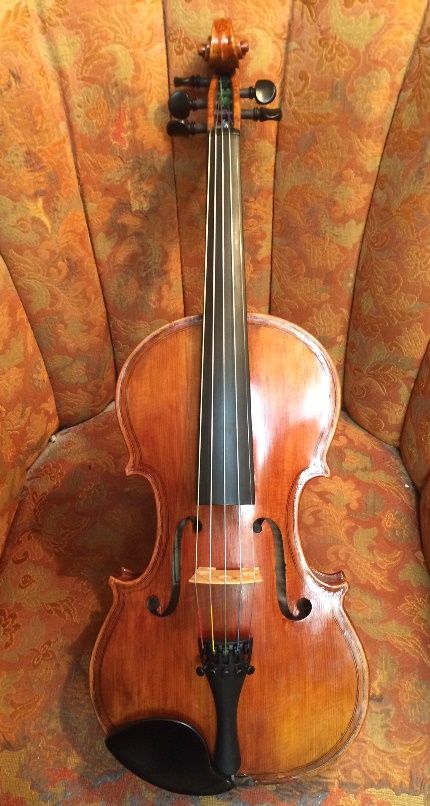
Five String Viola, Final varnish front view.
Final varnish front view.


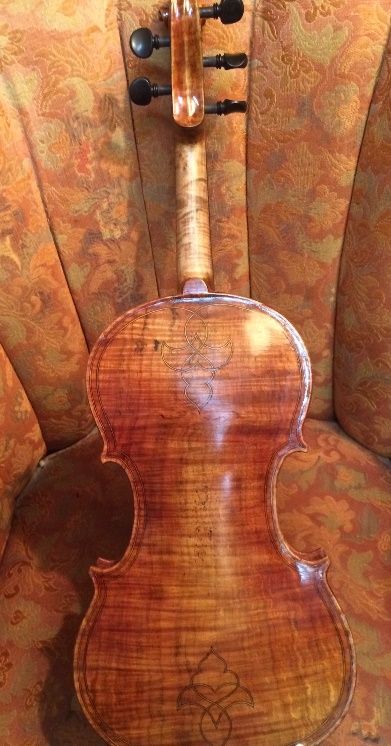
Five String Viola Final Varnish, Back View.
Final Varnish, Back View.


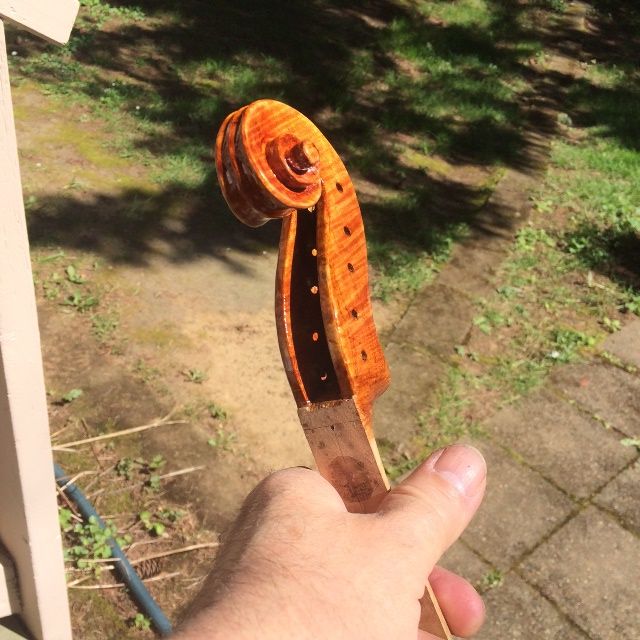
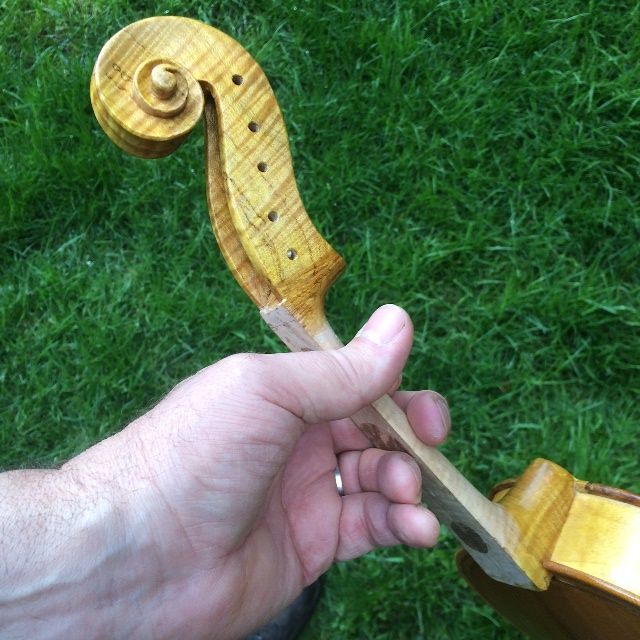
Five String Viola Final varnish, Scroll.
Final varnish, Scroll.


The varnish took several days to harden enough to work on set-up, and even when I thought it was ready, it still easily took fingerprints. 🙁   I guess I should have known. Anyhow, it means there will be some rubbing out to be done after set-up is complete, and the varnish is even harder.

Set-up

I did not take many photos during set-up. Set-up includes:

    • Re-installing the Fingerboard,
    • Installing the nut,
    • Installing the saddle,
    • Installing pegs,
    • Fitting the soundpost,
    • Fitting the bridge,
    • Installing the end-button,
    • Installing and adjusting the tailpiece and strings,
    • Installing the chinrest, and
    • Playing while adjusting for sound (balance, tone, etc.)

So, I had a fairly frustrating day, wherein it seemed nothing went right on the first try. It took me twice as long as it should have, but I got it done. I only took a few photos:

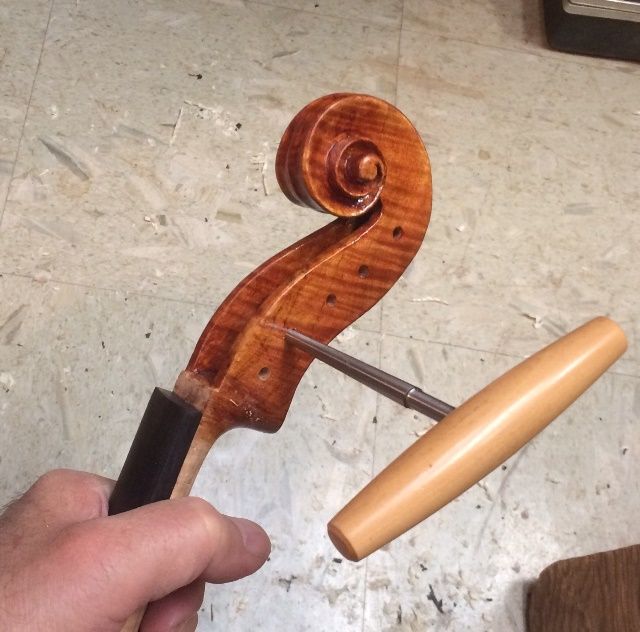
Beginning to ream peg holes on Five String Viola.
Fingerboard installed: Beginning to ream peg holes.


Pegs, nut, saddle, end-button and soundpost installed on Five String Viola. Working on the bridge.
Pegs, nut, saddle, end-button and soundpost installed. Still working on the bridge.


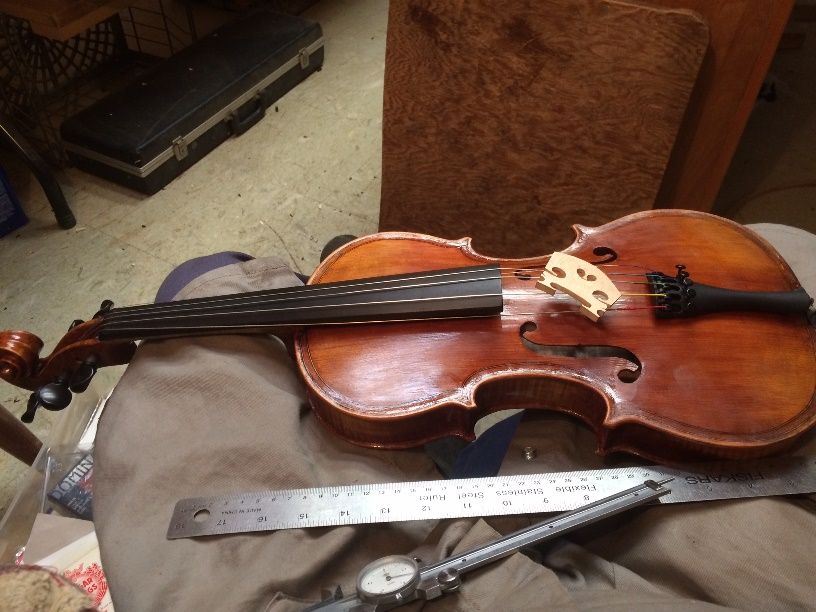
Almost done with set-up of Five String Viola: chinrest and final adjustments remaining.
Almost done with set-up: chinrest and final adjustments remaining.


Sound

The 5-string 15″ viola had good sound from the first moment, but, as usual, it required some sound-post adjustment to achieve balance across all five strings. A sharp-eyed viewer also may notice all the mismatched strings; Jargar C, heavy Dominant G, D and A, and a regular Dominant E. I was unable to find the string sets I had bought recently (found them later), so, for the moment I simply used what I had, and adjusted accordingly. And, surprisingly,  it sounded quite good.

It has a huge voice compared to my violin-size five-string fiddles, and except for the C, the balance is very good. I adjusted the soundpost to bring the C-string into line, and it is much better, now. I am anxious to try an actual “set” of strings on it, to see what I can achieve in terms of balance and over-all tone.

Anyway, here is what it looked like immediately after full set-up:

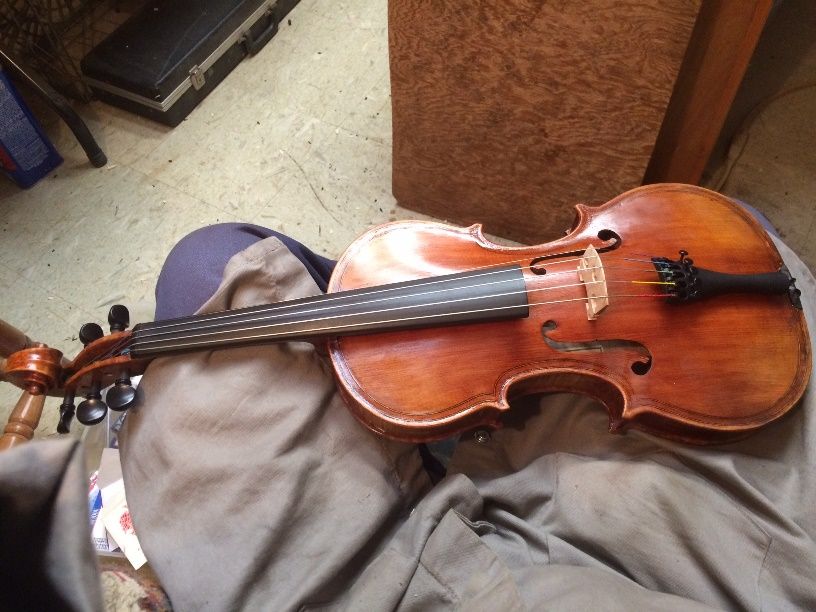
Front view of completed 5-string viola.
Front view of completed 15″ 5-string viola.


Back view of completed 15" Five String Viola
Back view of completed 15″ 5-string Viola.

It still will need a final rub-down, but for now, I am playing it and just letting it finish hardening.


Thanks for looking.
 

Five-string viola Varnishing Process

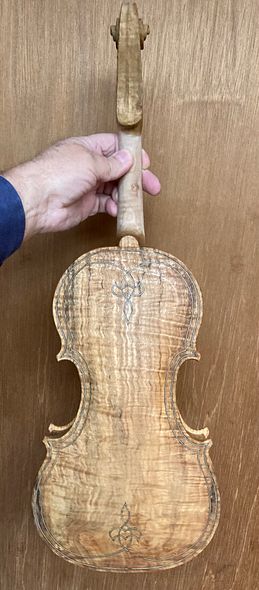
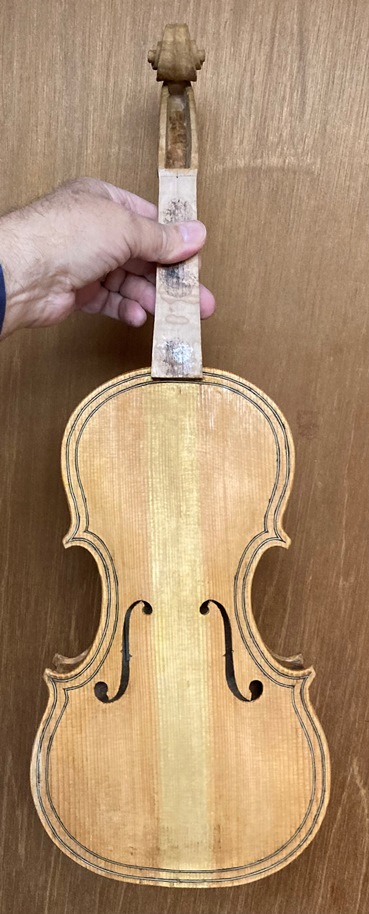
Varnish Procedure For a 15″ Five-String Viola

First things first: Mineral Ground

The raw wood is quite porous, and would soak up varnish like a sponge…which would dampen the viola sound. So we don’t want that to happen! The solution to the problem seems to be to fill the pores of the wood with very fine particles of mineral of some sort. I don’t particularly want something that would form a concretion, as some makers have done, because I think that also changes the sound, but in a different way.

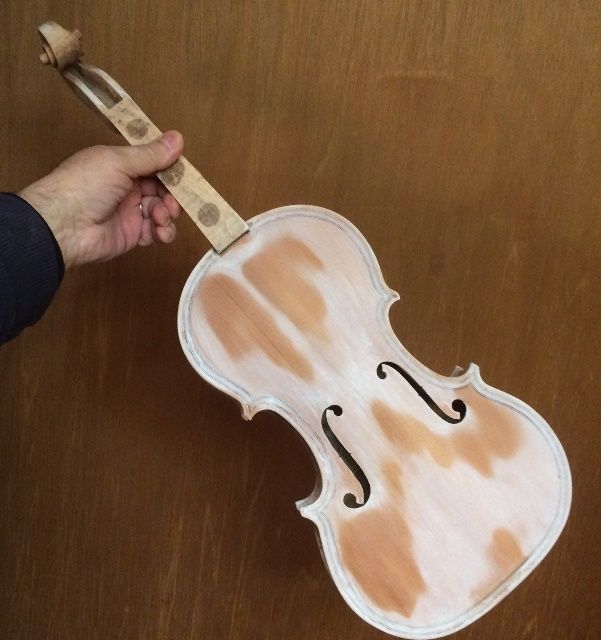
I used Gypsum, ground very fine in a mortar, then suspended in water, and daubed onto the surface; then vigorously rubbed into the pores. After rubbing the mineral into the entire surface (except the “handle” area of the neck) I used a damp cloth to rub all the excess gypsum back off. While it is wet, it just looks like wet wood, but as it dries, it turns chalk-white, assuring me that the surface is truly saturated with the particles.

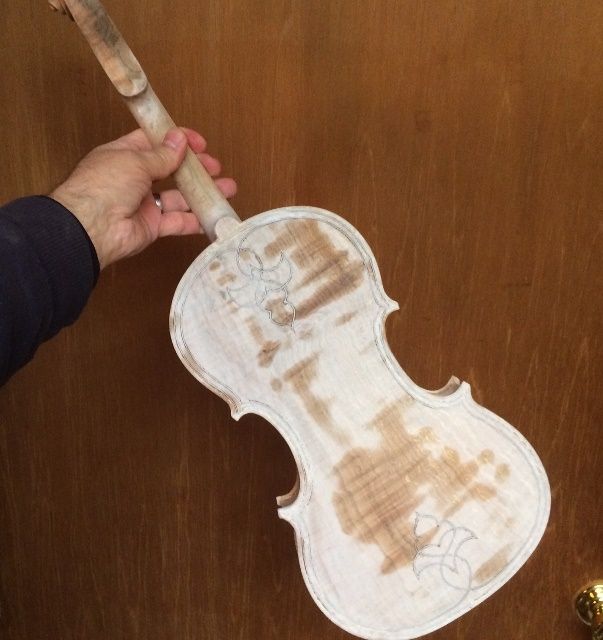
Partially dry mineral ground, front side of 15" Five-string viola.
Partially dry mineral ground, front side.


Partially dry mineral ground, back side of 15" Five-string viola.
Partially dry mineral ground, back side.


Then, after the gypsum suspension is completely dry, I use fine sandpaper to remove any excess mineral from the surface, so that there are no thick patches of mineral.

15" Five-string viola, with Dry Mineral ground, rubbed clean.
Dry Mineral ground, rubbed clean.


Locking the mineral ground in the wood: Sealer

As you can see in the above photograph, the mineral is still saturating the surface, and obscuring the grain. However, when I apply the sealer (in this case, a mixture of rosin, turpentine, and alcohol) the mineral ground will become completely transparent, and will permanently disappear. The varnish will then be free to show off the grain of the wood.

Front side of 15" Five-string viola, with sealer.
Front side with sealer.


Side-view of 15" Five-string viola, with sealer.
Side with sealer.


Back-view of 15" Five-string viola, with sealer.
Back with sealer.


Making it Shine: Beginning the varnish

It takes a while for the sealer to dry, because of the turpentine content, but as it dries, the alcohol evaporates first, then the turpentine, leaving the rosin in the wood (which is where rosin comes from in the first place, of course) locking the gypsum particles in place. and further sealing the wood against saturation with varnish.

Before proceeding to the varnish, I carefully sanded all over, to clean up any spots that still felt rough or sticky, then wiped the entire instrument down with alcohol to remove any rosin residue from the surface.

Then I applied a first coat of yellow varnish, as I have noticed that many of the old instruments seem to have something yellow under the darker red or brown varnish. You can especially see it in the areas where the colored varnish has worn thin, or is completely gone. (Not all of them have this color, but I like it, so that is what I have chosen to do.)

So, here is the base coat of yellow varnish:

Base coat of yellow varnish on front side of 15" Five-string viola.
Base coat of yellow varnish on front side.


Base coat of yellow varnish on the side-view of the 15" Five-string viola.
Base coat of yellow varnish on the side.


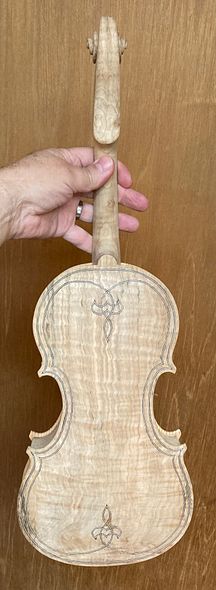
Base coat of yellow varnish on the back side-view of the 15" Five-string viola.
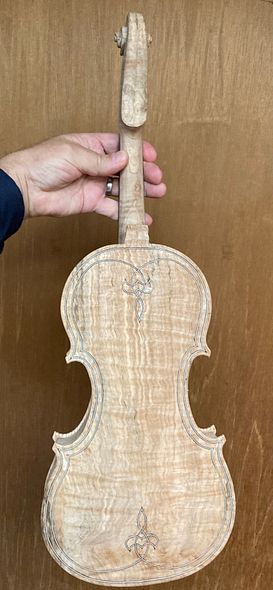
Base coat of yellow varnish on the back side. The grain of the spalted maple is showing better, again.


Base coat of yellow varnish on scroll and neck heel of the 15" Five-string viola.
Base coat of yellow varnish on scroll and neck heel.


I do not apply varnish to the “handle” portion of the neck until everything else is completely done. After everything else is done, including set-up, I will rub down the handle area with 400-grit abrasive one last time, and then put about a dime-sized dot of shellac on a rag, on the end of my finger, and vigorously rub it into the wood of the handle area, until it is completely dry. This somewhat seals the wood against sweat and dirt, without leaving a heavy, “slick” coating that would cause drag on a player’s hand.

The rest of the varnish coats will be building color toward the final look of the instrument. I will include them in another post.


Thanks for looking.