
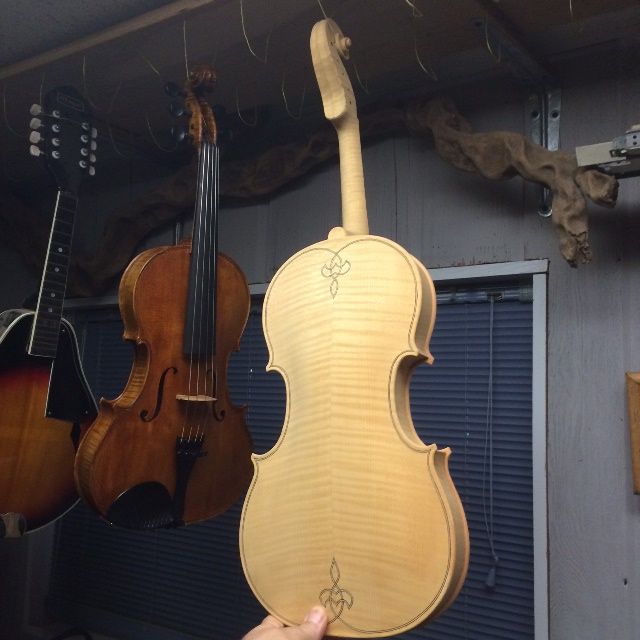
Varnishing Process for the 16-1/2″ five-string Viola:
All Smoothing and Varnish-prep is done:
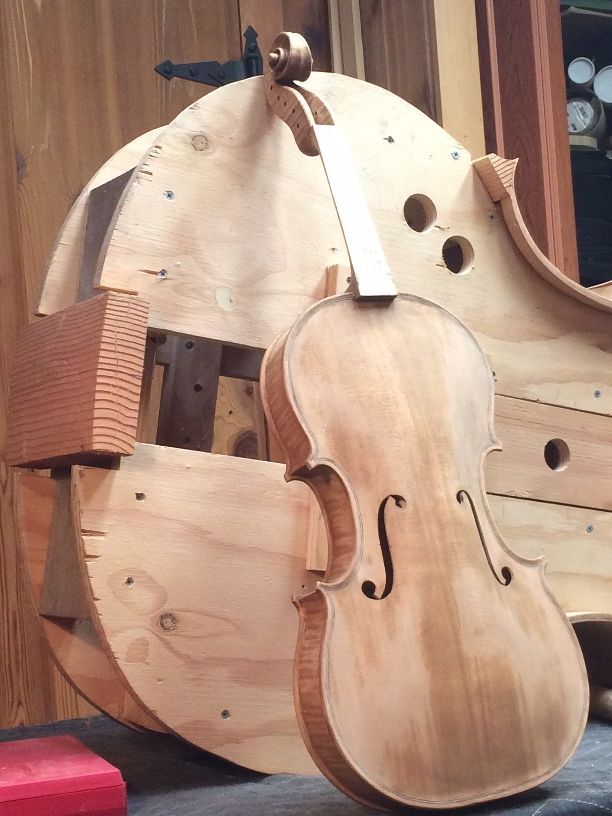
When I last posted, the final woodwork had been completed. I had twice wetted down the wood, to raise the grain, and scraped and sanded away the rough raised grain. The wood was stable enough to commence the tanning process.
After the wood is smooth, there will be:
- a tanning treatment,
- a mineral ground treatment,
- a sealer, to lock the mineral ground in place, and
- finally, the varnish itself in a series of 6-12 coats, depending on color.
Tanning the Wood
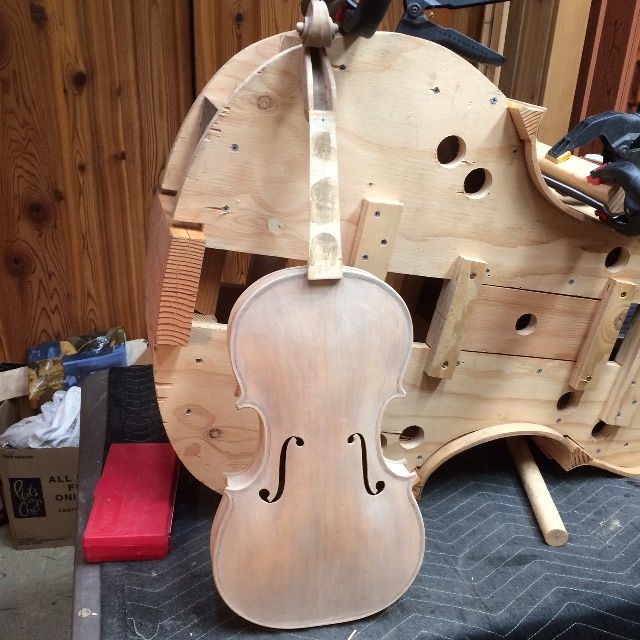
People who live in very sunny regions (New Mexico, for instance) need no light booth: they simply hang their instrument out in the sun for a few hours and it takes on a deep yellow-tan color. I live in Oregon. Western Oregon, between Portland and the coast. We are more likely to achieve a patina of bird-droppings than a sun-tan, if we hang instruments outdoors. (Sigh…)
So, a number of years ago, I bought an old cabinet, about seven feet tall, lined it with aluminum foil as a reflector, wired it with a strong UV source (two 48″ fluorescent UV tubes in a shop-light fixture), and I hang my instruments in it overnight. To heighten the effect, I brush on a coat of very diluted Sodium nitrite and let it dry before I expose it to the UV. This works pretty well, and I have pretty much adopted it as a normal pre-varnish treatment.

Mineral Ground:
Years ago, an excellent luthier in Europe posted a detailed explanation of why and how he employs a mineral ground in his instruments, to improve projection. I tried it (because, “if it is good enough for Roger Hargraves…”) and immediately started getting better reviews on the sound of my instruments.
So…obviously, that became part of my process, as well. I use gypsum powder, suspended in coffee (gotta wake up the tone!) so as to achieve a little deeper color in the same move. I rub it in vigorously, trying to get the particles of gypsum to actually penetrate the pores of the wood, then rub off the excess with a rag, before it is fully dry. When it is dry, it obscures the grain, and turns a chalky white color.
Sealer
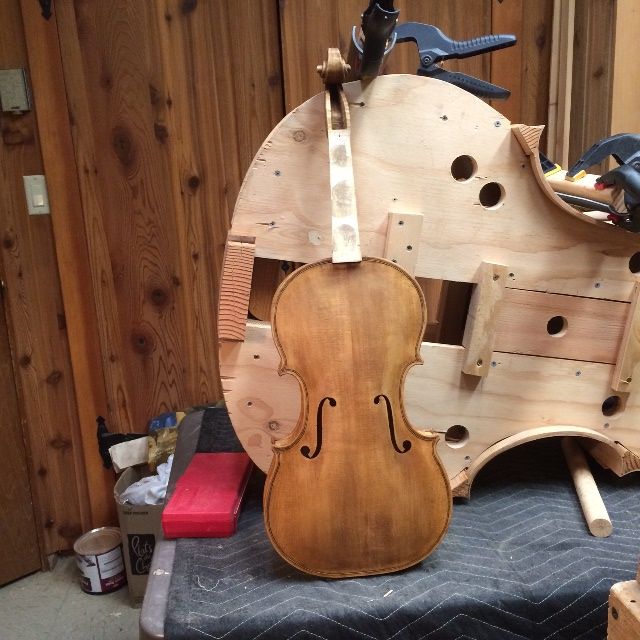

The sealer, in this case, is simply rosin, dissolved in turpentine and alcohol. The mixture soaks into the wood, causing the mineral ground to become transparent, then the solvents evaporate, leaving the rosin in the wood. The mineral ground will never again be visible.
Varnish Beginning
When the sealer is dry, I sand lightly, using 320 grit, to remove any lumps I may not have seen, and then I am ready to begin varnishing. I always begin with two base-coats of very yellow/gold varnish, so that the gold color will shine through the darker color coats.
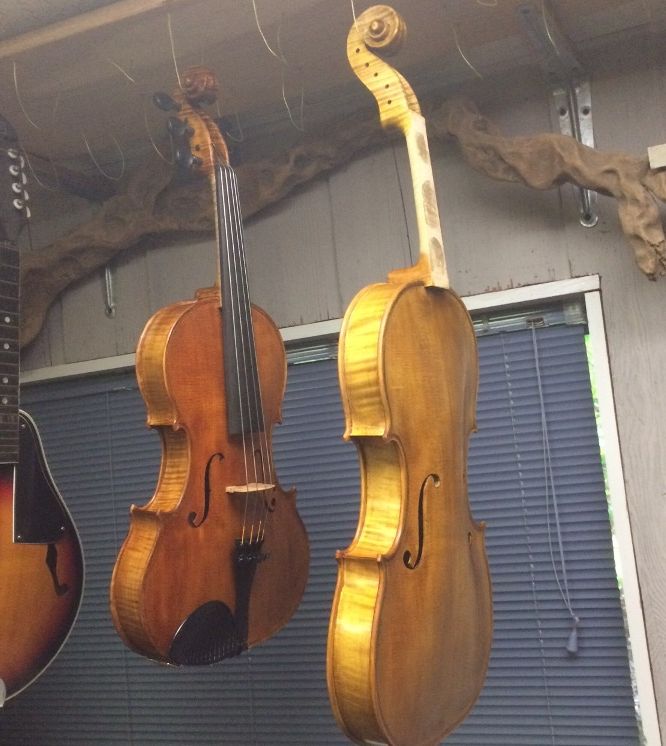
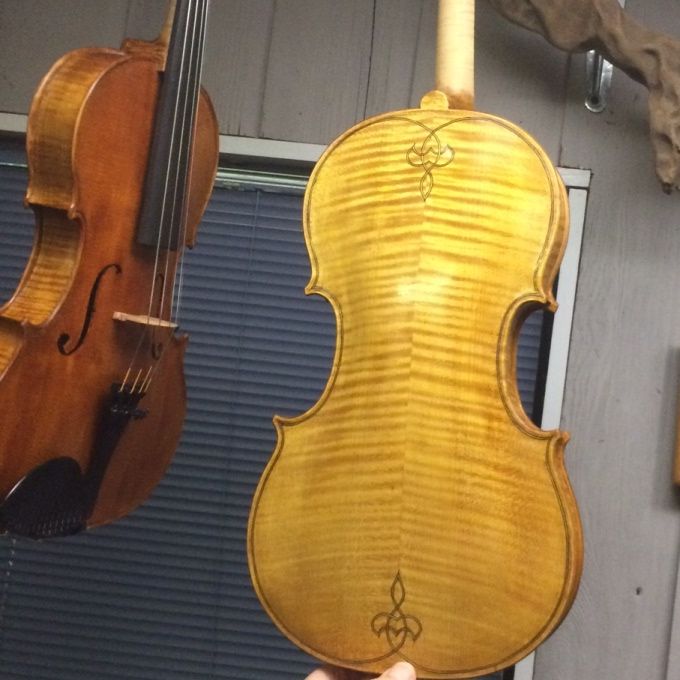
I like the way the European Maple and Spruce are shining through the varnish. I think they will sound great, too. Tapping on the corpus, it sounds as though it will have a big, deep voice.
I will follow the completion of the varnish process in a later post.
Thanks for looking.