Last “woodwork” tasks on the 16-1/2″ five-string Viola:
Last time, we finished up with the neck set, and the corpus closed, but all the edgework (and final shaping of the neck heel, etc.) left to be done.
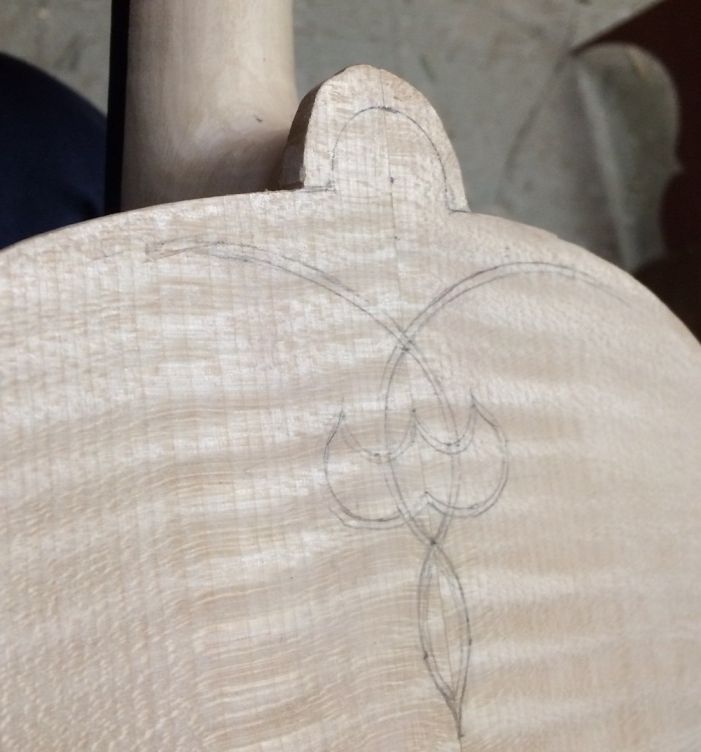
Carving the heel/button combination
The neck heel and the back button, together, make up the majority of the strength of the neck-joint. I once had a cello come in for repair, fully up to tension, but “something was loose.” Yeah, the ONLY glue still holding in the neck-joint was the glue between the neck heel and back button! I removed the neck, cleaned out the old glue, and re-glued the entire joint: but I never forgot that the heel/button connection alone had held the entire load of the string tension! So I make certain that this joint is perfect, and the two are carved as one piece after gluing.
There is also a specific measurement from the center of the neck-heel curve to the top edge of each side of the front plate where it joins the back: in violas, I shoot for exactly 27mm.
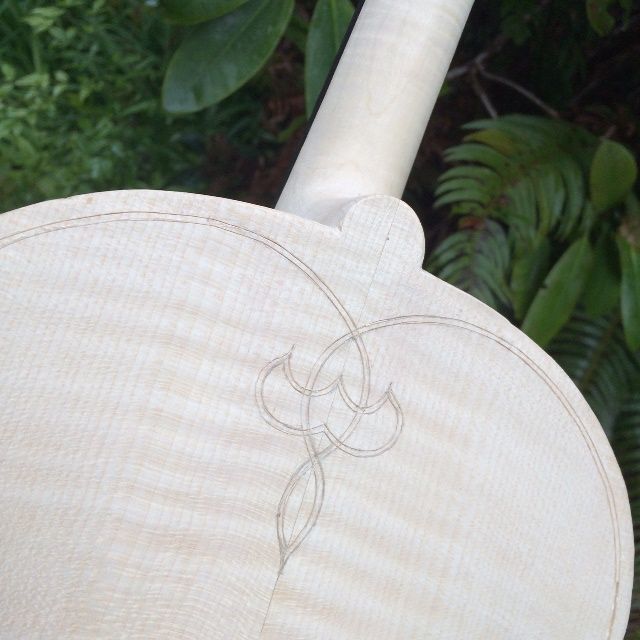
Purfling
I used to struggle with cutting the purfling slot (I still do, but for different reasons) because I was trying to cut the full depth in a single pass, or maybe two. One of my teachers corrected me, saying that the first pass around, with the knife, is just to “darken the lines” left by the marker. Then it is relatively easy for the blade to follow the groove for subsequent fast passes, each making the slice a little deeper. Finally, I use a special tool to pick out the waste wood from between the lines.
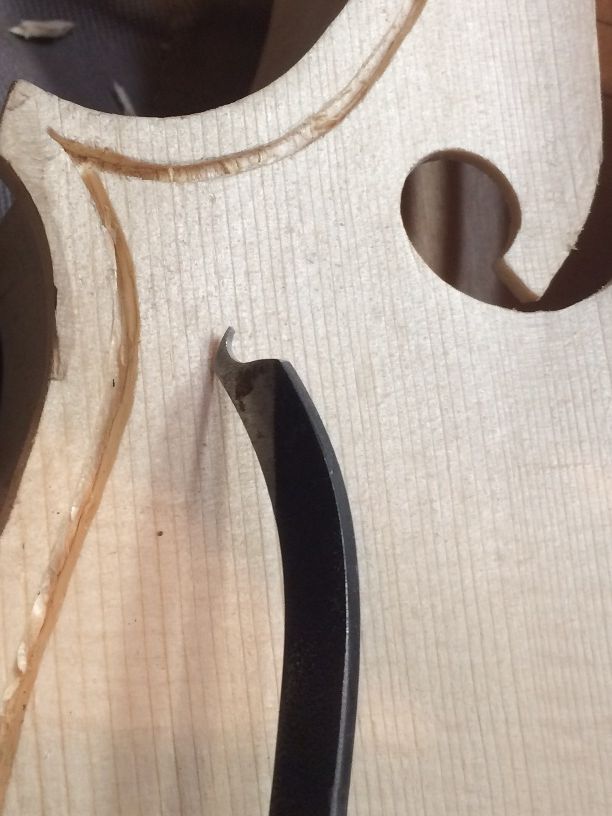
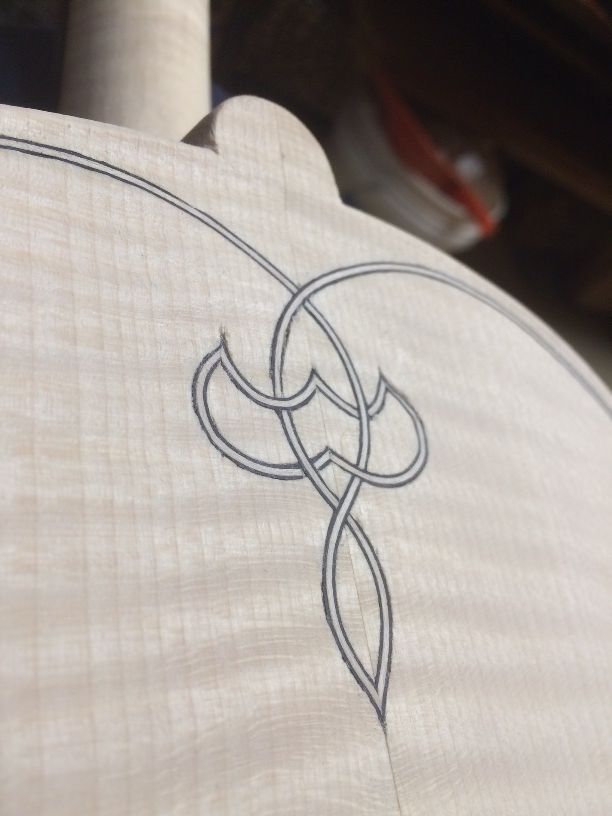
One problem I faced with the back plate that I had not noticed so much, on the front plate, even though it had the same issue: This purfling is a little wider than what I usually use, so, in spite of the fact that I marked out the correct width, my pick tools (all of them) are made for the narrower purfling, and they do not readily make the slot the correct width. That meant a lot of going back and widening things just a little bit (0.5 mm, usually.) The European spruce of the front plate is soft, and quite forgiving. The harder European maple back plate does not give at all, so if the slot is too narrow, the strip is not going in, at all.
Another issue is that the purfling weave is on top of a fairly thin portion of the back plate, so I could not cut my slots as deeply as I wanted to. Thus, there was very little wood-support for the purfling, and the pieces were difficult to fit, whereas, around the perimeter, I could cut a slot for the full depth of the purfling strips and achieve full support. Ah, well…that’s life. But there were some joints I am not so happy with.
Anyway, this is how the purfling went:
.JPG)
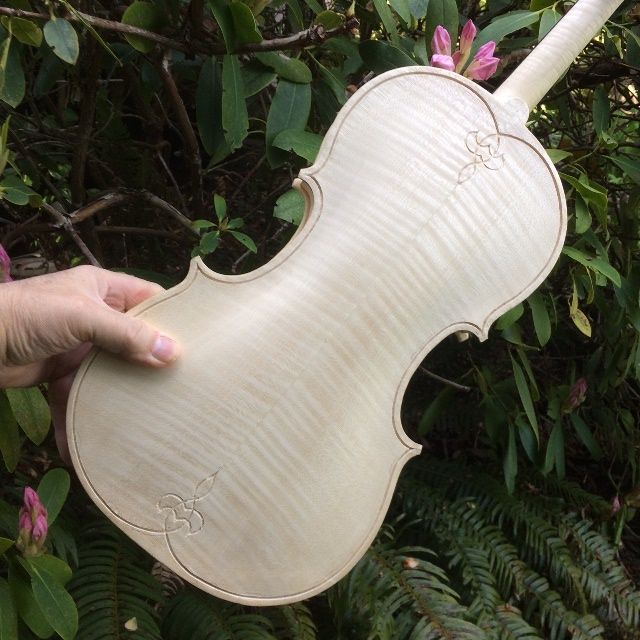
Installing the purfling
As I did on the front plate, I installed the center-bout strips first, dry, and then the rest of the perimeter. I glued the perimeter in completely, before beginning the purfling weaves, themselves.
In the case of the purfling weaves, since the slots were so shallow, I glued each piece as I installed it, then worked on the other end of the instrument while the glue from that piece set up and began to hold.
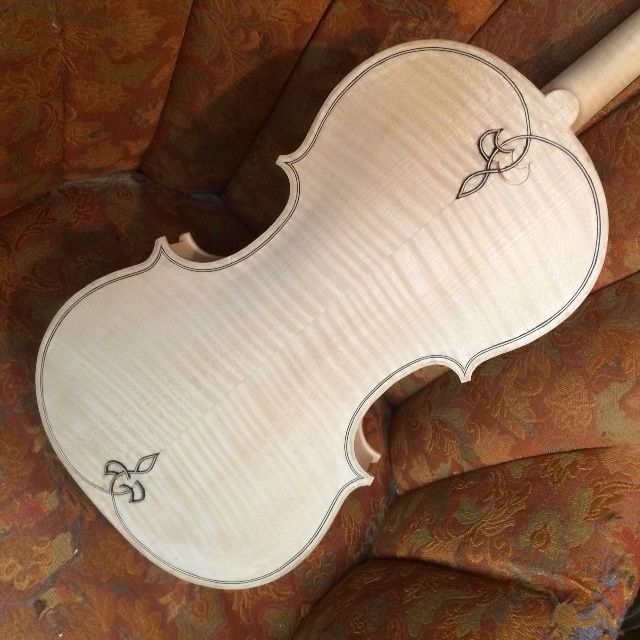
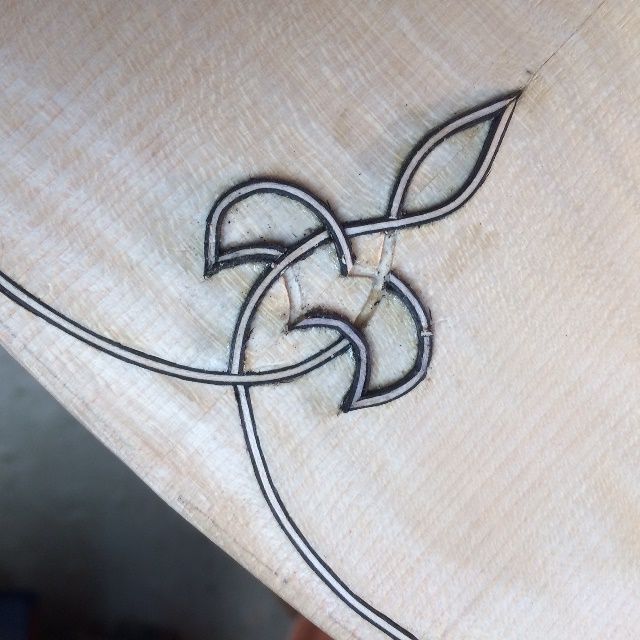
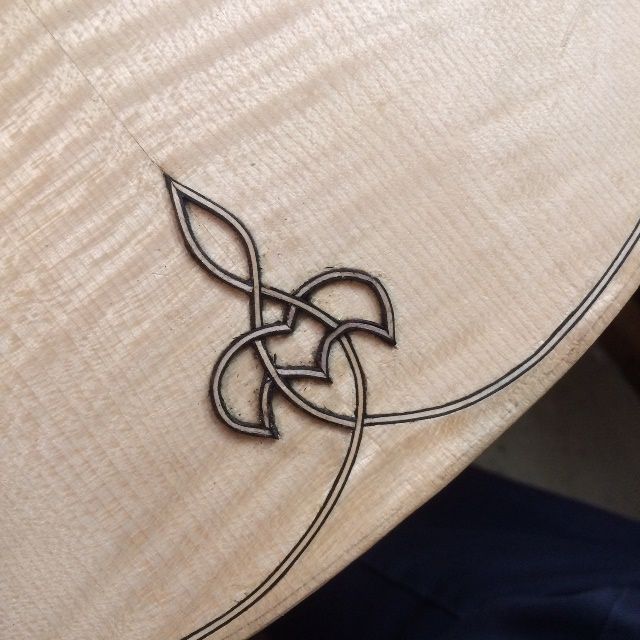
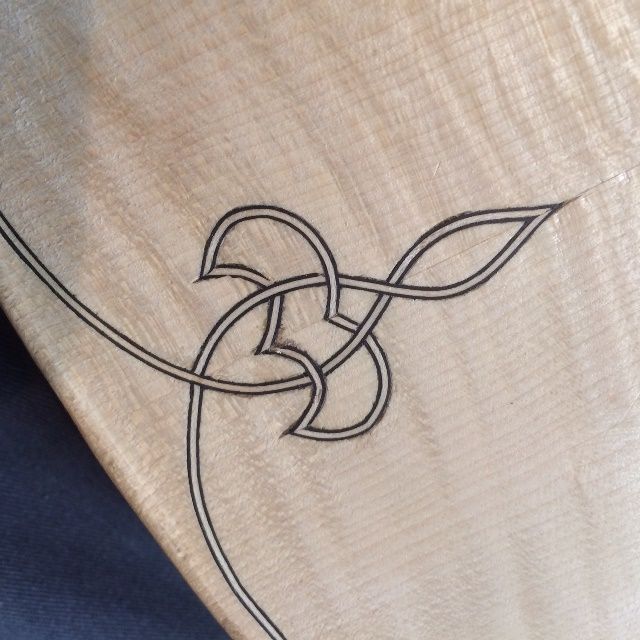
The Channel
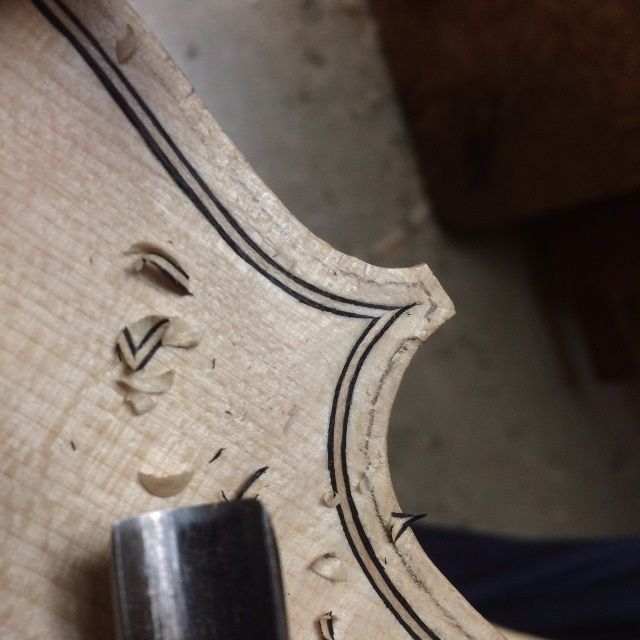
Once the purfling is all in place, and planed flush, it is time to carve the “channel.” This is a slight “ditch” that runs all the way around the perimeter: the bottom of the “ditch” is usually at the purfling, while the outer edge of the ditch ends exactly at a line called the “crest,” which is about 40% of the distance in, from the outer edge of the plate to the outer edge of the purfling. The inner edge of the “ditch” will be planed and scraped back to “fair” into the surface of the arching, without any lumps or hollows.
Edgework
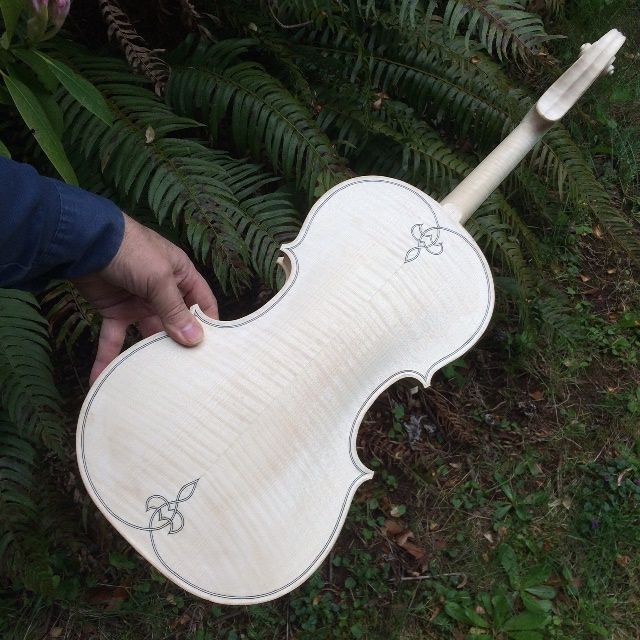
Finally, after all the surface of the plate is correct, I plane, scrape and sand the edges themselves, so that the outer curve of the plate edge perfectly meets the inner curve of the channel, all the way around the plate.
In this case, I did not take the picture until after I had completed the next step, which was to wet the whole structure down with water, in order to deliberately raise the grain, so that any imperfections, or compressed areas, will rise up and be seen…and subsequently, be scraped and sanded flush again. All this to say, please understand the “rough” surface of all the wood.
.JPG)
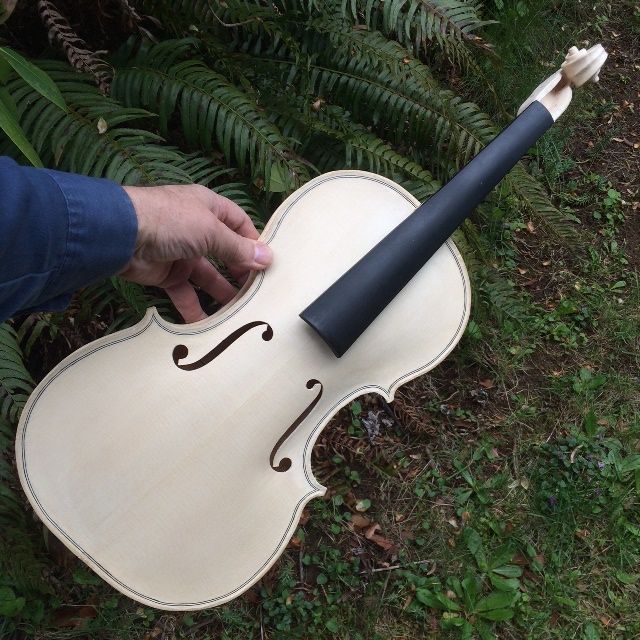
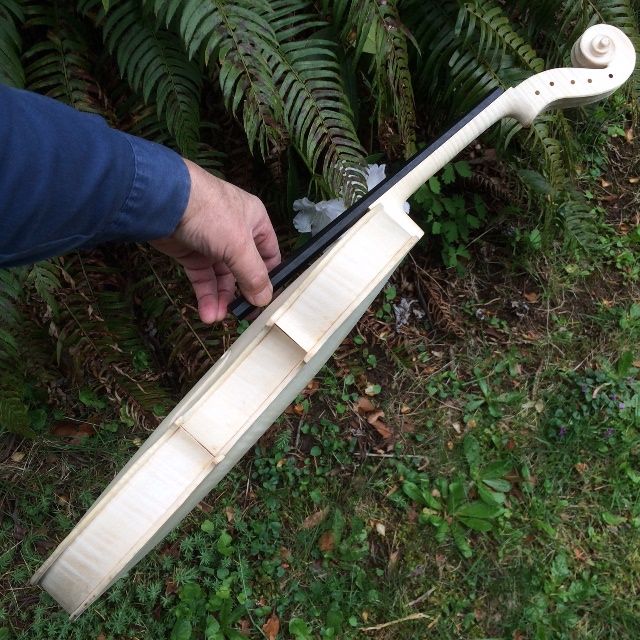
So…that means the whole instrument is now complete, minus the varnish prep-work, and the actual varnish and set-up!
Varnish Sequence
I will post the varnish sequence as it occurs, but, for now, know that the sequence will include at least two “wet-it-down, let-it-dry, and scrape/sand-it-smooth” iterations. The idea is to produce a surface that will no longer respond to moisture by raising the grain. This is particularly important on the handle portion of the neck, where the moisture from players’ hands will certainly be in contact with the wood, every time the instrument is played. But, under the varnish, the slightest discontinuity will become glaringly obvious, so that is important as well.
After the wood is smooth, there will be:
- a tanning treatment,
- a mineral ground treatment,
- a sealer, to lock the mineral ground in place, and
- finally, the varnish itself in a series of 6-12 coats, depending on color.
Enough for today.
Thanks for looking.
