Almost done with the Wood Work parts on the 16-1/2″ five-string Viola!
Completing Arching of the back plate.
When I last posted, I was nearly done arching the back plate, and nearly done shaping the neck:
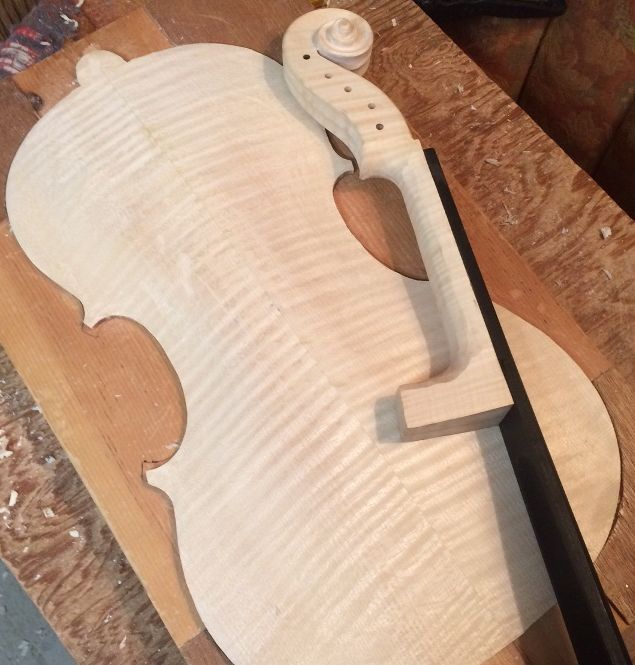
Setting the neck
I forgot to take photos during this process: sorry. I get wrapped up in the work and forget all about taking photos.
Setting a neck follows this course of action:
- Prepare the neck heel– angles and dimensions all correct. Heel absolutely flat, all mating surfaces absolutely smooth.
- Lay out and cut out the mortise in the neck block on the corpus. I try to give myself some room for adjustment. It is always a mistake to try to cut exactly to the layout lines in the first attempt.
- Check all measurements with every single change:
- how does the centerline of the neck fit, relative to the centerline of the corpus?
- how does the transverse level of the neck match the level of the corpus?
- how does the pitch (front-to-back) angle compare to what is correct?
- how does the distance between the nut line and the top edge of the front plate compare with the correct distance?
- how does the height of the lower edge of the fingerboard above the edge of the front plate match the correct height?
- When the final fit is perfect, checking ALL measurements, remove the neck and slather in the hot hide glue, and immediately ram the neck into place one last time, making a fast re-check of all measurements, to make sure nothing moved out of place.
- Let it dry!
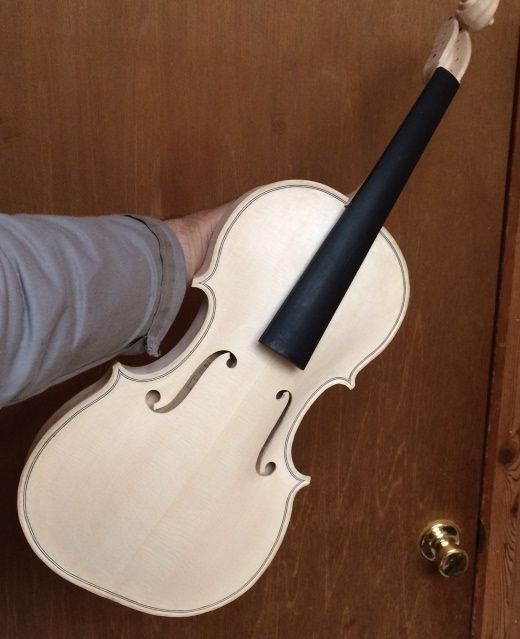
You will notice that I set my neck before closing the corpus. I find it easier and faster, and it allows me to achieve a perfect fit against the back button.
Graduating the Back Plate
The next step was to carve out the interior of the back plate, to achieve ideal thicknesses all over. This is called “Graduating the plate” or, simply “Graduation.”
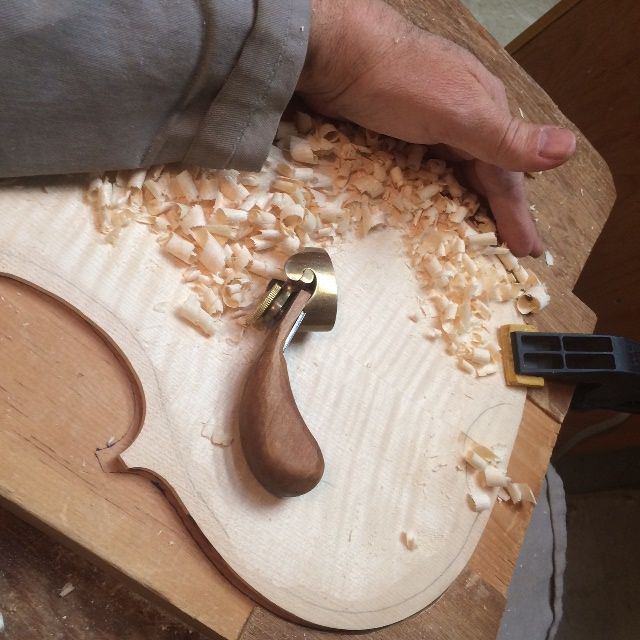
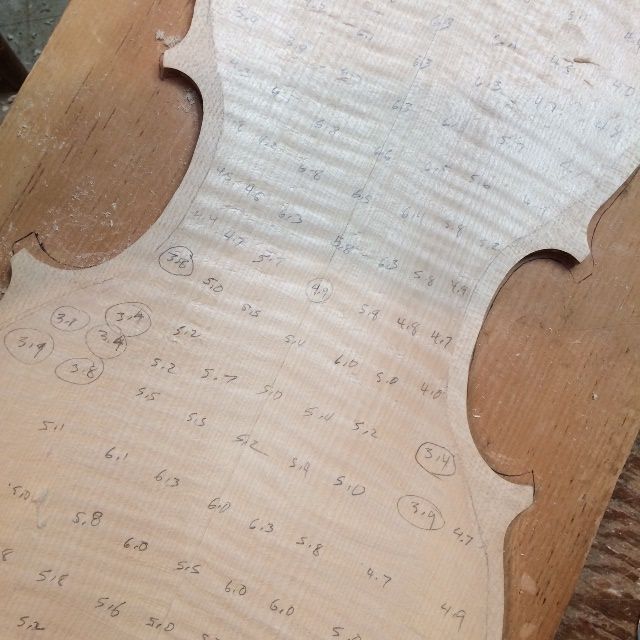
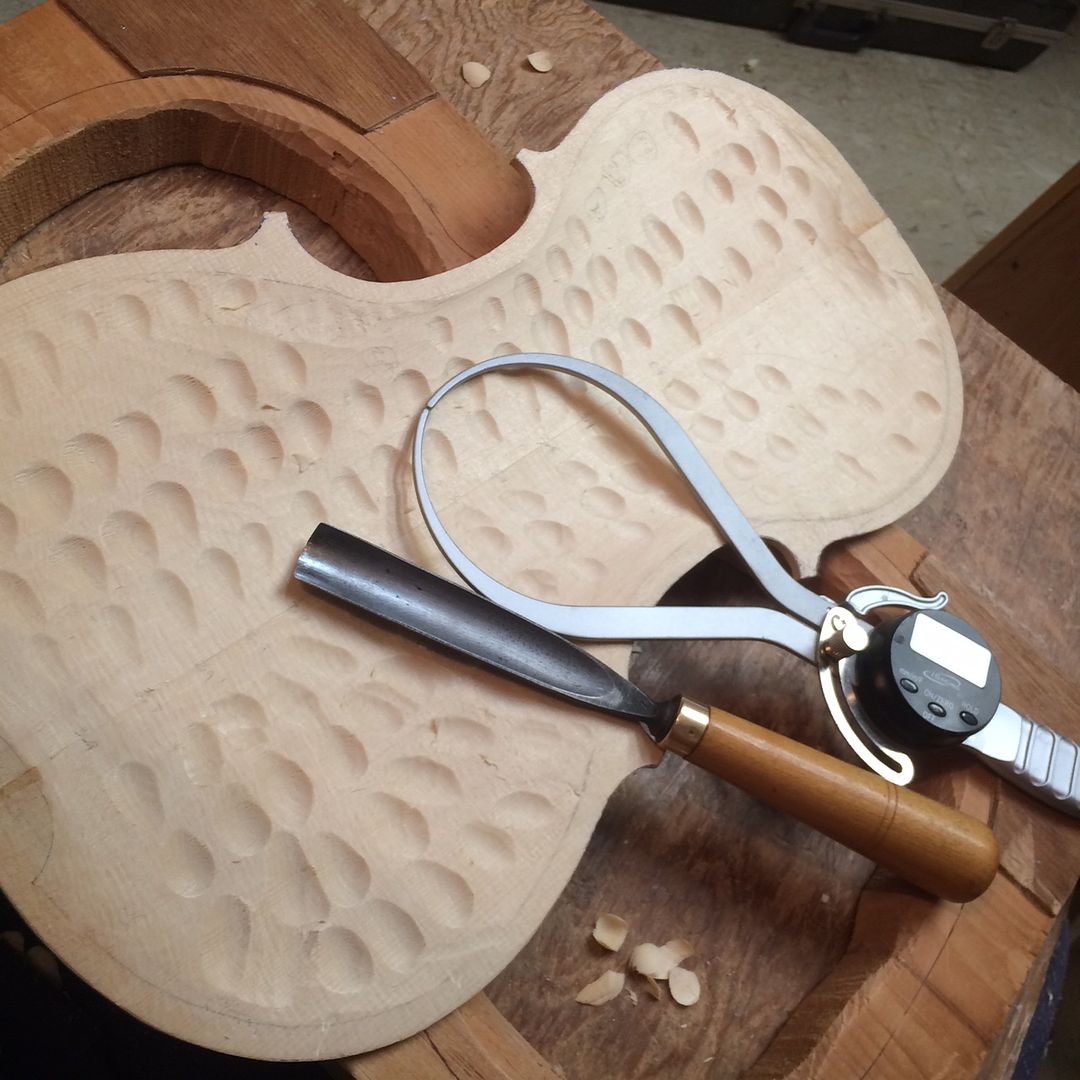
After I established the current thicknesses for all the above locations, I carved each dot to the thickness I actually desired, leaving a series of pits all over. The following photo was actually of the front plate, but it is the same idea:
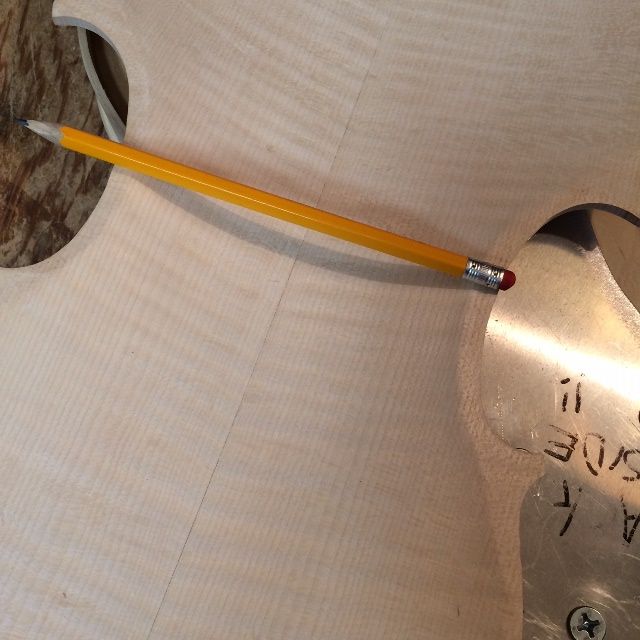
After connecting the dots, the graduation is very nearly complete. I scraped, and checked thicknesses, and scraped some more, until it looked like this:
Preparing to close the Corpus
With the back plate graduation complete, I was ready to attach the plate to the corpus, except that:
- the corpus was still attached to the mold, and
- the blocks and linings had yet to be shaped.
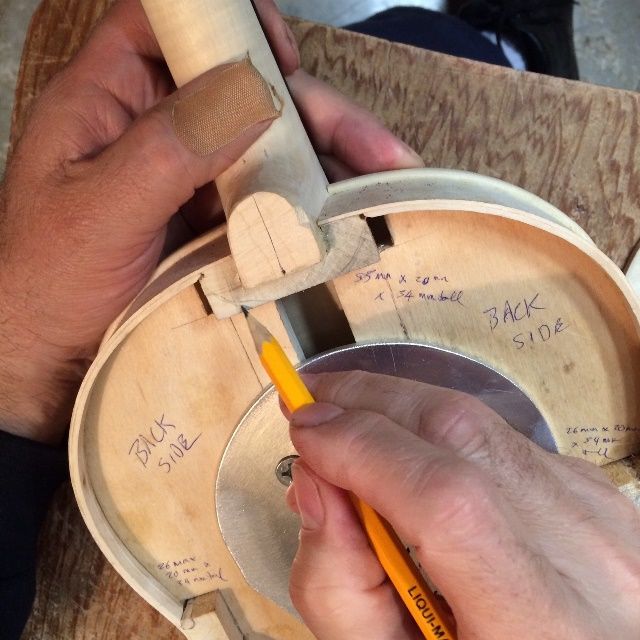
So I sketched in the planned shapes of the six blocks, trimmed the neck-heel flush, removed the mold, and then set about shaping the inside of the blocks and linings.
I used a knife and a chisel and a gouge to shape all of them, finishing with a scraper. The very first step was to sketch in the block shapes.
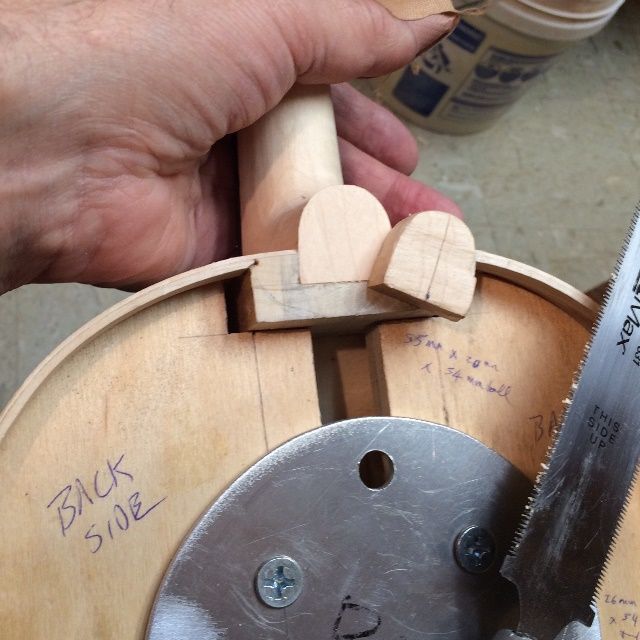
Then I cut the neck-heel off, flush with the neck block. I used a flush-cut saw for this step. It works well, but you have to watch carefully to make sure it is not wandering off the line.
Removing the Mold
Then I leveled the back of the garland, using a sanding board, and I was pretty much ready to remove the mold. I popped the glue-lines loose from where the blocks were attached to the mold and lifted the mold out. It is a collapsible mold, so I removed the bolts and took the mold out in three pieces. That left me with a completed corpus, and a neck already set, but no mold. At this point the structure is extremely fragile: I have to be very careful until the back plate is glued on, making the structure rigid and strong again.
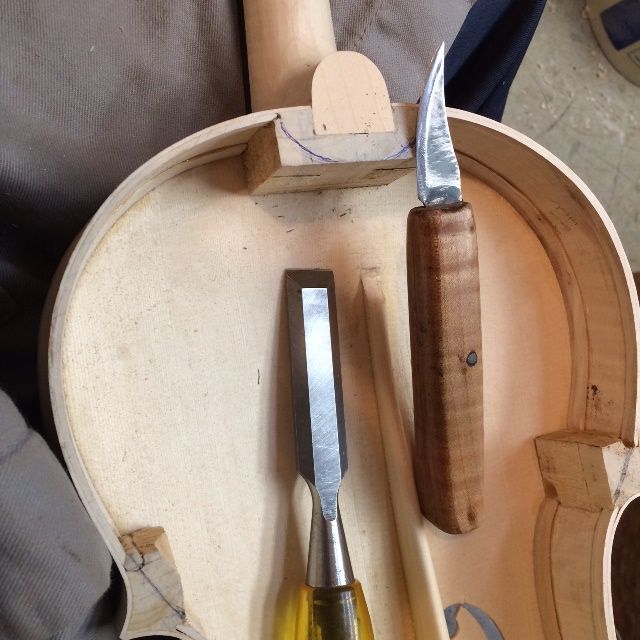
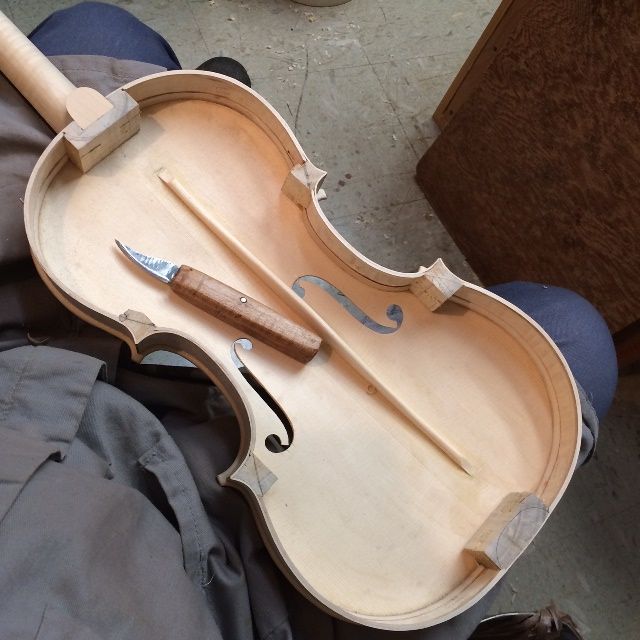
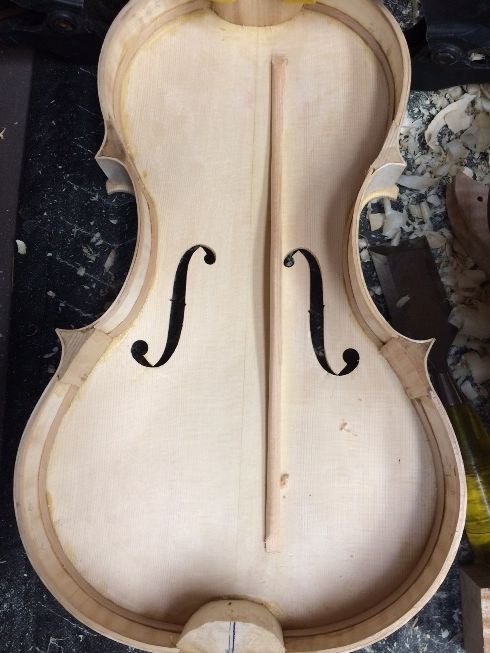
The next photo is from an earlier instrument, because I forgot to take a picture of the shaped blocks in this instrument:
Closing the Corpus
Then I installed the label, and dry-clamped the back plate to the corpus, using spool-clamps, checking carefully to see that my position was correct, and that the overhang was equal all the way around.
I then removed a few clamps at a time, and slipped hot hide glue into the joint, using a thin palette knife, and quickly replaced the clamps. When I had spool-clamps all around the perimeter, I added one last clamp, a padded C-clamp, to ensure that the joint between the neck heel and the back button was fully closed and tight. I used a glove to pad the neck, and clamped it securely.
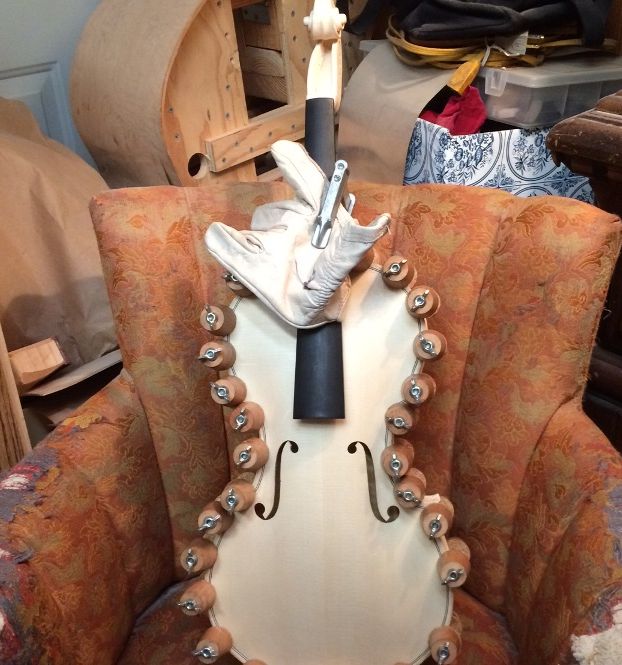
The next thing will be to trim the neck heel and back button together, as they are the key to the strength of the joint, and must hereafter function as one.
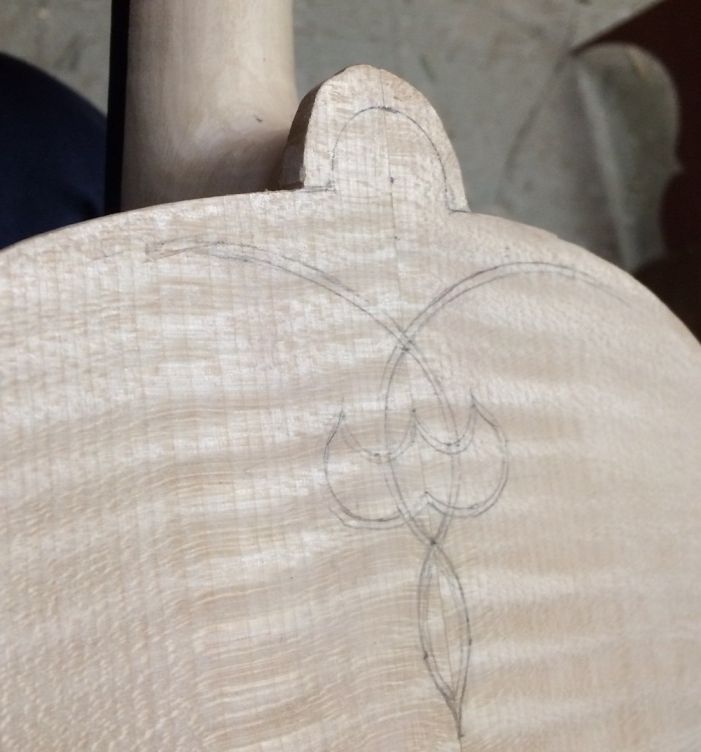
But I will leave those steps for a later post…this one is already too long. (sorry…)
Thanks for looking.
