15″ 5-String Viola Completed

Completion is a Relative Term

I would love to just say, “There! All Done!” but the fact is, I will always be able to see little things I wish I could change, and perhaps could not see until it was pretty much too late. That’s OK…it’s part of being a maker. I just have to know when it is time to say, “That’s as far as I am going!” and call it good.
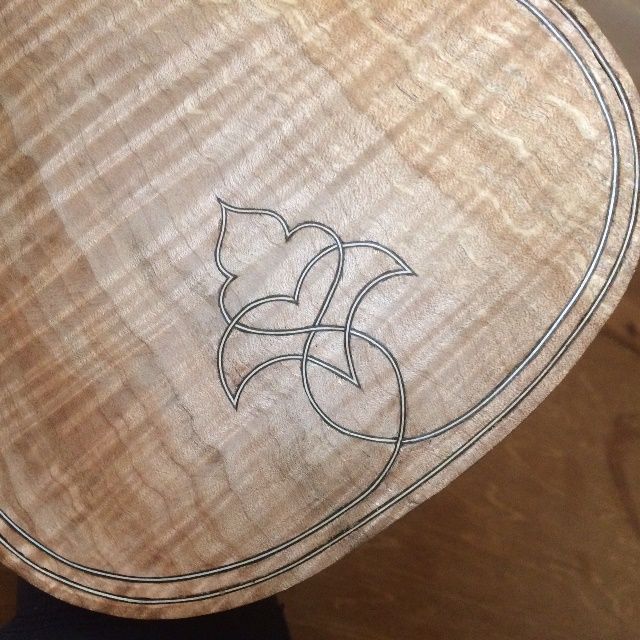
Varnish

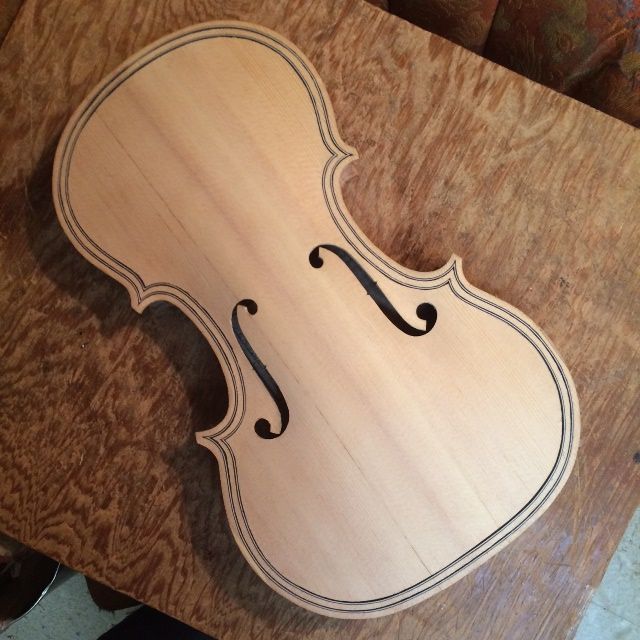
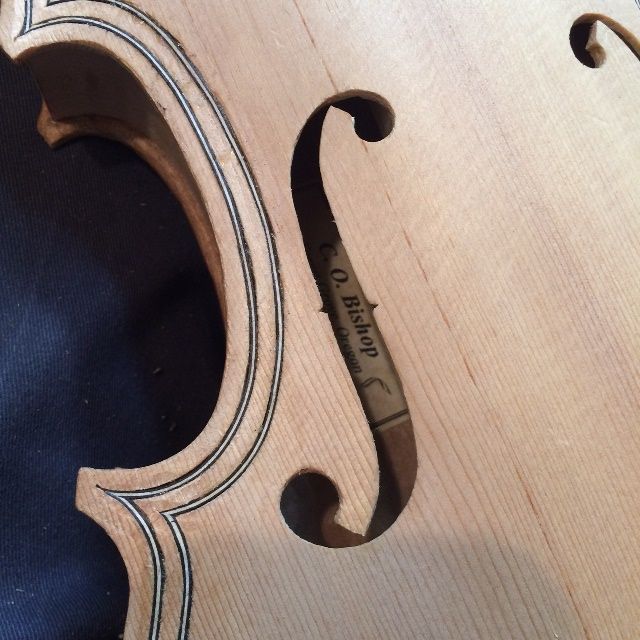
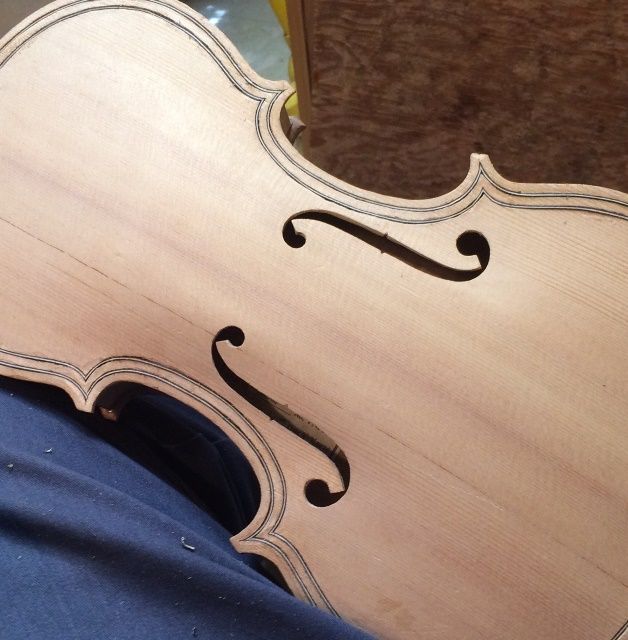
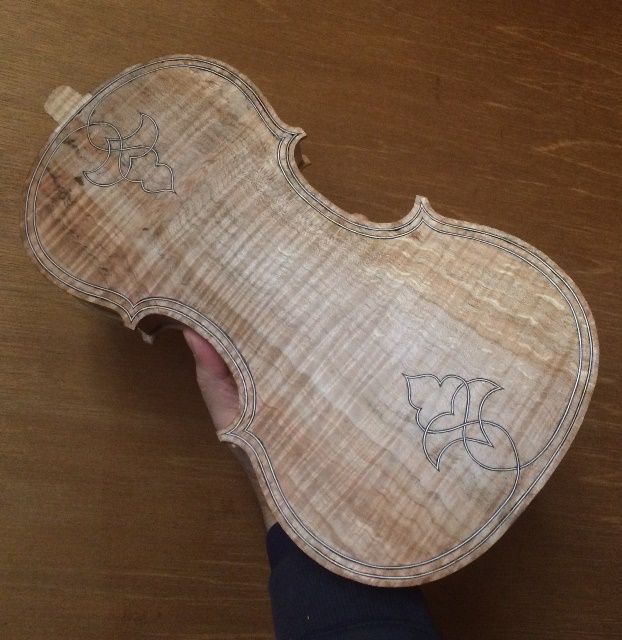
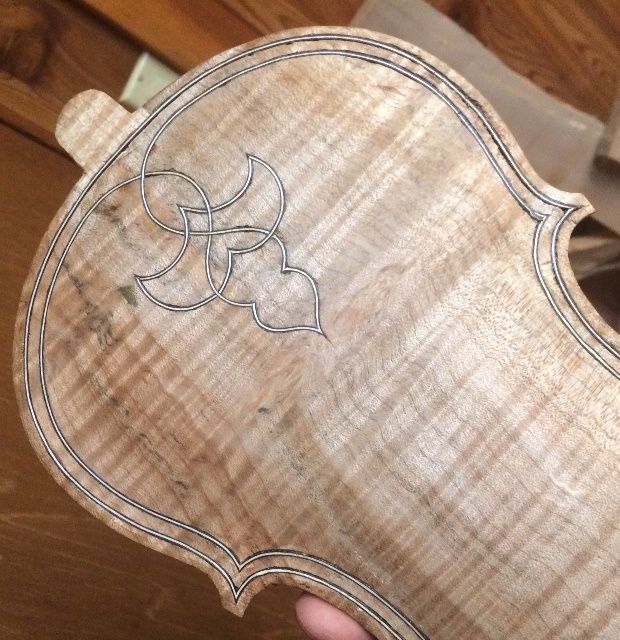
Last time, I shared how one of those decisions was how dark to make the varnish. I came to that decision about two coats past the last time I posted, so I allowed the varnish to harden for about a week, and then gave it a final once-over, and began the set-up procedures. Here is how it looked before I began set-up:

Five String Viola, Final varnish front view.
Final varnish front view.


Five String Viola Final Varnish, Back View.
Final Varnish, Back View.


Five String Viola Final varnish, Scroll.
Final varnish, Scroll.


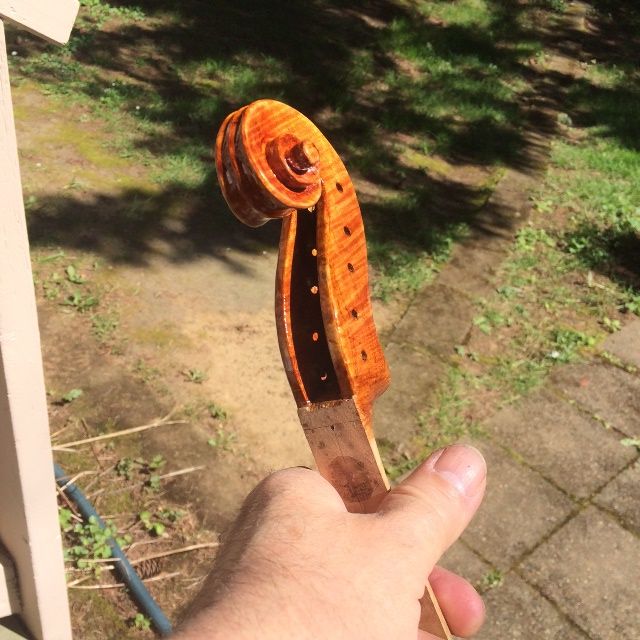
The varnish took several days to harden enough to work on set-up, and even when I thought it was ready, it still easily took fingerprints. 🙁   I guess I should have known. Anyhow, it means there will be some rubbing out to be done after set-up is complete, and the varnish is even harder.
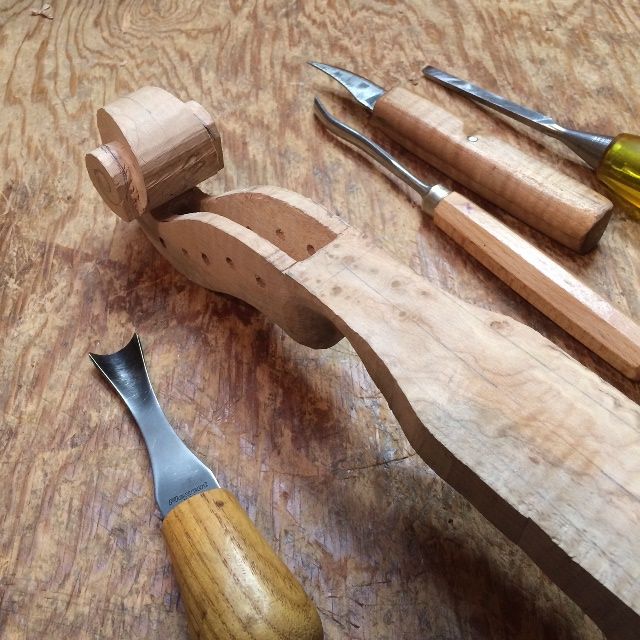
Set-up

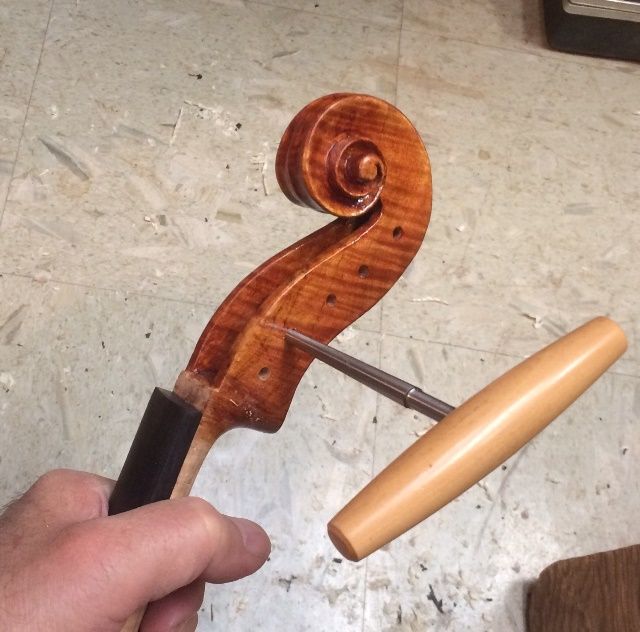
I did not take many photos during set-up. Set-up includes:

    • Re-installing the Fingerboard,
    • Installing the nut,
    • Installing the saddle,
    • Installing pegs,
    • Fitting the soundpost,
    • Fitting the bridge,
    • Installing the end-button,
    • Installing and adjusting the tailpiece and strings,
    • Installing the chinrest, and
    • Playing while adjusting for sound (balance, tone, etc.)

So, I had a fairly frustrating day, wherein it seemed nothing went right on the first try. It took me twice as long as it should have, but I got it done. I only took a few photos:
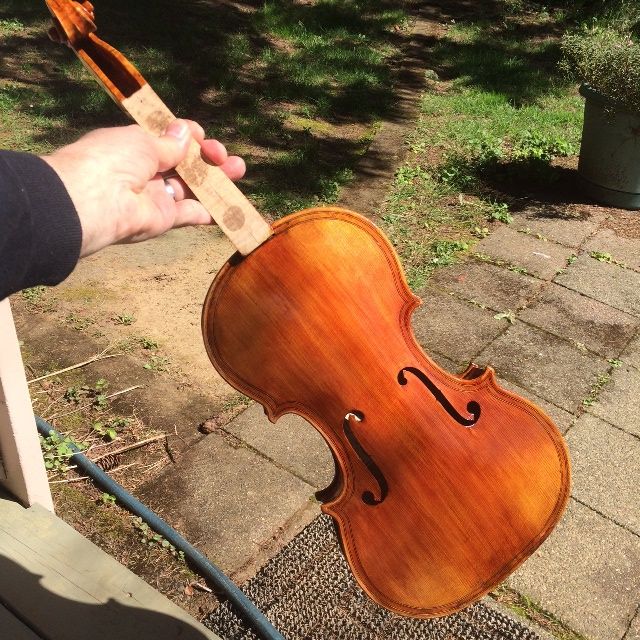
Beginning to ream peg holes on Five String Viola.
Fingerboard installed: Beginning to ream peg holes.


Pegs, nut, saddle, end-button and soundpost installed on Five String Viola. Working on the bridge.
Pegs, nut, saddle, end-button and soundpost installed. Still working on the bridge.


Almost done with set-up of Five String Viola: chinrest and final adjustments remaining.
Almost done with set-up: chinrest and final adjustments remaining.


Sound

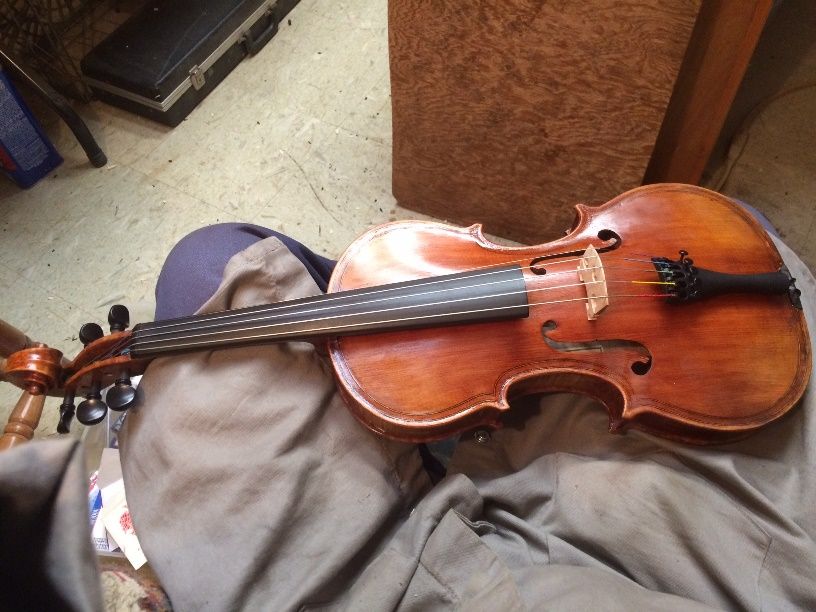
The 5-string 15″ viola had good sound from the first moment, but, as usual, it required some sound-post adjustment to achieve balance across all five strings. A sharp-eyed viewer also may notice all the mismatched strings; Jargar C, heavy Dominant G, D and A, and a regular Dominant E. I was unable to find the string sets I had bought recently (found them later), so, for the moment I simply used what I had, and adjusted accordingly. And, surprisingly,  it sounded quite good.

It has a huge voice compared to my violin-size five-string fiddles, and except for the C, the balance is very good. I adjusted the soundpost to bring the C-string into line, and it is much better, now. I am anxious to try an actual “set” of strings on it, to see what I can achieve in terms of balance and over-all tone.

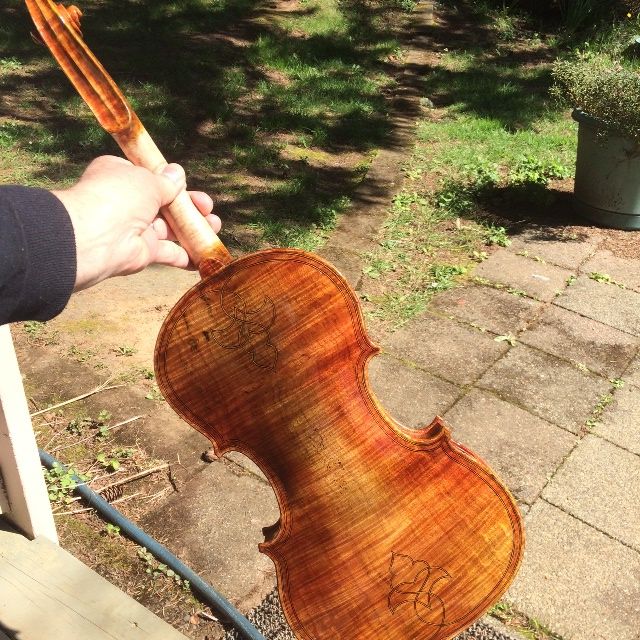
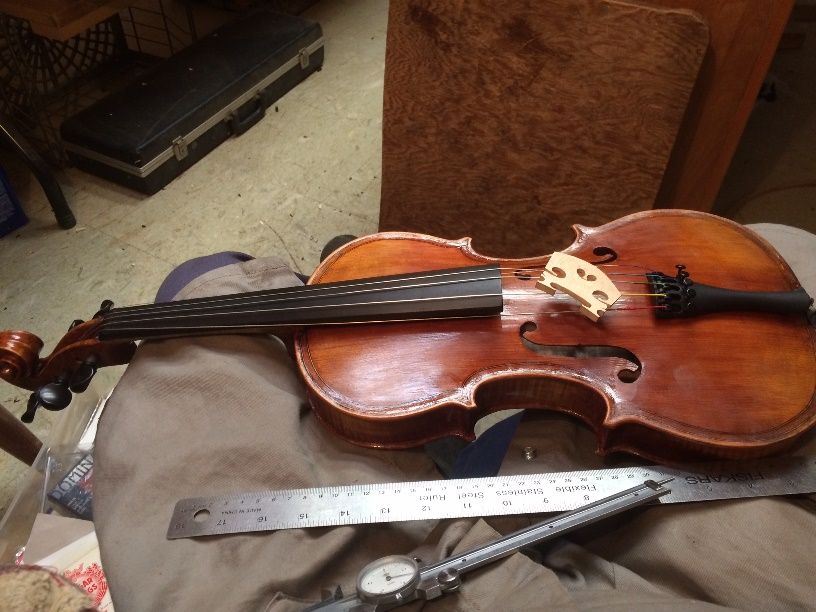
Anyway, here is what it looked like immediately after full set-up:

Front view of completed 5-string viola.
Front view of completed 15″ 5-string viola.


Back view of completed 15" Five String Viola
Back view of completed 15″ 5-string Viola.

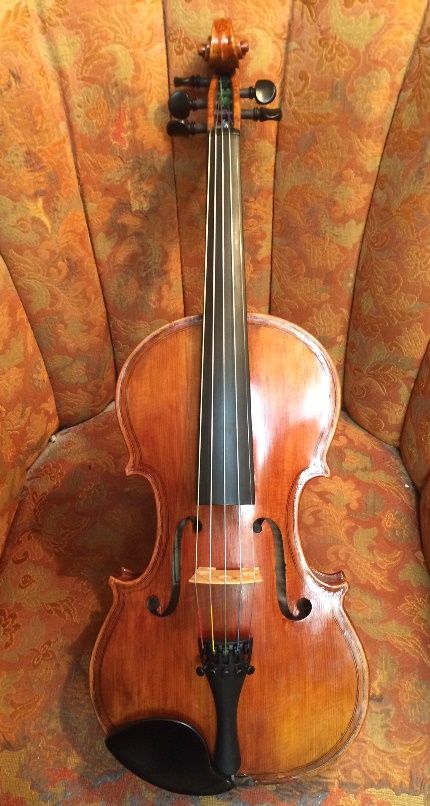
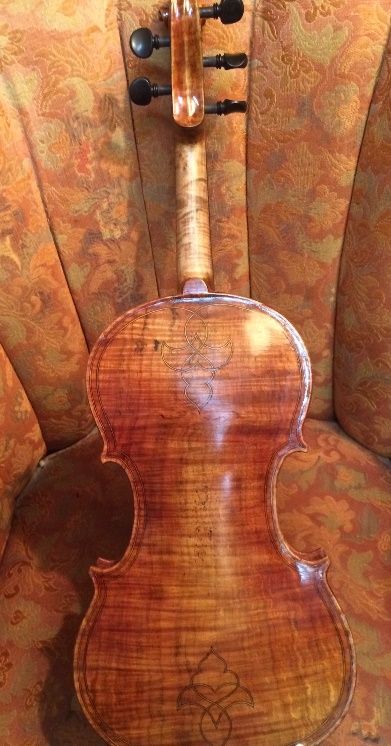
It still will need a final rub-down, but for now, I am playing it and just letting it finish hardening.


Thanks for looking.


Purfling, Edgework and Scroll on a 15″ Five-string viola

Purfling the 15″ 5-string Viola

Complete the slots

When I last posted, I had only begun cutting the outer purfling slots (I planned double purfling plus a weave for the back), so the next thing was to complete those slots.

Tools I used to cut the slots for the purfling in the Five-string viola.
Tools I used to cut the slots.


Front Purfling slots complete on the 15" Five-string viola.
Front Purfling slots complete.


Back purfling slots complete on the 15" Five-string viola.
Back purfling slots complete, including the upper and lower weaves.


Inserting and Gluing the purfling

The next step is to insert and glue the purfling in place, using hot hide glue. First I bend the purfling, using a hot iron, then I cut the ends to match the joints where the various sections meet. I insert the pieces dry, to ascertain that they fit, then, one-by-one, I pick the pieces back out and insert hot hide glue into the underlying slot, and quickly re-insert the purfling, forcing it to the bottom of the slot.

Front purfling dry installed on the 15" Five-string viola.
Front purfling dry installed in the Sitka Spruce top plate.


Close-up of glued purfling for the 15" Five-string viola, partially trimmed.
Close-up of glued purfling, partially trimmed.


Front Purfling glued on the 15" Five-string viola...no edgework done.
Front Purfling glued…no edgework done.


Back Purfling glued in place in the 15" Five-string viola.
Back Purfling glued in place.


Upper Weave complete on the 15" Five-string viola.
Upper Weave, in heavily spalted Big Leaf Maple back.


Lower Weave completed on the 15" Five-string viola back.
Lower Weave. No edgework, yet.


So that was the completion of the purfling. Edgework was next, shaping the channel through which both purfling slots will travel, as well as the outer edge and how the channel fairs into the front and back plate curvature. I used gouges, small planes and files, to get the edges to the required shape of a finished instrument.

While all this was happening, I was also getting going on the scroll, pegbox, and neck, but I will save that story for another post.

Beginning the scroll-carving for the 15" Five-string viola.
Beginning the scroll-carving.


Thanks for looking.