
16-1/2″ 5-string Viola on the way!
New Project!
This is the first large 5-string viola I have made. So far, most players have been quite firm about wanting the same scale length as a violin…and an instrument that will fit in their fiddle case. So that is what I have mostly made. But lately, there seems to have been an increased interest in five-string violas. Some were interested specifically in a smaller viola (hence the current, nearly completed 5-string 15″ Viola,) but more recently, there were two players who were really interested in a large 5-string viola. A 16-1/2″ Viola with a high E string.
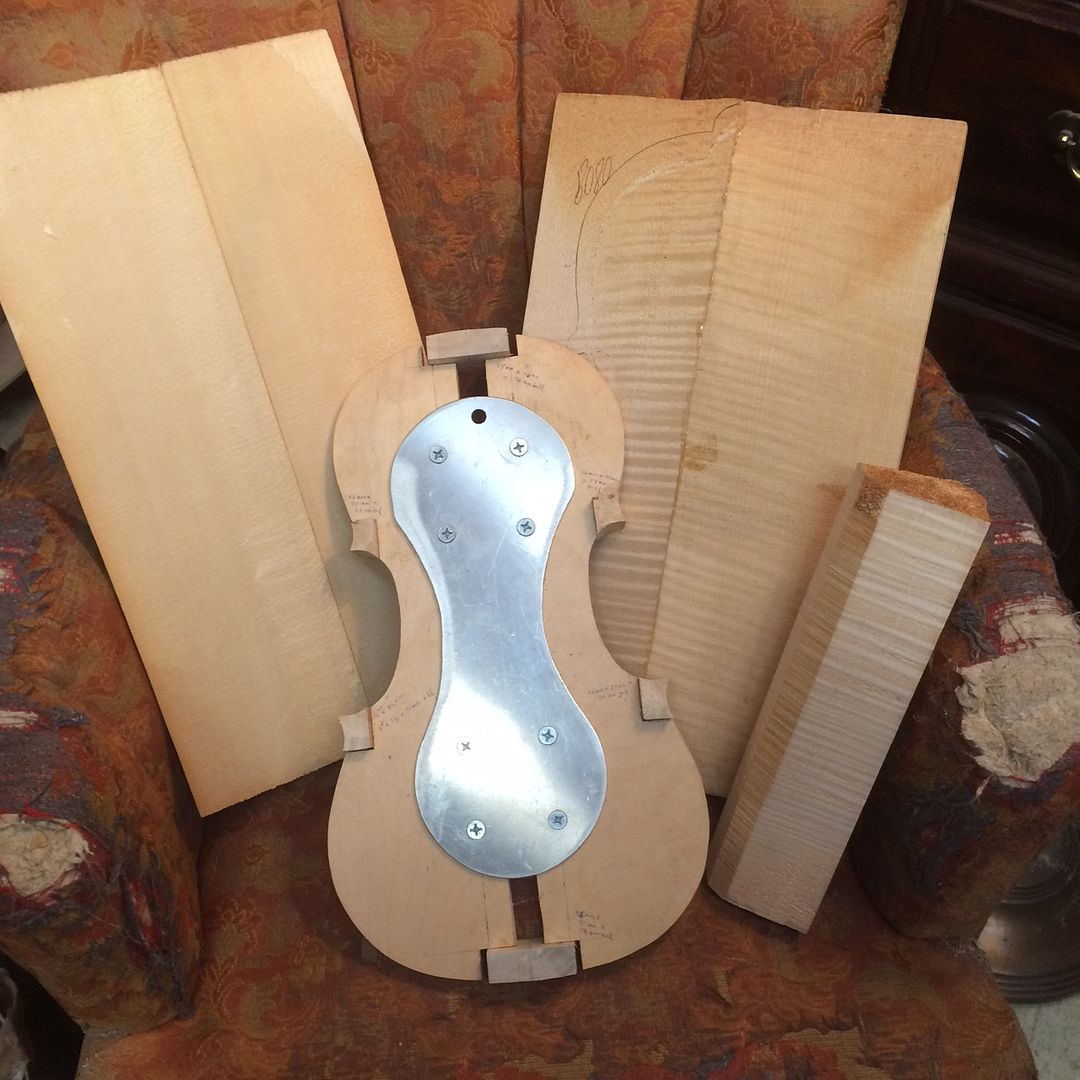
So… here we go! I already had European Maple and Spruce billets set aside from earlier “shopping trips,” and everything else that I needed to build a big viola. All I had to do was to finish the instruments already on the bench! They are now out of the way, except for completing the varnish and final set-up of the 15″ 5-string viola… so I am good to go. Here are most of the materials, with the plates already bookmatched.
Making, Bending and Installing Ribs
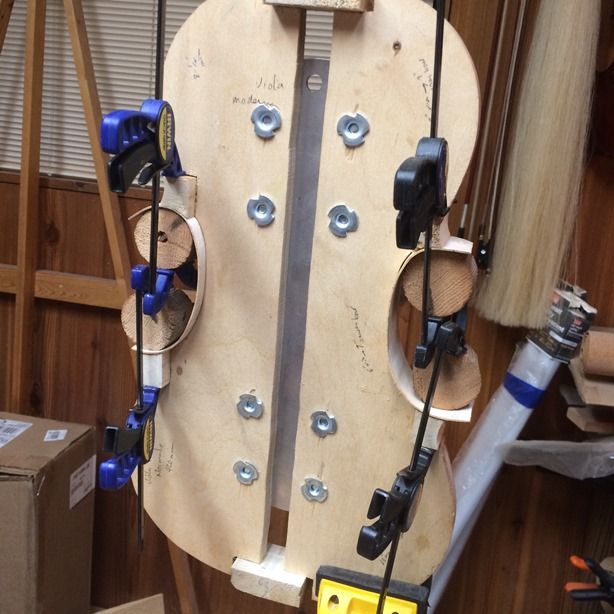
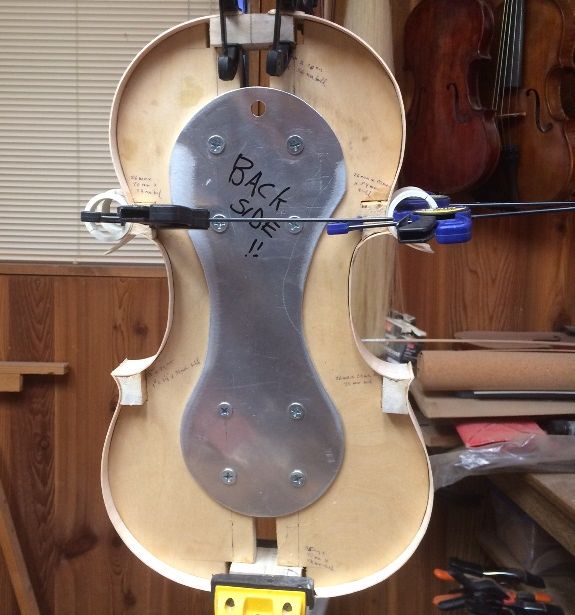
The blocks were already in the mold, and shaped. It was time to start working on ribs. I thinned the ribs to the proper thickness, using a fixture I made for my oscillating spindle sander (one of my few power-tools.) Then I bent each of them to the proper shape, using a hot bending iron.
When I had all six ribs shaped, I installed the two center-bout (often called “C-bout”) ribs, and secured them with hot hide glue and clamps. You can see that clamping to a curved surface is not easy. I held the mold in a small vise, then secured each joint using hot hide glue, cylindrical wooden cauls, and f-style clamps.
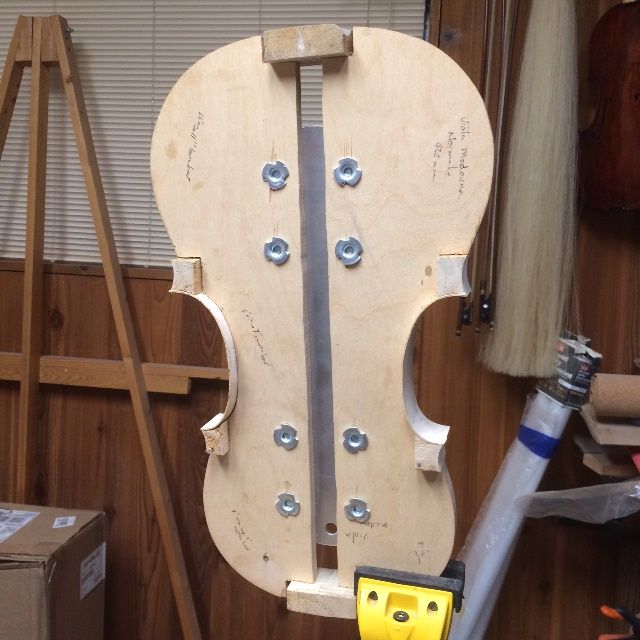
When the glue holding the center-bout ribs was dry, I trimmed the ends of the ribs, using the spindle sander again, and installed the lower bout ribs. The joint at the center of the instrument, between the lower ribs, has to be pretty close to perfect, as it will always be visible and any discrepancies will be glaringly obvious under the varnish.
Finally, I installed the upper ribs. There is no joint between the upper ribs: in fact, they don’t even have to touch. The neck mortise will remove the middle section regardless of how good my joinery is, so I leave a gap there to allow for easy installation of the ribs. (Meaning, I only have to concern myself with how the ribs fit the corner blocks and that they cleanly follow the mold up to the neck block.)
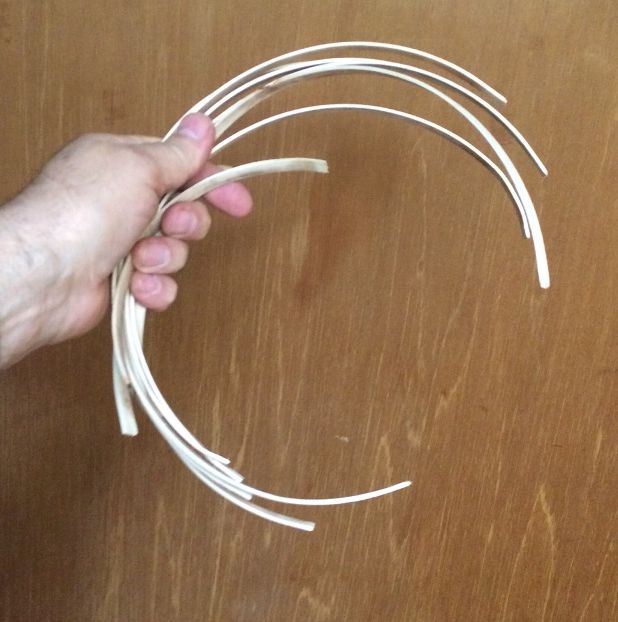
Making, Bending and Installing Linings
While I was bending ribs, and still had the iron hot, I went ahead and cut and bent a supply of linings. The linings, like the blocks, are made of willow, because I like the way it works. The linings serve to triple the gluing surface of the edges of the ribs, where they contact the plates, as well as strengthening the rib garland.
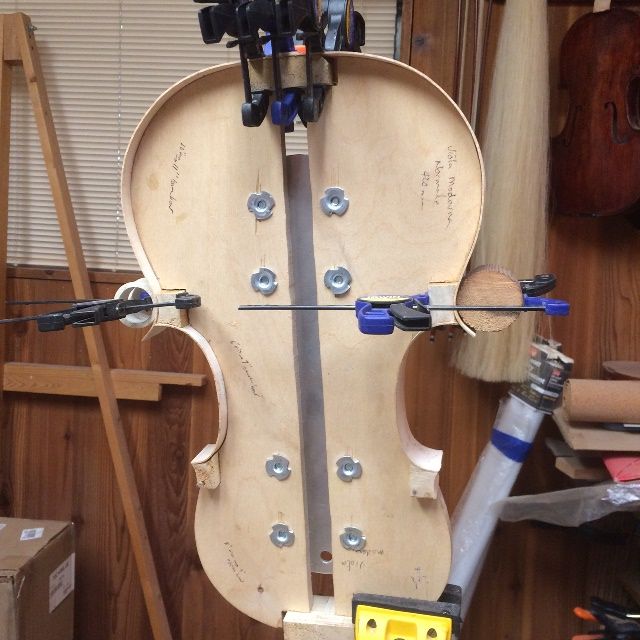
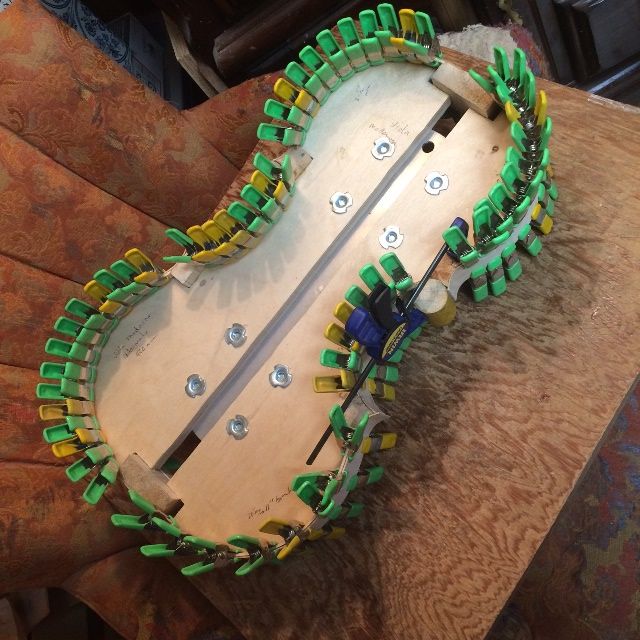
I made a small mortise at the juncture between each rib and each block (24 of them,) and then installed the linings dry, to make certain they fit correctly. Then, one-by-one, I removed each lining, applied hot hide glue to both the rib and the lining, and quickly reinstalled the lining and secured it with a series of small spring-clamps.
Tracing the Shape of the Plates
When the glue holding the linings was dry, I removed the clamps and used the spindle sander to trim the ends of the rib corners. I also leveled the front and back of the garland, so that I would be able to trace the shape of the plates. The European Maple back plate is on the left, and the European Spruce front plate is on the right. I used a small washer as a spacer, to establish the edge overhang, and a ball-point pen to trace the shapes. You can see that I have begun work on the neck, as well, which is also made of European Maple.
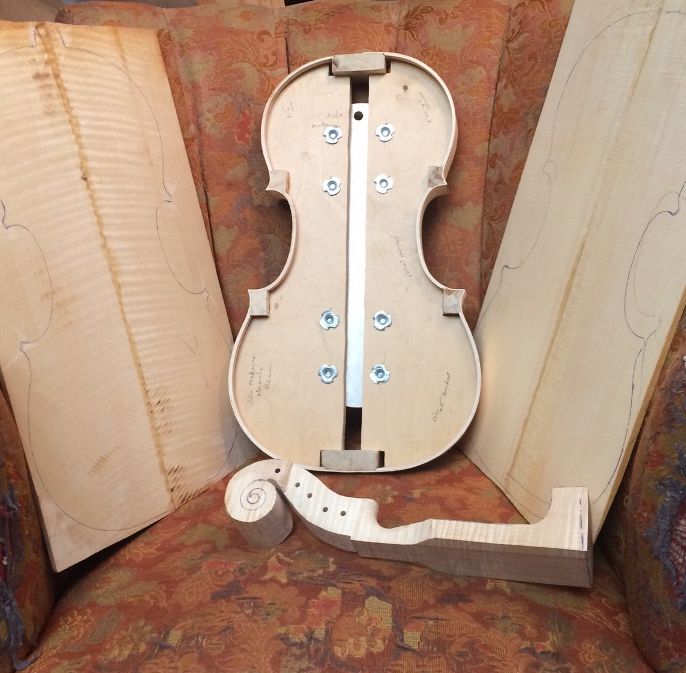
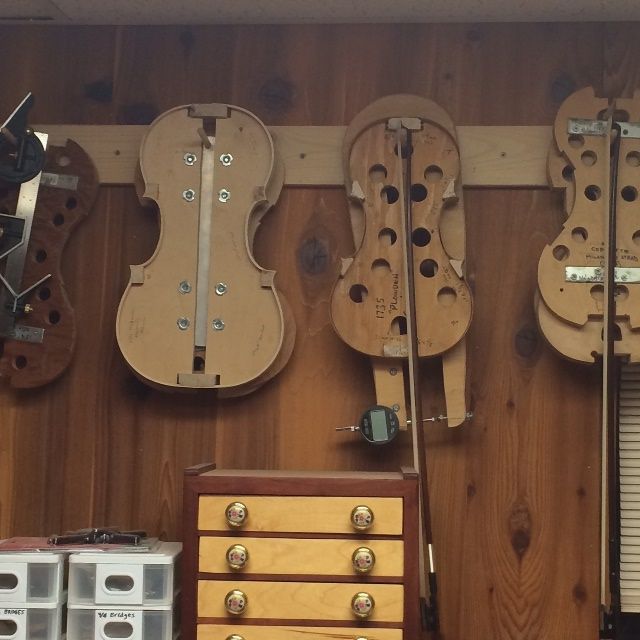
The garland is temporarily out of the focus of the work, now, so I hung it up, out of harm’s way, until I am ready to begin installing plates.
The next step is to actually cut out the plates and begin shaping them into the voice of a Viola. I will let that wait until a later post.
Thanks for looking.
