
Progress on the 16-1/2″ five-string Viola
Beginning the plates
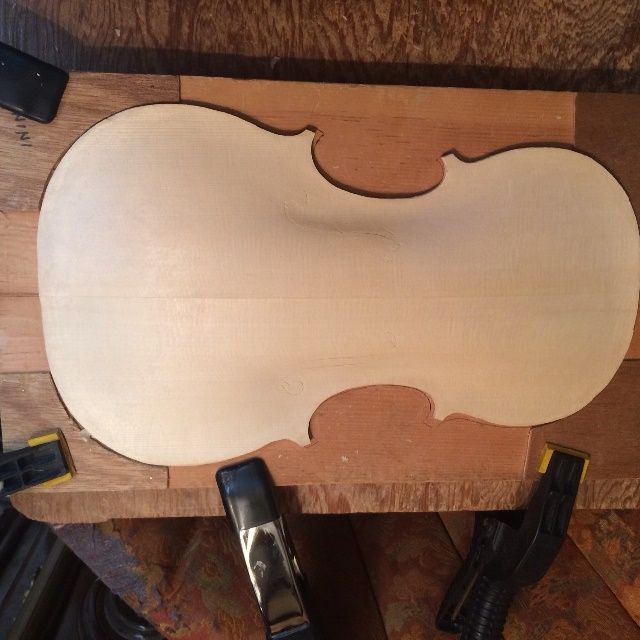
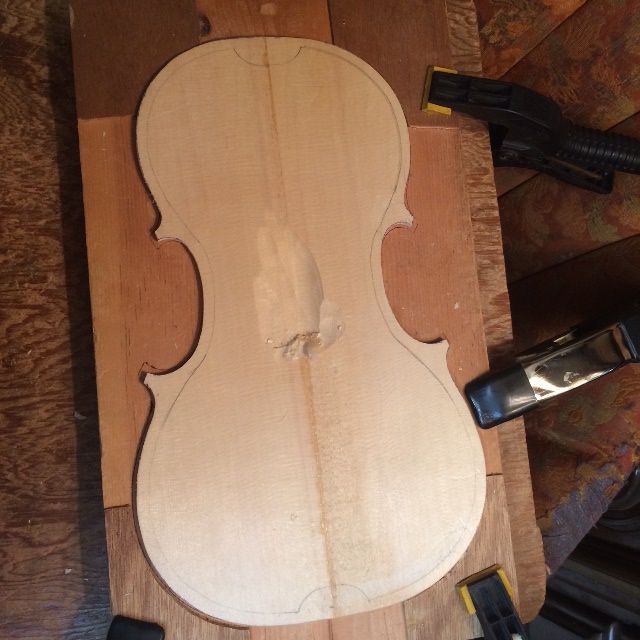
When I last posted, I had traced the shape of the garland onto the plates and was ready to cut out the plates. I decided to wait on the back plate, but the front plate was ready to go, so I cut it out, using my band saw, and smoothed the edges, using the spindle sander and files. (I have built precisely one instrument without power tools of any sort: One of my early teachers required it, so I complied, but it convinced me that, at my age, I need to save my joints for the things that I have to do by hand, rather than beating them to death just on principle. Besides, I am convinced that if the old masters had possessed power tools, they would have used them without question. They were very practical people.)
So, with the front plate cut to shape, I first marked the edge at a thickness of 4.5 mm. I used a wheel-style marking gauge, with a sharp disc, to mark the thickness and scribe it into the edge of the plate, all the way around. Then I began cutting away waste wood to achieve the desired arching shape. I checked a poster (Published by The Strad) of the “Conte Vitale” 1676 viola by Andrea Guarneri . It is one of the most frequently copied violas in the world, as it is a large viola that works very well, and copies of it frequently work very well, too. I am modifying the pattern a little for superior playability, but I have made this model before, so it is not “guesswork.”
I forgot to take pictures, initially, but here are a couple, belatedly:
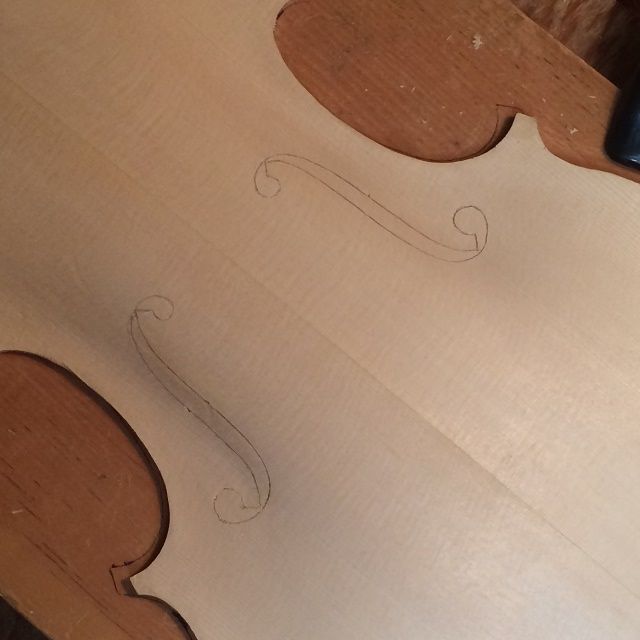
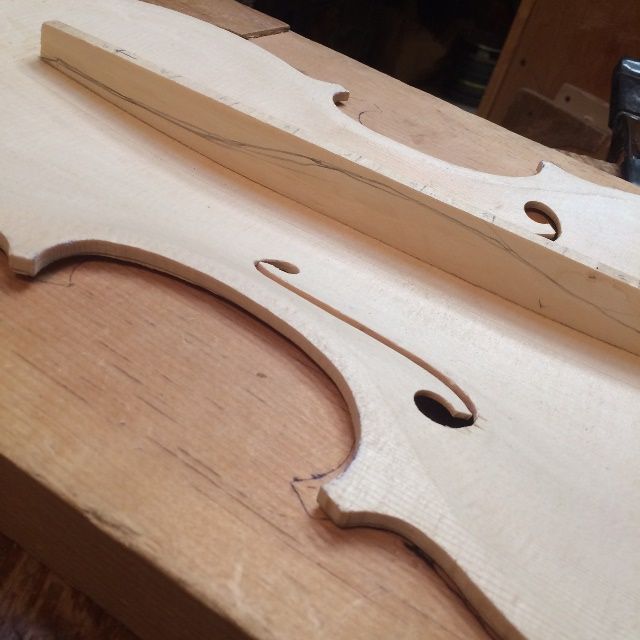
F-hole Layout and Incision
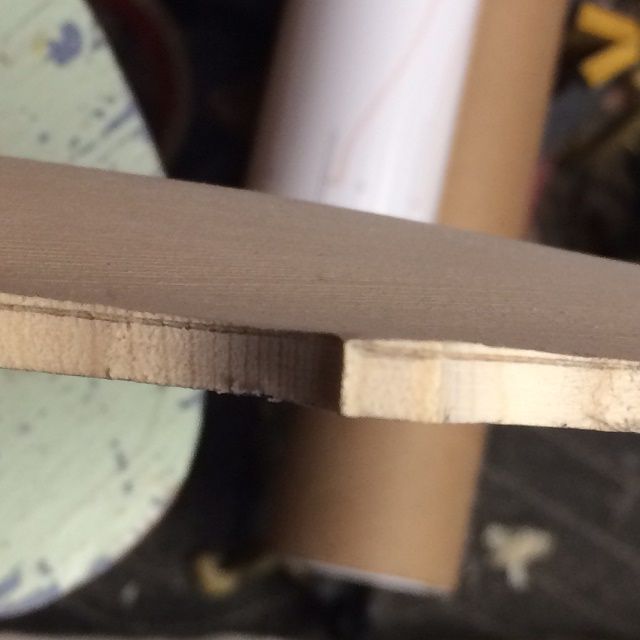
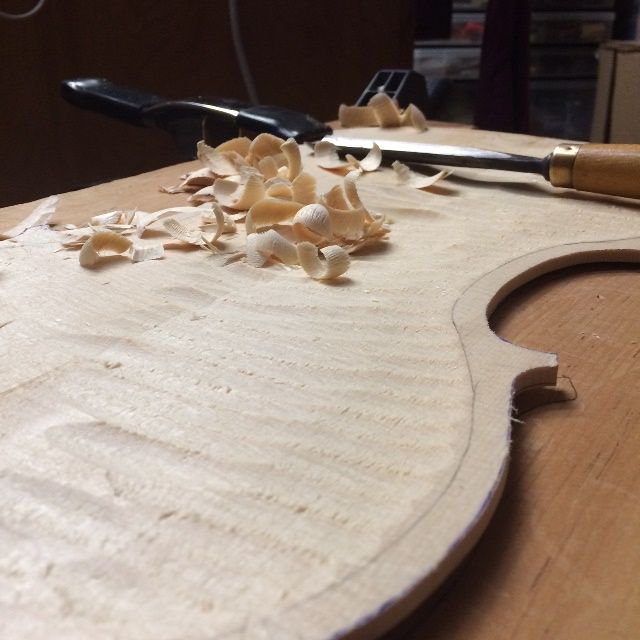
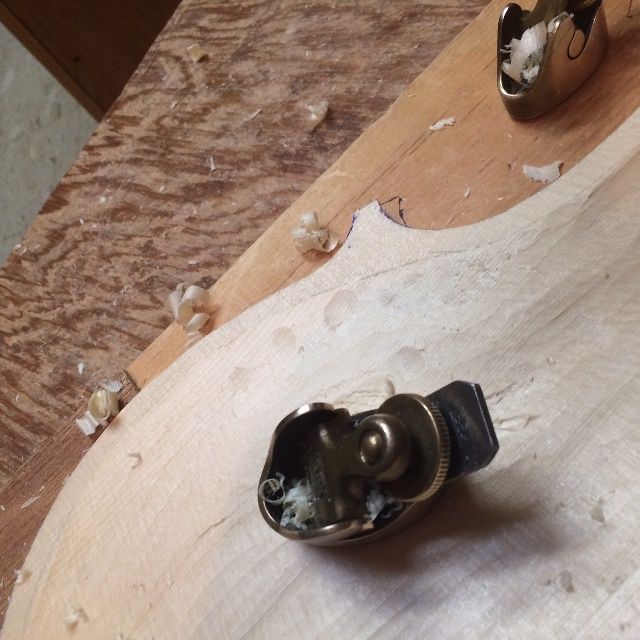
Once the arching was complete, right down to scraping, I laid out the f-holes, and incised them deeply into the European Spruce of the front plate. Incising the f-hole outline allows me to turn the plate and sight over the edge of the plate at the profile. I want the main stem of the f-hole to be essentially parallel with the plane of the ribs, when seen from the side. I use this as a final correction for the arching, and without exception, it has required me to correct the shape of the arching before moving on.
Graduation
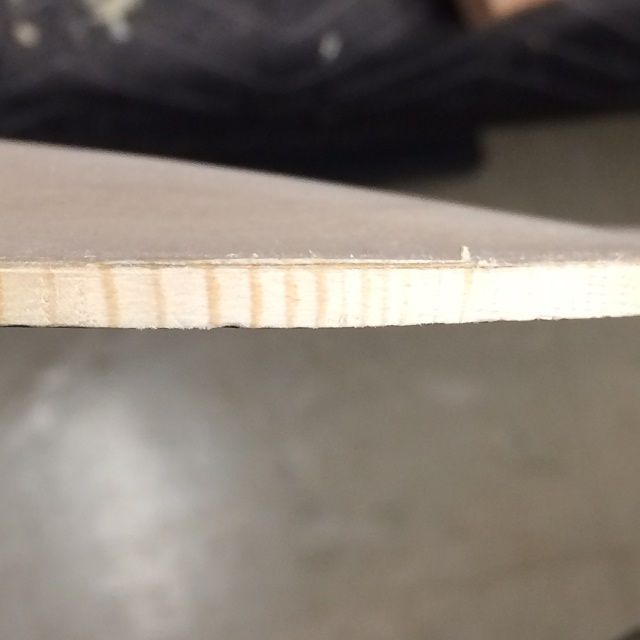
Once the arching is truly completed, and I am satisfied with the f-holes, I begin graduating the inside of the plate. This means that I am carving the inside of the plate to “match the outside,” in that it will be an appropriate thickness all over. I usually want the center area between the f-holes one thickness, the band running up the center to each end slightly thinner, and the wing areas outside that area quite a bit thinner. There is no “set” thickness, and each luthier has to make choices in order to achieve what he or she wants from an instrument. Getting what you hope for depends on those choices you make, and the choices were (hopefully) made intelligently, based on the type and density of the chosen wood, the shape of the arching, and so forth. Getting the arching and graduations right is a lot of carving on a large instrument, but it pays off in quality of sound.
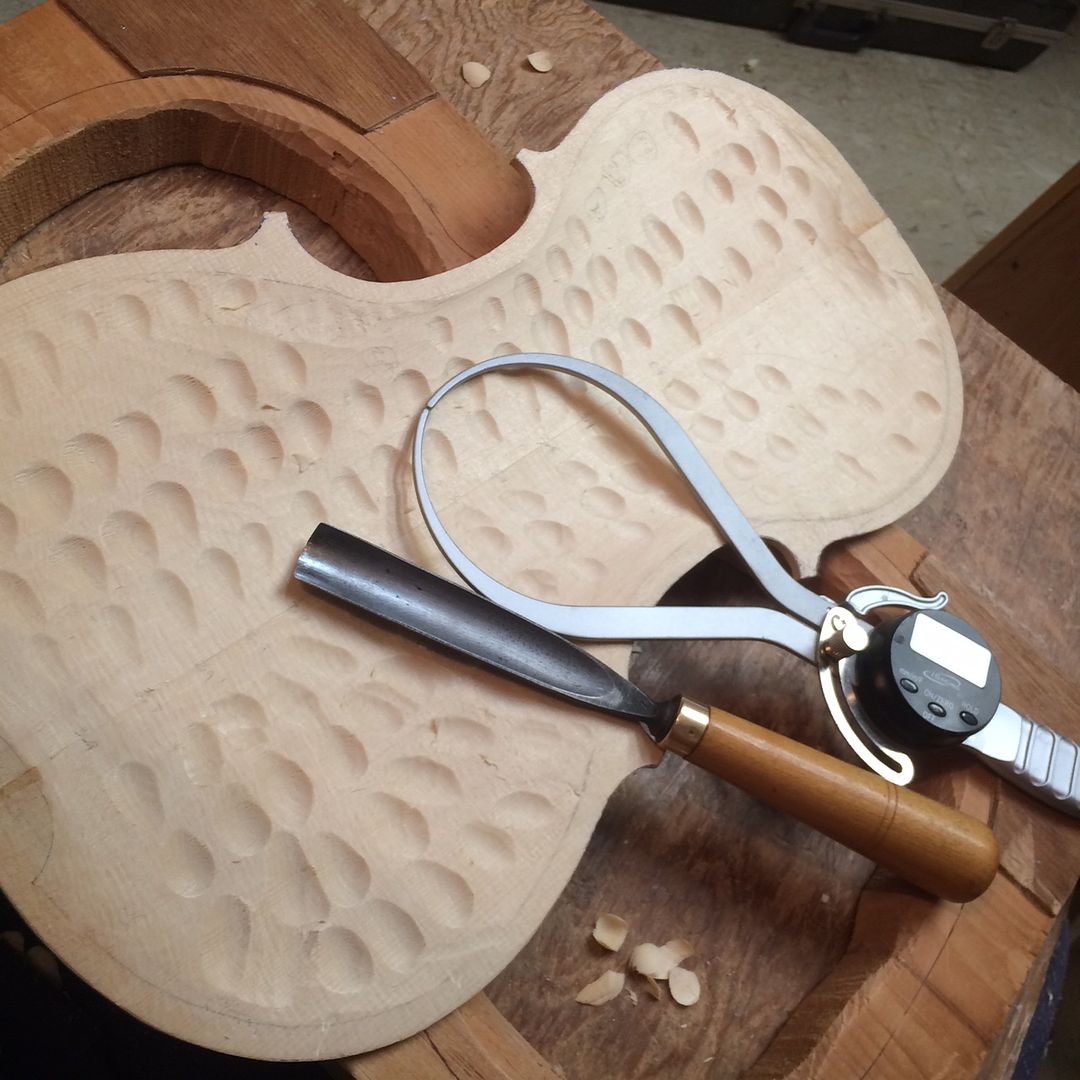
Frequently I can see the traces of the incised f-holes from the inside by the time I am finished with the graduation of the front plate. And, believe it or not, I always can easily see light through the spruce plate, in the thinner areas, if I hold it up to a lamp.
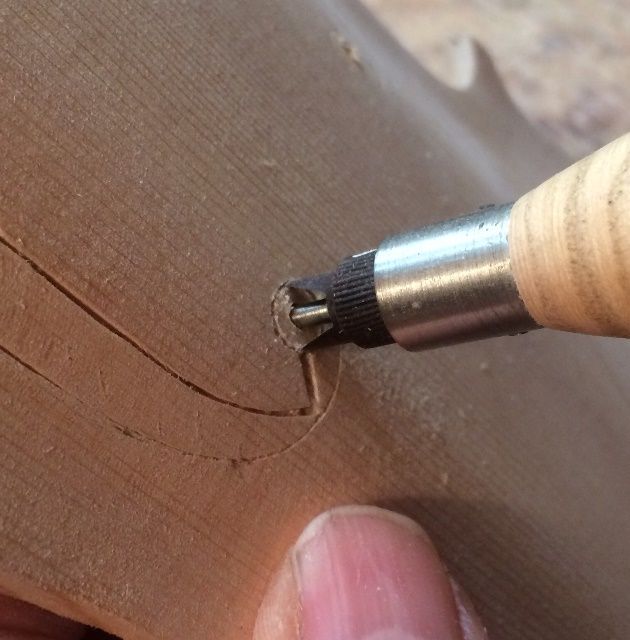
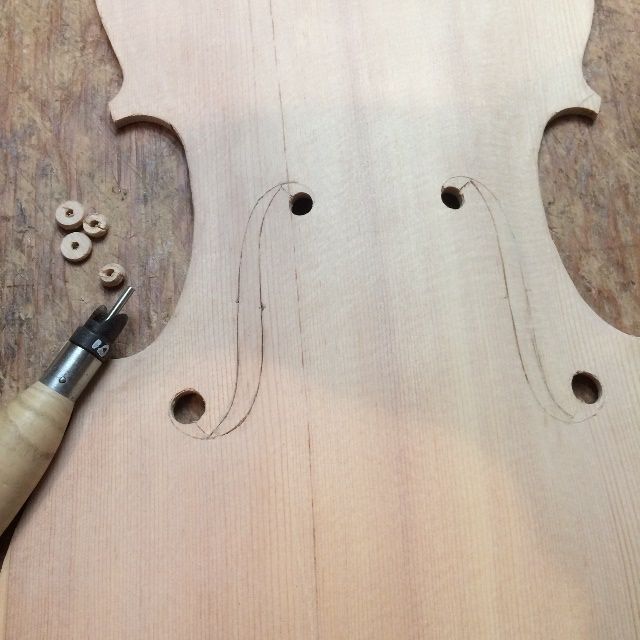
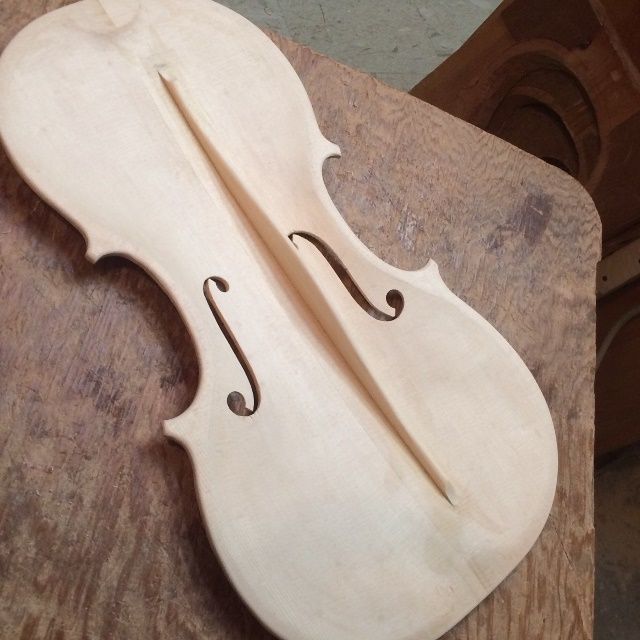
Cutting out the F-holes
I use a special tool to cut the upper and lower eyes of the two f-holes, then use a small knife to finish cutting them out.
Bass Bar
Once the f-holes are cut out and refined, the next thing is the bass bar. This is the only brace attached to the inside of a violin, viola or cello: it supports the bass foot of the bridge, and provides for clarity and strength to the bass notes. An instrument with a weak bass bar will not sound good.
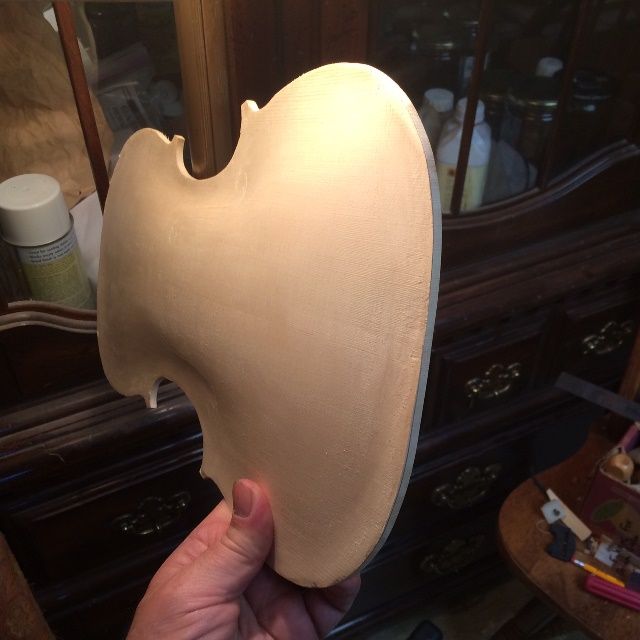
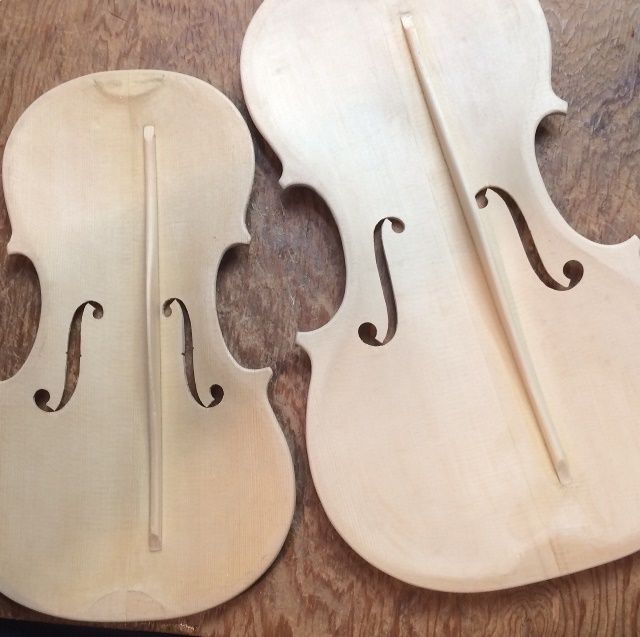
With no point of reference, it is hard to realize the size of that plate: so here is a standard violin-sized plate for comparison: A 16-1/2″ viola is pretty big.
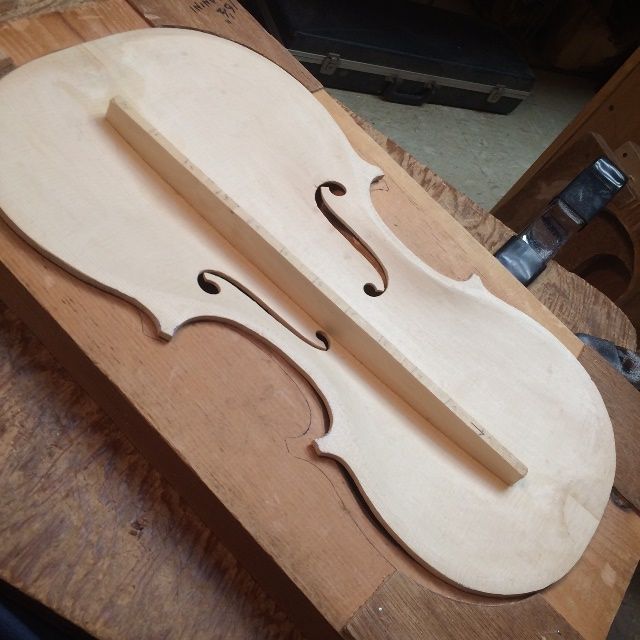
I cut the bass bar to the desired shape, using gouges, planes and scrapers.
Inner Edgework
I know it will be difficult to accomplish the inner edgework after the plate is installed, so I always do that first. I also trim and shape the linings, so that they taper smoothly into the ribs.
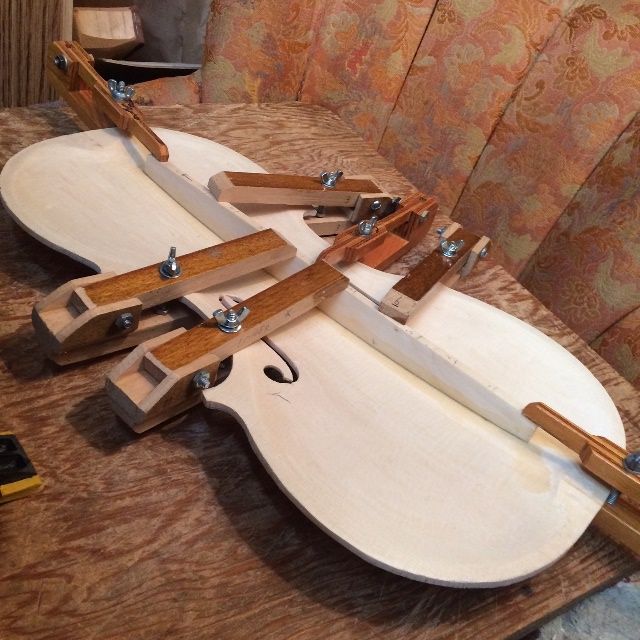
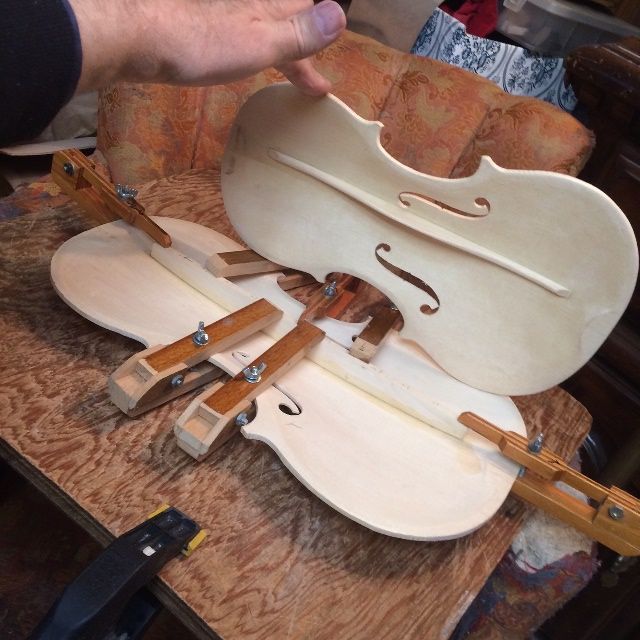
Installing the Front Plate
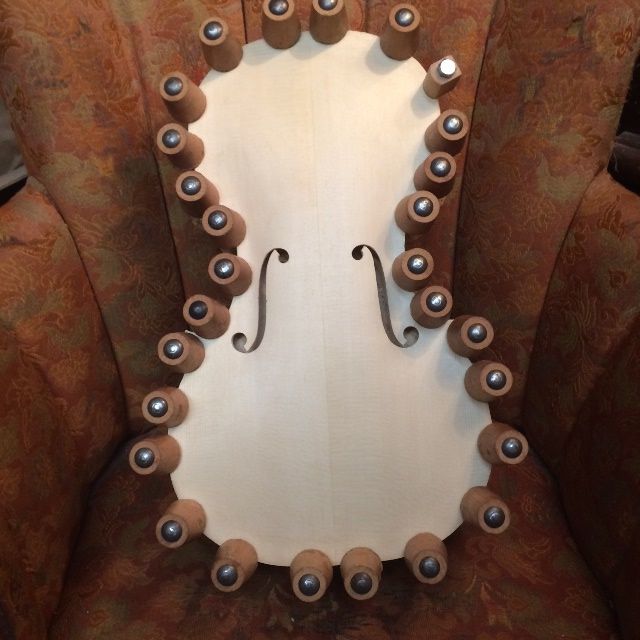
I dry-clamped the plate to the Garland, and then, using a thin palette knife, slipped hot hide glue (on the thin side, for easy removal if needed) into the unclamped areas and immediately applied padded spool clamps to tightly hold the plate until the glue could dry. Then I removed the first few clamps and inserted glue there, and reclamped. My wife thinks the instrument looks as though it is wearing hair-curlers at this point. 🙂
And that is where the instrument rests for tonight.
Thanks for looking.