New Project? Nope! Not really!
Picking up where I left off:
This is not really a new project, but rather one that was “tabled,” for lack of better term…work was suspended until a better set of circumstances emerged.
I built the mold for this bass in 2015, began bending ribs in 2017, with a woefully inadequate bending iron, and a great deal of frustration.
A commission came in, so I set aside the bass, to work on the cello, and never came back to it…so it sat in the corner of my workshop silently sneering at me every time I looked that way.
But! Since I was laid off from my job, where I had worked for 33-1/3 years, in January, I am catching up with some projects and able to face others with new eyes.
Here is the five-string 16-1/2″ viola I am just finishing up, balanced on top of the bass mold:
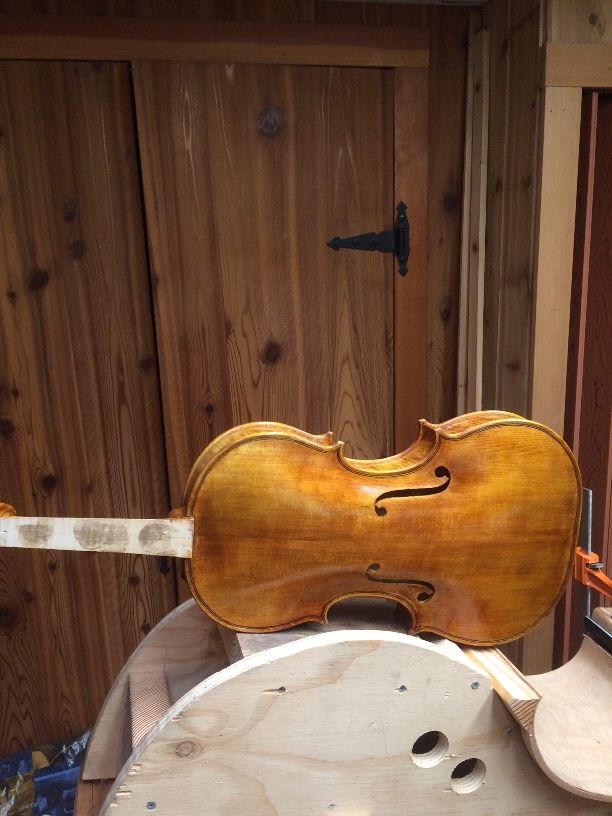
Once I had the bass mold up on my bench again, it was easier to confront the problems, rather than avoiding them.
The New Bending Iron
The first thing I needed was a new bending iron. A fellow I met online, John Koehler, a fellow bass maker, told me how he built his bending iron. So I followed his lead, and built a new bending iron:
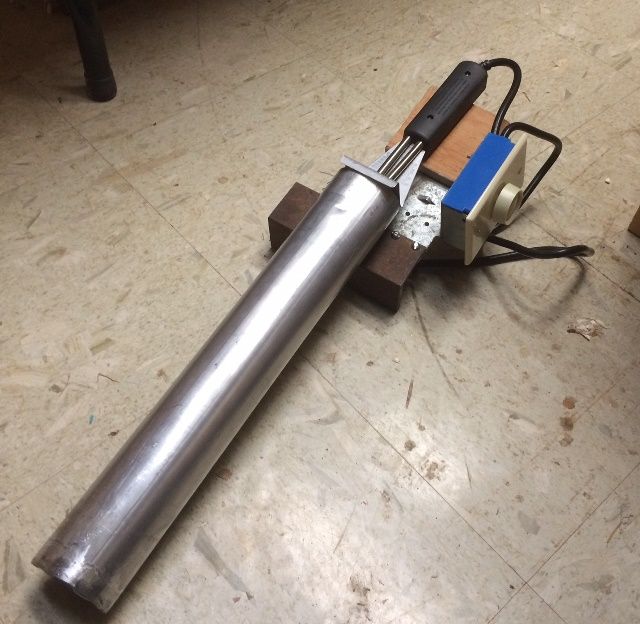
It is a section of exhaust tube, welded to a piece of angle iron, so that I could clamp the apparatus in a vise. Heat is supplied by a 550-W electric charcoal briquette lighter, controlled by a 600-W dimmer switch. It took a little trial and error to get it set up correctly and to calibrate it, but it turned out to work very well! (What a relief!)
Bending the ribs
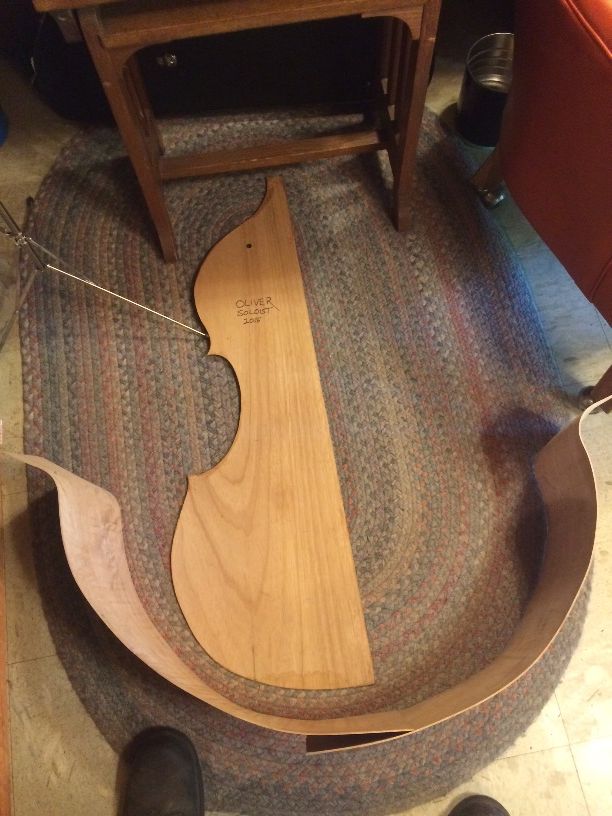
Bending the remaining two Big Leaf Maple ribs was nearly effortless, and took about ten minutes, tops, not counting waiting for the tube to heat up.
Installing the ribs and linings
Then I glued the ribs into the fir blocks on the mold with hot hide glue, one at a time, and affixed the willow linings in the same manner before moving to the next rib.
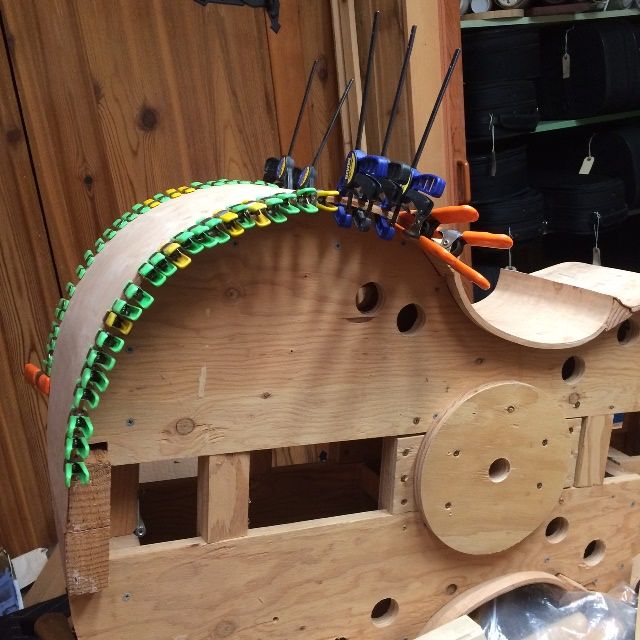
Once one rib was completely secure, trimmed and lined, I rolled the bass mold over and repeated the operation on the other side.
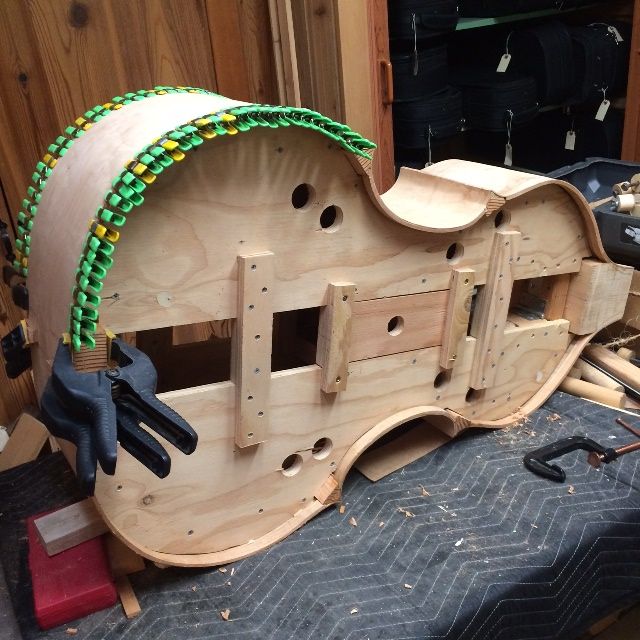
I planed the linings flush with the ribs and blocks, and the garland was essentially complete. It will require careful leveling before fitting the plates, but not much other than that.
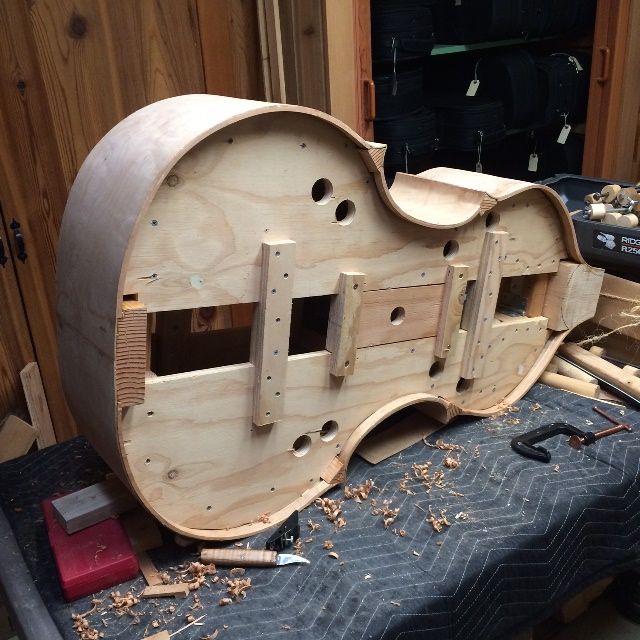
In the coming weeks, I will complete the center-joins of front and back plates, then complete the carving of the plates and the neck and scroll, and start putting this bass together!
Just as a teaser, this is the wood for the front, back and neck:
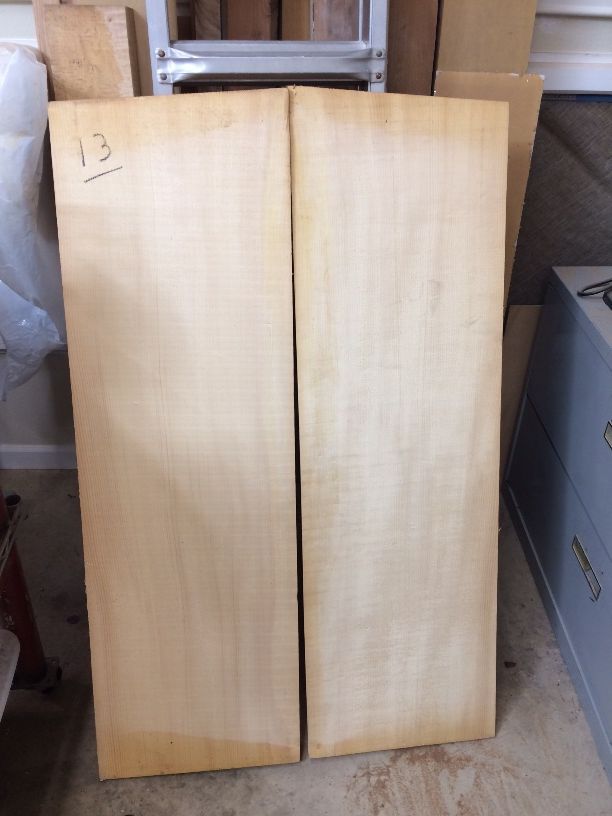
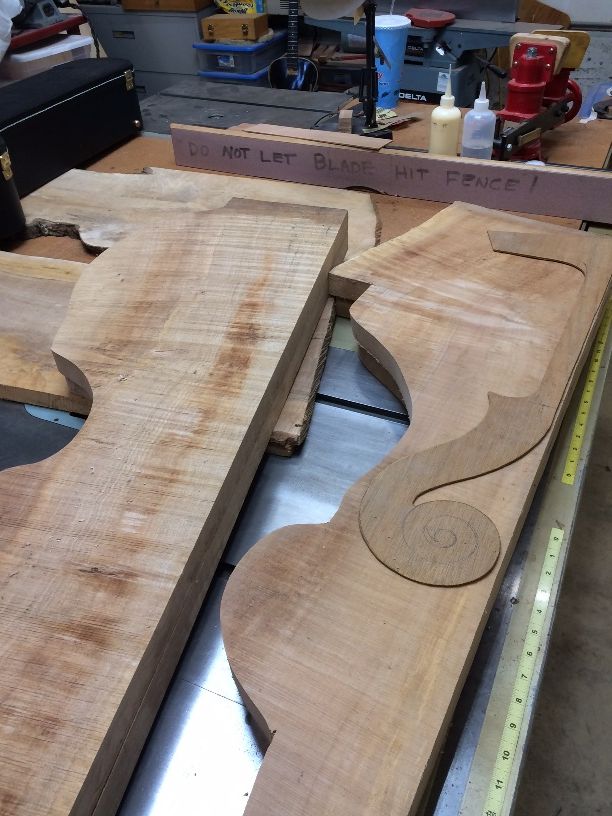
(Notice that there is a fair chunk left over where the neck pattern does not use all the wood it is on: watch that space! )
Thanks for looking!
