Instrument Set-up
The Plan:
- Fit and install the End Pin. (Already done on this instrument.)
- Fit and install the Saddle. (Already done on this instrument)
- Fit and install the Tuners (in the case of a double bass, that means “tuning machines.” Already done on this instrument.)
- Fit and install the Soundpost. (already done on this instrument.)
- Fit and install the Nut, file the string slots to the correct depth in the correct places.
- Establish the correct length for the Tail-gut (or tail-wire in this case) and install it.
- Fit and install the Bridge, filing the string-slots once the height is correct.
- Install the Strings.
- Play for sound adjustment, string clearance adjustment, etc.
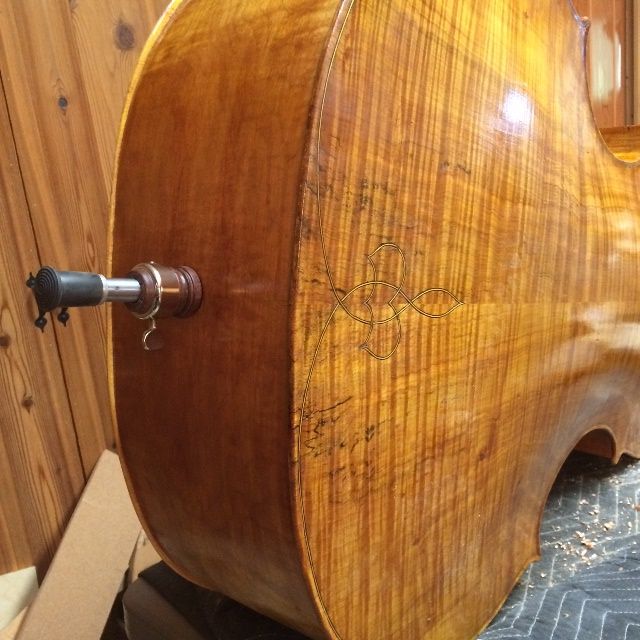
End-Pin
On violins and violas, the end-pin (usually called the end-button) only serves as an anchor-point for the tail-gut. But, in cellos and double basses, it also must serve as a height-adjustment, so that the instrument will rest at the correct height for the particular player. In this case, I had chosen an Indian Rosewood plug with a tubular steel end-pin fully adjustable and locked by a thumb-screw on the bass side. I installed it earlier, so here it is, without details about shaping the plug or reaming the hole:
Saddle
I cut my saddles with a large radius on each of the upper corners, where the saddle is cut into the front plate. There is a strong likelihood, historically, that cracks will eventually develop, emanating from the corners of the saddle. They are so common that they have a name: “saddle-cracks.” There are two ways to try to avoid such cracks:
- The first is to make the mortise for the saddle (the part cut out of the front plate) a little wider than the actual saddle, by maybe a millimeter or so, so that, when (not if) the front plate shrinks during dry weather, it will not find itself up against the unmoveable saddle, and be forced to crack, to allow for the shrinkage. This is a good practice, and I try to follow it.
- The second is to make the saddle with sound corners so that there is no “notch” in the plate at the “corners” of the mortise, but rather a smooth rounded curve, which eliminates the stress-riser and minimizes the chance of a saddle crack in the first place. (Round discontinuities essentially do not cause stress risers, hence, do not cause cracks.) I always do this, (since about my sixth instrument) and will continue to do so.
I already explained all this, including the purpose of the saddle, in a previous post. Suffice it to say that this part is already completed.
.jpg)
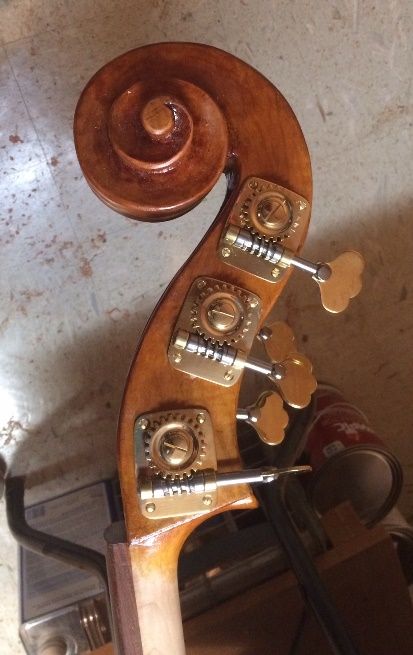
Tuning Machines
There is a wide variety of choices for tuning machines for a double bass. Some are better than others, some fairly plain, but fully functional and reliable, others beautifully engraved or ornate in some other way, and understandably far more costly. Someone had to spend the time and money to do all that “pretty stuff,” so, if you want that, you gotta pay. I chose plain but functional. (They are pretty, too, but not fancy.)
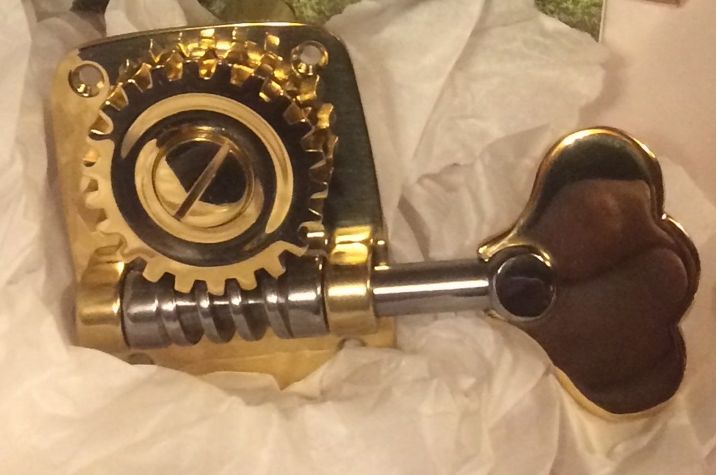
At any rate, they are already installed on this instrument, as of my last post:
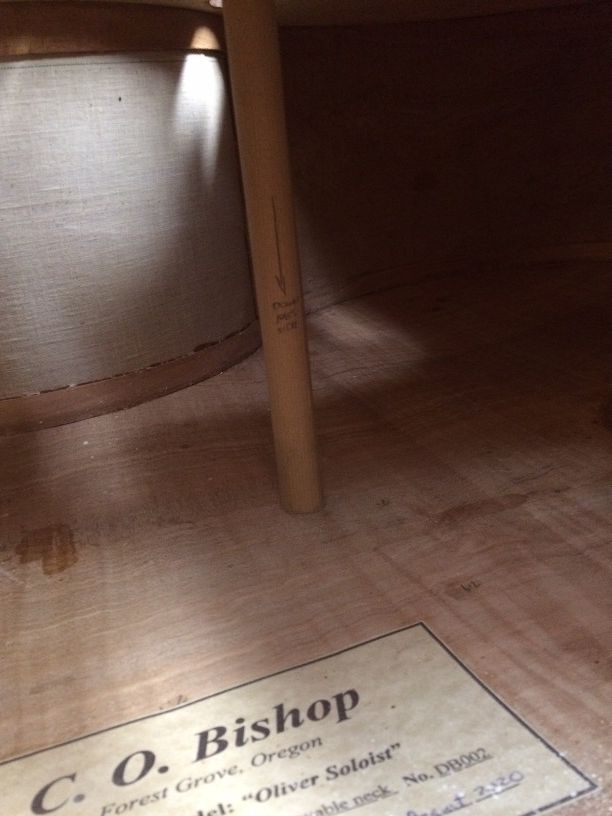
Soundpost
The soundpost is a “dowel,” usually of fine-grained spruce, that spans the gap between the inside of the front plate and the inside of the back plate, just south of the treble bridge-foot. My understanding is that it transfers the vibration from the front plate to the back plate, and “couples” the two plates so that they work together to make the sound from the vibrations created at the strings (whether by bowing or plucking.)
There may be (probably is) more to this function: It is an important enough part of the set-up that in some languages, the soundpost is referred to as the “soul” of the instrument, and it is definitely one of the most important adjustments that can be made. It is held in place simply by the compressive force transferred through the bridge by the tensile stress on the strings. Adjusting the position of the soundpost has a profound effect on the character of the sound the instrument can produce.
I already installed the soundpost, but I fully anticipate that I will continue to adjust it as the instrument settles in, in an attempt to produce the best tone, volume and balance that I can achieve in the sound of the instrument.
Nut
The nut is the transverse piece of hardwood (usually Ebony, but in this case Ipé, ) across which all the strings are resting, directly above the fingerboard. It serves as a positive stop for all five strings, so that the strings are not in actual contact with the fingerboard when the player is not fingering a note, but are suspended about 0.5 mm above the surface of the fingerboard. the idea is that an easy touch from the player’s finger should put the string in contact with the fingerboard at the correct position for the desired note. The nut is glued to the neck and fingerboard, usually, but in reality, it is held in place by string tension, and the glue is “just a formality.” (I glue them so that they can’t fall off and get lost, during transport or a string change.)
I carefully laid out the string locations, so that they are spaced equidistant, center-to-center, and then cut the slots for the strings using first a small razor-saw, and then a round file of the appropriate diameter for the string in question.
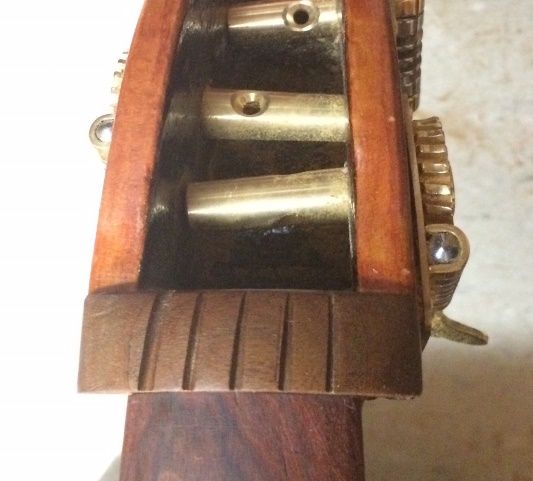
Tailpiece and Tail-wire
I chose to make the tailpiece of Ipé wood, to match the fingerboard, nut and saddle. The tailpiece fret (transverse bar forming a positive “stop” for all five strings) is also Ipé, and after being heated and bent, it resisted being glued. I eventually took it off entirely, scraped off all the failed glue-layers, washed it down with acetone to remove the oils in the wood, and reglued with epoxy. But this time, I anchored it with six small brass rivets. It is permanent, now! (Besides, I like the look of the shiny little brass rivets!)
I also attached the tail-wire; a 1/8″ diameter stainless-steel aircraft cable. I established the length so that the distance between the nut and bridge would be as close as possible to being in a 6:1 ratio with the distance between the bridge and the tailpiece fret.

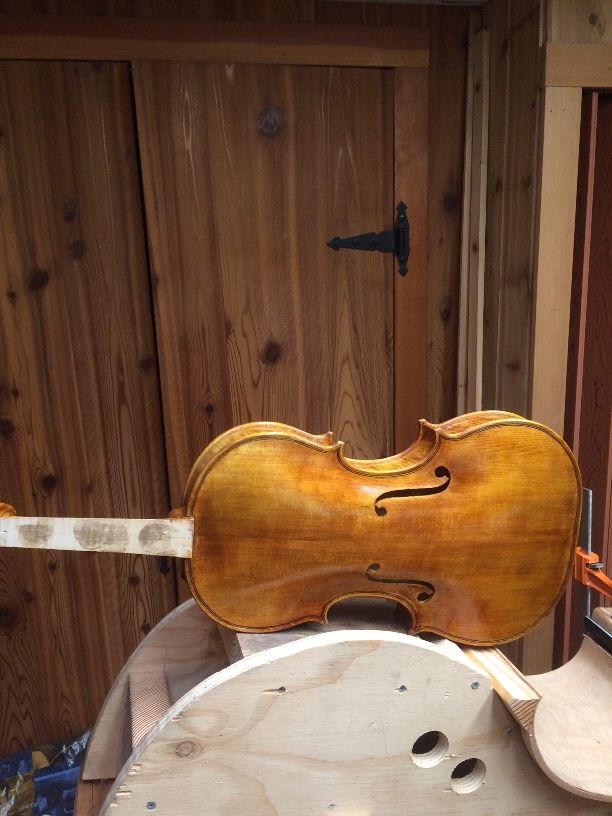
Bridge
I chose a bridge blank that was tall enough to serve with the projection angle I had already established, and wide enough to comfortably accommodate five strings.
I fitted the bridge feet to the surface of the bass front-plate, so that it would have an airtight fit when placed between the inner “notches” on the f-holes, and centered over the centerline of the plate.
Once the fit of the feet was established, I marked the bridge for the approximate height, hoping to achieve a string clearance of about 11 mm above the end of the fingerboard, but erring on the side of “too high.” (I can’t very well “put it back,” if I remove too much wood.) I then marked the locations of the strings, giving them 25mm from center to center. I filed the string slots, so that the strings would stay put when installed, and I went ahead and installed the strings.
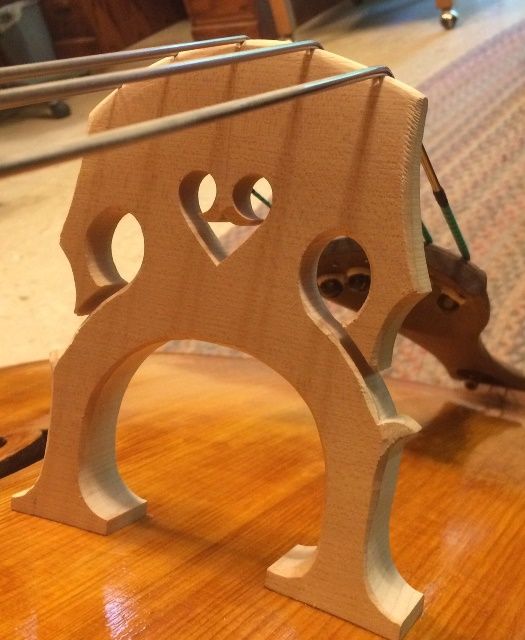
As it happened, I ended up with about 14mm under the B-string, ranging to 12 mm under the G-string…way too high. No problem: I simply re-marked the bridge, this time having a better idea of where things would line up, re-cut the top of the bridge, re-filed the string slots, and tried again. This time I had 11mm under the B-string, and 6mm under the G-string, with the strings in the middle at about 8mm. That is acceptable, so I finished trimming excess wood from the bridge, tuned up the strings, and I was ready for the final adjustments for sound.

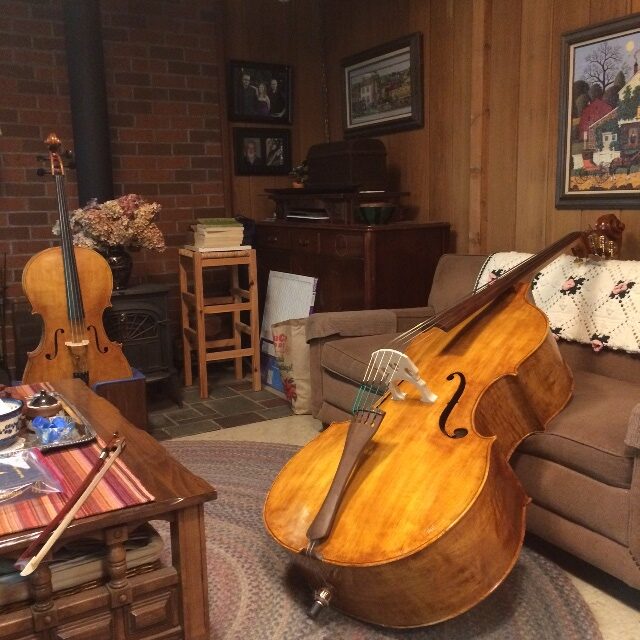
It is quite a relief to me to finally have this instrument nearly complete. It was actually begun several years ago; but it was set aside for a variety of reasons, and only resurrected as a project, this Spring.
The sound, at first set-up, is satisfactory, but I hope to achieve a better balance, more volume, and better clarity as the instrument “settles in’ a bit, and with subsequent adjustments of the soundpost. But for now, I’m happy with it. It looks good and sounds good. For a brand-new instrument, that is a good start.
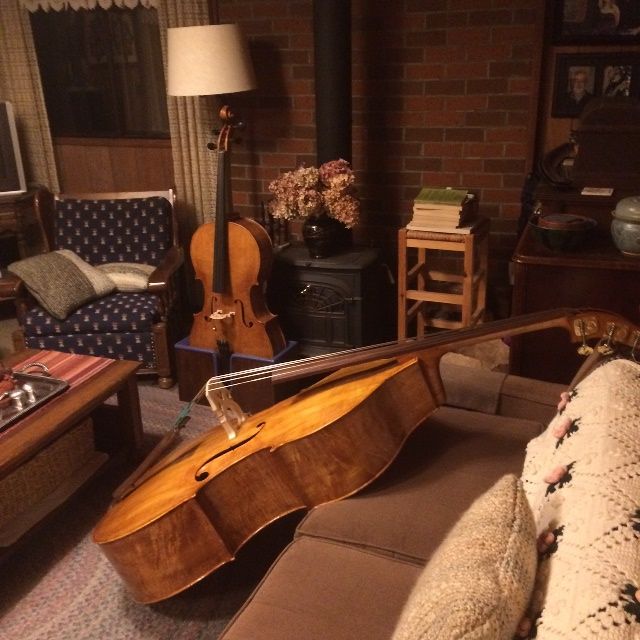
So, for now, that is it! There are a few “finishing touches” and re-touch of varnish, etc, as well as the aforementioned sound adjustments, but the bass is essentially complete!
I hope to make all the necessary adjustments, and then find a player or two to “test-drive” it for me, since I am not a player, and can’t do it justice.
I will post the “verdicts” from those players when they happen.
Thanks for looking.