New Commission!
Unusual Woods
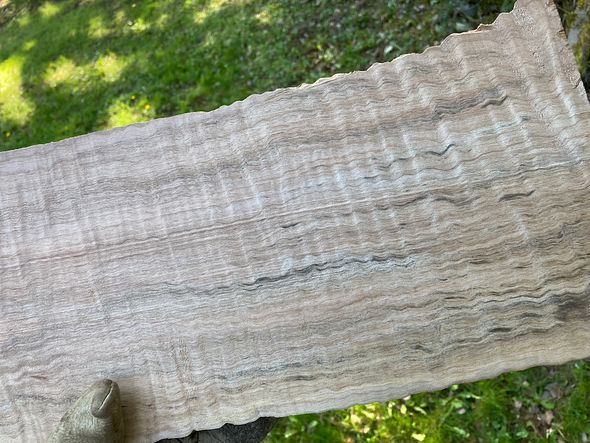
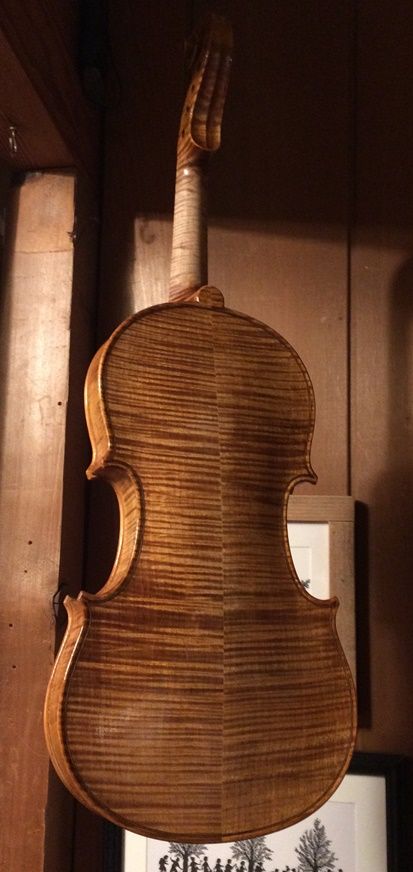
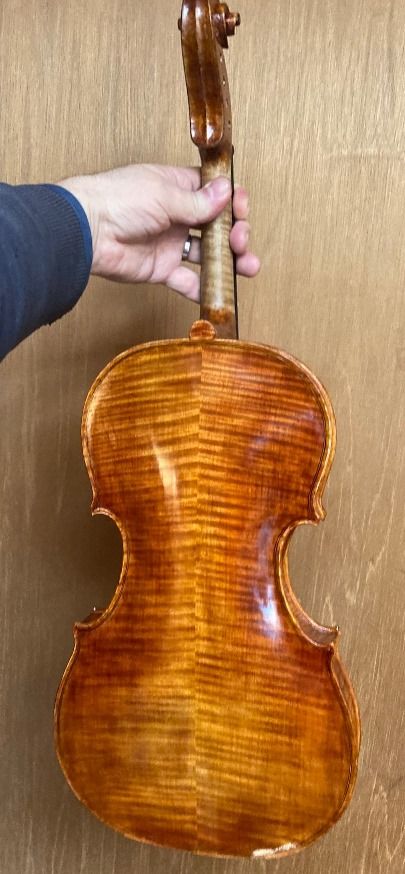
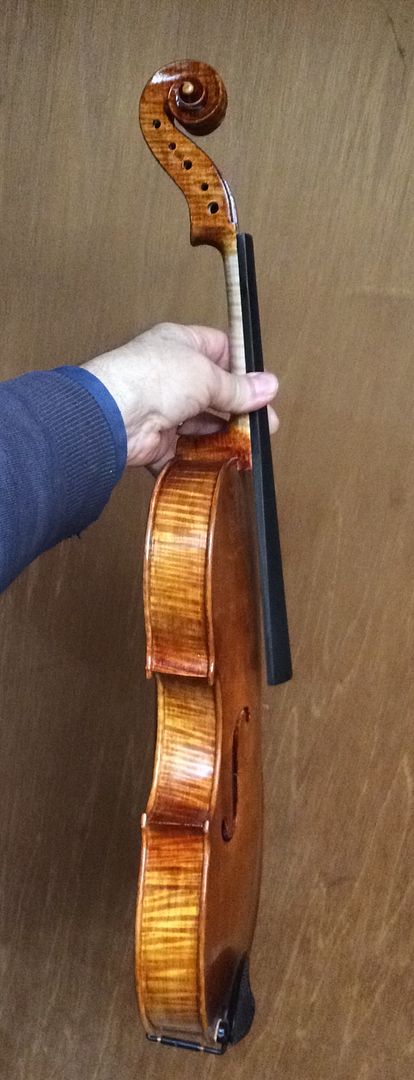
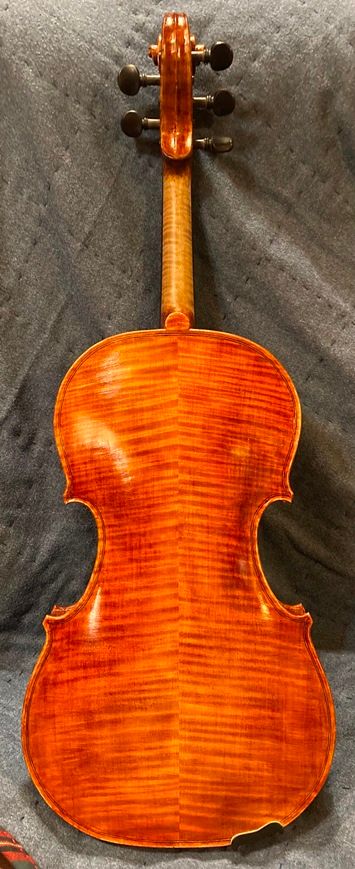
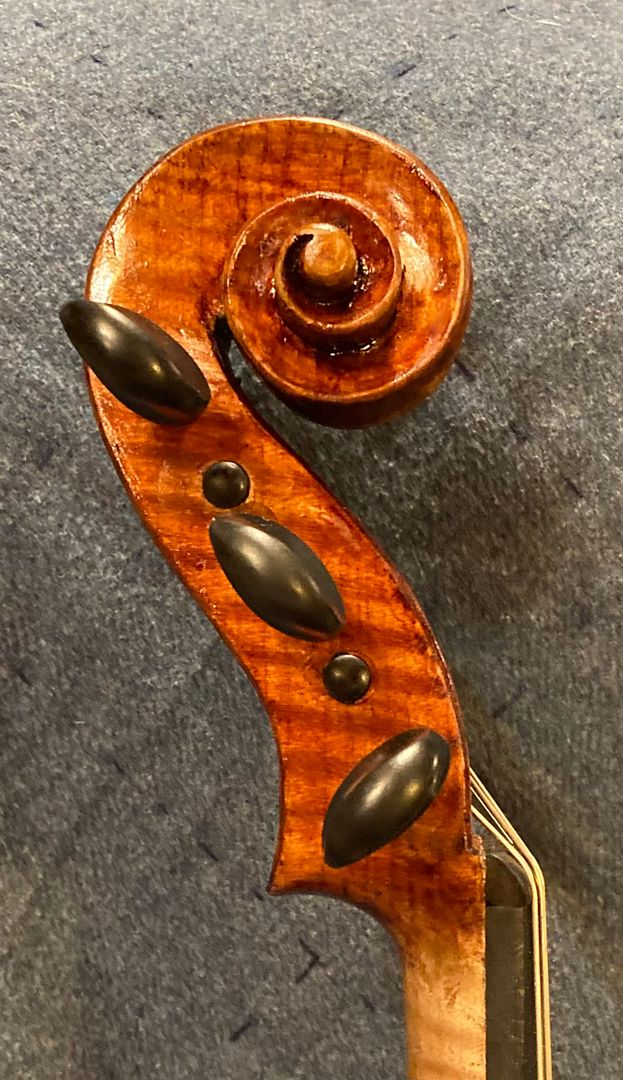
A customer ordered a new, custom-made Five String Fiddle, and it is on the way! He chose heavily spalted, heavily-flamed, Oregon Big Leaf Maple for the back plate, the sides, the neck and scroll. My wife’s parents gave me the wood from this maple tree.
Ann used to play under and climb on this tree as a child, and we hated to see the tree cut down. Her parents still live there, less than four miles from our house. However, they had to remove the tree because it was dying. I have salvaged wood for a few instruments from that tree and they all look and sound wonderful!
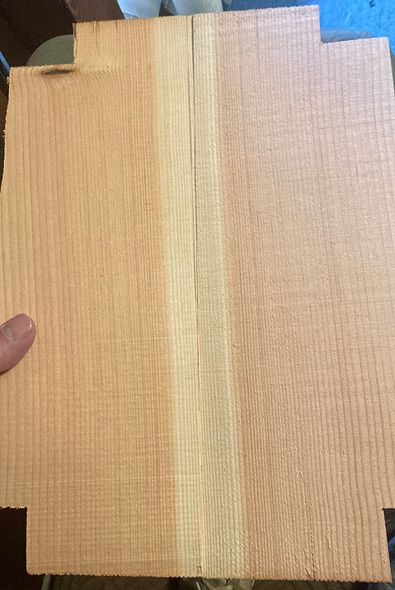
Given a choice between Spruce and Douglas Fir, the customer chose the Douglas Fir, for his front plate. This tree also grew just a few miles from my home. (A famous violin and viola maker, Otto Erdescz (1917-2000) used to make violins and violas with Douglas Fir soundboards. Professional musicians still play some of them, today. But very few luthiers use Douglas Fir. I didn’t either, until a few years ago!)
Not my usuaI Choice in times past
For many years, I refused to try such a thing. But a friend gave me a load of very straight grained Douglas Fir firewood, a few years ago. I was splitting some of the firewood, and the split-off piece hit the ground: it rang like a bell! I had never seen such straight-grained, clear Douglas Fir, with zero runout!
Unfortunately, that particular piece was too short for a fiddle. I had to search through the pile for a piece that was long enouigh for a violin plate.
Since then, I have made several such instruments, and they all sound great. (I find that the Spruce is definitely easier to work with, though, and, for classical, orchestral instruments, I still use only European maple and spruce.)
Customer Preferences:
This man showed up at my shop and he played all the five string instruments I had. (He really had not played 5-string instruments before. He laughed for joy, hearing the rich deep C-string on each one. After a short while, he declared, “OK, I’m addicted!”)
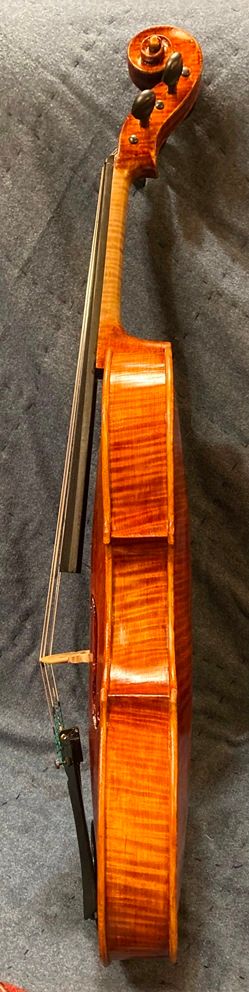
He played the full range of all of them. He finally settled on my earliest unsold 5-string (#3 on the “Chronology” page) as being exactly what he wanted.
But not to buy that instrument. No! He wanted a commissioned instrument “just like that one!” (He wanted one especially built for him! Sure! We can do that!)
And, as it turned out, that was a good thing. A week later, the next customer who came to try out all my instruments also loved that fiddle, but she bought it that day, and drove away! So, it is gone, now!
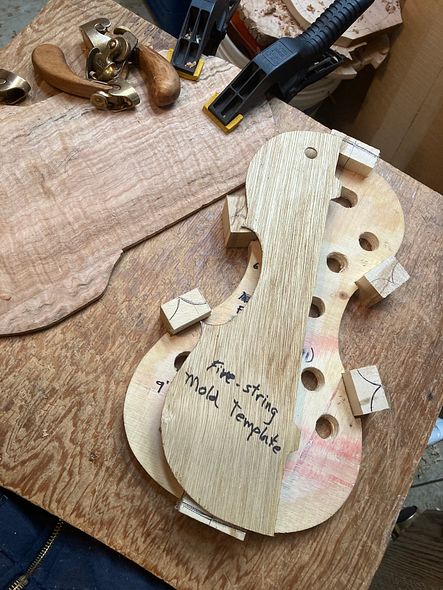
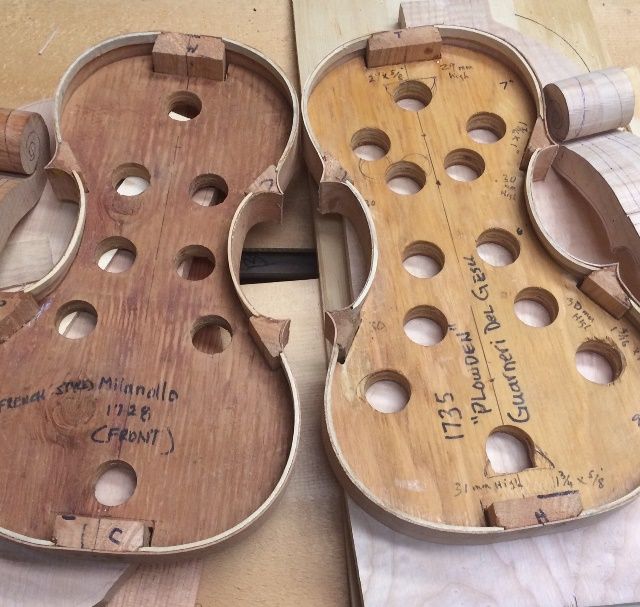
Which Mold?
I knew which of my molds was the source of that fiddle: I have made at least four off of that specific mold. All of them have sold, now, so, for the moment, there are none available. (This instrument will “solve that problem,” for a moment, but it will disappear immediately after completion.)
The commissioning customer also wanted local wood. so that he could say, “My violin came from a tree on that hill!” So…choosing the wood was the first step.
Choosing the Wood
The model I would use had already been chosen, so that was not an issue. I also knew what the wood source would be: I still have a little of the maple my wife’s parents had given me. And, with the customer’s approval, I chose a clear piece of Douglas Fir, salvaged from the firtewood I mentioned earlier. He loved both pieces.
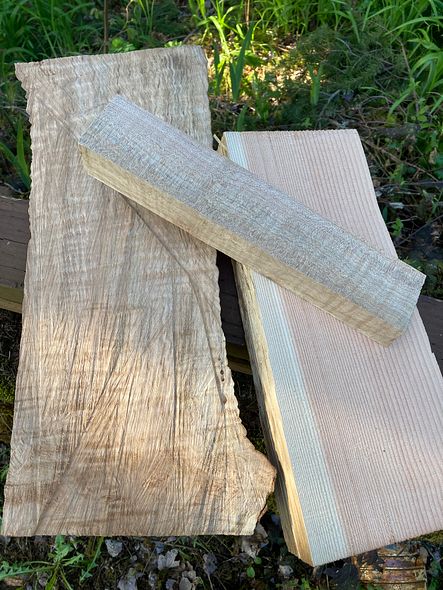
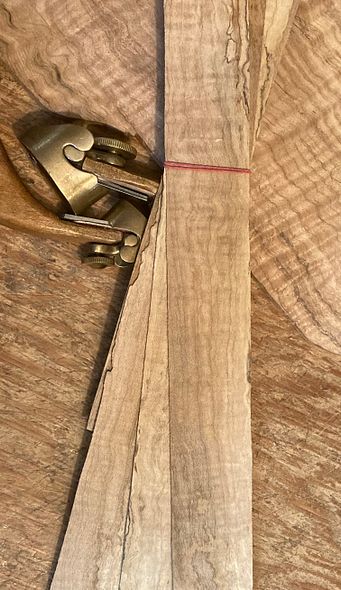
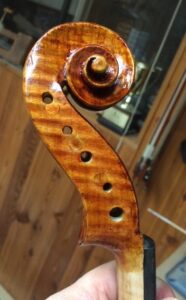
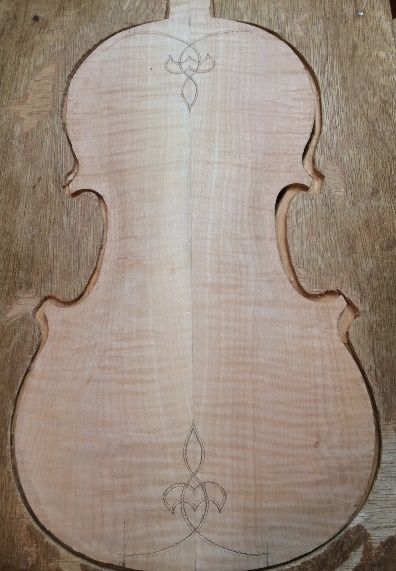
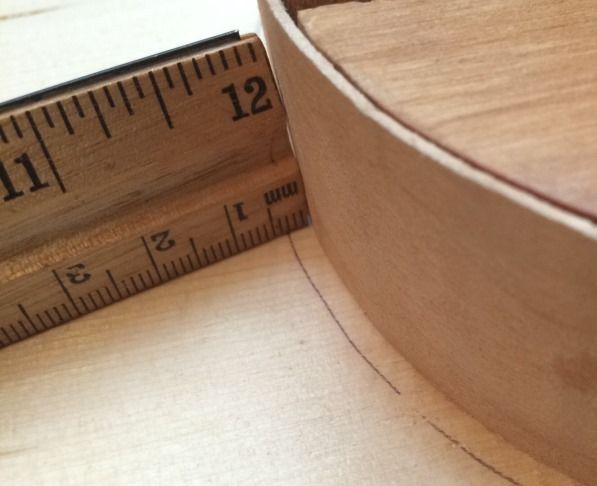
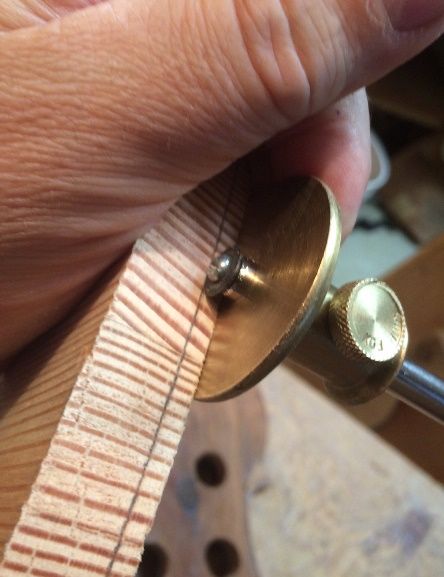
Here is a closer picture of the maple:
I book-matched the spruce, by cutting a single billet in two equal halves and gluing them together to make the front plate.
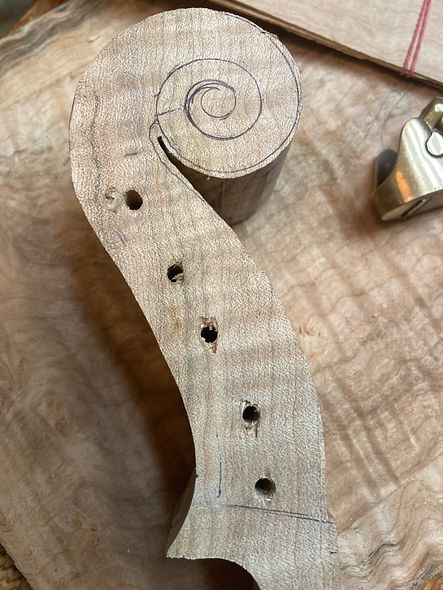
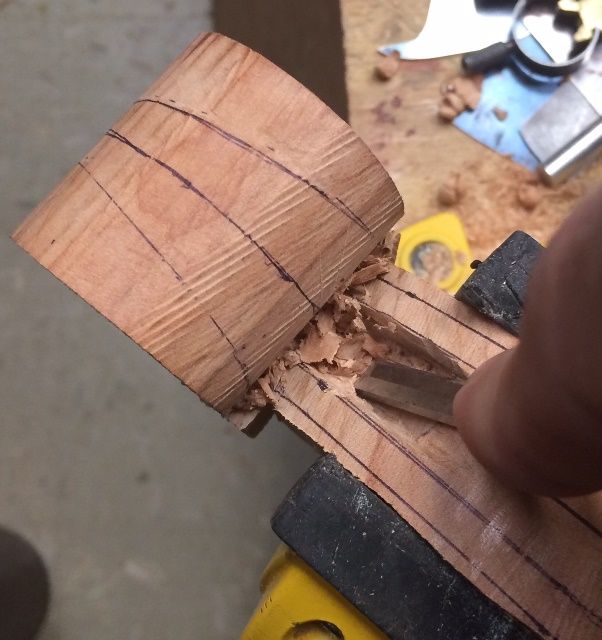
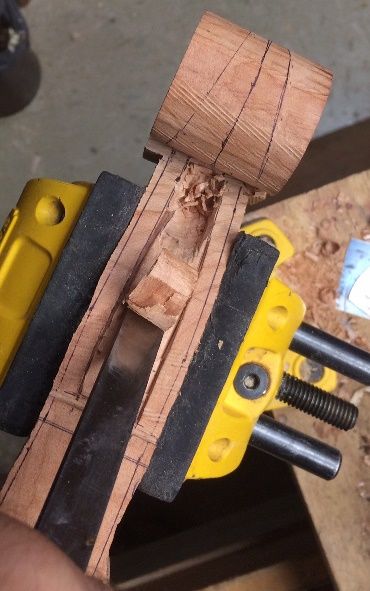
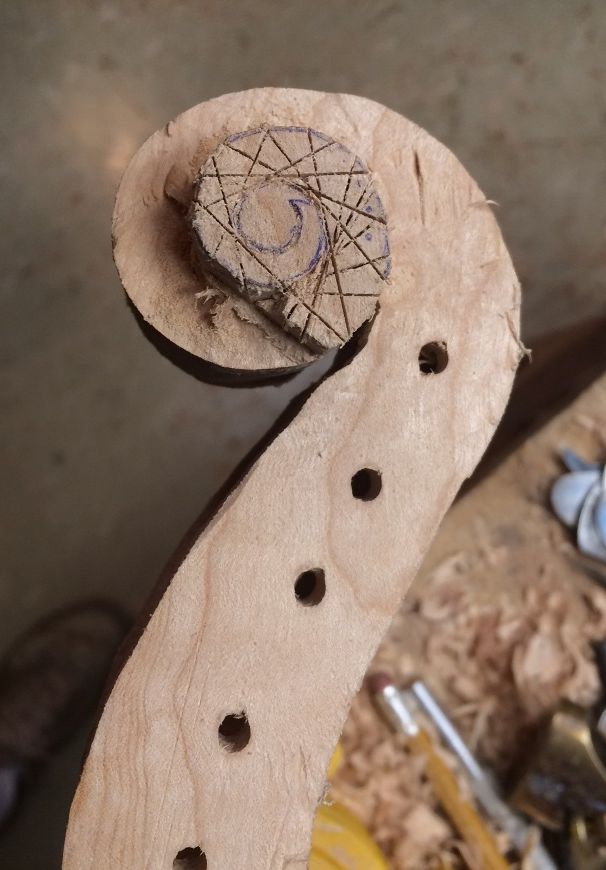
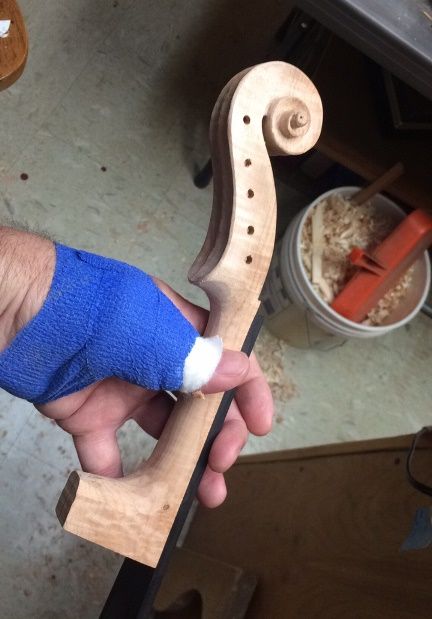
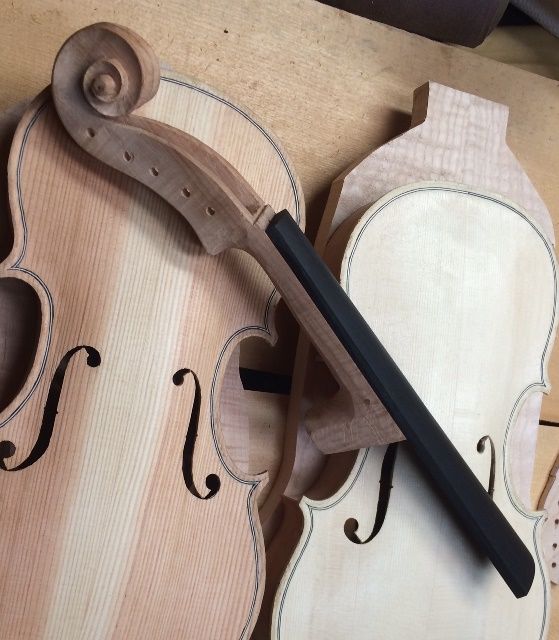
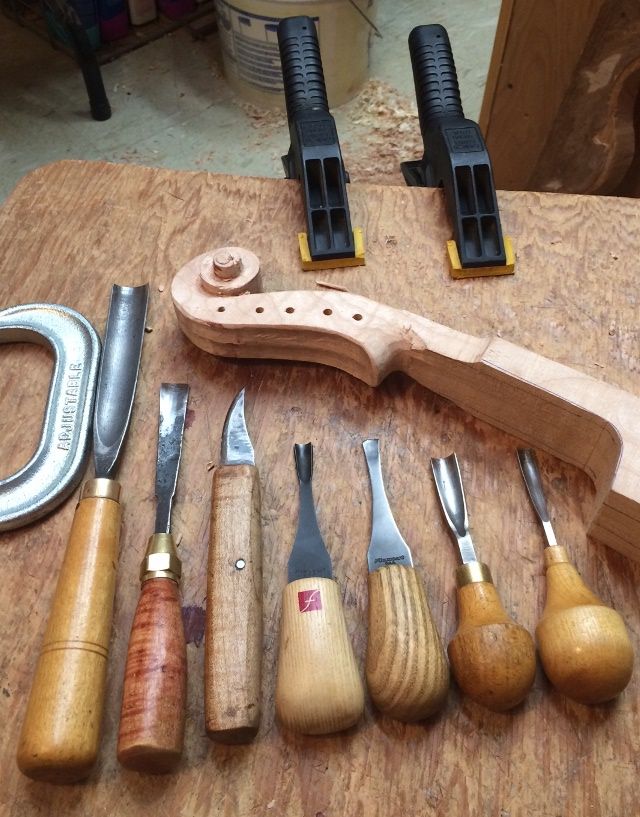
I laid out the neck outline on the billet I had chosen for the neck, and I drilled the pilot holes for the tuning pegs. Then I cut out the side profile on a bandsaw.
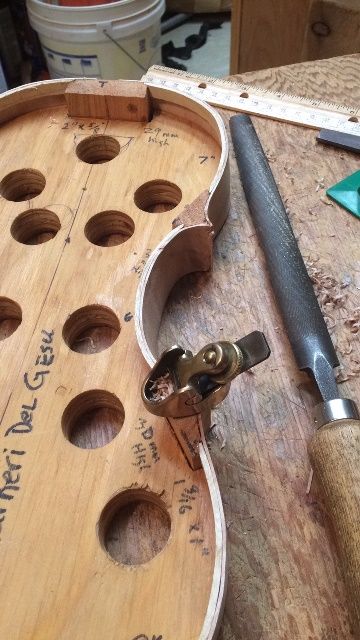
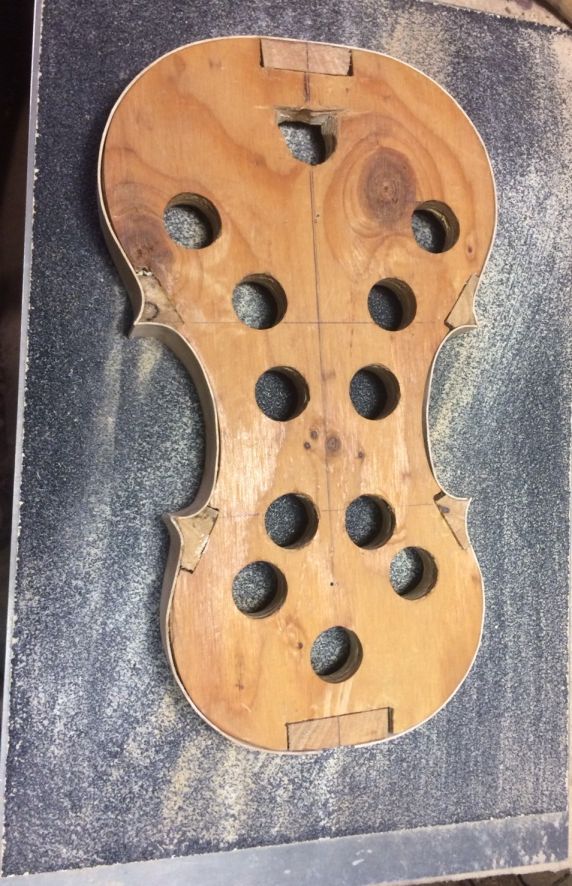
Mold Preparation
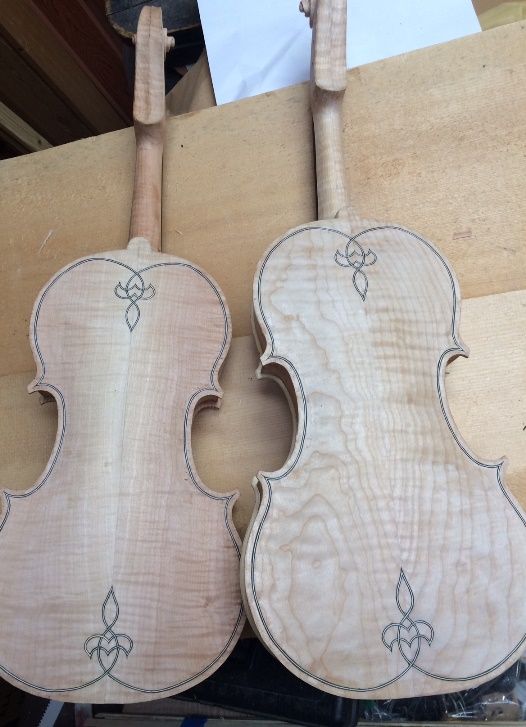
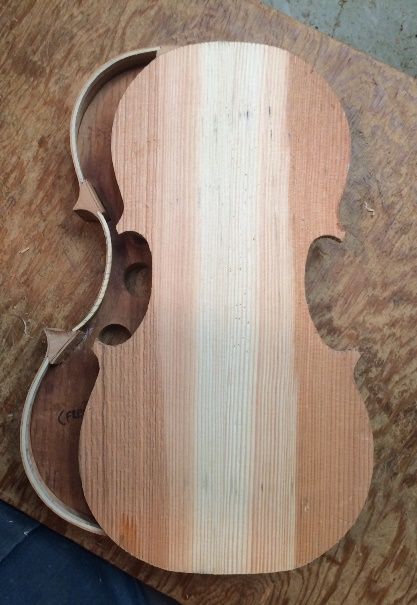
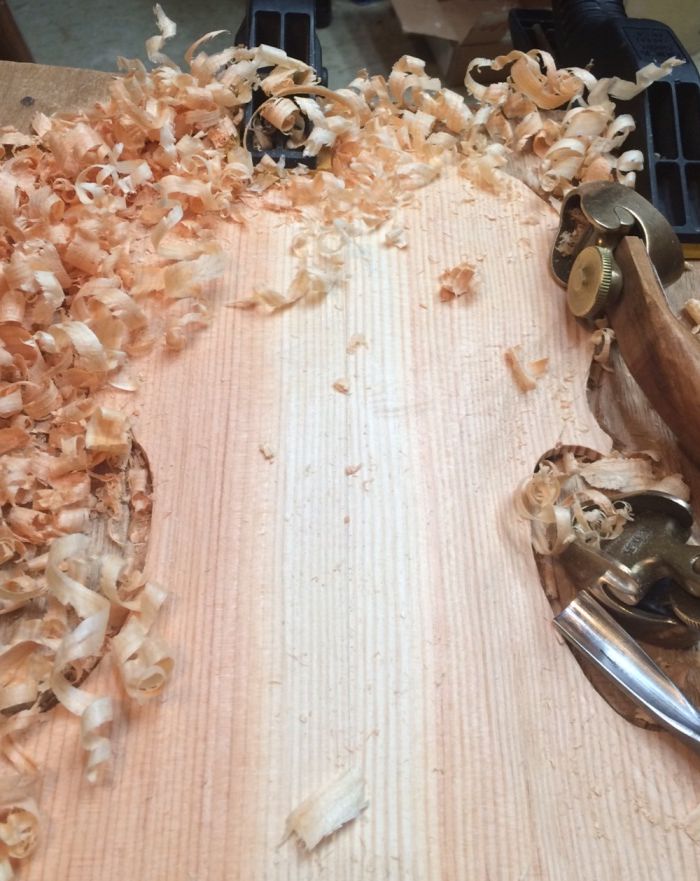
Meanwhile, I got the blocks glued into the mold. Then I traced their shapes from my template, so the whole job could begin. I also planed away the rough surfaces of the maple to ascertain that it actually would serve well as the back plate of a new five-string fiddle. And, I found that it was just a little too narrow in the lower bouts.
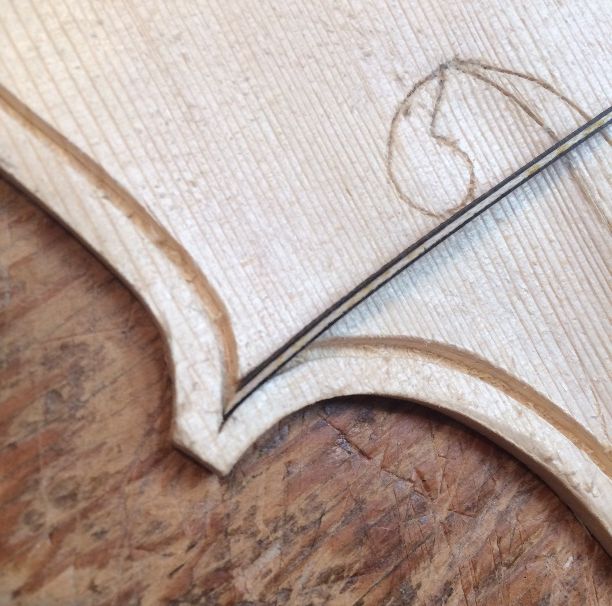
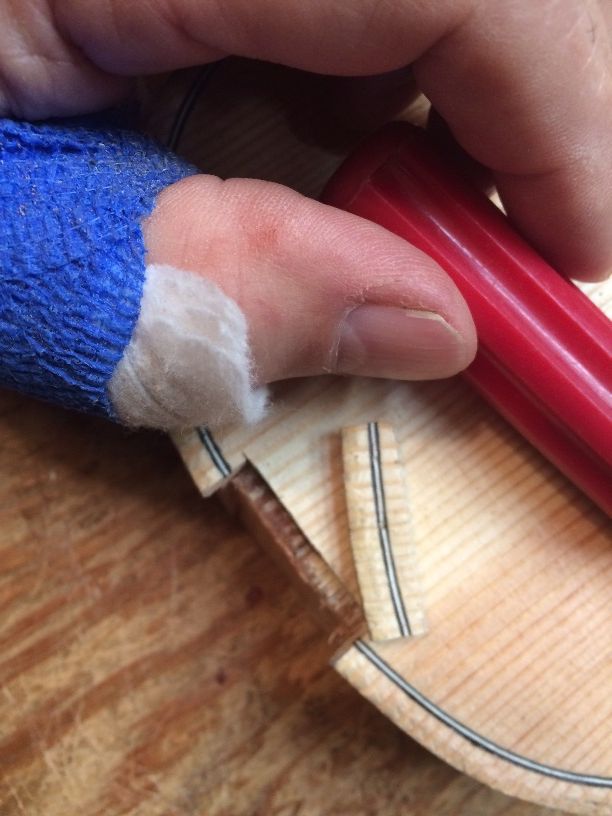
So, I “transplanted” a small piece of wood from the area above the upper bout on each side and grafted them in on the lower bouts. (This practice is not at all uncommon: It will be every bit as strong as the center seams on two-piece backs. And, once the double purfling is installed, the joints will be nearly invisible, under the varnish.)
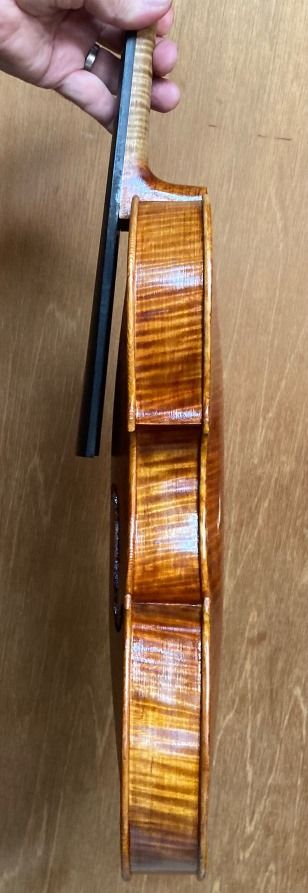
Preparing the Ribs
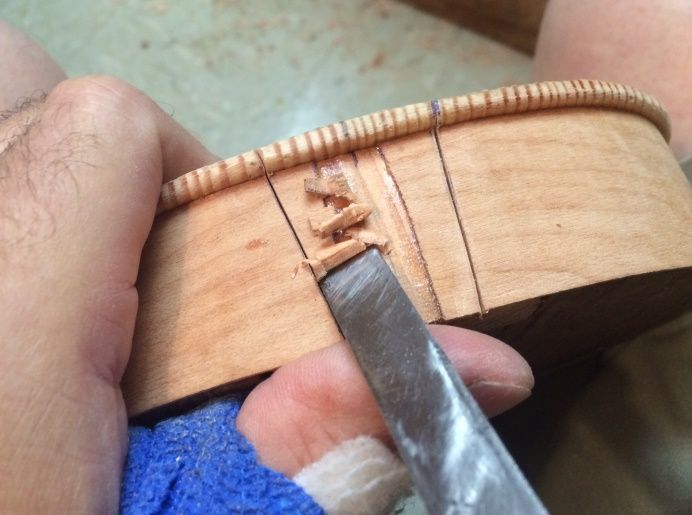
I had chosen wood for the ribs, as well, and I sawed them to a thickness of a little over 2 mm. I thinned them, using a wooden fixture I made, clamped to my oscillating spindle-sander. The fixture allows me to gradually reduce the thickness to 1 mm.
Here are the ribs:
Installing the Ribs
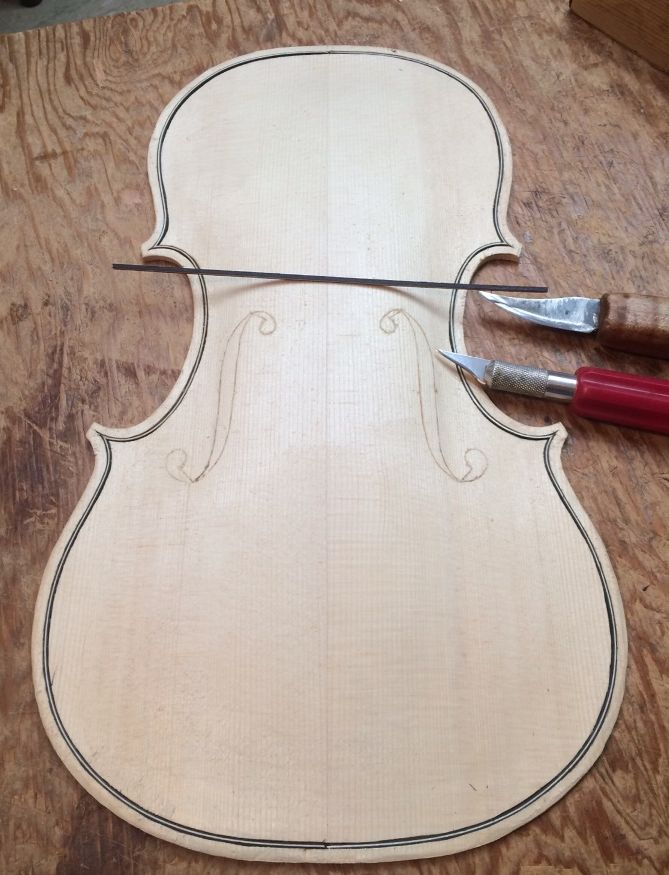
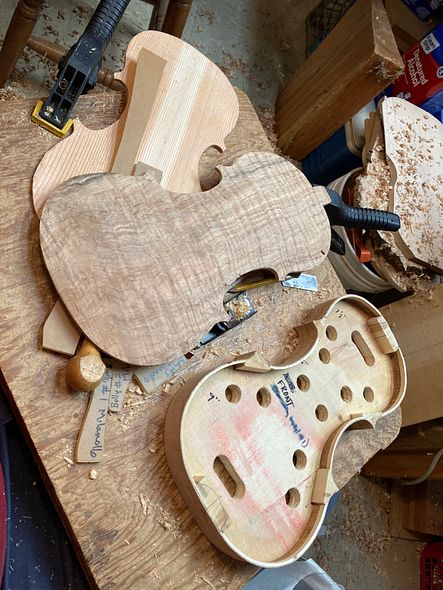
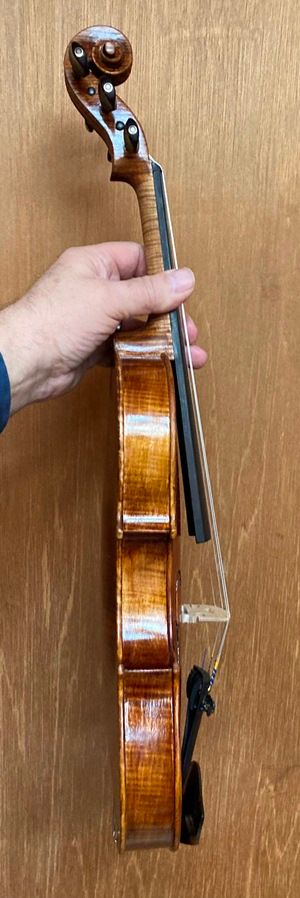
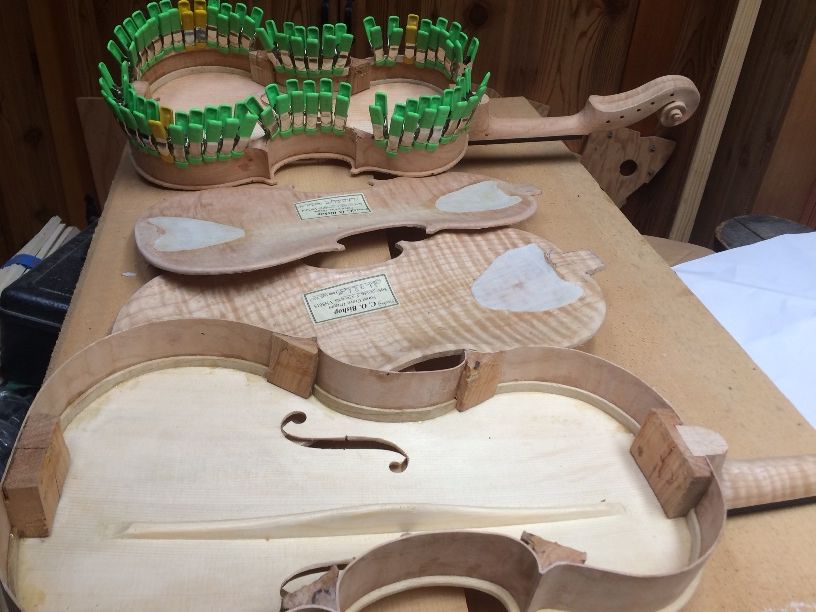
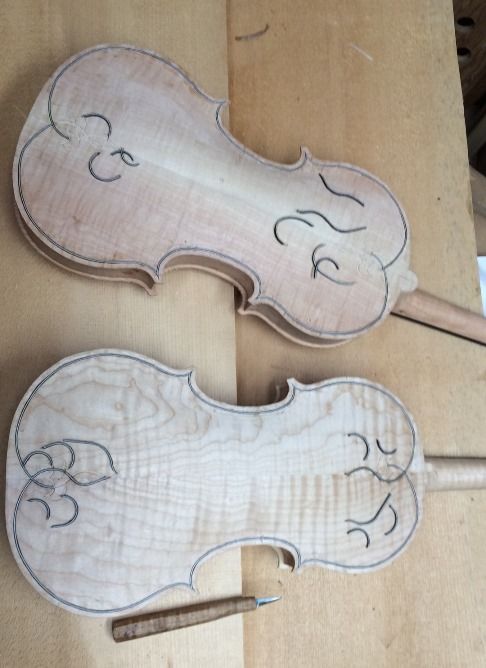
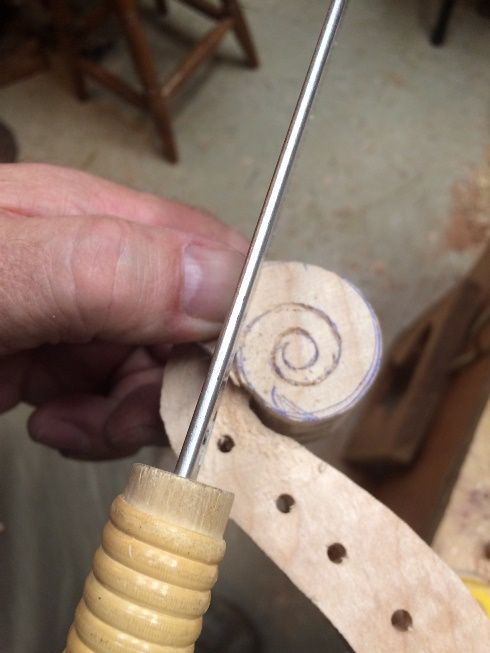
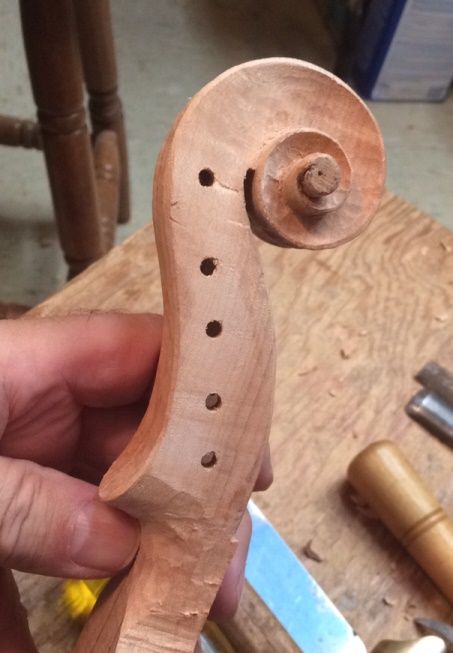
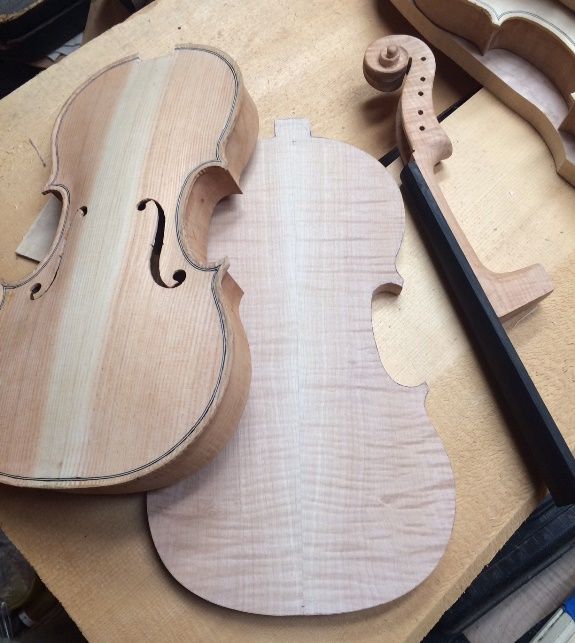
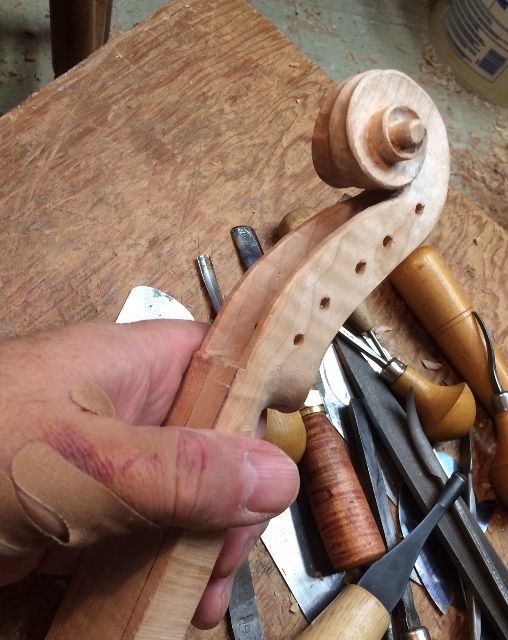
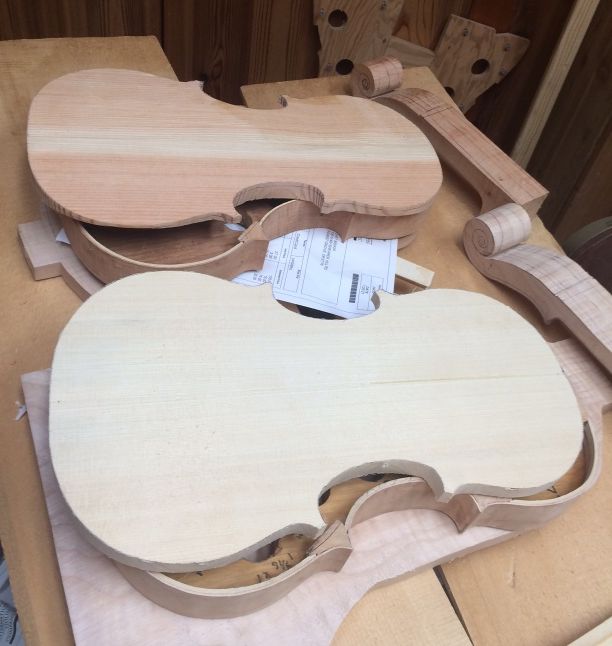
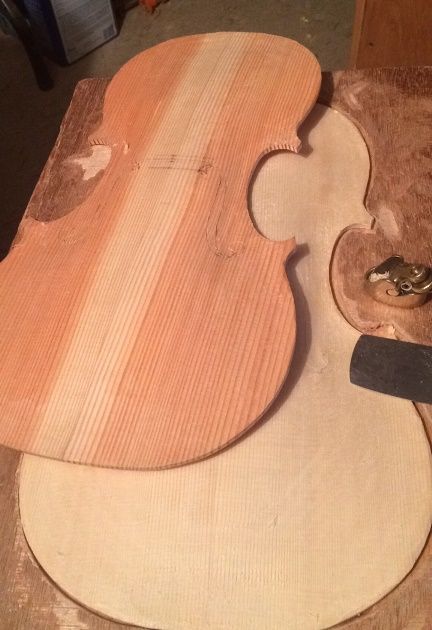
Next, I cut the ribs to the correct length and width. I carefully considered which grain from one side would “mirror” which grain on the other side. I had already been tinkering on the neck, as you can see in this photo, but I will explain that process later. (It isn’t always possible to do everything in a precise order. While I am waiting for glue to dry on one section, for example, I may jump ahead on another piece.) You can see the bookmatched front plate, too.
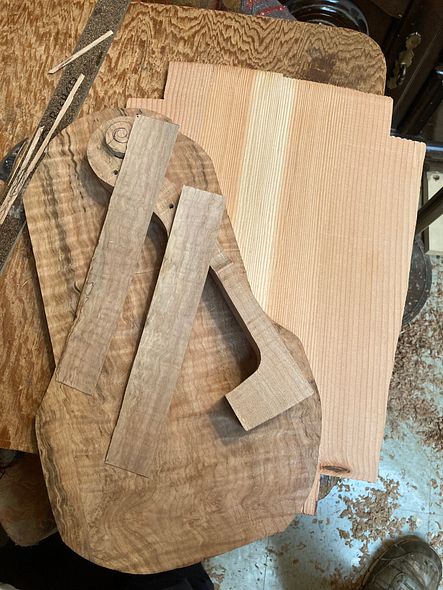
I cut all six ribs, and marked them as to inside, outside, upper and lower ends, etc, as well as which side of the fiddle they would call their home…treble or bass side.
Then I bent the ribs using a hot “bending iron” (actually made of aluminum, but, in the old days, they were iron.)
(I forgot to take photos of the shaped blocks: Sorry.)
I had cut and shaped the corner and end blocks, already, so I applied a generous coat of hot hide glue to one block at a time. then, I clamped the rib into the block surfaces, making certain that everything fit correctly before tightening the clamps.
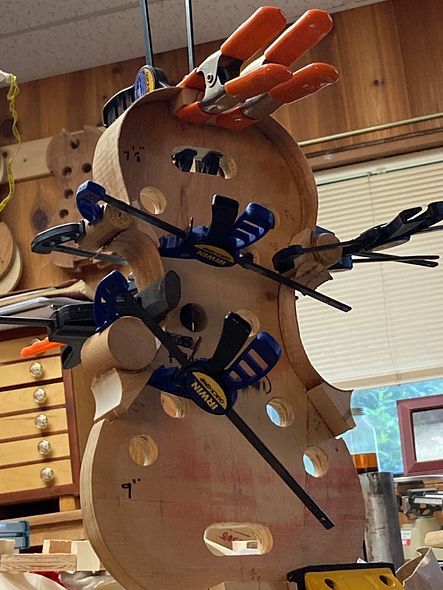
First, I installed the center bout ribs, and when the glue had dried, I used the spindle-sander to trim the ends of those ribs to match the curvature of the outer faces of the corner block, so I could install the upper and lower ribs. Here are the upper ribs, glued and clamped:
The lower end of the bass-side center bout rib was not fully tight, so I reglued it and reclamped it. (left lower side of photo.)
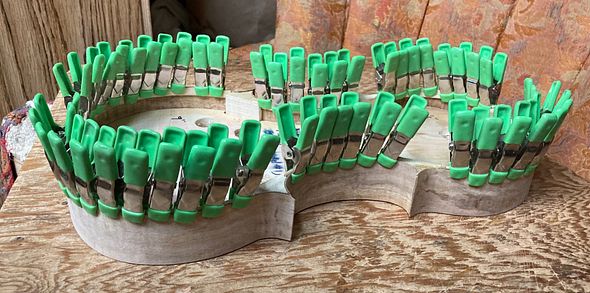
Then, when that glue was dry, I installed the lower ribs, by turning the mold upside down in the vise, so I could see clearly. It also meant that both hands were free to adjust the rib position, and apply clamps.
_rib_installed.jpg?width=590&height=590&fit=bounds)
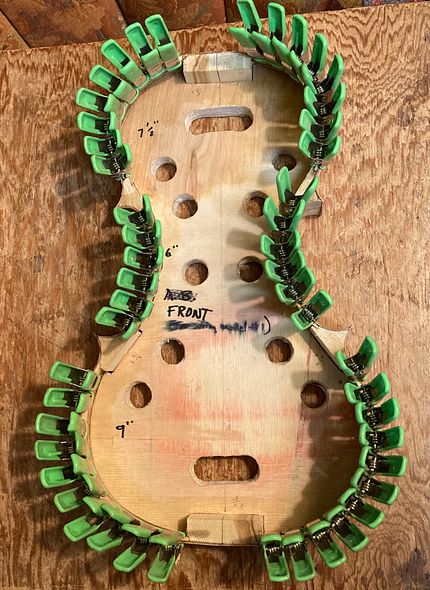
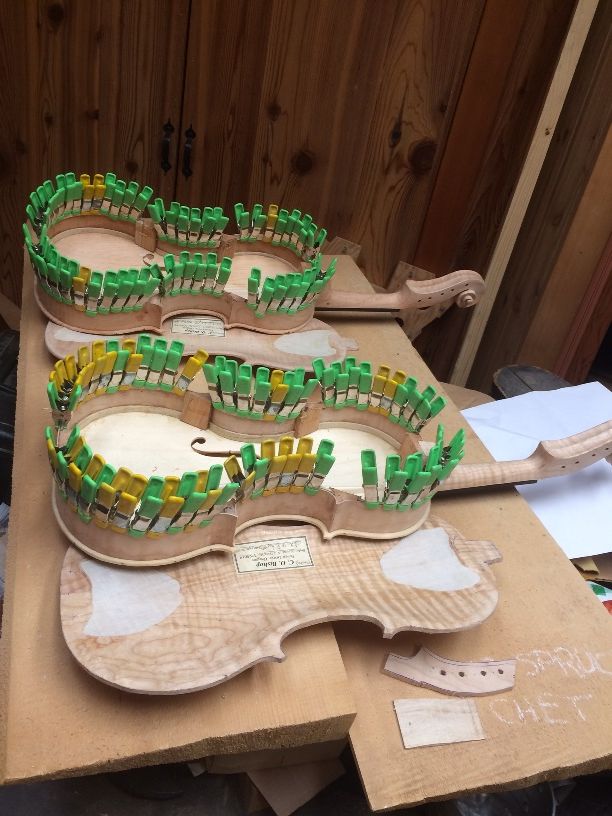
Linings bent and installed
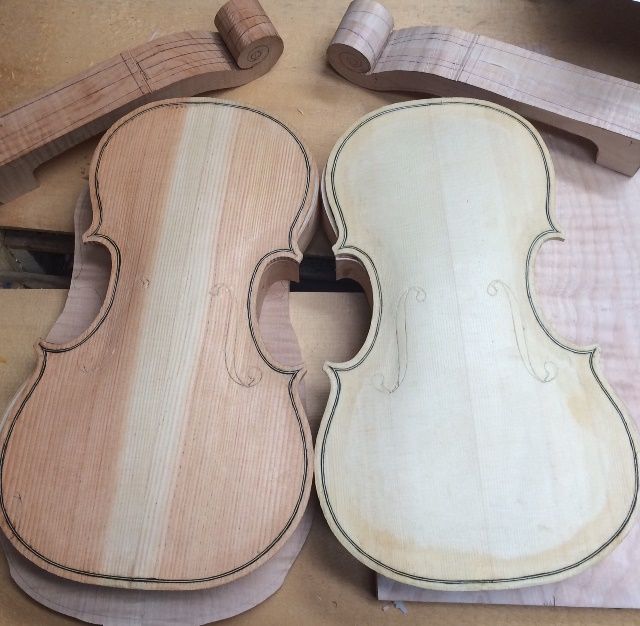
I also did not take photos of bending and installing the linings. (Sorry.) Here are two photos of the result, still in clamps.
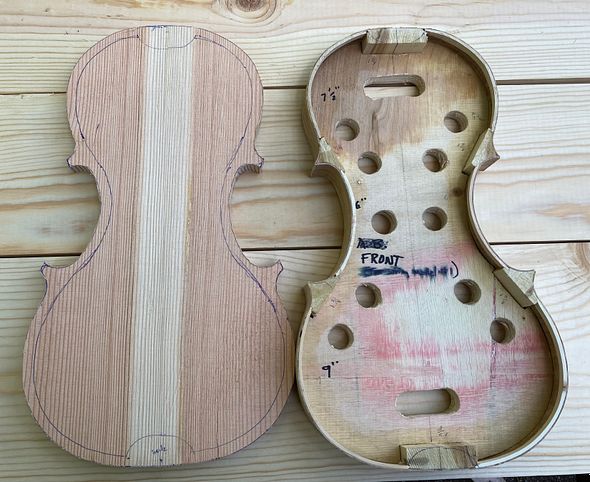
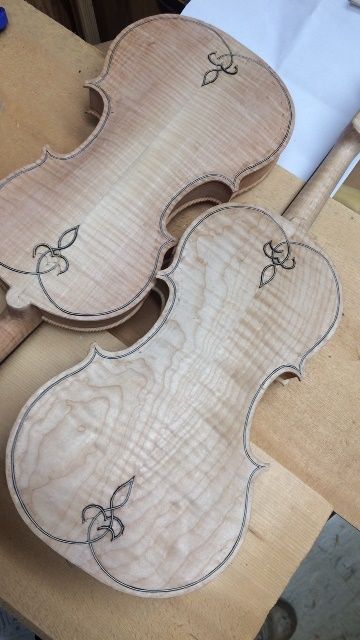
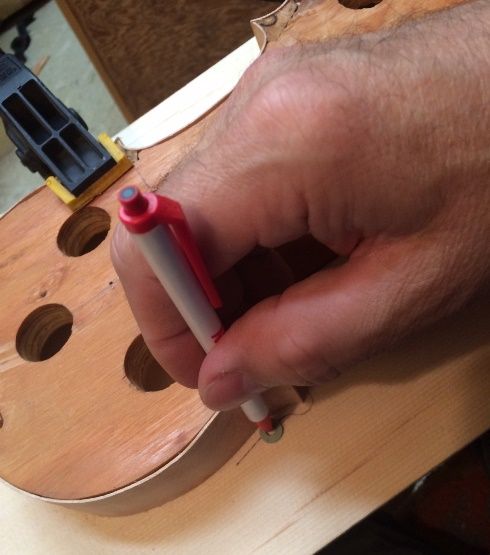
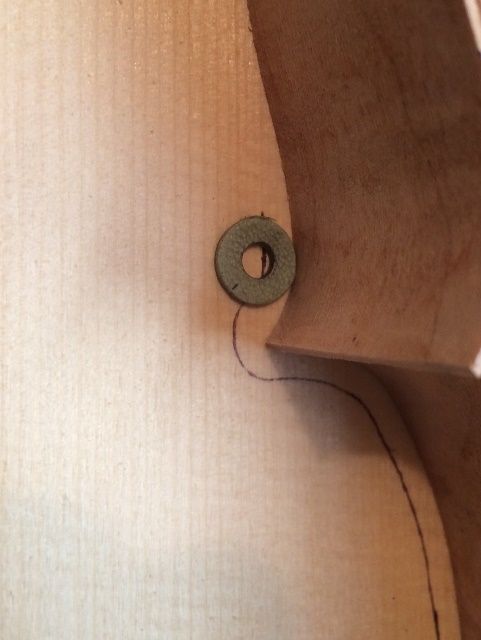
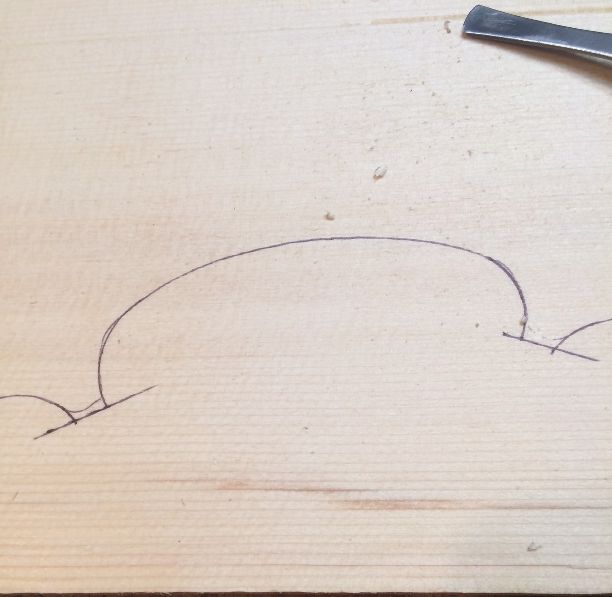
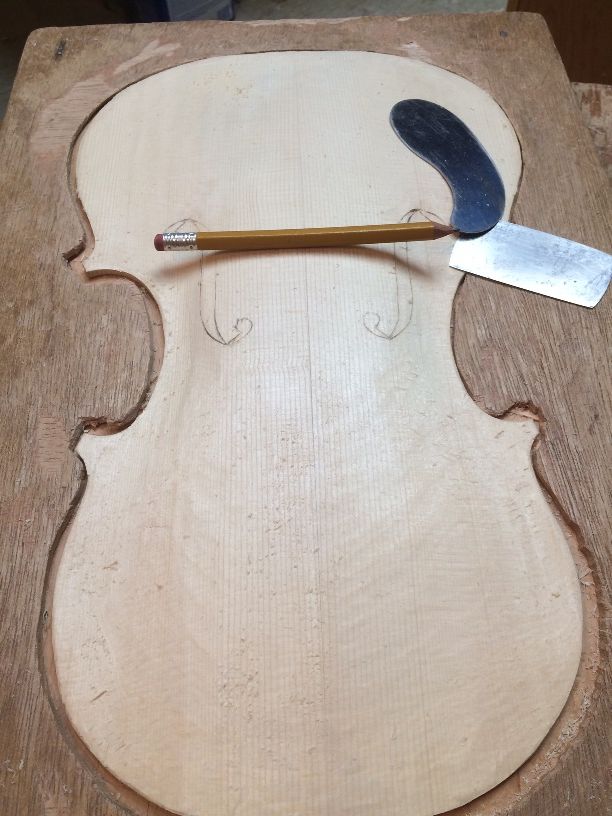
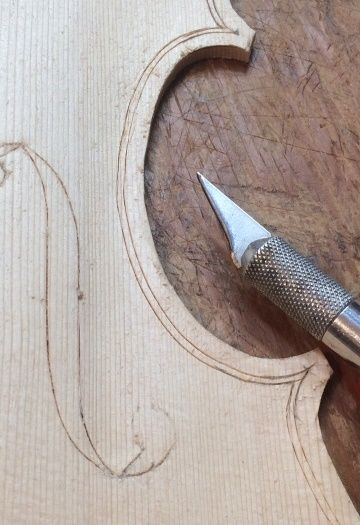
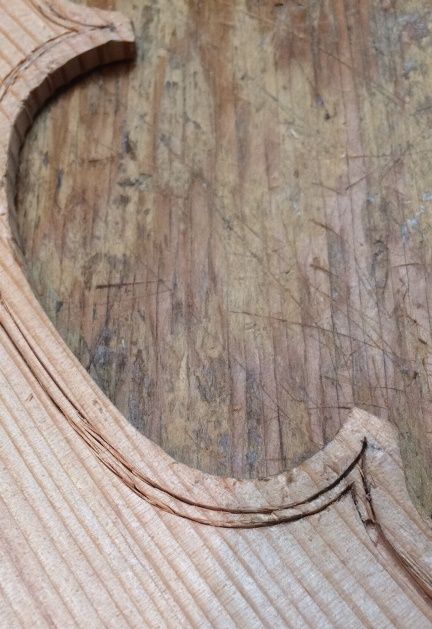
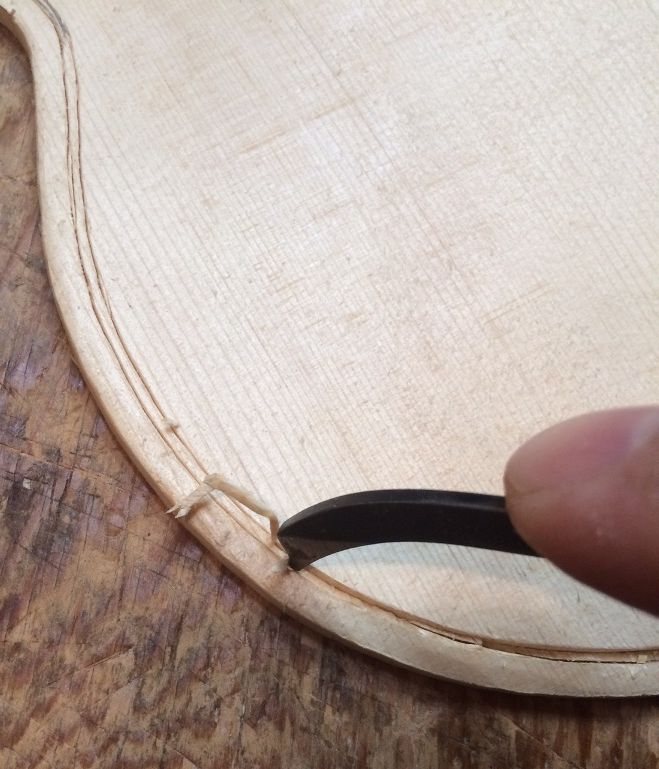
Tracing the plates
Once the linings were installed and the ribs thus strengthened, I could trace the shape of the plates, and begin cutting things out.
Thanks for looking! I will try to keep everyone posted as to progress.

.jpg)
.jpg)


![The Bread Bag Fiddle: Resurrecting a "Dead" Violin by [Chet Bishop]](https://m.media-amazon.com/images/I/41T5x5WOH7L.jpg)
.JPG)
.JPG)


.jpg)

.JPG)