
Progress Report 8/3/21
Foundational Work For 5-string Fiddles
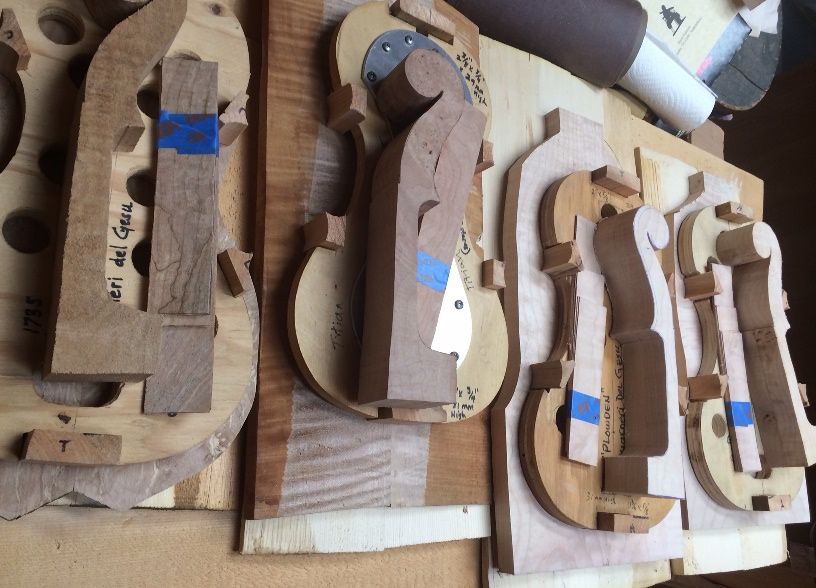
My last post showed the six “kits” I had built. The post included bookmatching the five-string fiddle plates, cutting the profiles of the Big Leaf Maple necks and scrolls, and cutting appropriate ribs to size. As a result, I ended up with six kits, including bass bar blanks all cut from the same billet of Englemann Spruce, and a big pile of linings ready to bend. ( I thought the linings were willow, but I now suspect may be poplar, instead.)
Five of these front plates ar Englemann Spruce, but one is Douglas Fir. I rarely find Douglas Fir that will work for tonewood, but a friend brought me a pickup-load of firewood, and I found some that sounds great. (As you can see, I am not a “snob” about where I get my wood. If I need special wood, I buy it, but I frequently use Oregon woods.)
(In case anyone reading this is not aware, I build all my instruments (except the fittings, as a rule) entirely from the raw materials. I make all my molds by hand, and all my templates by hand. I have even made many of my tools. So every instrument is genuinely “handmade in Oregon by Chet Bishop.”) 🙂
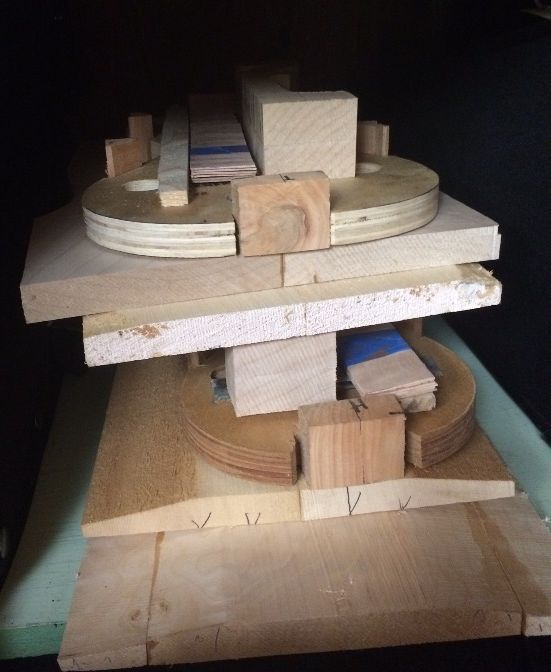
I set aside four of the six “kits,” just to get them out of the work area. Then I began work on the remaining two kits.
Beginning the Builds
The first step after shaping the blocks (last post) is to bend the ribs and linings. Then I can glue the ribs to the prepared blocks, using hot hide glue, and finally glue the linings to the ribs.
I rub a heavy coat of candle-wax (“paraffin” in the US) on the outer rims of my molds. This will prevent a “sneaky” drop of hide-glue from accidentally bonding the ribs to the molds instead of just to the blocks.
(A rib accidentally glued to the mold can be a disaster if I don’t realize my mistake in time. The glue is definitely stronger than the rib. It will destroy the rib, if I don’t catch it early enough to use hot water or steam to release it. But the wax coating pretty much eliminates that problem.)
I used a bending iron and a thin aluminum bending strap, to hand-shape the ribs, and then put them aside in paired sets, with the respective molds for which they are intended.

Installing the Ribs
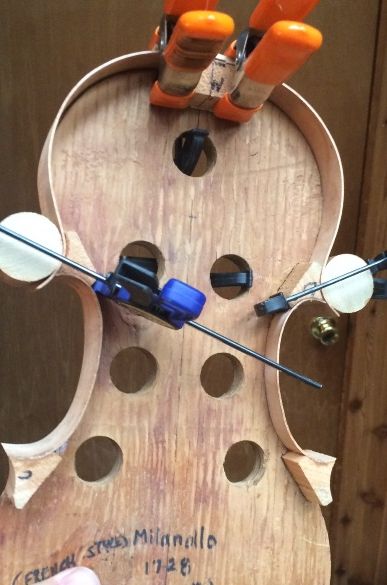
I installed the center-bout ribs first: they can be difficult, so I’m glad they are first. But the real reason they are first, is that the upper and lower ribs will overlap the ends of the center ribs: they do not have a mitered corner, but a lapped corner, which if done correctly, is essentially invisible.
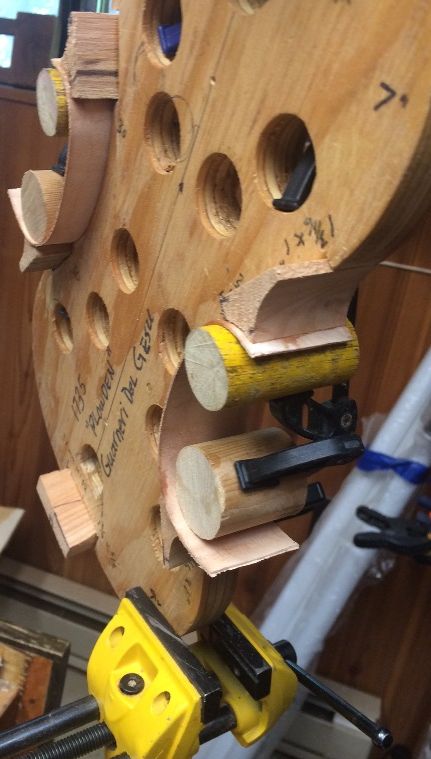
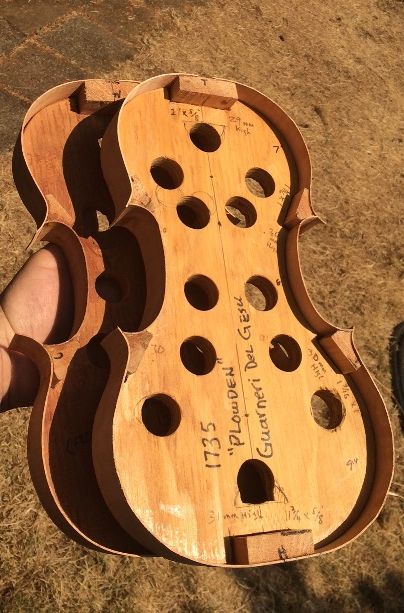
I frequently use these “French-style” molds, (flush on the back) which allow me to install the front linings and still easily remove the mold. (Italian-style molds are centered on the ribs…I use that kind, too.)
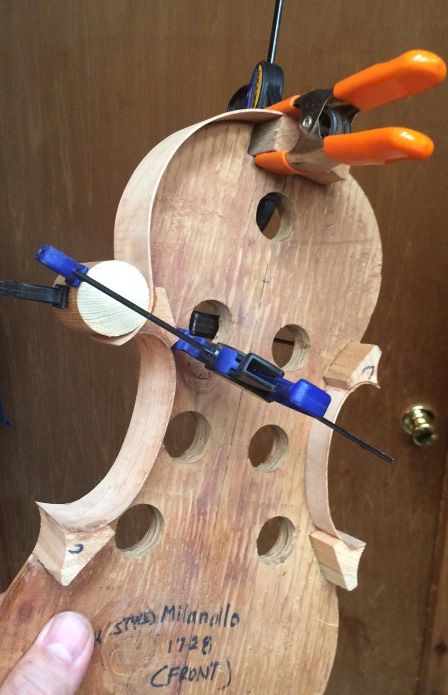
I used cylindrical clamping cauls of appropriate sizes (dowels, broom-handles…whatever) and f-clamps to quickly secure the rib ends before the hot hide glue gels. If I make a mistake, I can steam the joint loose with a teapot, and do it over, correctly.
After the center-bout ribs dry, I shape the ends of the ribs to match the curvature of the blocks. Then the upper and lower ribs can be glued to the perfectly-shaped block and rib. Finally, I begin installing the upper and lower ribs.

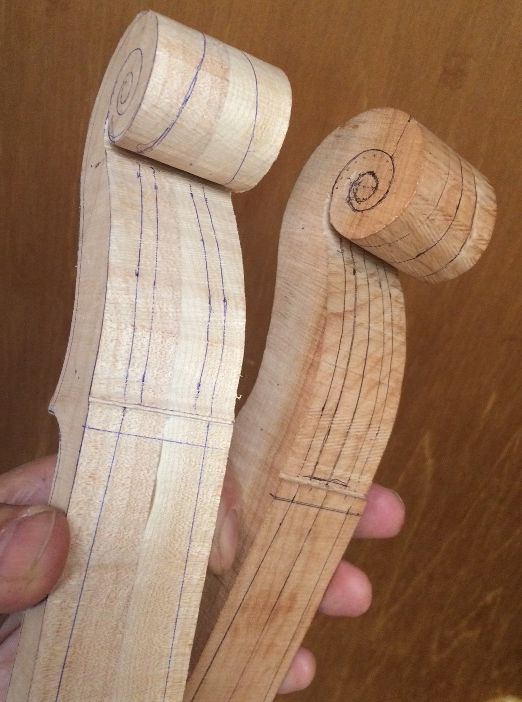
Necks!
While waiting for glue to dry on the ribs, I laid out the necks so that I will be ready to begin carving them.
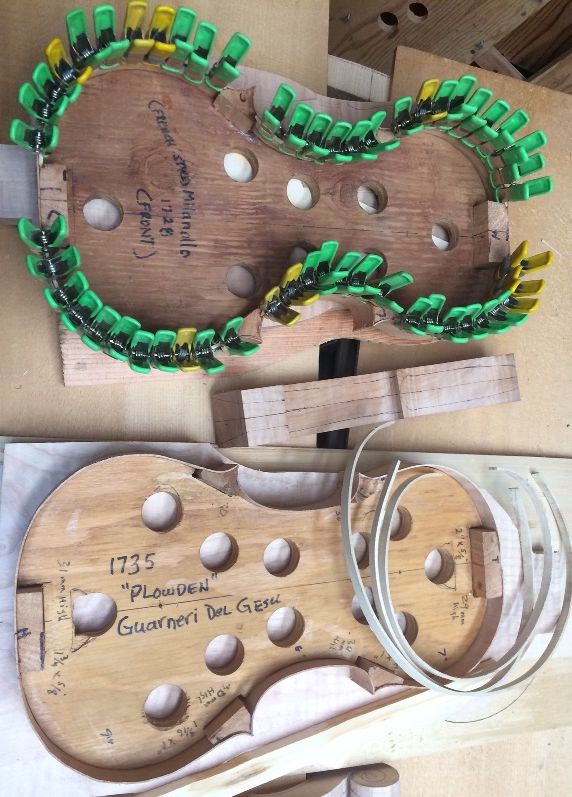
Linings!
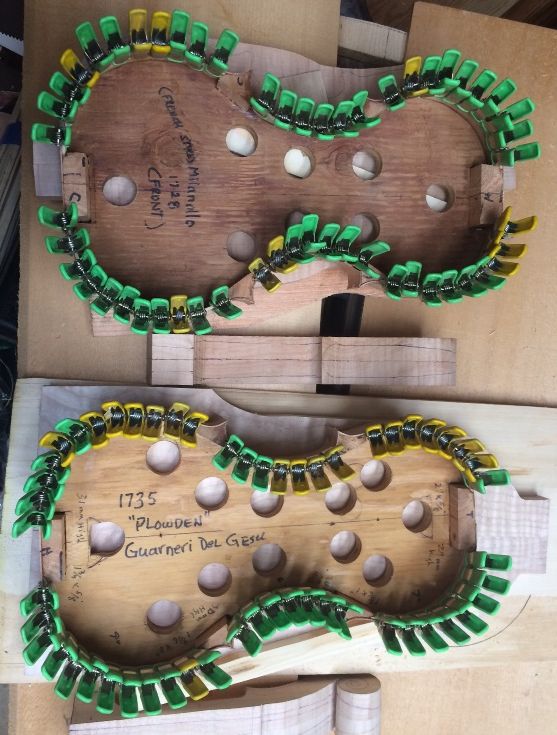
After trimming all the corners, so that they look as though the ribs come together as one, I begin installing the linings. I cut a small mortise on each side of each block, flush with the rib, so that the lining will be glued tightly to the rib, and into the block mortise. I secure them all using hot hide glue.
Next, I cut the linings to length, shaping the ends to closely fit the prepared mortises. Then, I coat about 7mm of the edge of the rib, and the entire mating surface of the lining with hot hide-glue and insert the lining into the mortises and push it to the correct level, corresponding to the ribs. Finally, moving rapidly, I secure it with small spring-clamps.
I made a good deal of progress yesterday, and had hoped to make more progress today, but there were some household repairs that needed to be addressed first; so I didn’t begin working on violins until mid-afternoon.
Tomorrow I will level the fronts of the garlands and trace the front plates… I hope. 🙂
Thanks for looking!
One Reply to “Progress report: fiddles for Fall of 2021”