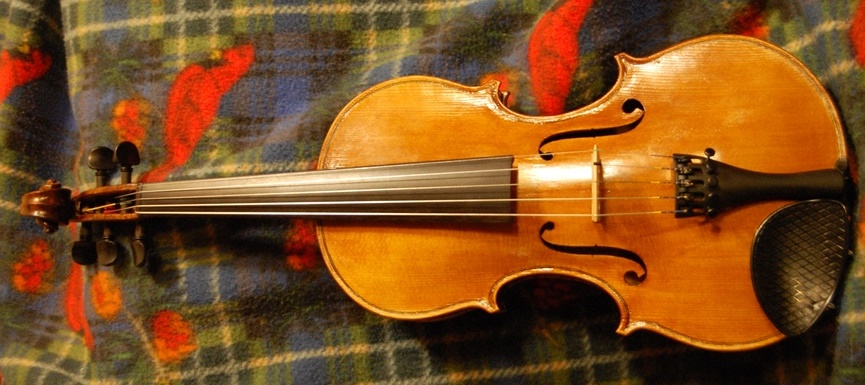
I Began this 5-String Fiddle Sometime Last Year…
Looking for Completion, But Life Happens! Projects get put on hold...
Originally, I laid out the “kits” I had made (and separated into boxes on a shelf) for six new five-string fiddles, two years ago. However, I had taken on other responsibilities, so I was pretty busy. But I did manage of completion of two of the fiddles a year ago. As a result of numerous interruptions, I had barely begun this particular instrument.
We had lots of interruptions: some good, (a commissioned five-string fiddle) some bad (Health issues for family members.) But, now I’m almost “on the homestretch” to completion of my #17 Five-string fiddle.
Where it began
Initially, I bought some very pretty quilted Big Leaf Maple, and some Englemann Spruce, from Bruce Harvie, of Orcas Island Tonewoods. Fortunately, I got the ribs, back and neck out of the same billet of maple. It was nice that the Quilted Maple billet was large enough for that. I cut the top plate and bass bar out of the Englemann Spruce. However, I obtained the willow for the blocks and linings elsewhere. I thought completion would come soon!
But then, I laid the instrument aside for a year, partially completed, while, as I said, other things (commissioned instruments, family needs, etc,) took precedence.
Eventually, I “drifted back” to complete this instrument in June, but still there were a lot of sidetracks. (“Life is what actually occurs while we are planning something else.“) But this is the final work toward completion:
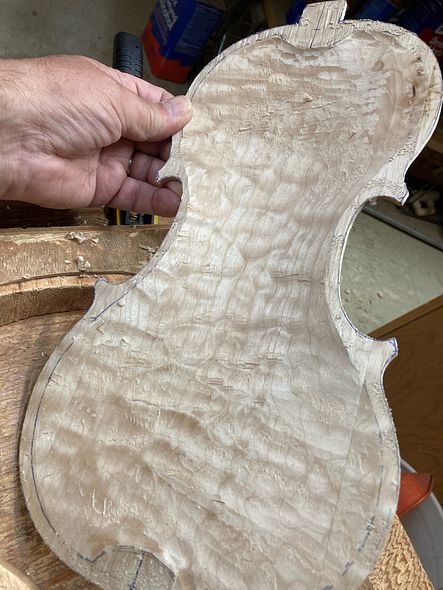
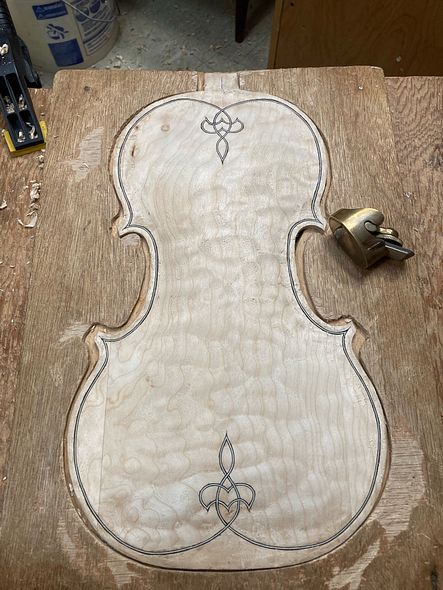
Carving the back plate to Completion
First, I completed the carving, of the back plate, inside and out. Then I installed the purfling on the back plate. (I had already completed the front plate, a year ago.)
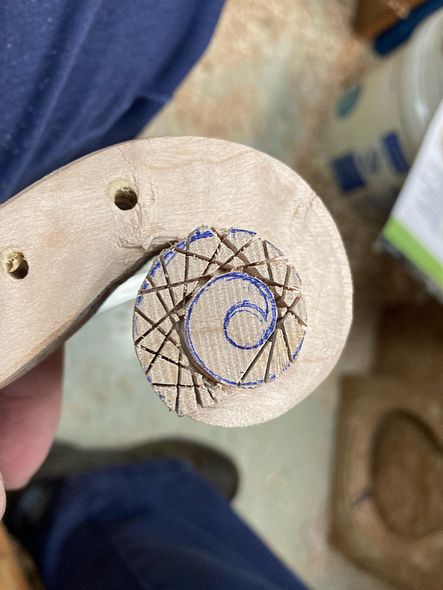
Carving the Neck to Completion
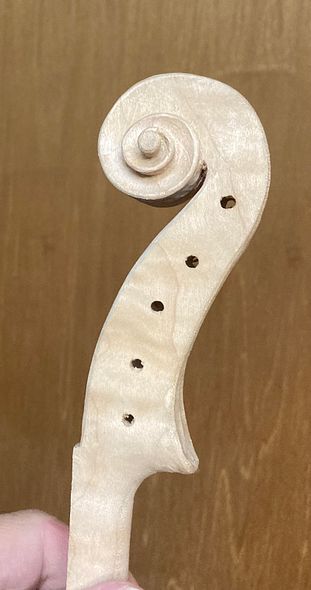
Meanwhile, I began carving the scroll and neck.
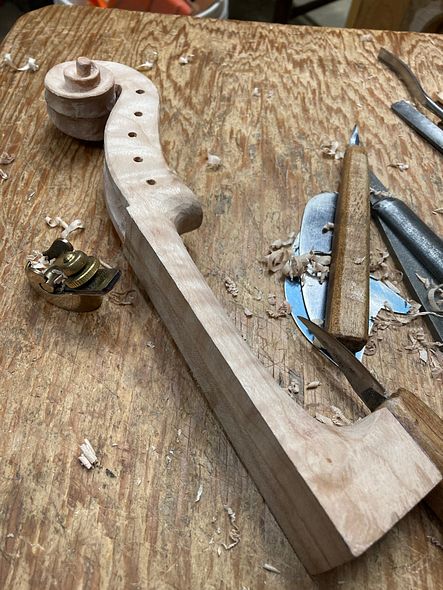
After I installed the back plate on the corpus, it was time to install the neck.
Completion: The Neck-Set
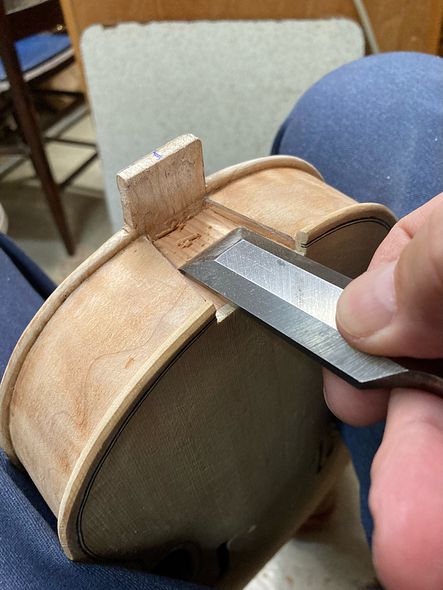
First I laid out the mortise with a straightedge and pencil. Then I carved the mortise out, using chisels and scrapers. Afterward, once the neck joint was perfectly fitted, I glued and clamped the neck into the mortise and allowed it to dry.
However, I still needed to finish carving the neck heel and back button, together, as one piece. In that way, all the dimensions and curves will be correct. In addition, I continued to work on the final smoothing and details on the scroll itself. All moving slowly toward completion.
Completion: Final Shaping of Neck, Heel and Scroll
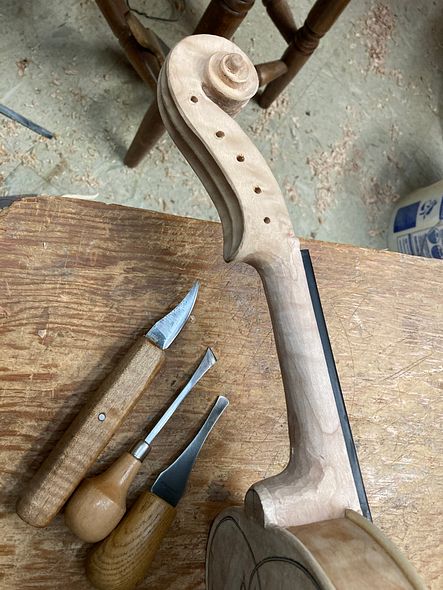
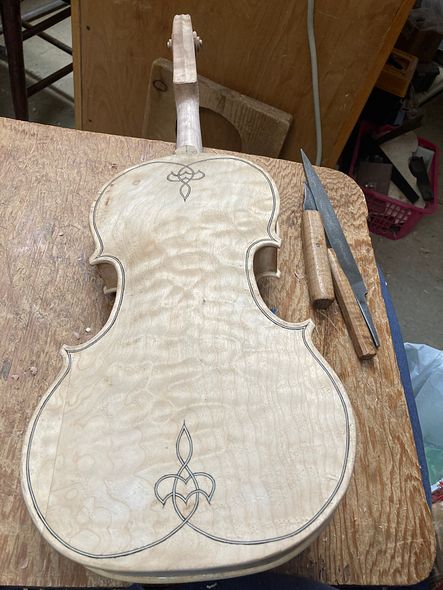
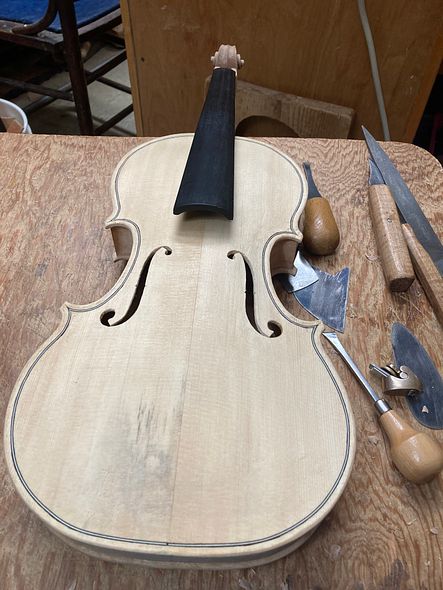
Finally, I removed the fingerboard. As a result, I could easily access all of the bare wood for the final varnish preparation and varnishing. (Originally, I had only temporarily attached the fingerboard, by means of three dots of hide glue.)
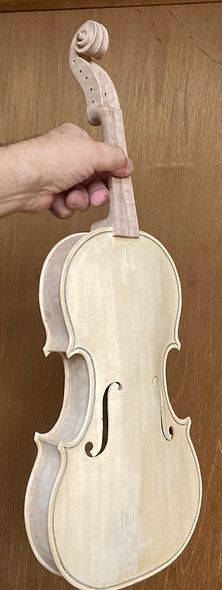
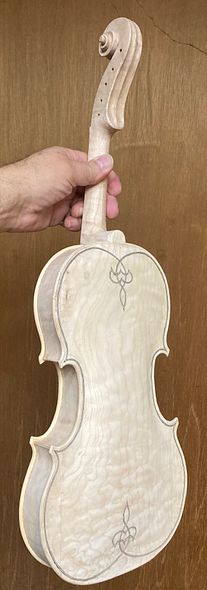
Varnish Process
In reality, the varnishing process is fairly involved.
First, I apply a mineral ground. Next, I apply a coat of sealer. Then, I begin varnishing. Furthermore, the varnish must be built up, coat by coat. To begin with, I apply two base coats of yellow. Afterward, I work through whatever colors I have chosen to achieve the final result. (Usually, it requires about eight coats of varnish to completion.)
But, here are some pictures taken after the first two coats of yellow varnish:
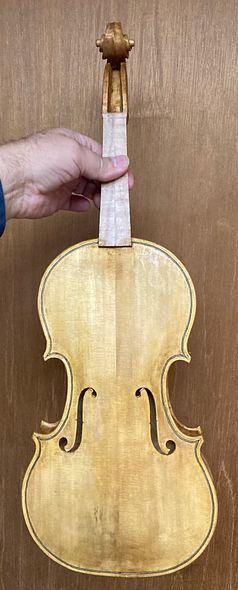
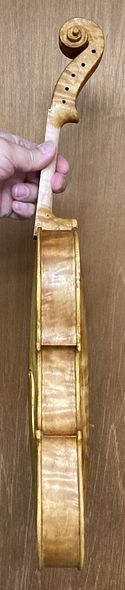
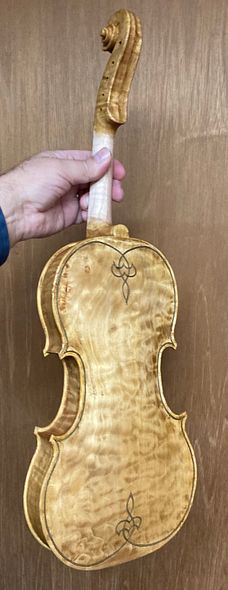
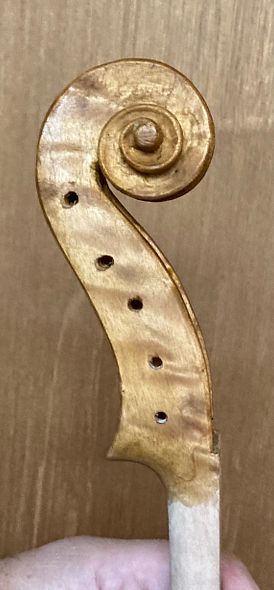
Next time, I will describe the finishing process in more detail. And, as I near completion, I will post again, showing the set-up procedure.
Thanks for looking.