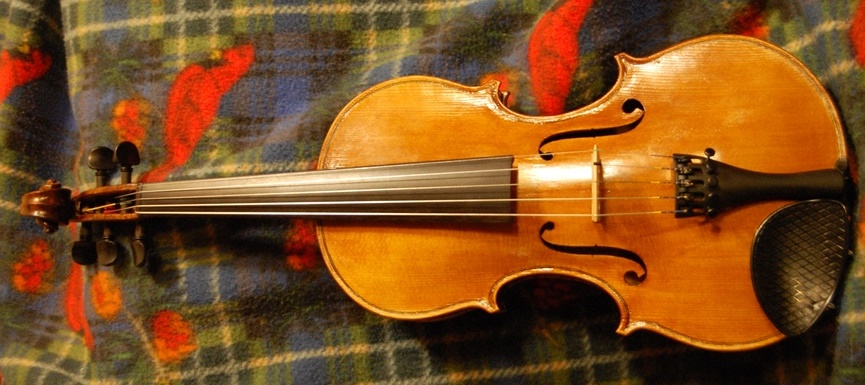
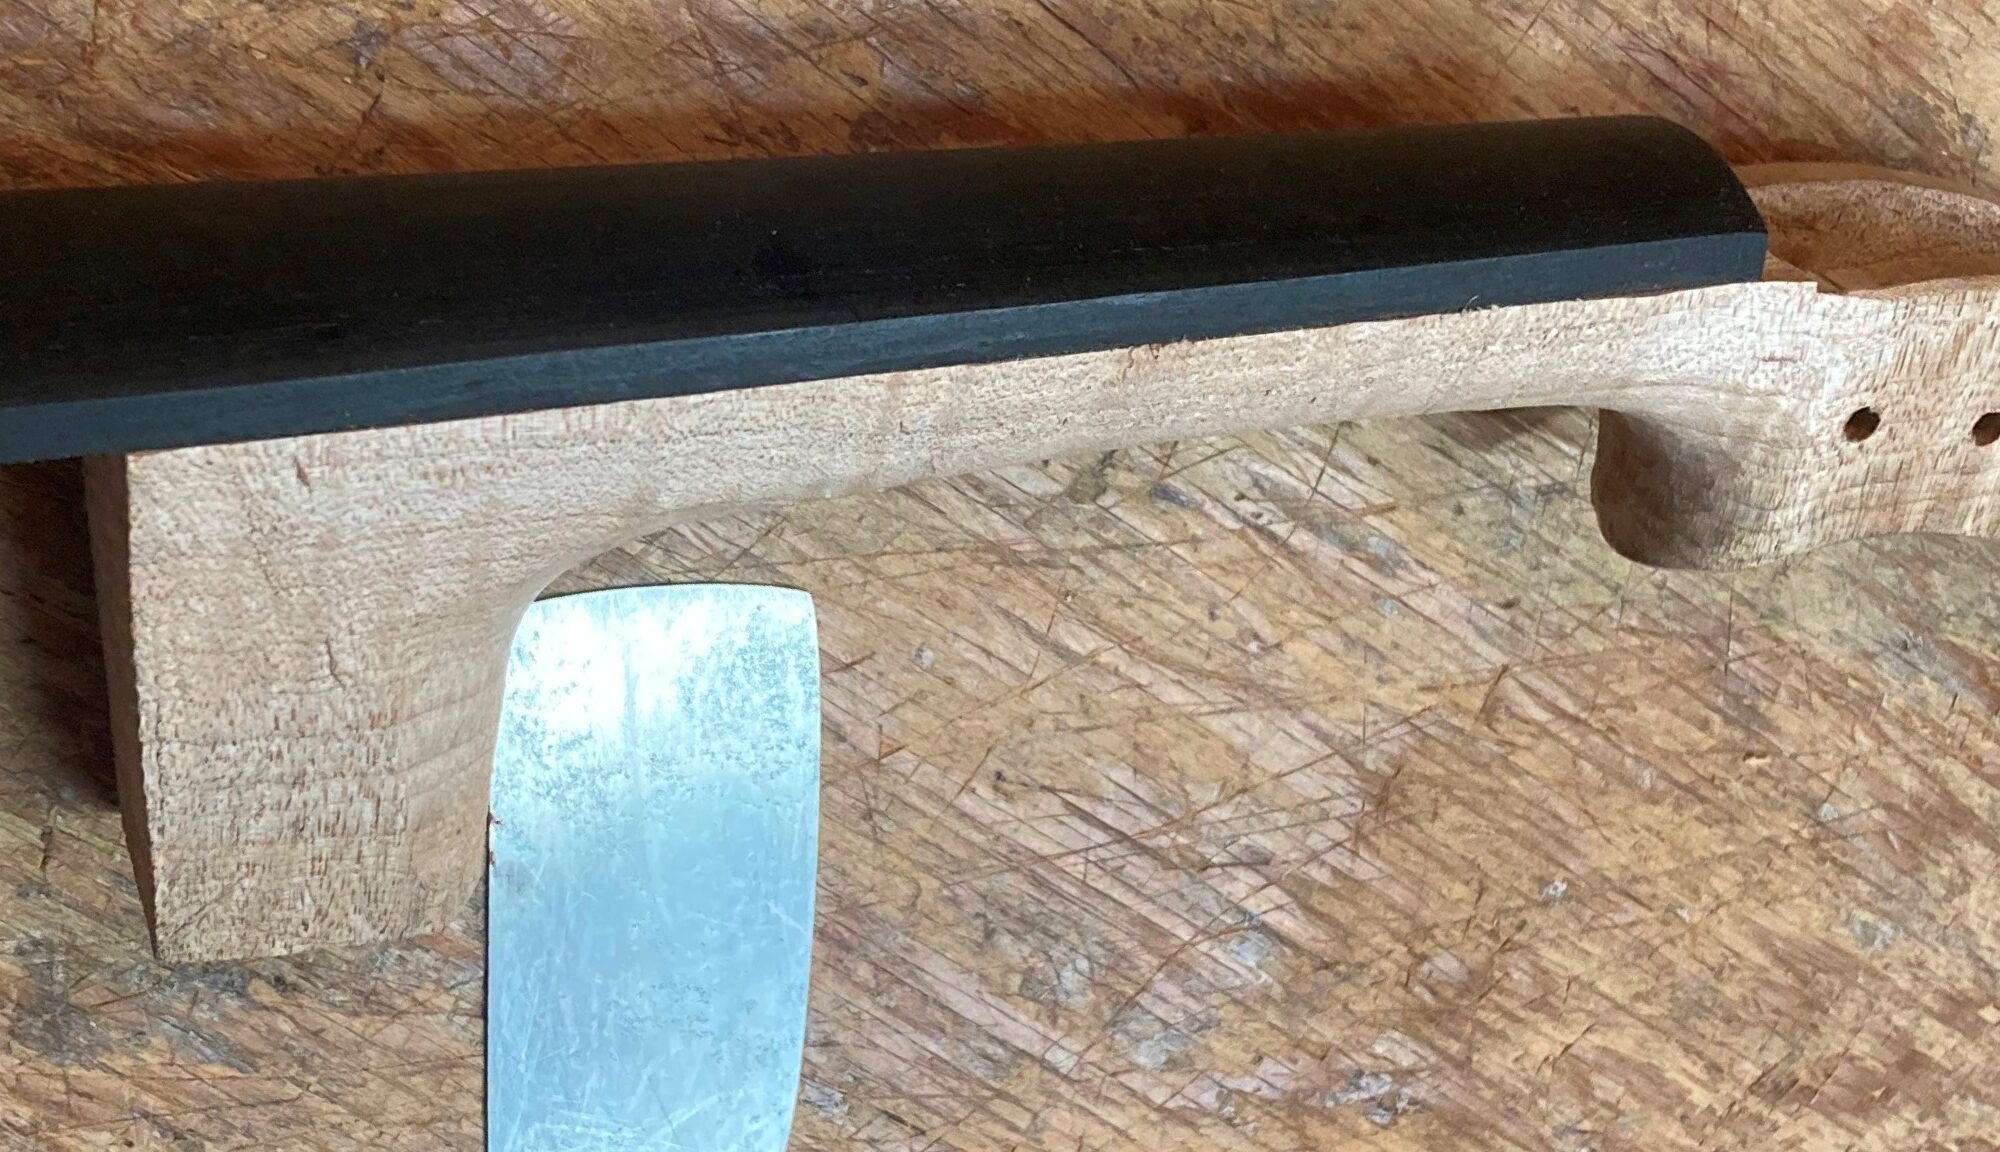
Commissioned Instrument: I Improved My Neck and Scroll process, years ago.
Originally, when I first began making instruments, I laid out the scrolls with a pencil, and I simply started carving. However, that was extremely labor-intensive and not very accurate, either. As a result, it was very easy for me to “lose track” of where I was going, and ruin a scroll by carving away wood I really needed. (Obviously, having to scrap an entire scroll and start over is a very “bitter pill” to swallow.) So I had to improve before I began taking Commissioned work.
Learning from a Better Maker Before taking Commissioned Work
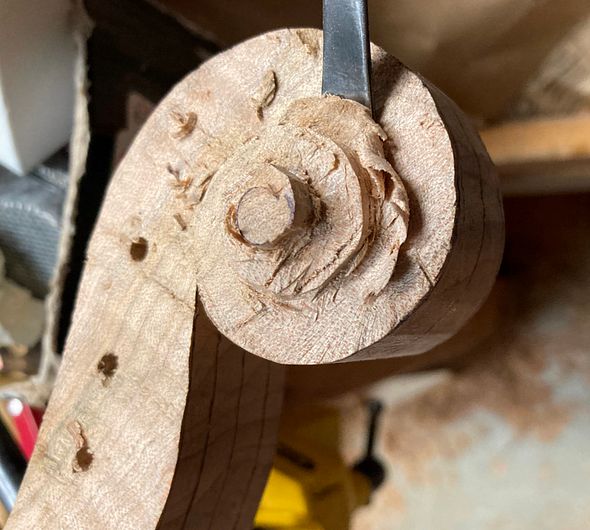
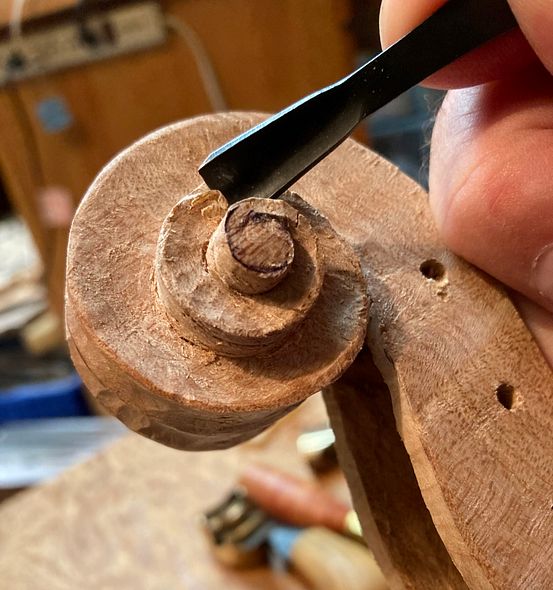
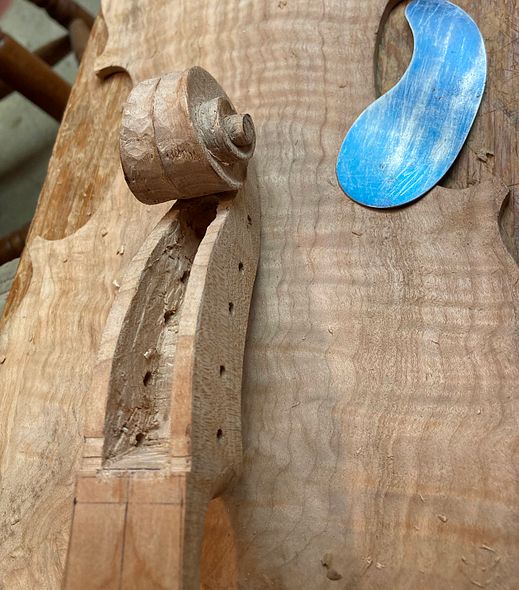
So, then, what has changed? Fortunately, I studied how a viola maker in Brazil (Luis Manfio, of Sao Paulo) carves his scrolls, on a photo-essay he once posted. To begin with, he used a fine-toothed saw to cut “tangents” to the scroll pattern. Then, he used the same saw to follow the side surfaces of the scroll and remove the scrap wood. Understandably, this was a much better way than I had been attempting, so, ever since then, I have followed that path. (He is still a far better maker!)
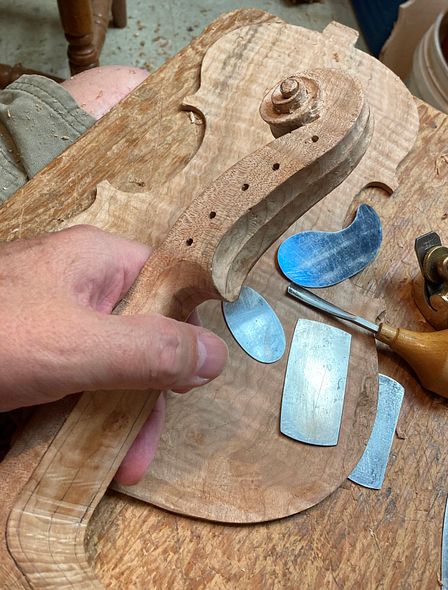
So, then: here is what that process looks like, using the current commissioned instrument as an example:
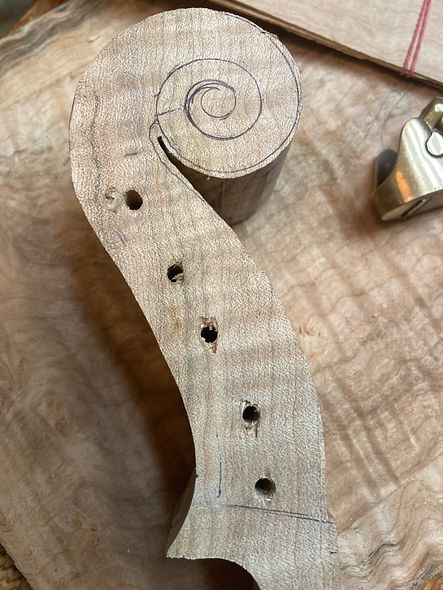
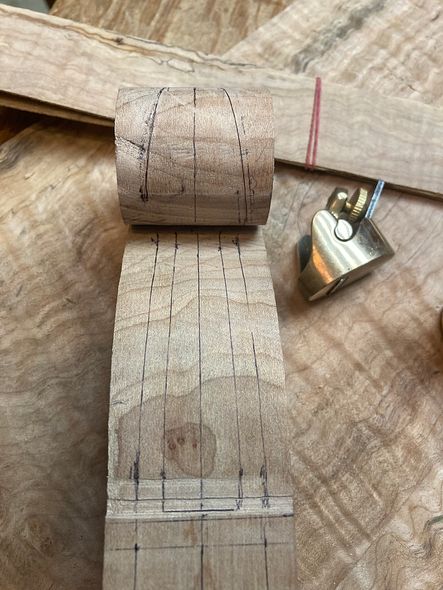
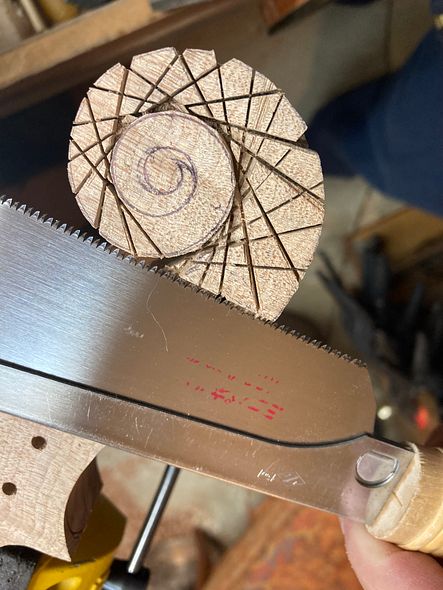
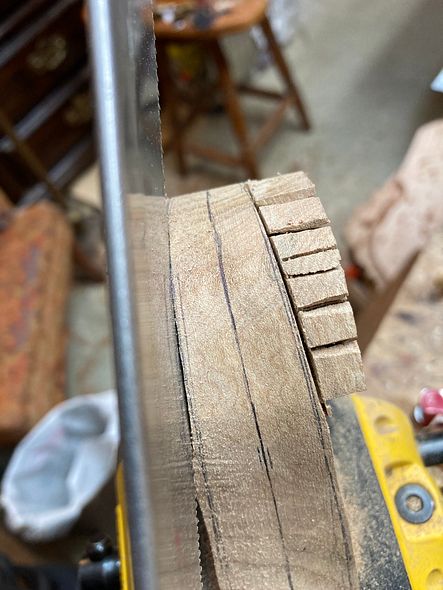
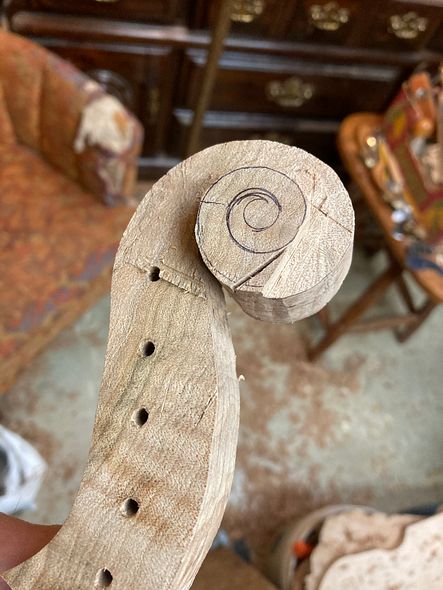
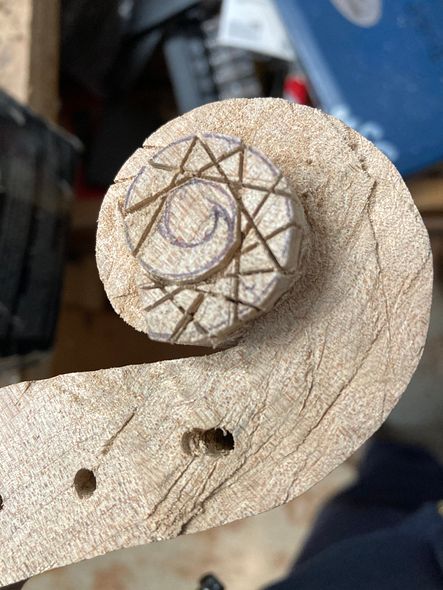
Then I carefully cut away the waste wood from the center area of the scroll, using small gouges.
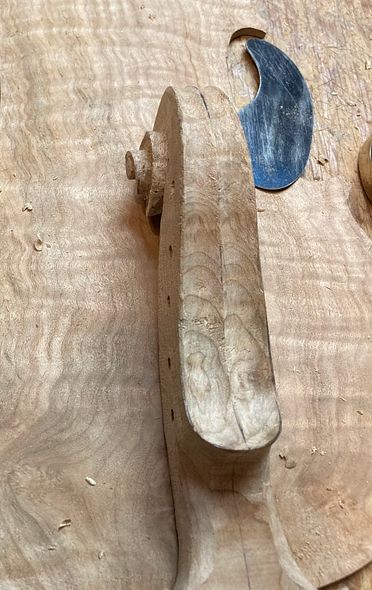
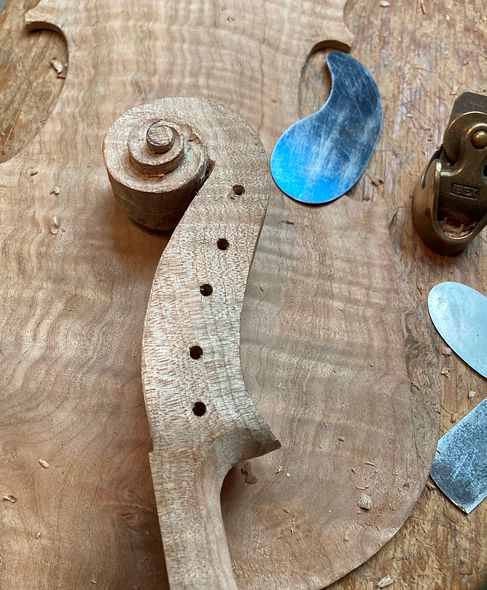
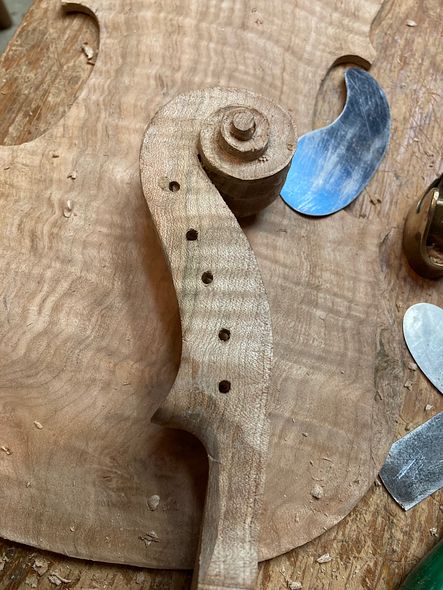
Installing the Fingerboard
After the scroll of the commissioned fiddle is close enough to correct that it will not be changing much, I will trim off the excess wood from the sides of the “handle-portion” of the neck. Then, I will temporarily install the fingerboard, using three “dots” of hot hide glue.
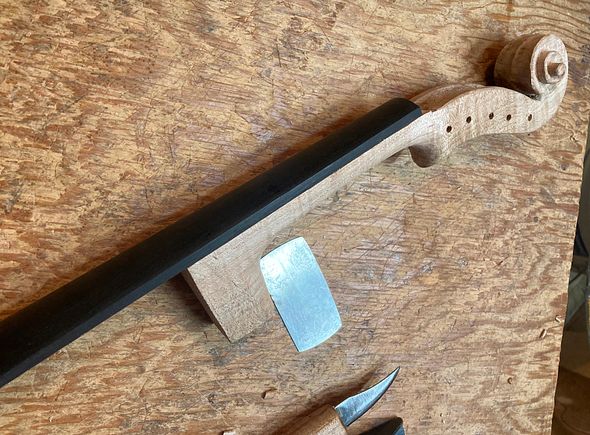
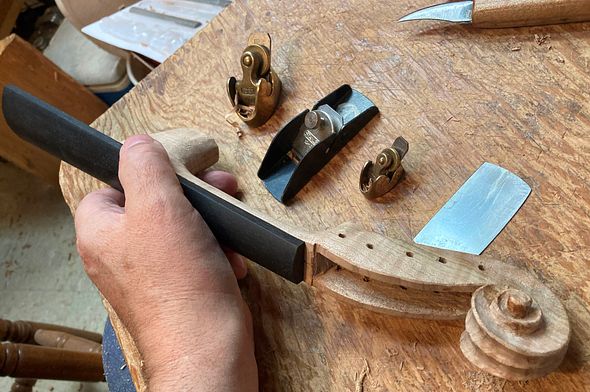
Subsequently, the next step is to install the neck into the neck-block on the commissioned instrument.
We will talk about that later.
Thanks for looking.