

Final Varnish Preparation
Wet down the wood,to raise the grain and accentuate “problem” areas
I wetted the whole bass down with coffee, mainly to raise the grain a bit, but partly to add a little color to the white wood of the Sitka spruce belly. The Oregon Big Leaf Maple is already pretty colorful.
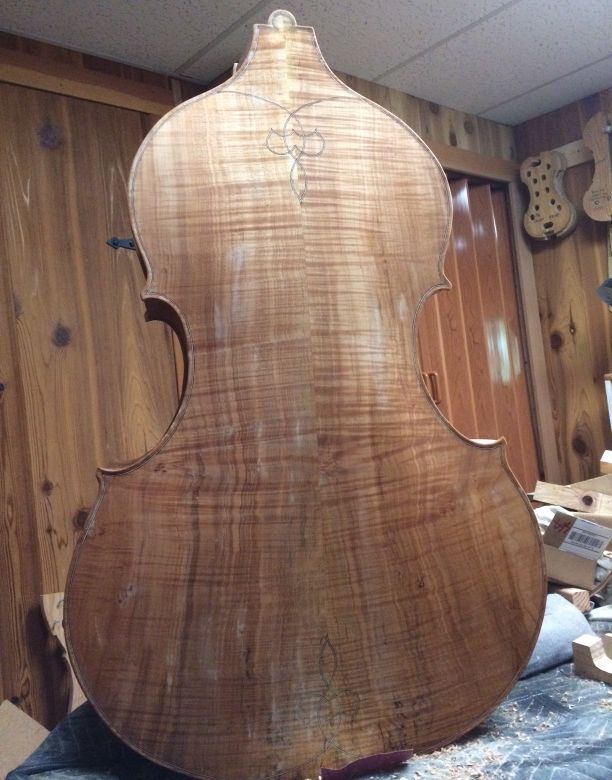
Then I turned the lights off in the workshop and went over the whole bass, inch by inch, with a small flashlight, held at a low angle, to make shadows wherever there was a discontinuity in the surface. As I located them, I scraped or sanded away the problems, before moving on. It took quite a while, but I was pretty happy with the outcome.
Mineral Ground
The next step is to coat the wood with a mineral ground: a suspension of extremely fine particles of gypsum in water is what I use. I brush it on, one section at a time, rub it in vigorously, to get the tiny particles into the pores of the wood; then rub off any excess, with a rag. It always looks as though I took all of it back off, until it dries.
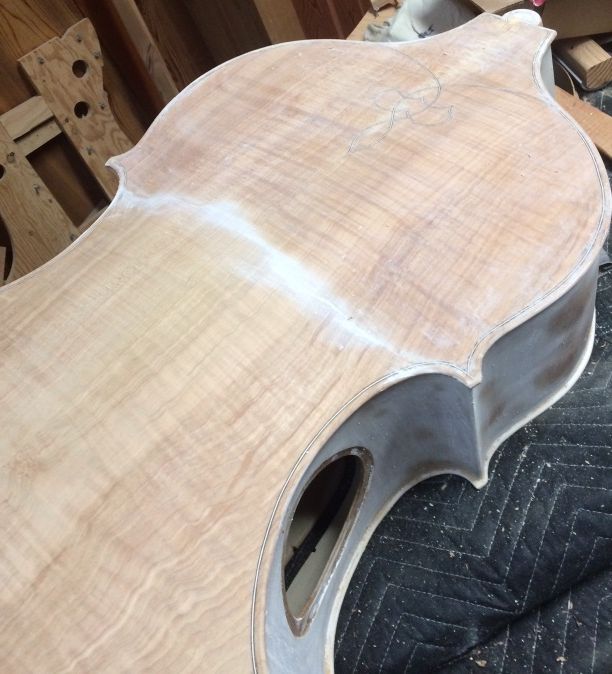
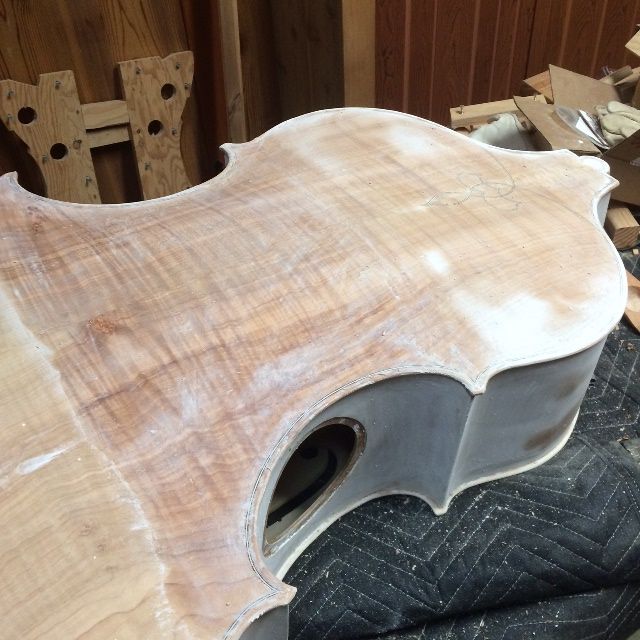
After the ground is fully dry, I sand all over with fine abrasive, to remove any dry patches of excess mineral. There will be very small discontinuities that have been filled by the mineral ground: this is desirable, and I am not trying to remove those places.
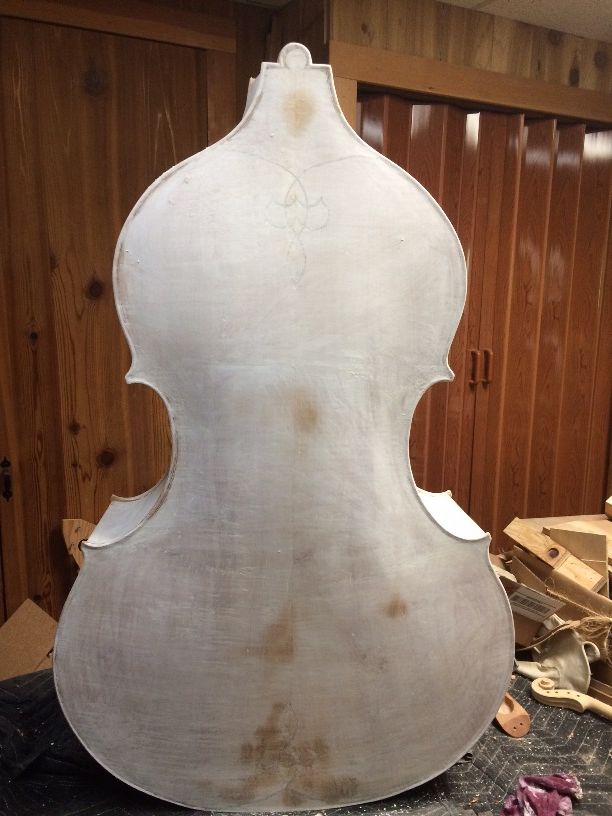
When the ground dries, the bass will be stark white, but when I apply the sealer, to lock the mineral particles in place, the mineral ground becomes completely transparent, permanently. It will never be visible again.
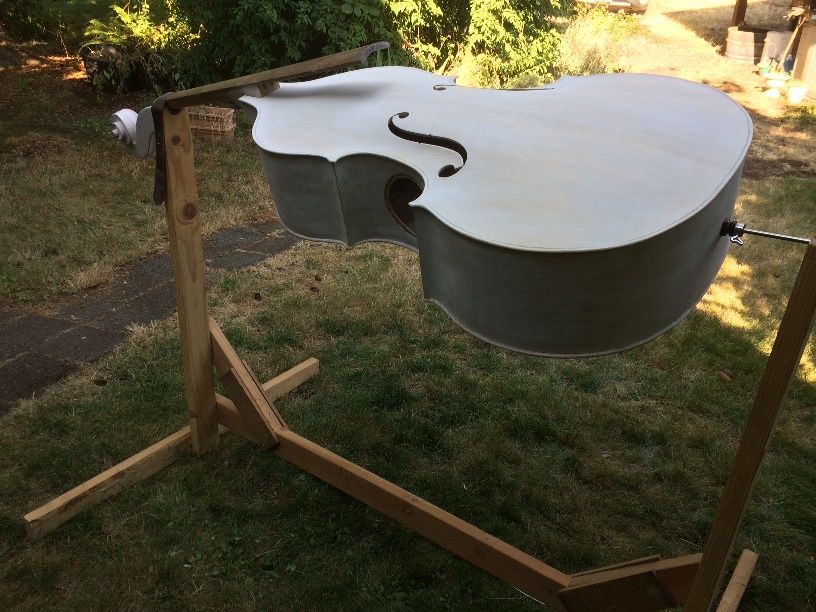
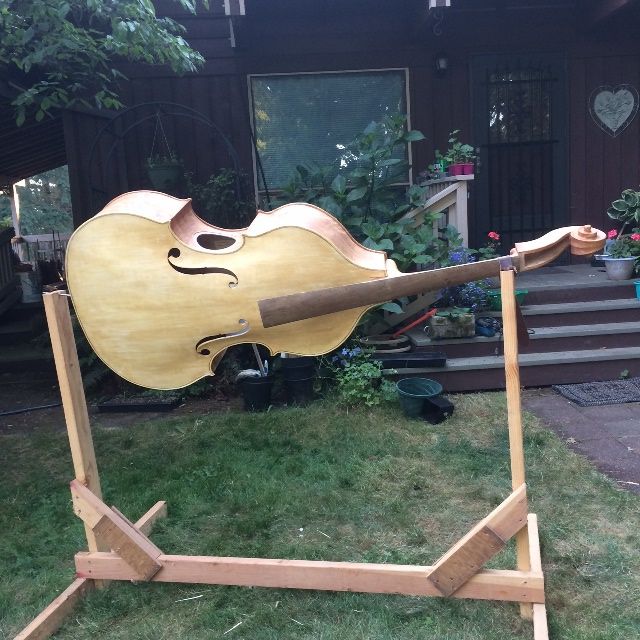
So, here is the bass, with the gypsum fully dry, mounted in my varnishing fixture, and ready for the sealer:
Sealer
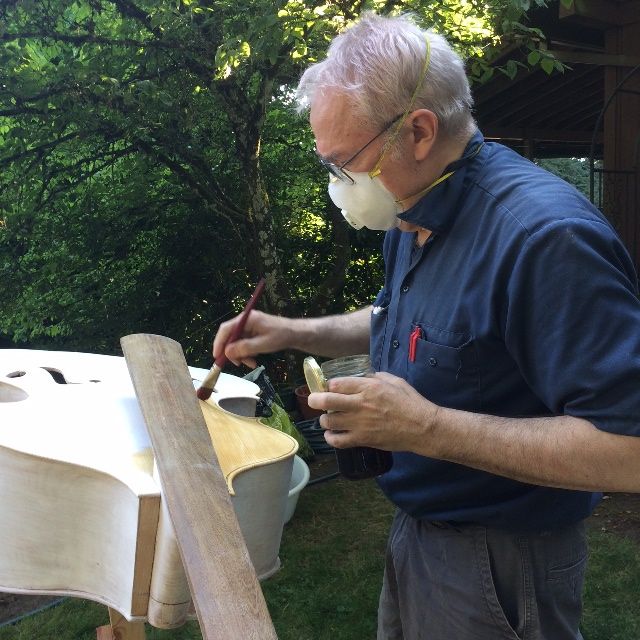
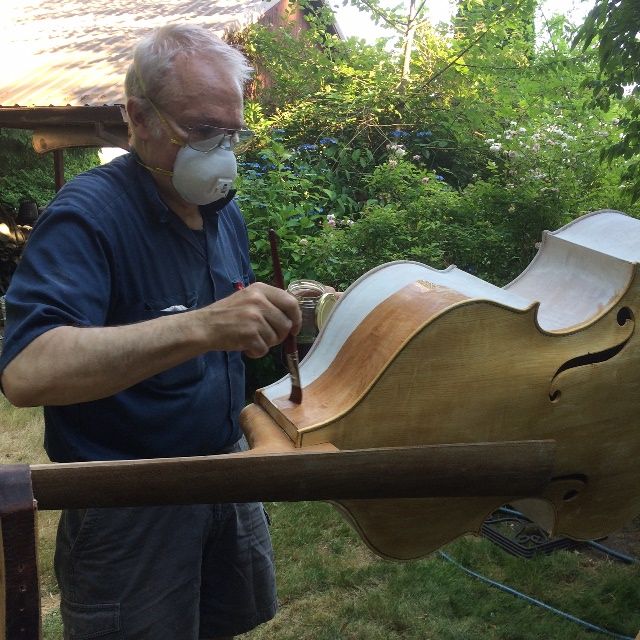
I am currently using rosin dissolved in turpentine and alcohol as a sealer. The liquid (alcohol first, then turpentine) evaporates, leaving the rosin in the pores of the wood. When dry, this helps prevent the varnish from soaking into the wood, so as to minimize the sound-dampening effect of excessive varnish penetration.
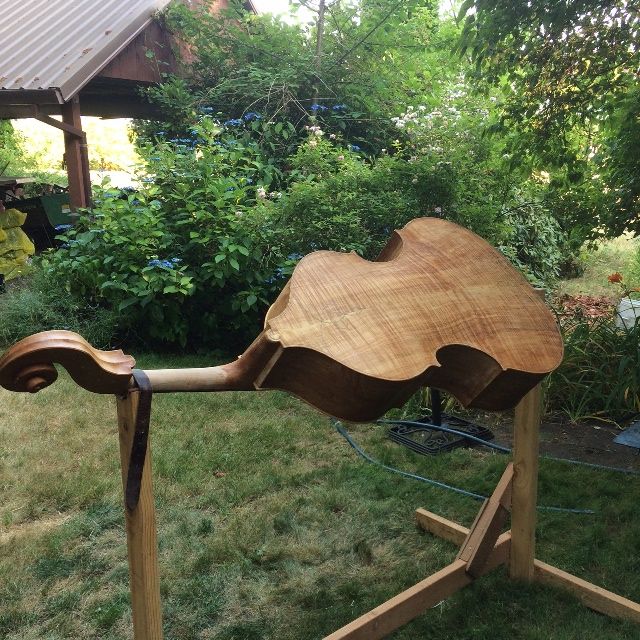
This is the part of finishing I like best: it seems almost magical to see the stark white of the mineral ground disappear instantly and permanently as the sealer permeates the gypsum and renders it transparent, so that the beauty of the wood is revealed.
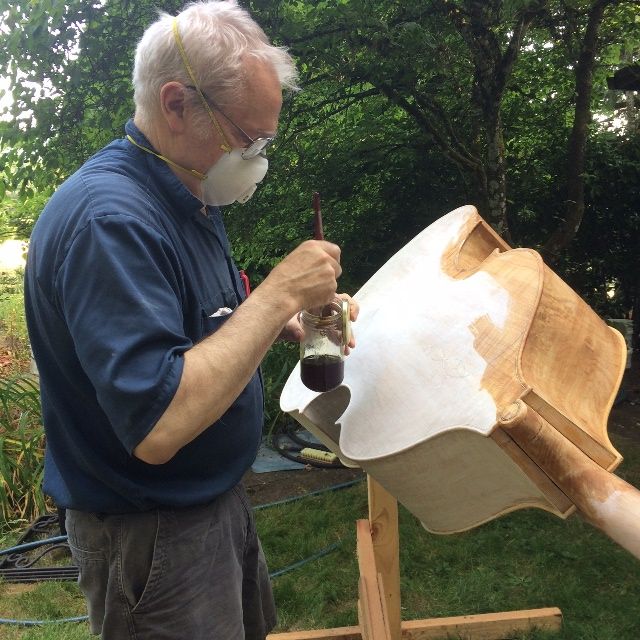
After the sealer is dry, or just before it is completely dry, I rub down the surface of the wood with alcohol, to pick up any rosin that may have remained on the surface. When the sealer is fully dry, I go over the whole surface, lightly, with fine sandpaper, to pick off any bits of wood fiber that may have raised during the ground and sealer process.
Varnish plan
I always begin with a yellow varnish: I like the way it shines through the darker pigmented varnish when all the finishing is complete. In this particular case the maple was dark enough that even the yellow varnish will end up looking pretty dark. So, though I will still begin with the yellow, I will have to add a good deal of darker varnish on the front, to balance the color with that of the back. This is just a type of “Judgment call” that the maker must always consider when finishing an instrument. As I add coats of varnish, I will pay attention to which areas need darker varnish, and which could use yellow or clear varnish.
But Varnishing will be in the next post!
Thanks for looking.