
Beginning the Varnish, Proper
Varnish Plan:
- I begin with yellow varnish for a base coat at least…sometimes two or three coats to get it even all over, as some areas soak it up rapidly, and look “dry”. though they have the same amount of varnish.
- After the base coat is dry, I rub it down with fine sandpaper, just to remove any bits that stick up–whether dust, debris, wood fibers that raised up earlier…whatever is sticking up needs to be flattened, or there will be a “cone” of varnish growing around it with each coat.
- if I am going to do any “wear” or “antiquing,” I need to begin thinking of it now. It will affect how much color I apply to what areas, as well as whether I intend to add “dirt” in wear areas.
- If I have induced the type of wear that involves “scratched areas” or “dents”, I apply them now, and rub dark pigment into those discontinuities, to imitate dirt in old scratches on old instruments. Then I rub off any excess pigment, so that the dark color only remains in the low areas of the “distress.” This would also be when I apply “dirt” in wear areas, where grain is raised and where a player’s clothes or hands would typically wear off the original varnish.
- Next I begin applying darker colored varnish in the areas where least wear would occur (Or, of course, if no “antiquing” is planned, I apply the darker varnishes over the entire instrument except the “handle” area of the neck, which is left bare until the very end. I sand between coats, using 400-grit paper.
- As the color builds, I have to watch, and make a decision as to when to stop: I do not want the grain to be obscured, but I do want enough varnish thickness to provide a moisture barrier against sweat, etc.
- When I finally decide (usually after six or more coats) that the color is acceptable, I give it two more coats of clear varnish, to deepen the sheen and to protect the colored varnish from damage.
Finally, with the varnish complete, I allow it to dry thoroughly, then I can begin final fitting and set-up.
So, since we are effectively at step “zero”, and the last time you saw the instrument it had only the rosin sealer coat applied,
The first thing was to wash down the sealer coat with alcohol to remove any excess rosin from the surface. I wanted the rosin in the wood, not “on” it. Then I applied a full coat of yellow varnish. The result is always a little disconcerting, as it is very yellow after that first coat. But the yellow mellows and calms down under the subsequent coats of colored varnish, and becomes the “inner glow” that shows through the darker varnish.
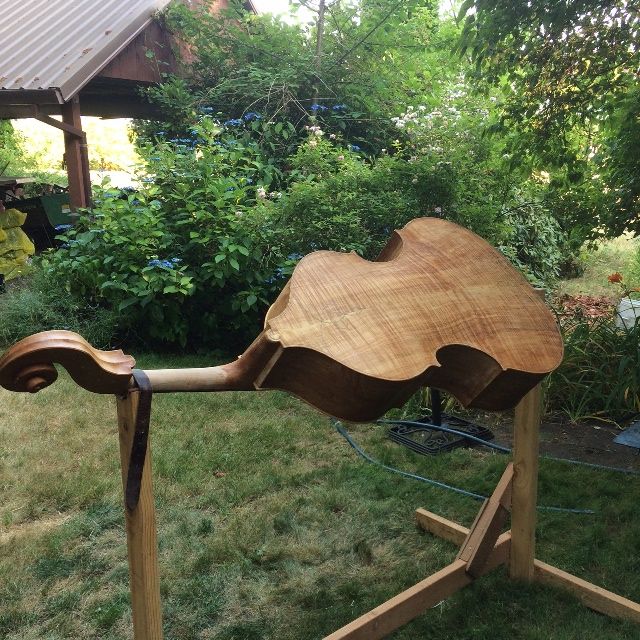
At any rate, here are several pictures of the yellow varnish:

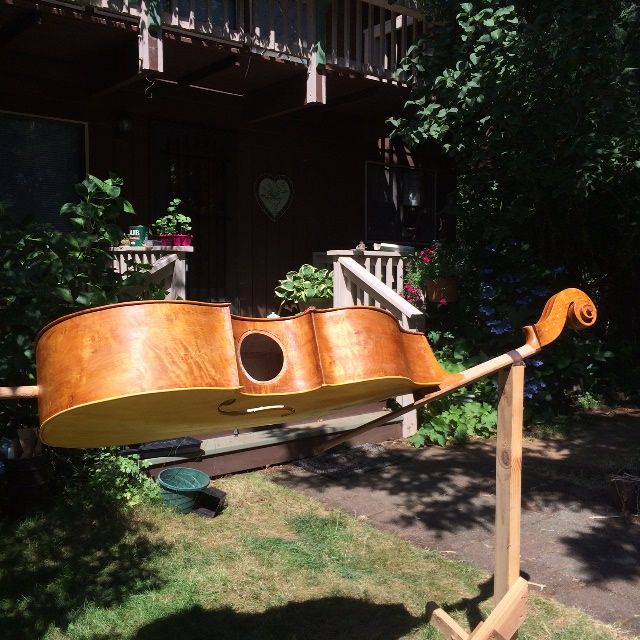
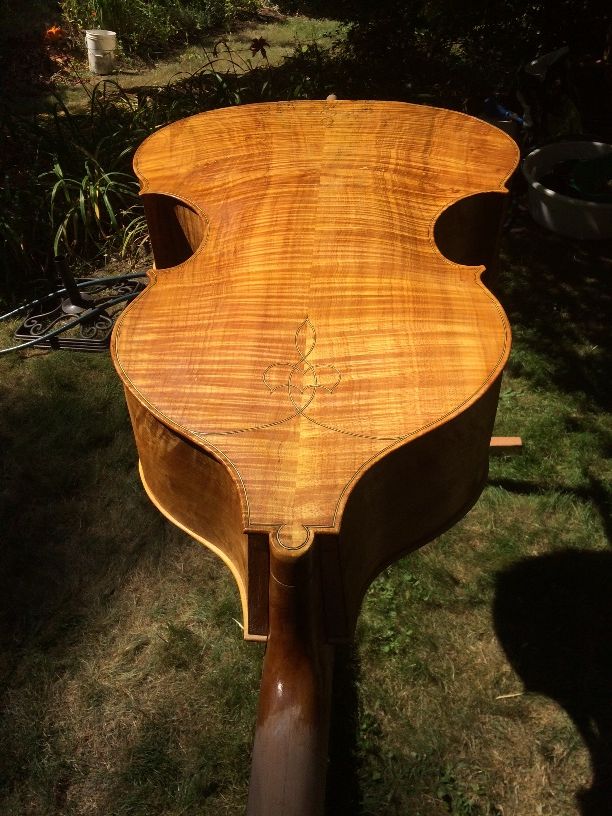
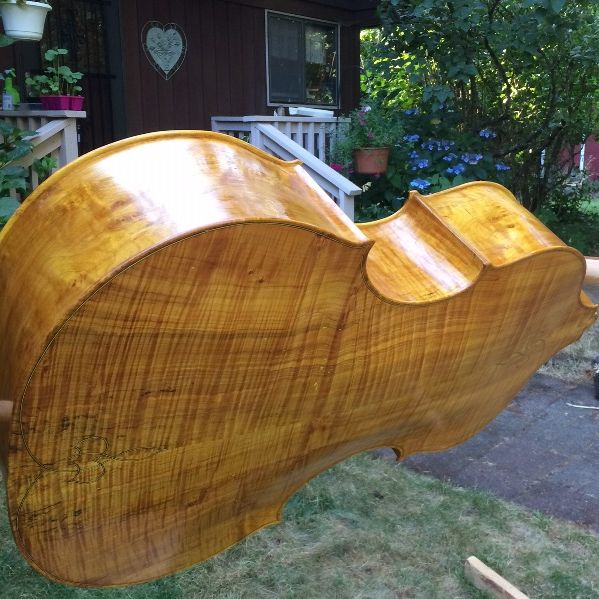
And, that is pretty much what the base coat looks like. Step one is complete!
I chose to add a second coat of yellow to the sides, back and neck, but began adding color to the front, in order to balance the front color with the rest of the instrument.

New Fingerboard
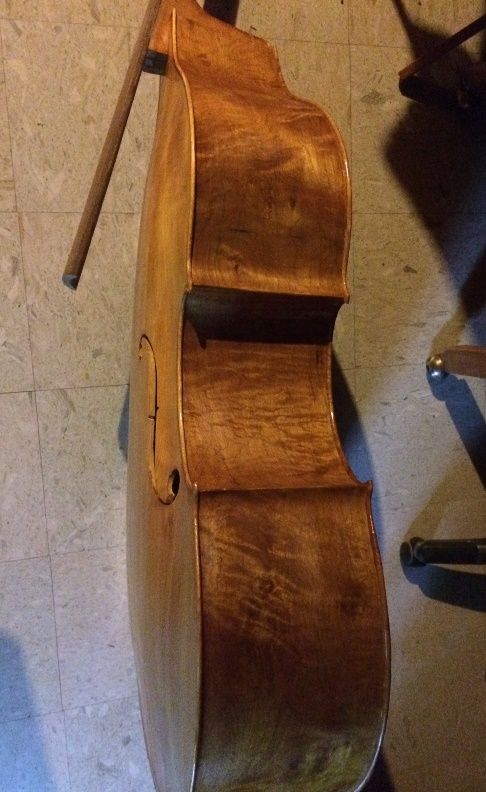
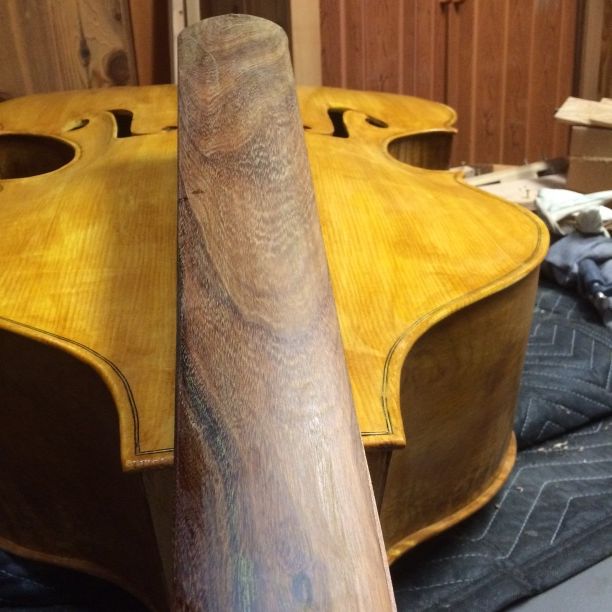
About this time, a friend in Australia, who is a great bass maker, contacted me to point out very kindly that I had made my fingerboard too flat for a five-string bass. (Well, rats!) So I had to make a new fingerboard with the correct radius for playing a five-string double bass with a bow.
Here is the side view with the old fingerboard:
And here it is with the new one!
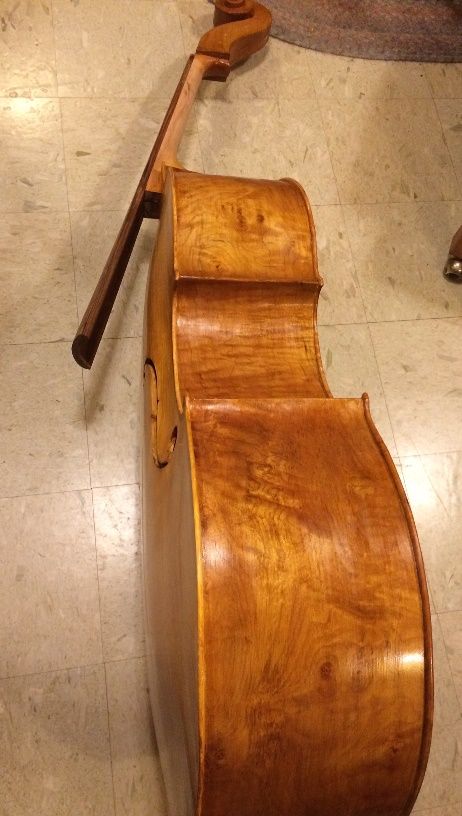

Without that tighter radius, it would have been next to impossible to avoid playing two strings at once. I am very grateful that my friend alerted me to my error before I had completed the bass. Not being a player opens me up to some “sins of ignorance” that a player would notice immediately. He had also pointed out that I had made the upper end of the Fingerboard unnecessarily wide, so the new one is narrower…but that meant re-carving the neck to match the new board.
The neck feels better to my hand, now that it is narrower and a little thinner.
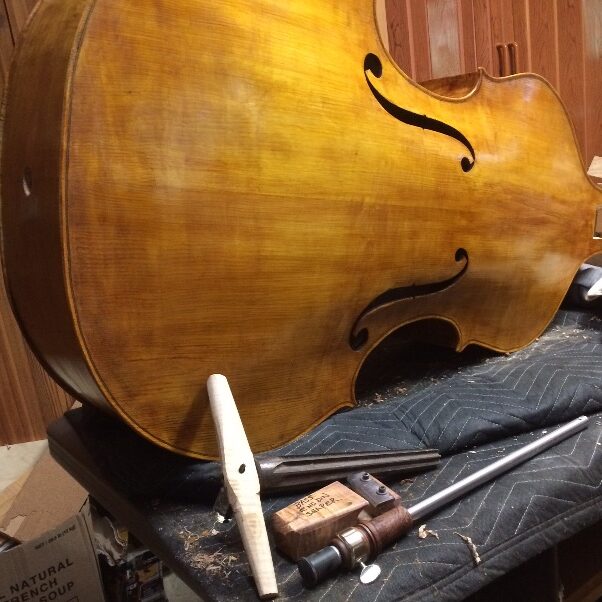
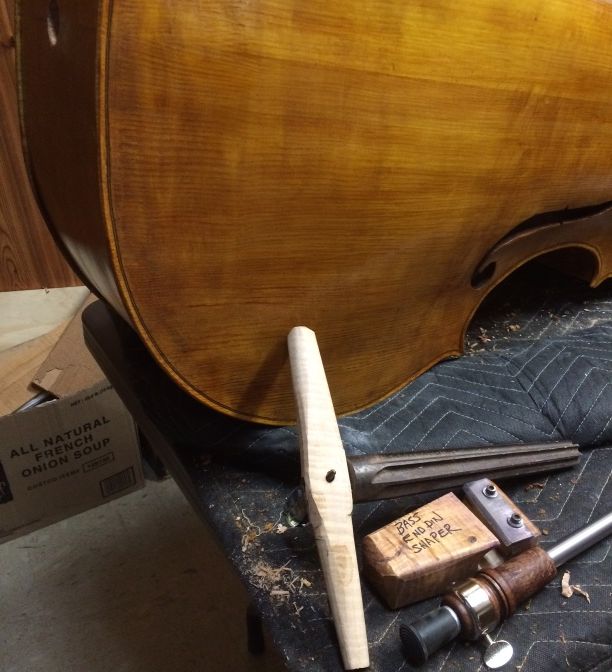
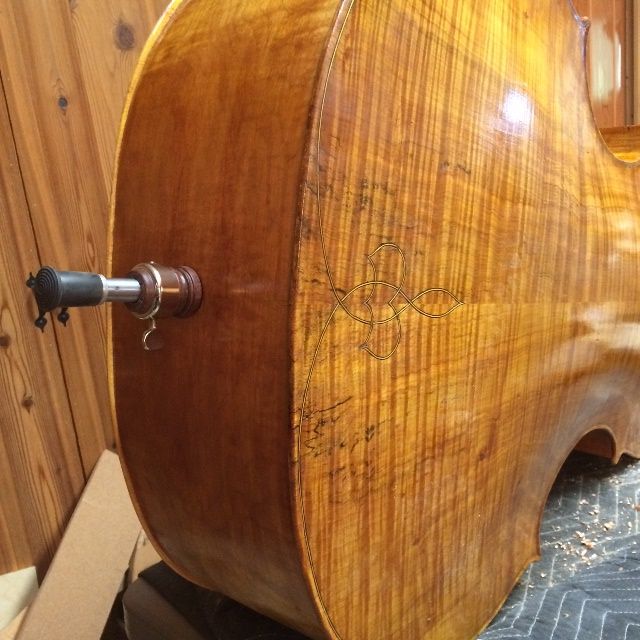
Endpin Assembly
I decided to go ahead and fit the endpin assembly as well, before pressing on with final color coats. I had a double bass reamer made for me by a friend, about 2006, and I made a shaper for myself about that same time. In both cases, the occasion was the building of my first double bass.
I had hoped to make an Ipé endpin plug, to match the rest of the fittings, but since I wasn’t sure either that I was able to do so, or that I would have time, I went ahead and purchased an endpin assembly with a plug made of Indian Rosewood, and it turned out that the color was so similar that I gave up the idea of hand-turning one of Ipé wood.
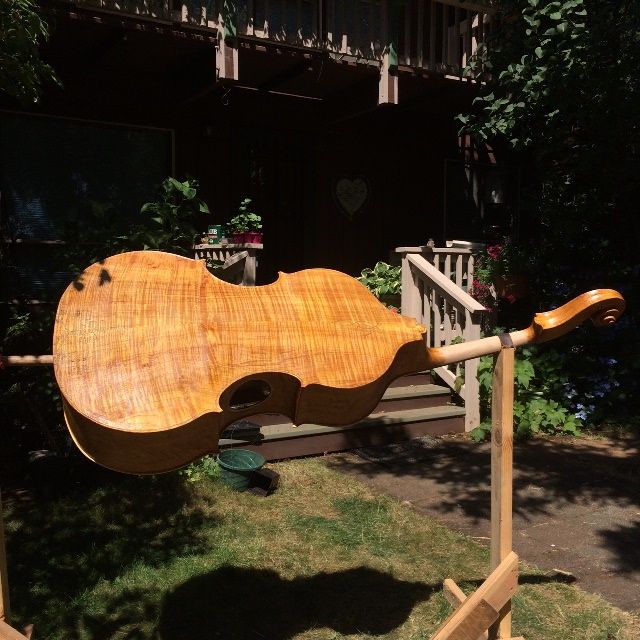
Final Color Coats
Then I sanded down the whole bass, and re-touched the whole bass, adding color in areas that I felt were too light, and filling in places where the previous coats had not been thick enough. when that was dry, I gave a second color-coat to the entire bass. This will be the final color coat, though I intend to add at least one clear coat, and probably two. The clear coats deepen the sheen of the varnish and make it look more transparent. while actually adding very little to the thickness of the varnish film. They also protect the color coats against premature wear.
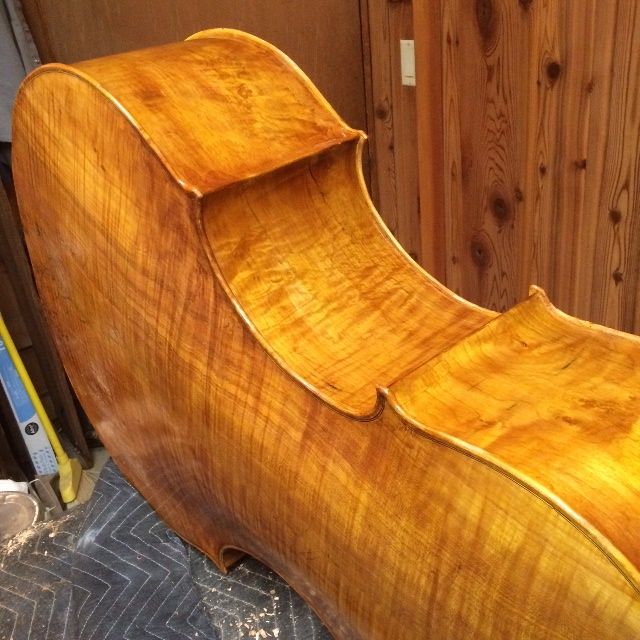
I really like the deep amber color that is developing in the bass. The clear coats will accentuate it, but not make it much darker.
Thanks for looking.