

Back plate completed
Completing the Arching
When I last posted, the back plate was in progress, but even the arching was not completed, let alone the interior carving. Now it is all complete, the front plate has been installed, and the fingerboard, the neck and the tailpiece are underway! Things are moving along!
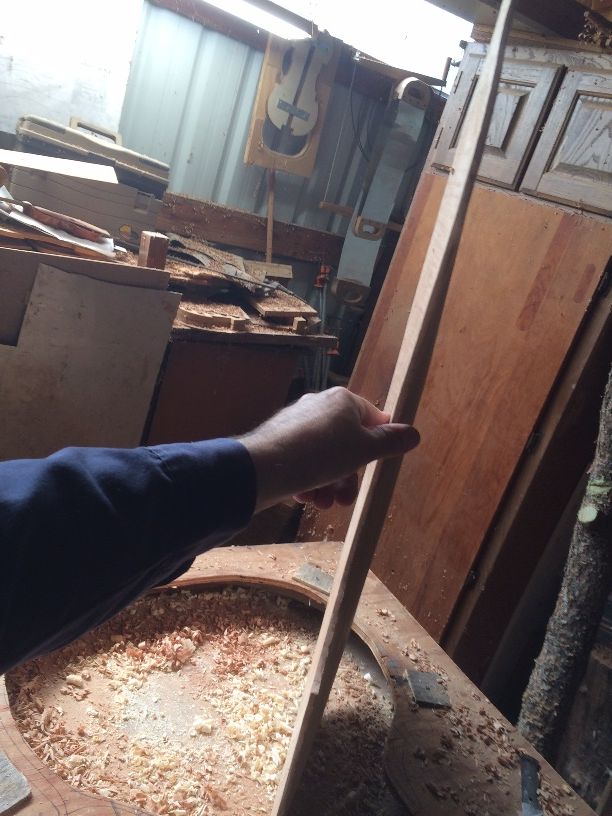
I did make a set of arching templates before moving on with the arching:
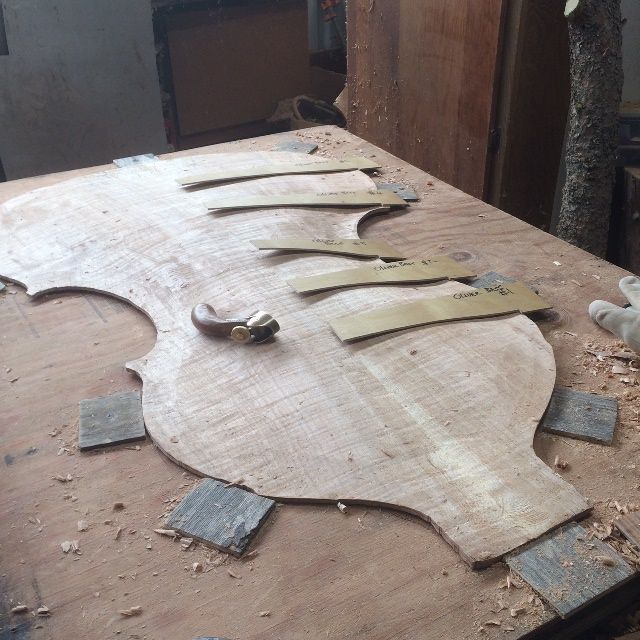
Those templates helped me to see the shape more clearly, and to know what changes to make, to improve.
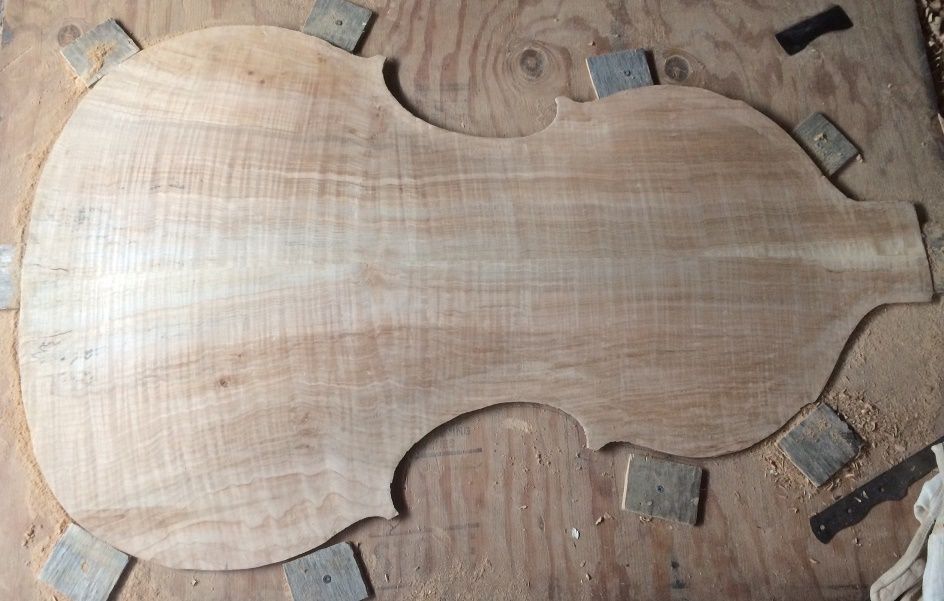
So, here is the completed back arching, after scraping, so that you can see the flame in the Oregon Big Leaf Maple back:
Inside Carving
Carving the interior is always a daunting task…that is a lot of wood to move! But, one scoop at a time, it does get done!
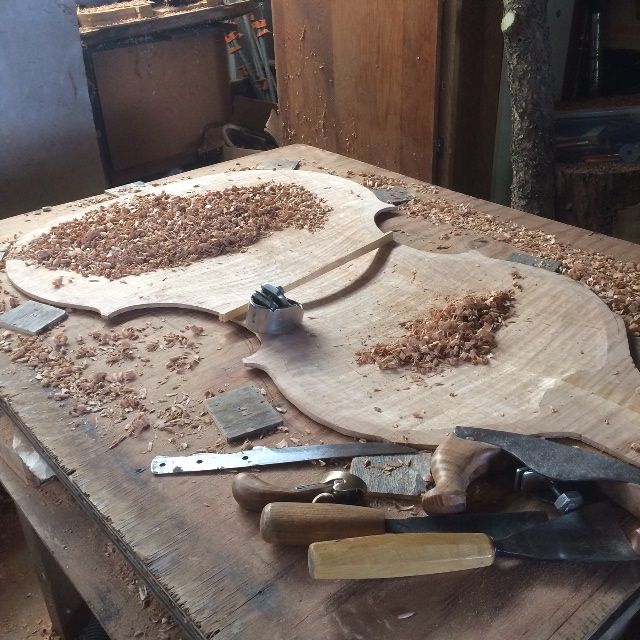
Once I had the whole plate beginning to take shape, I carved “dots” all over the plate, checking thickness as I carved, until I had a pattern of correctly graduated “dots all over the plate. Each dot had a measurement written in the center, matching the graduation “map” I had chosen to emulate.
Then it was time to “connect the dots.”
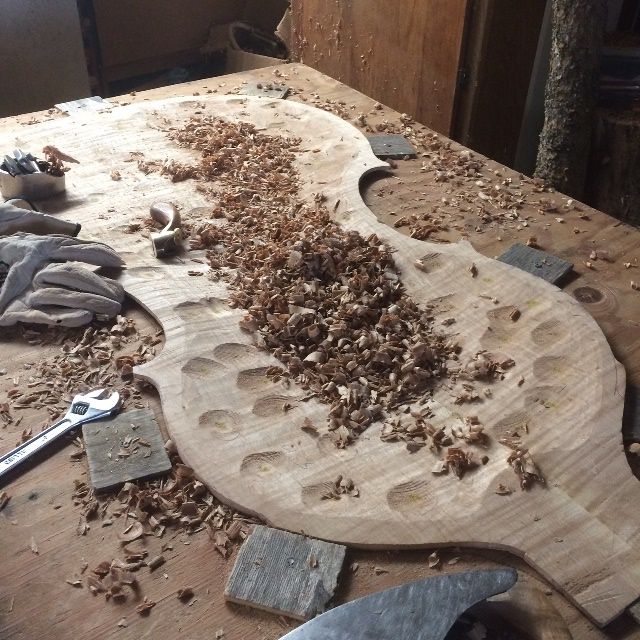
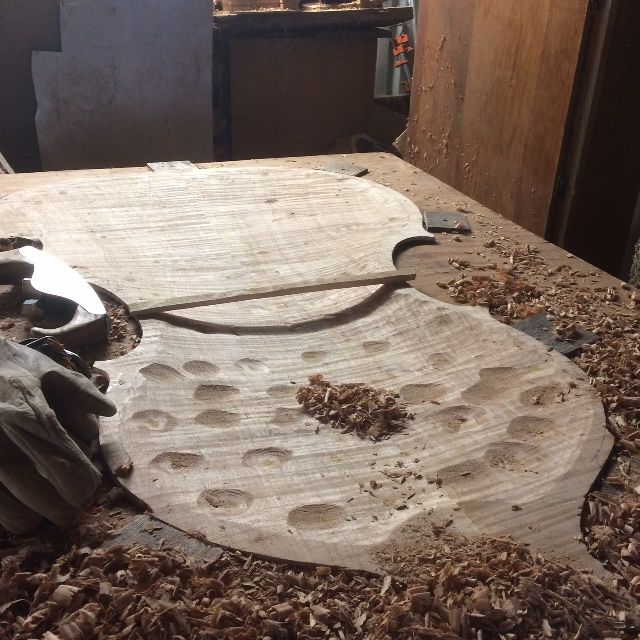

It is always amazing to me how light the plates become after all that waste wood is removed. In this picture, you can see how thin the plate is, with the graduation complete.
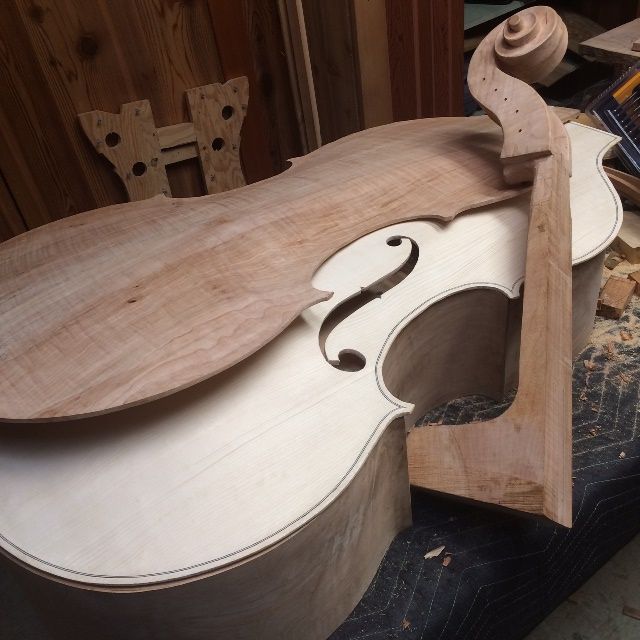
I took the plate inside, and stacked all the parts together so that I could see the progress:
What is next?
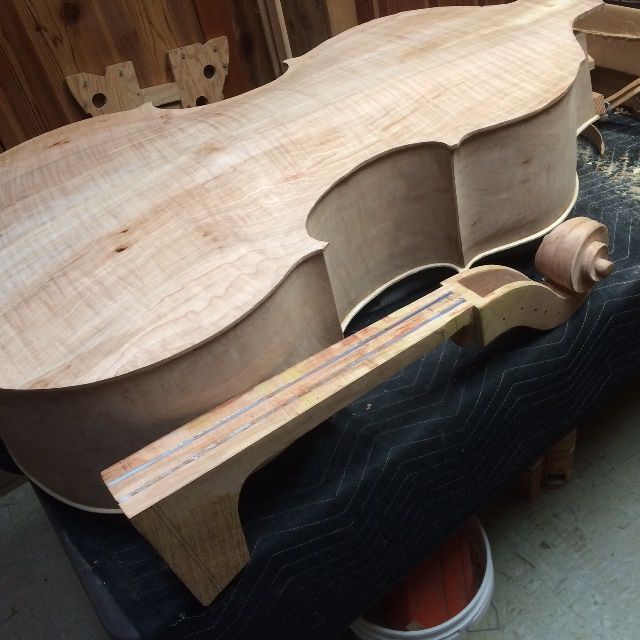
I needed to complete the neck, which means I needed to design, cut out, and shape the fingerboard and glue it to the neck block so that I could finish shaping them as a unit. Meanwhile, I could install the front plate, and get ready for the neck-set, once the neck was ready.
Front Plate installation
I completed a preliminary shaping of the blocks and shaped the linings, front and back. Then I carefully positioned the garland on the front plate, and temporarily clamped them together, using several spool clamps.
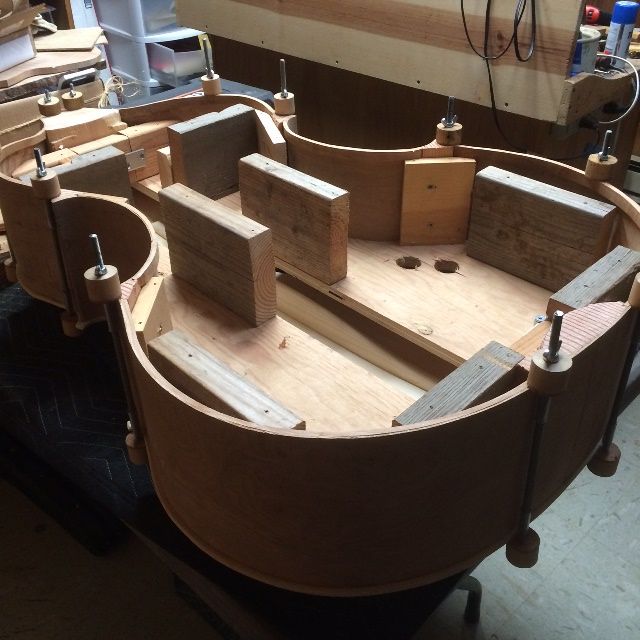
Then I removed the clamps from one area at a time, used a thin palette knife to slip hot hide glue into the joint, and re-clamped immediately, adding more clamps as needed. Then I moved to the next area and repeated that pattern. Soon I had the entire front plate glued, and secured to the garland with clamps.

And, when I removed the clamps in the morning, the project was beginning to look like a bass!
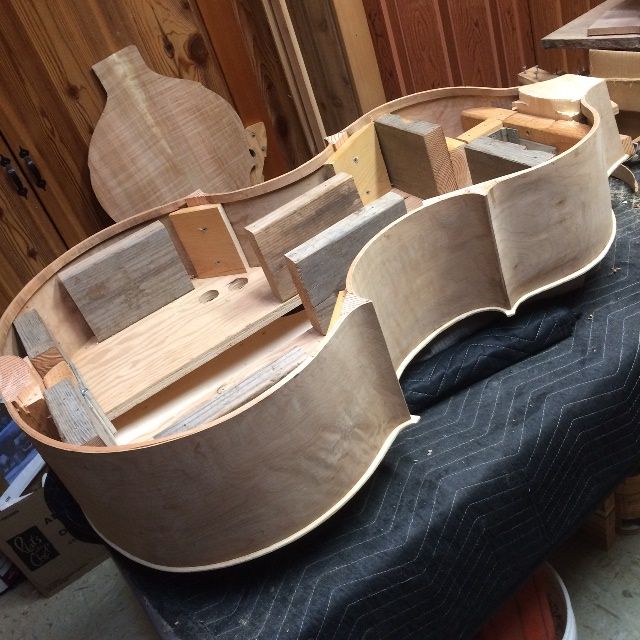
I liked the looks so much, I stacked the parts together again, to see how it would look, all together. The back plate is just sitting there, again, not bent to fit the garland or anything. I will add purfling after installing the plate, I think, so I can be sure the overhang is correct, and that the purfling follows the finished edge.
There is still a long way to go, but I will put more in the next post.
Thanks for looking.
