Purfling the 15″ 5-string Viola
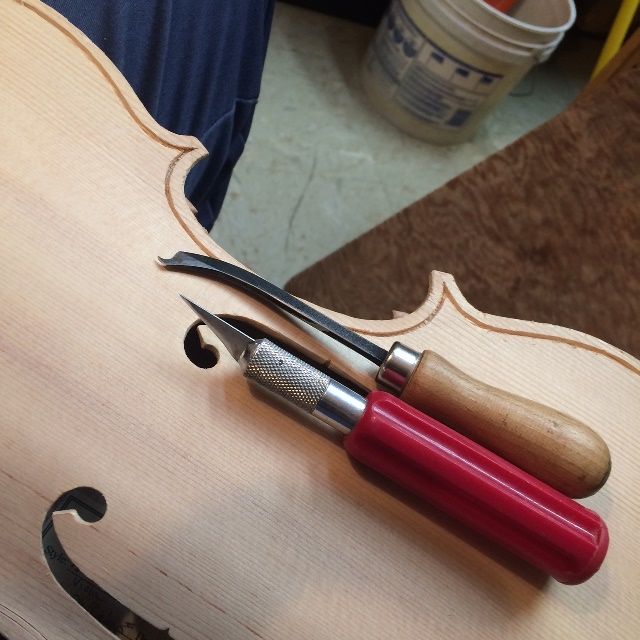
Complete the slots
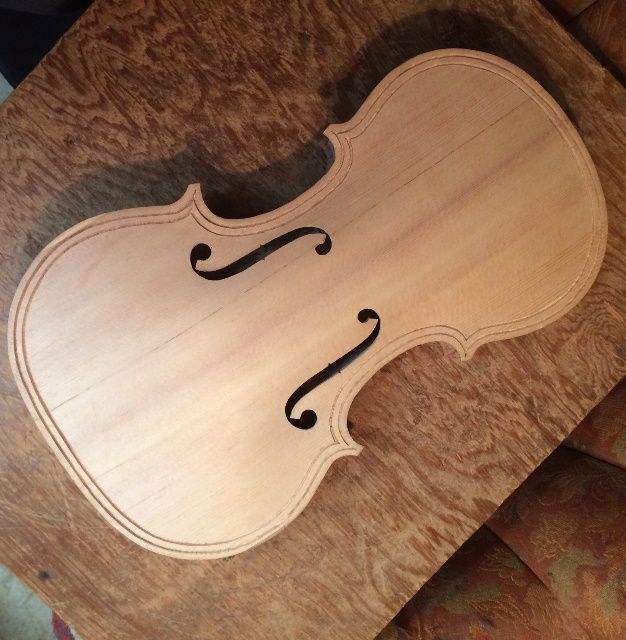
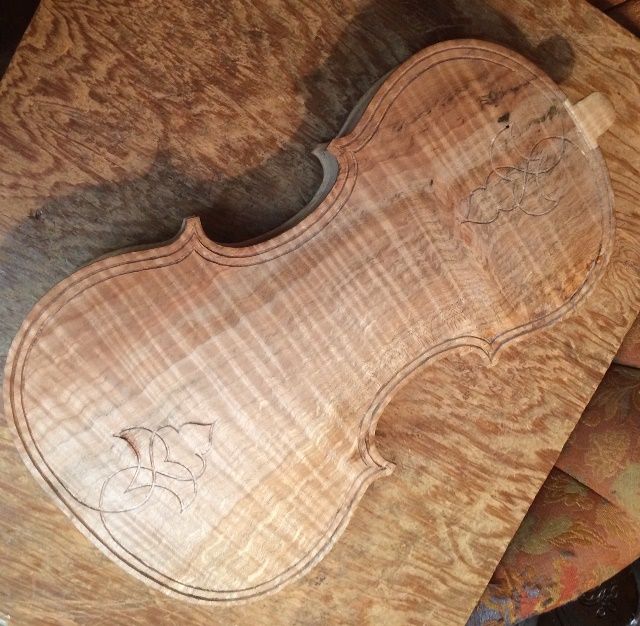
When I last posted, I had only begun cutting the outer purfling slots (I planned double purfling plus a weave for the back), so the next thing was to complete those slots.
Inserting and Gluing the purfling
The next step is to insert and glue the purfling in place, using hot hide glue. First I bend the purfling, using a hot iron, then I cut the ends to match the joints where the various sections meet. I insert the pieces dry, to ascertain that they fit, then, one-by-one, I pick the pieces back out and insert hot hide glue into the underlying slot, and quickly re-insert the purfling, forcing it to the bottom of the slot.
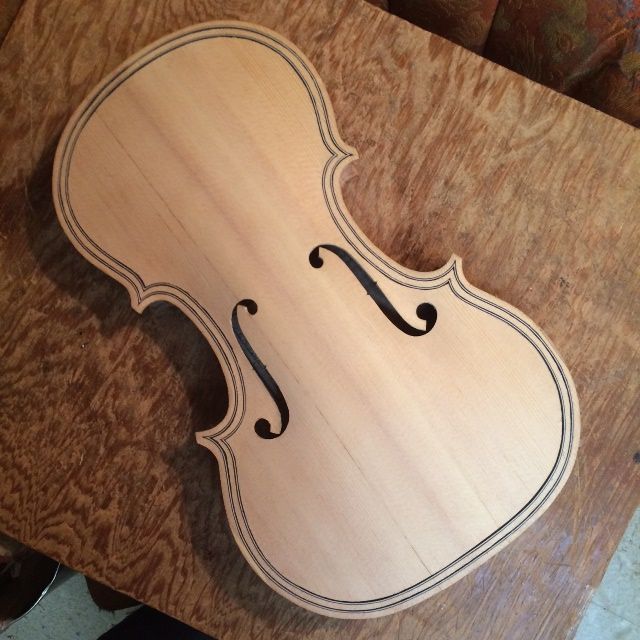
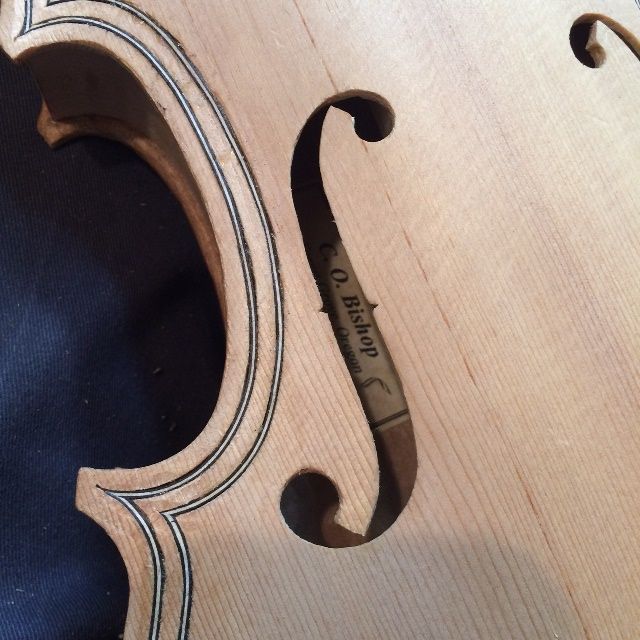
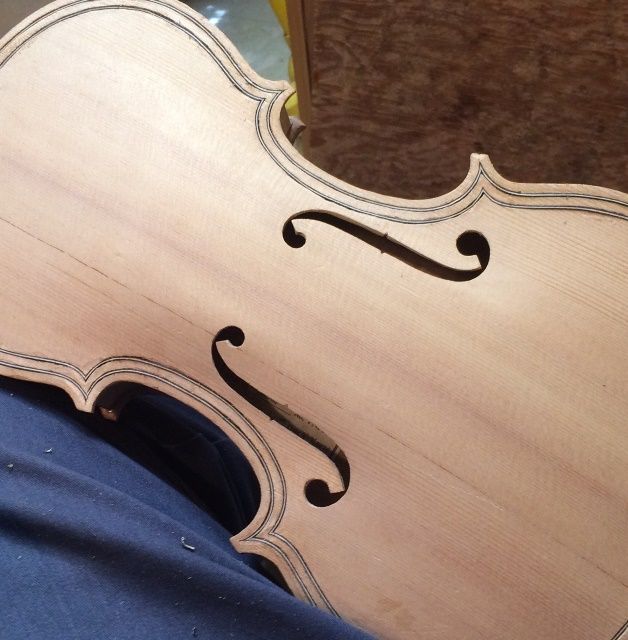
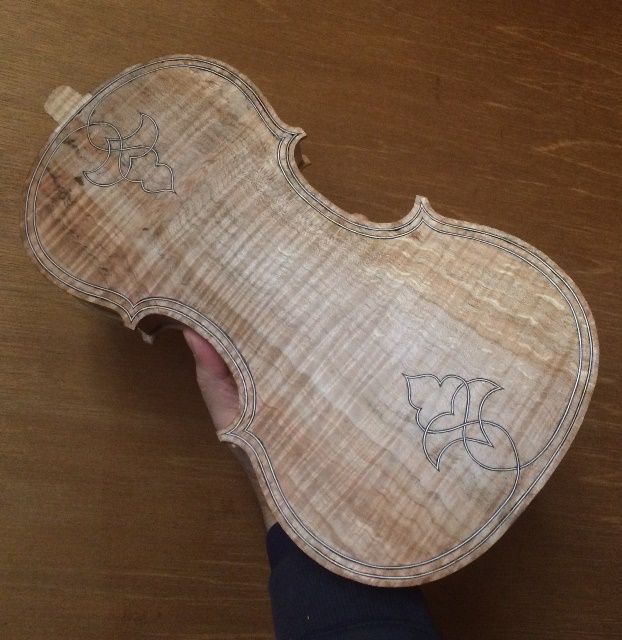
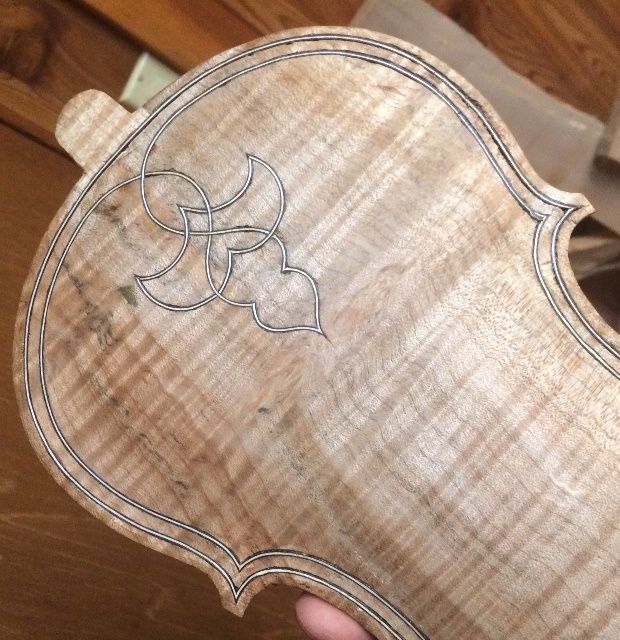
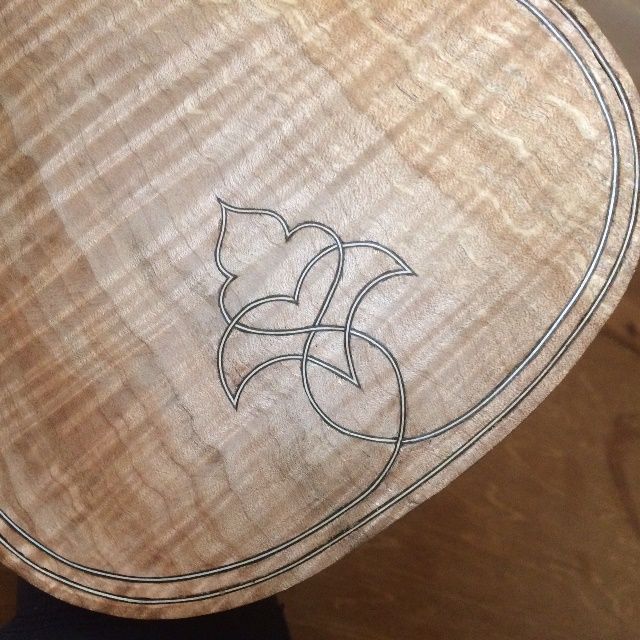
So that was the completion of the purfling. Edgework was next, shaping the channel through which both purfling slots will travel, as well as the outer edge and how the channel fairs into the front and back plate curvature. I used gouges, small planes and files, to get the edges to the required shape of a finished instrument.
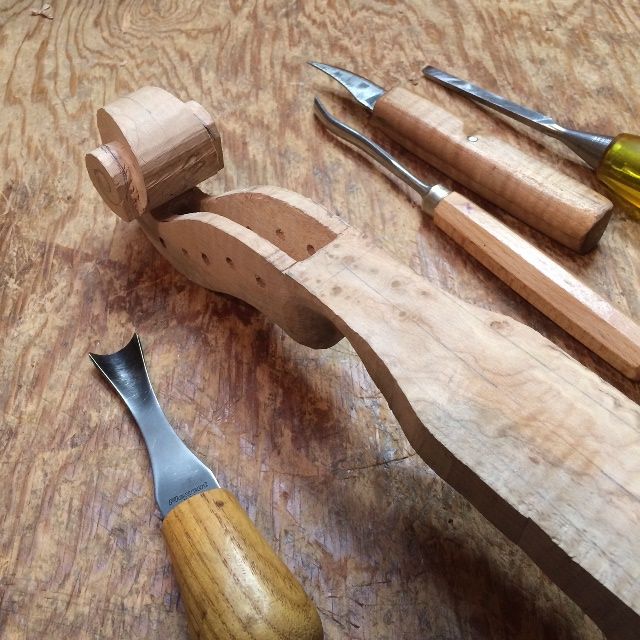
While all this was happening, I was also getting going on the scroll, pegbox, and neck, but I will save that story for another post.
Thanks for looking.
