
Beginning the Plates
Bookmatching the Plates
When I last posted, I had the garland pretty much complete, and the materials were prepared for the neck and the front and back plates. I had cut the back plate roughly to shape, in order to use as much of the “fall-off” material from the back plates, as possible, from which to make the neck.
I went ahead with the neck and scroll, just because I find it encouraging to have some of the “pretty” work done, as it makes me feel that I am making progress. You can see the neck progress, here.
But at some point, one has to go ahead with the task of bookmatching the plates and getting them ready to carve.
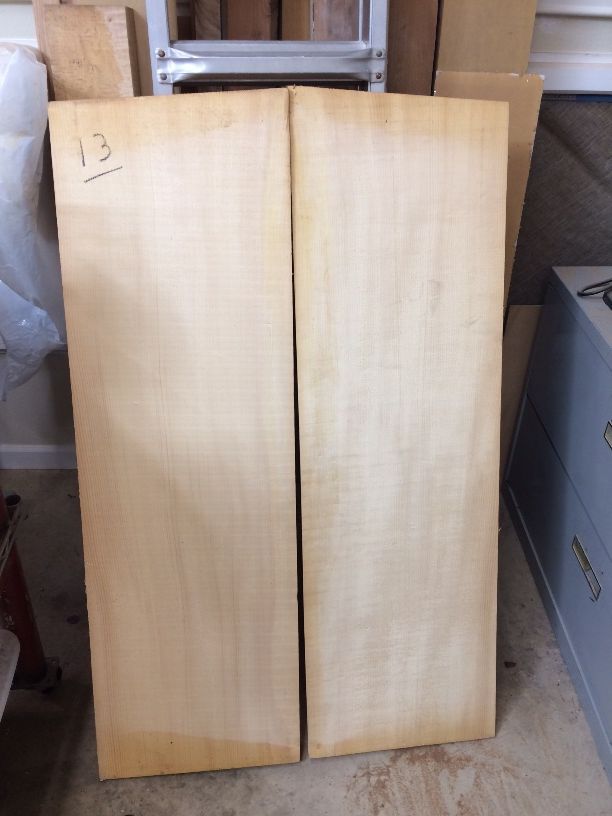
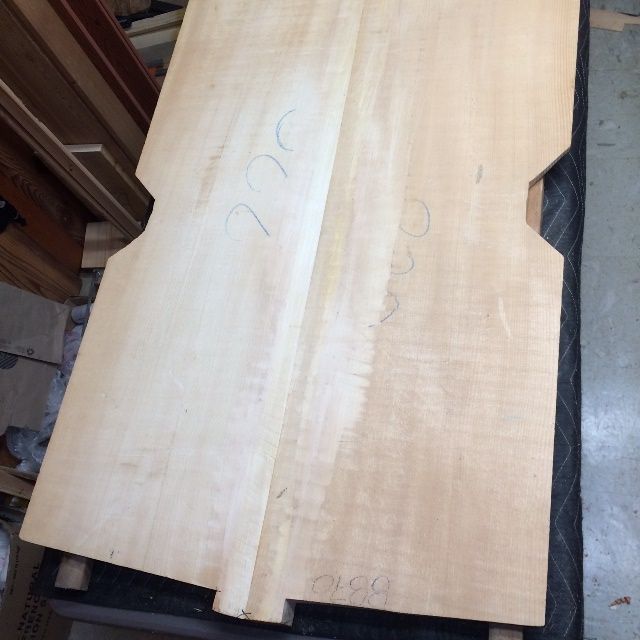
So, for the front and back plates, the next thing on the agenda was to plane the center-joints absolutely flat and straight and then glue them together. It took two tries on each of them, as it turned out that while they were technically “straight”, and if I put a try-square at any given point, they seemed to be square…in reality, there was a longitudinal twist to the surface I had planed, and the fit was not acceptable. (sigh…) No big deal… I just had to saw the joint back apart, and try again.
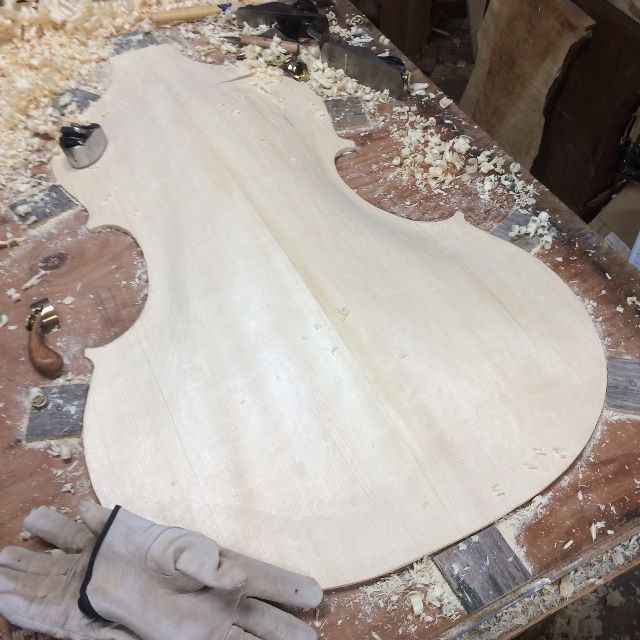
Finally, I got everything lined up correctly; then I glued and clamped the plate halves together, and produced the plate banks, ready to trace the actual shapes.
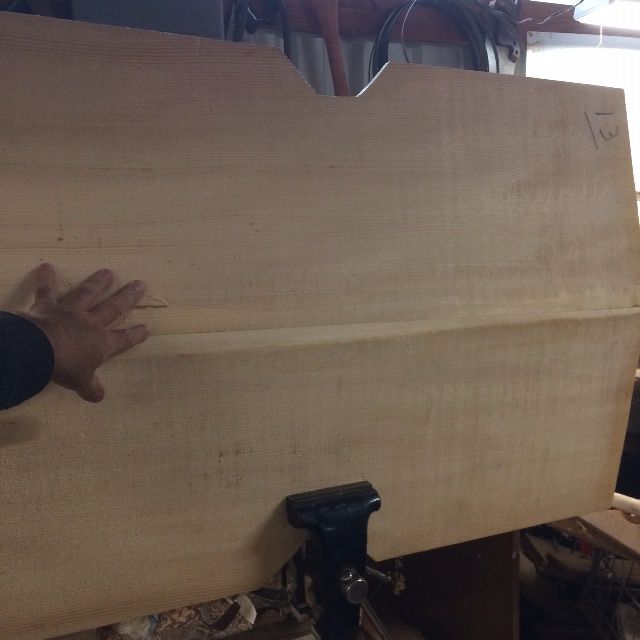
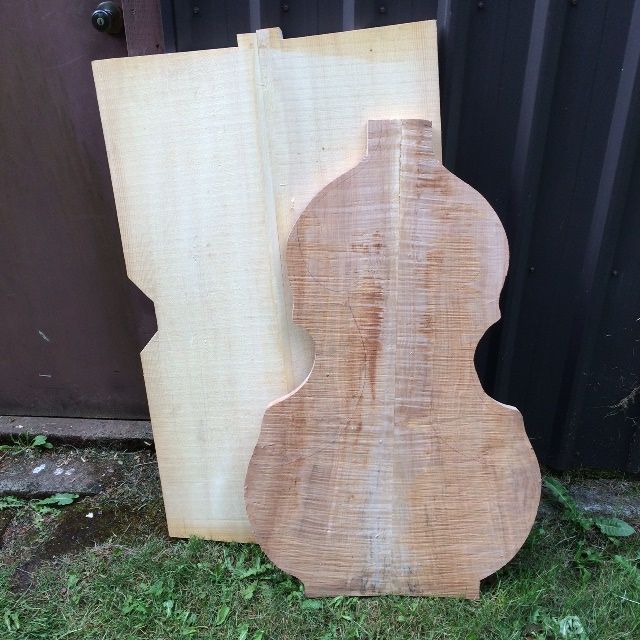
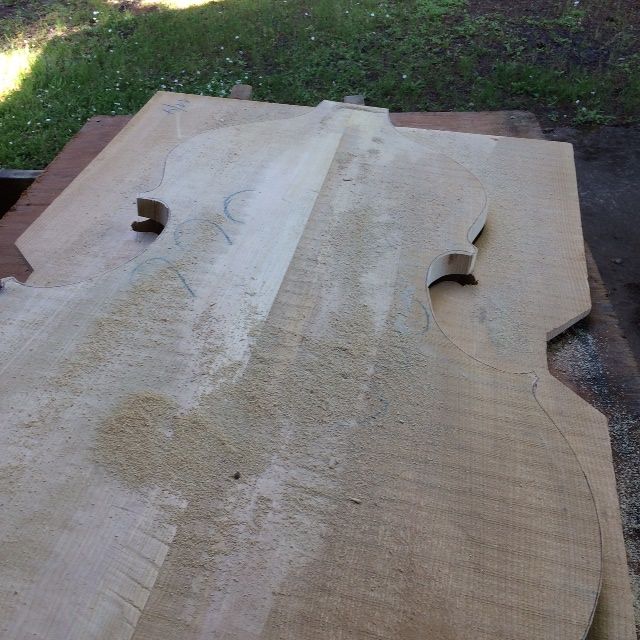
Tracing the plates
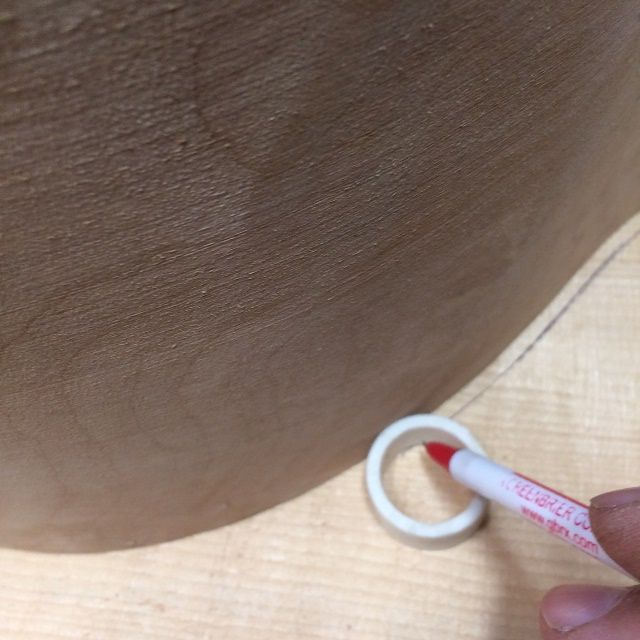
Tracing the plate out with a pipe spacer like that enables me to establish a very even overhang of about 4.5 mm. The problem is, it also makes round corners, which I did not want. So I had to correct, the corners, using a long straightedge to “point” the corners toward the center of the plate at the far end, and then use circle templates to extend the curvature of the plate edge above and below the corner to meet the straight lines. (Incidentally, the reason I have stopped using a washer for a spacer, is that any washer small enough to have the right distance from outside to inside also is so thin that if there is the smallest change in the fit between the plate and the garland, the washer will slide under the garland, changing the overhang distance to zero. The thin slice of PVC pipe never does that.)
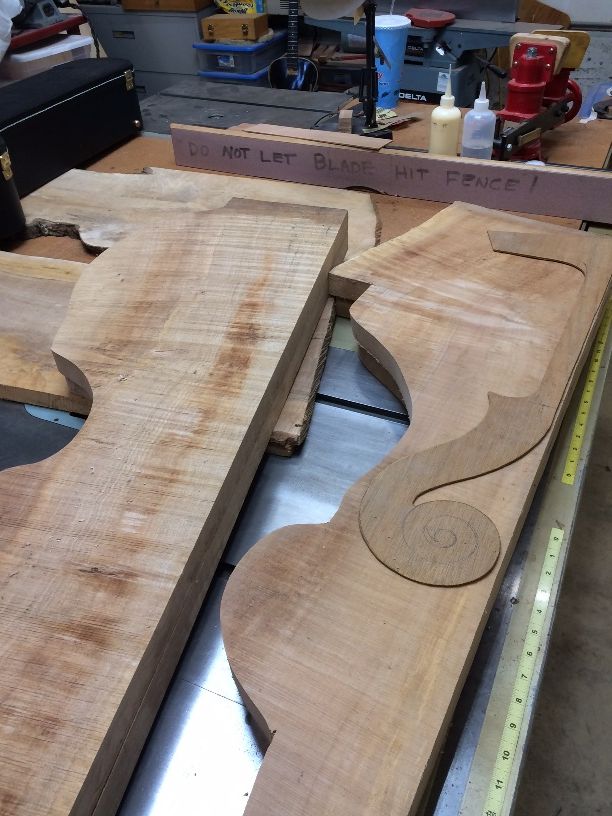
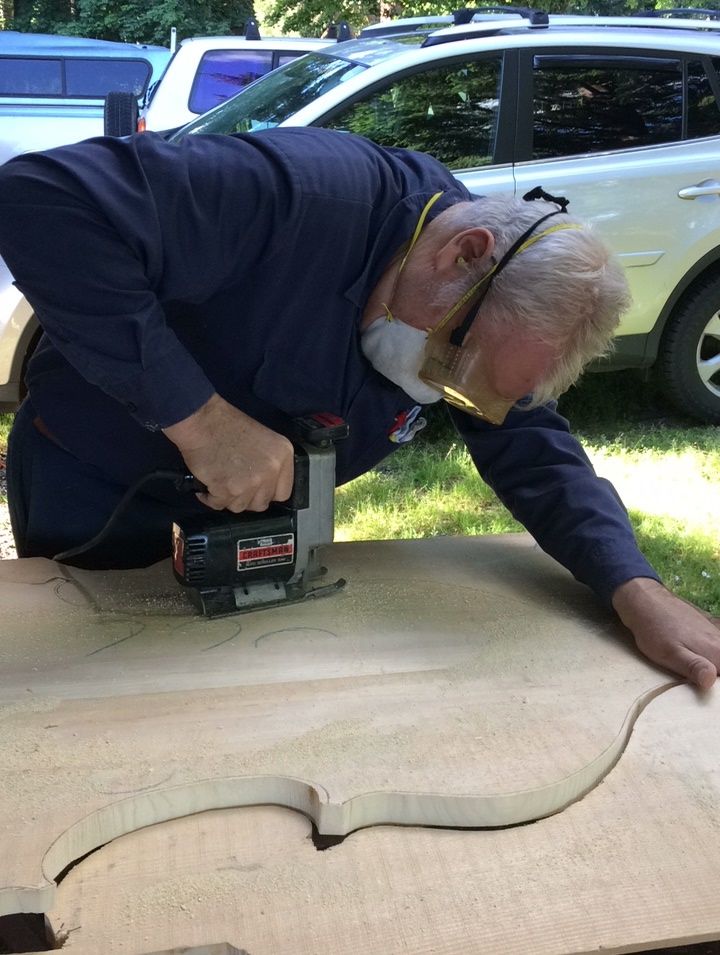
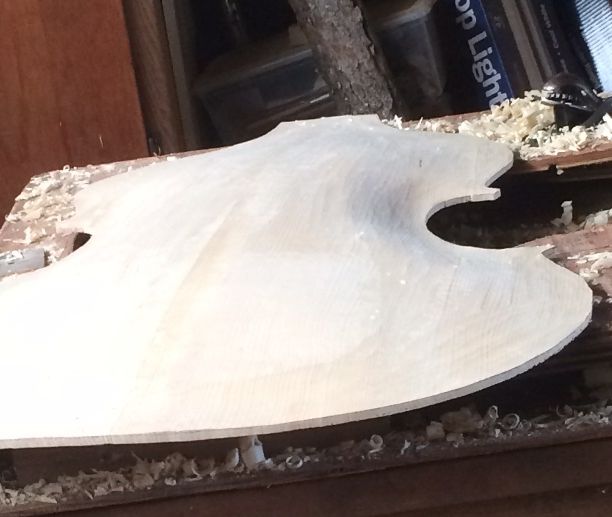
Cutting out the Front Plate
I used an old Craftsman “Auto-scroller” saber-saw (Hand-held jigsaw) to cut out the perimeter of the front plate. Ann, my beloved wife, bought me that saw 36 years ago, when we had been married for only about three years. That little saw has a lot of miles on it!
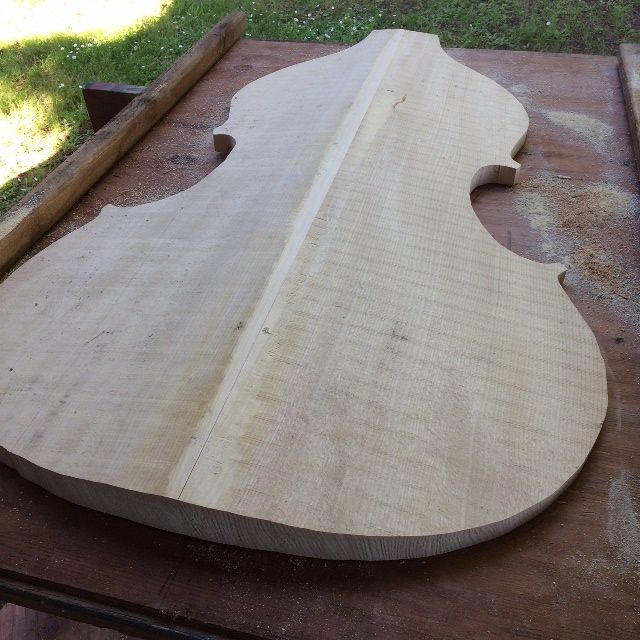
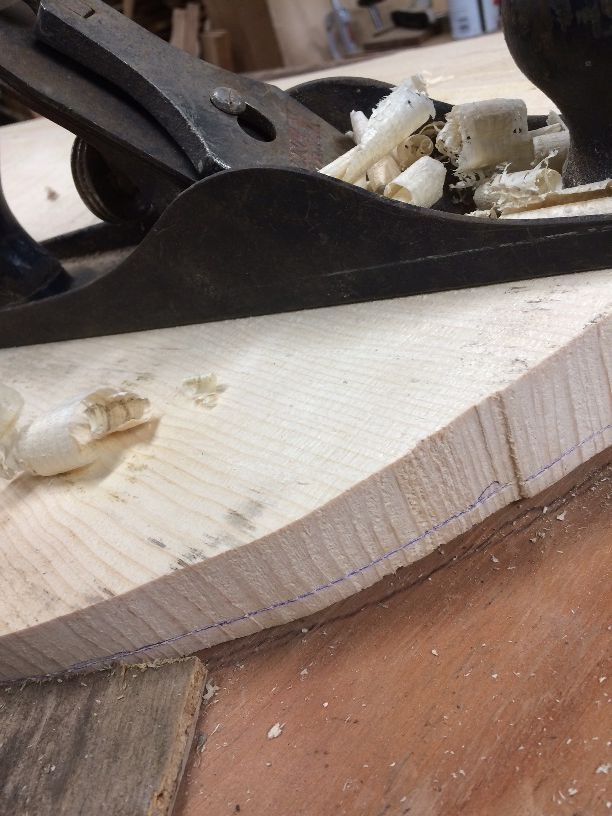
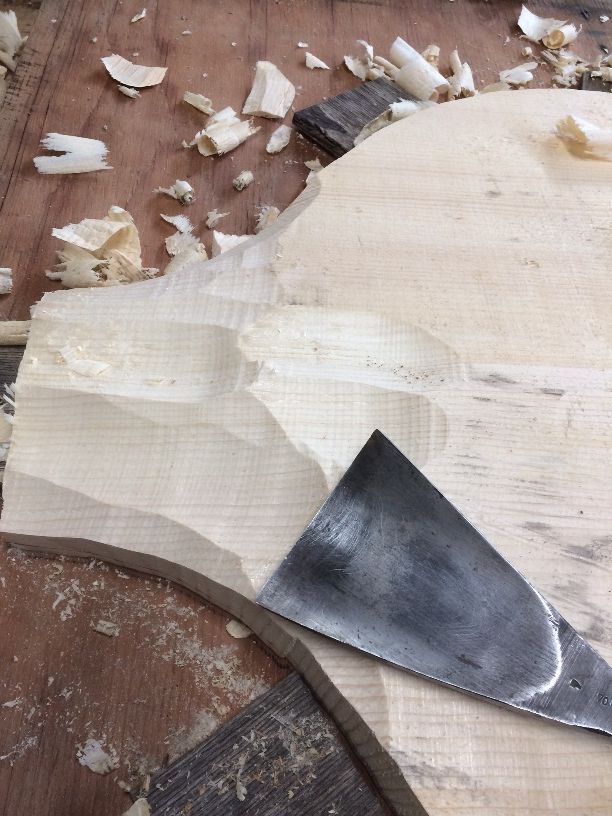
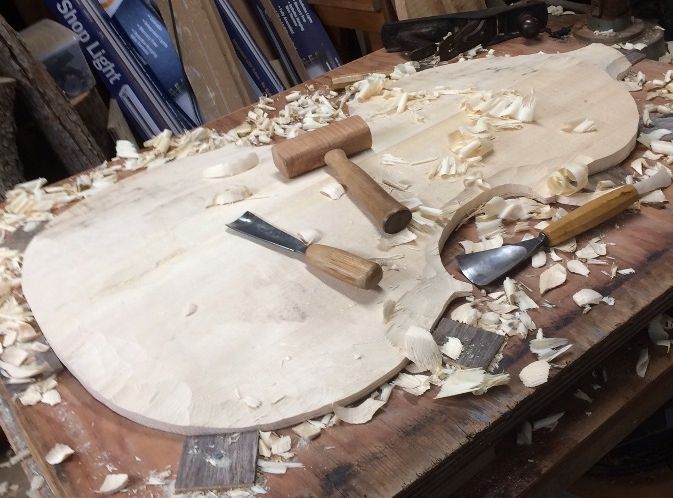
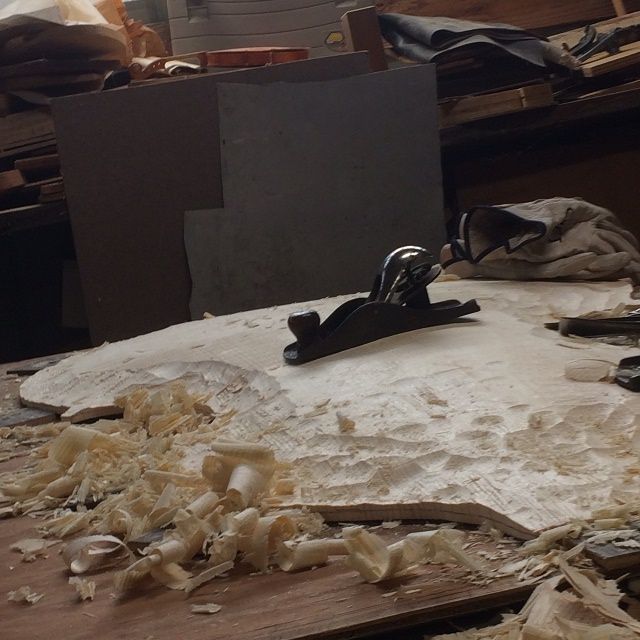
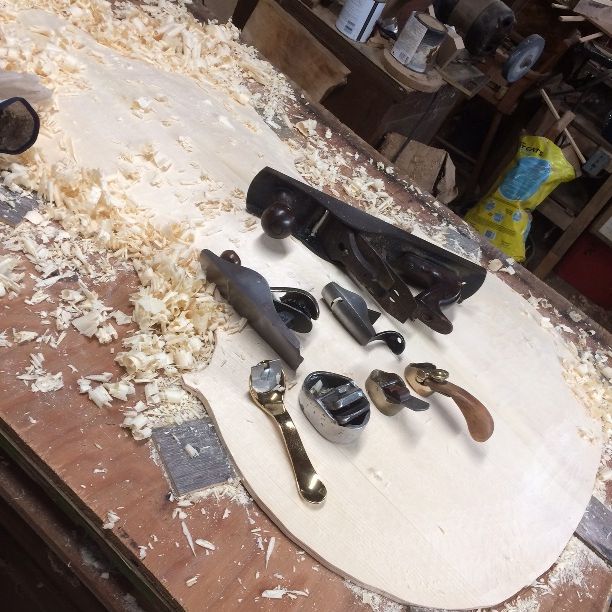
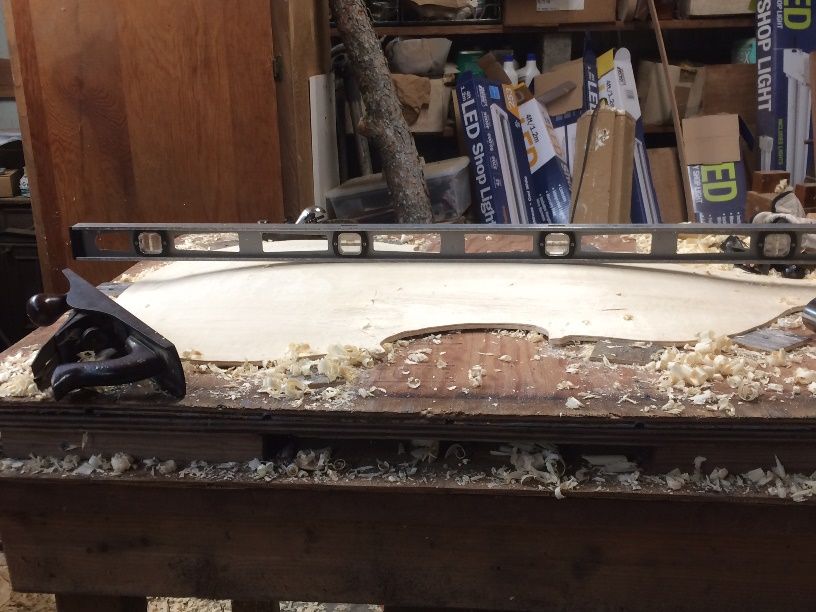
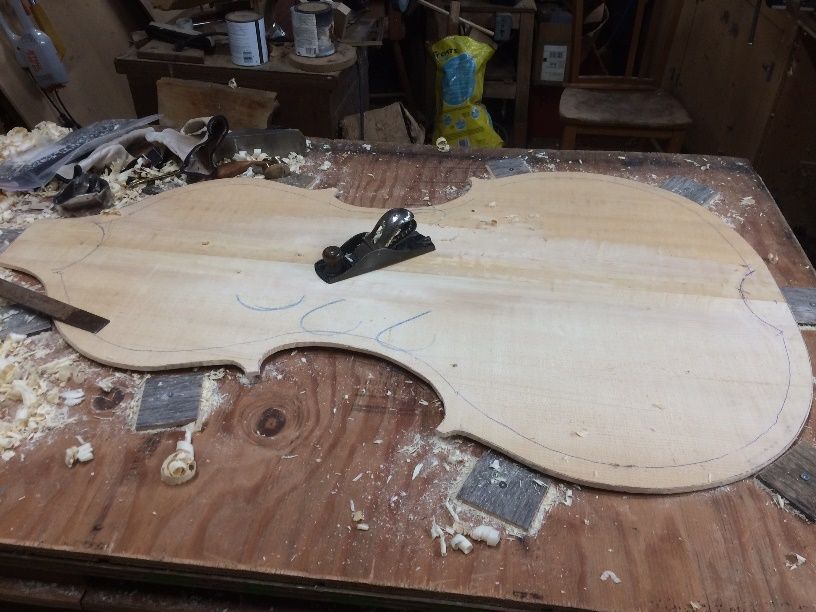
Arching is Next:
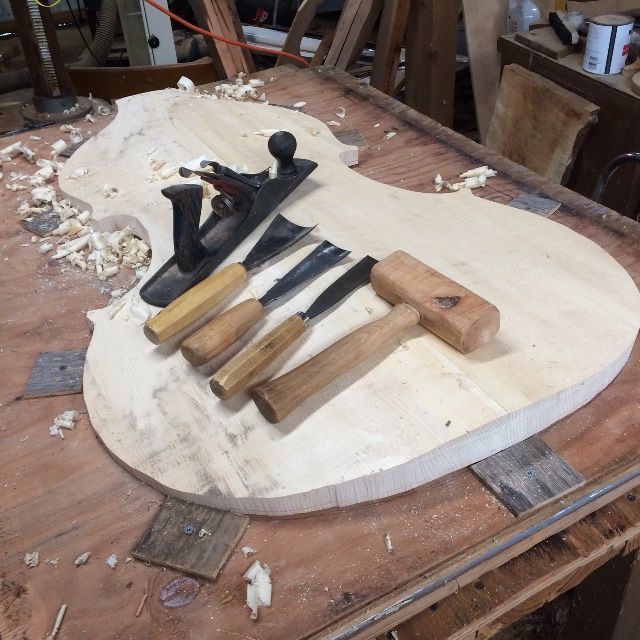
Before I could begin arching, I needed to mark the intended plate thickness: I used a marking tool to scribe a line all the way around the plate at 6 mm. Before the plate is done, this will be reduced to 5 mm in most areas. I used a ballpoint pen to highlight the groove so that I could more easily see it when I am working, and not accidentally go past it.
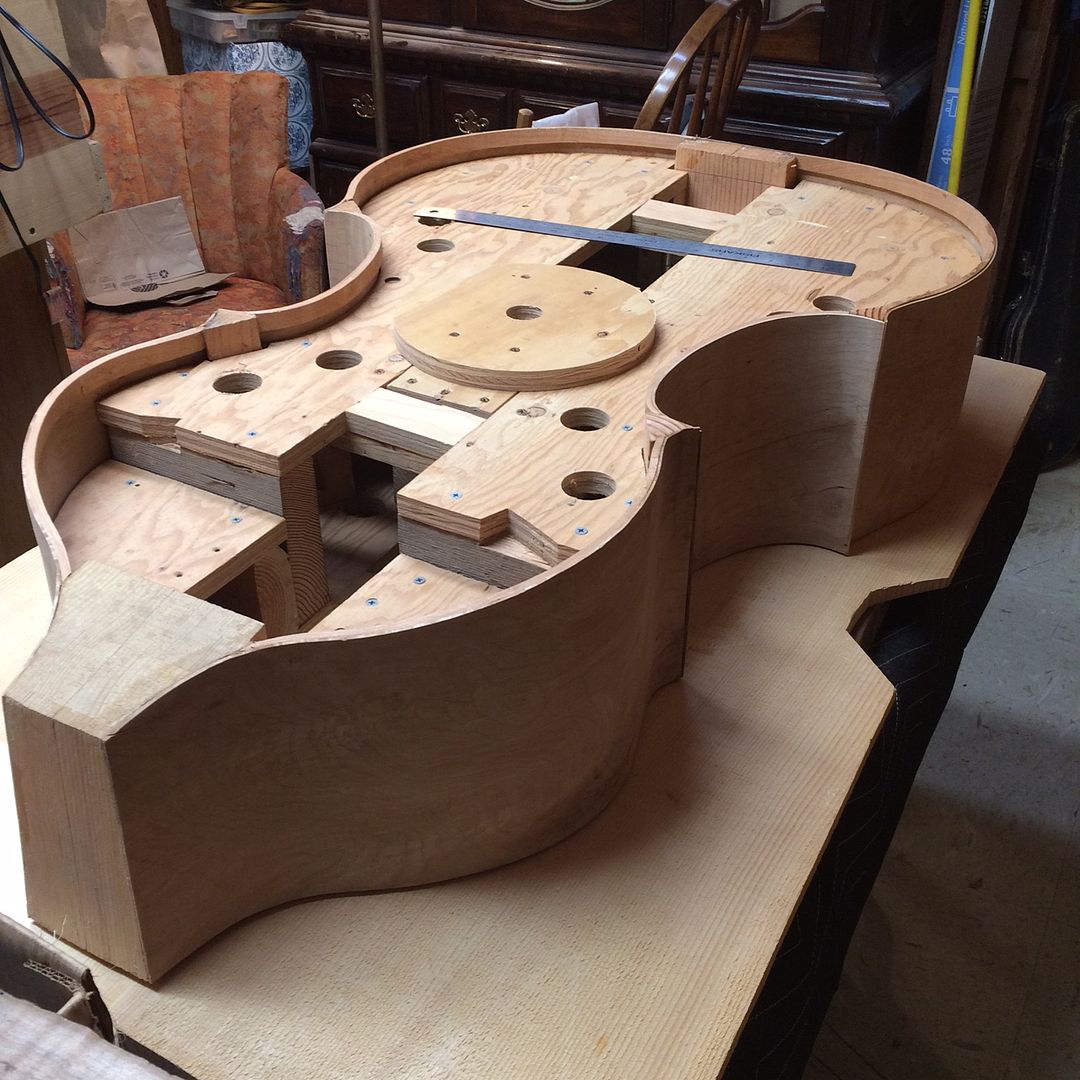
Then I secured the plate in a cradle especially made to fit this design, and secured it in place by affixing small squares of 1/4″ plywood around the perimeter so that the plate will not shift laterally, while I am working on it. The reason the little stop-blocks are so thin is that I do not want them to be in the way when I am planing the edges.

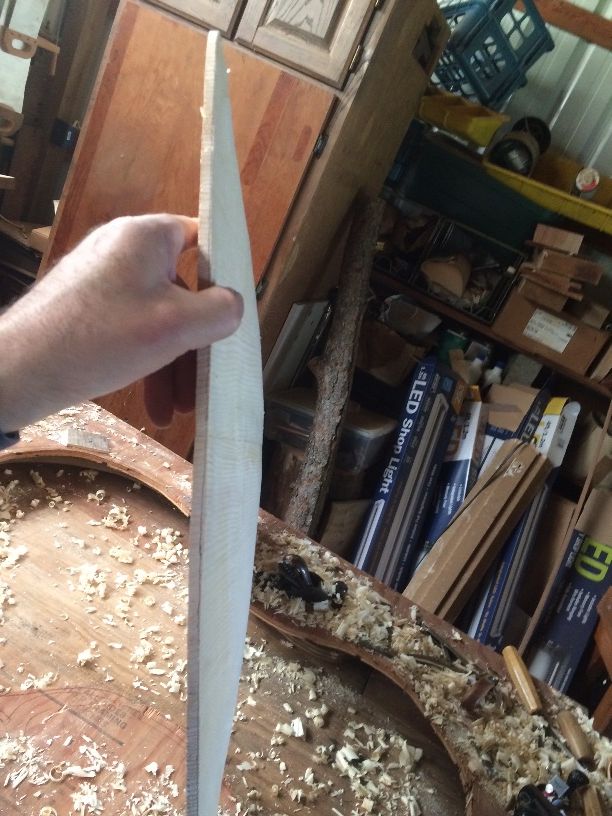
Time to lay out the F-holes!
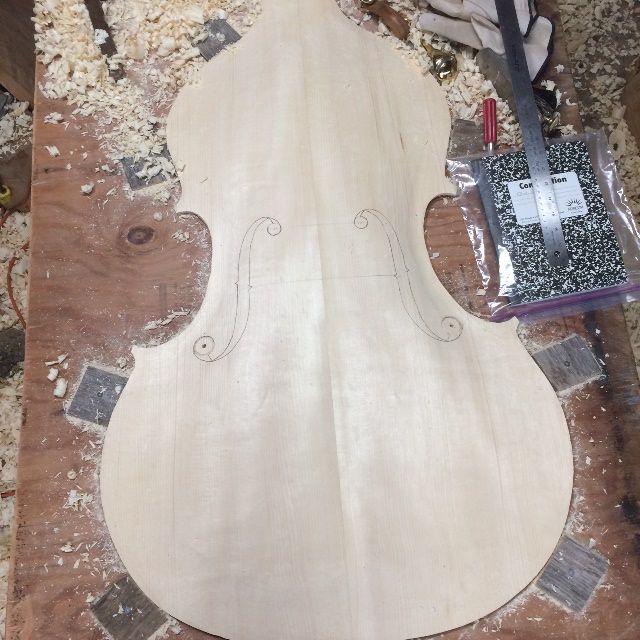
When I build the smaller instruments, I inside the f-hole perimeters quite deeply, knowing that, without exception, I end up needing to correct the arching, using the f-hole side-profile as a guide. I want the “stem” portion of the f-holes to be essentially parallel to the plane of the garland-plate joint when viewed from the side. On the violins and violas I have built, I have universally found that, in spite of my best intentions, I have left too much “puffiness” in the area of the lower wings of the f-holes and I need to plane away more wood. If I have incised them deeply enough, I don’t lose the marks when I remove the wood.
I was quite pleased to find that, on this instrument, the side profile was exactly what I had hoped for, as soon as I laid it out. So I incised them, but not very deeply, and then inked them with a ball-point pen, so that I could easily see them while perfecting the arching later, using a scraper.
So– the next step will be to complete the “graduation” of the plate– carving away the majority of the wood thickness from the inside of the plate, so that the plate is the correct thickness all over…ranging from 9mm at the center, all the way down to 5mm in the flanks.
But…I will leave that post for another day.
Thanks for looking.