I Failed to “Keep Up!”
I shipped the last three fiddles I had made, so the “cupboard” is looking pretty bare!
Unfortunately, I spent a lot of time messing around, this year, trying to build a travel case for the Travel Bass I built last summer. (I really need to complete it. The bass isn’t going anywhere without the case.) Also, the last two fiddles I had made were literally hanging around the house, and so, I wasn’t feeling pressed to build more of them right away. I found it to be a busy year in a lot of other ways, too.
Sudden Changes
Two customers came, and rather abruptly, those two most recent fiddles suddenly found homes. I only have two five-string violin-size fiddles left, both of which I had made several years ago, and they both play very well. However, the ones I am building currently are my best work, and that is what I want to put in players’ hands.
The Plan
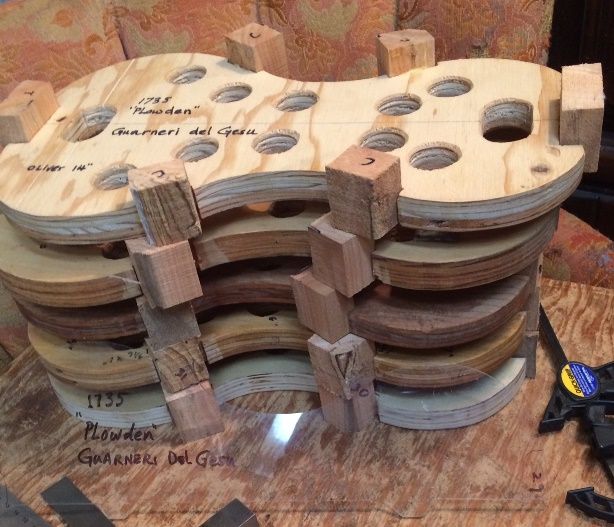
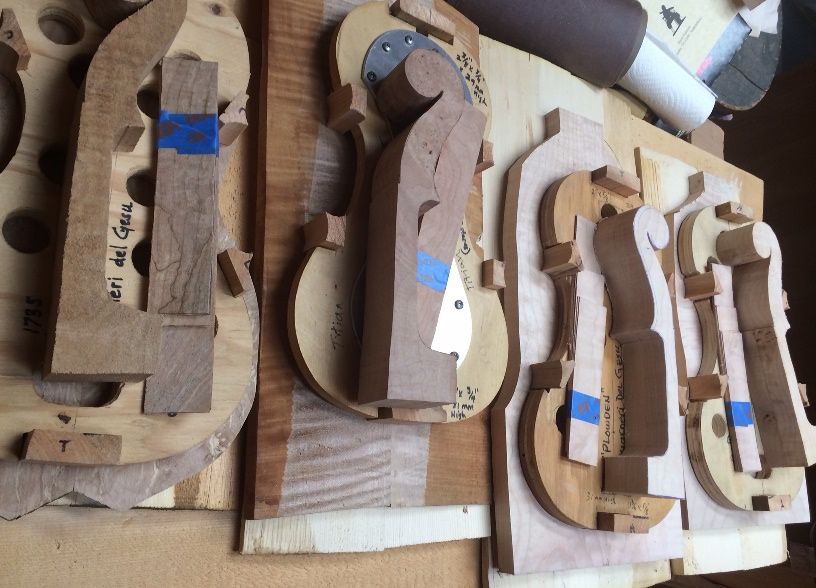
Therefore, I decided I had better “hit the Lutherie trail” in a big way. First, I selected six of my molds (five in the photo, below: the sixth shows up later.) Then, I glued the blocks in place, to begin a group of six new fiddles. Next, I plan to select and prepare materials, and match them together into “kits.” In this way, I know which top plate goes with which back plate. neck, and ribs, etc.
Afterward, I plan to begin building them in pairs, but I will always have another pair ready to begin, if things slow down at all.
The Process:
Look closely, and you soon will see the transparent plexiglass template in the photographs above and below. Because the template is clear, it is hard to see, but it gives the precise shape I want for the outline of my blocks. I use a ballpoint pen to trace the shape onto the blocks.
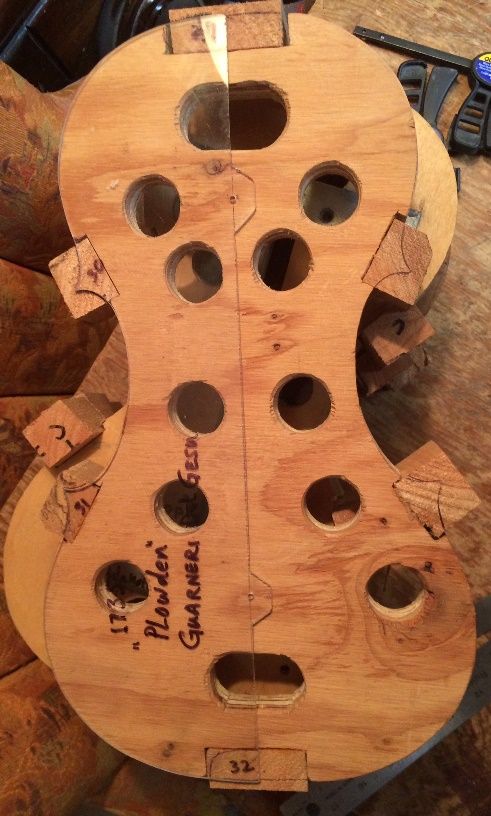
Next, I use a saw to roughly cut out the shapes. Afterward, I use an oscillating spindle sander to shape them more precisely. Using an old candle, I rub parrafin wax on all the exposed edges of the molds, so that an accidental drop of glue can’t bond them to a rib. Initially, I glue the ribs only to the blocks and linings. Ultimately, I will remove the mold, before closing the body of the instrument.

Wood Choices
Then, I cut the ribs from wood that match the back and neck, as closely as possible. Usually, I try to get them all out of the same billet of wood. Over the years, I have harvested some of my wood, myself. However, A friend (the late Terry Howell) gave me a great deal of curly maple, in log form. Immediately, I had someone mill it up for me on a large portable bandsaw mill. In other cases, I have simply bought wood from tonewood dealers.
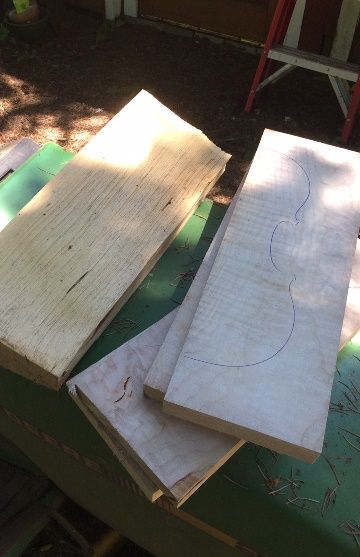
I have used a variety of woods for the back plates. These (below) are all Big Leaf Maple. But, I have used a wide variety of other woods. When I build classical orchestral instruments, I use only European Maple and Spruce.
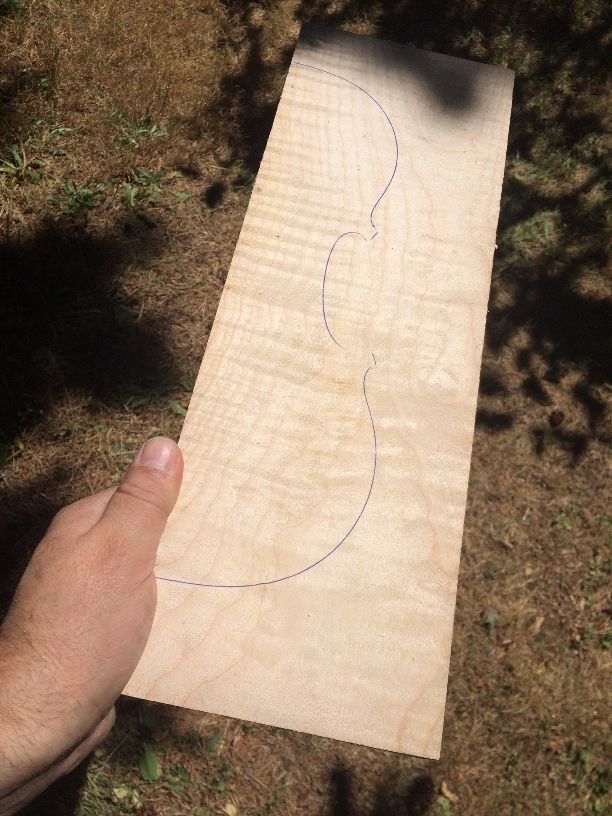
I bought the wood (in the pictures below) from Bruce Harvie, of Orcas Island Tonewood Company. That piece of Big leaf maple on the right measures 2″ thick, about 6″ wide, and 16″ long, or more. The large billet allowed me to cut the ribs, neck and two-piece back all from the same billet. I cut up the Englemann Spruce billet on the left. to provide two tops and nine bass-bars.
Processing the materials:
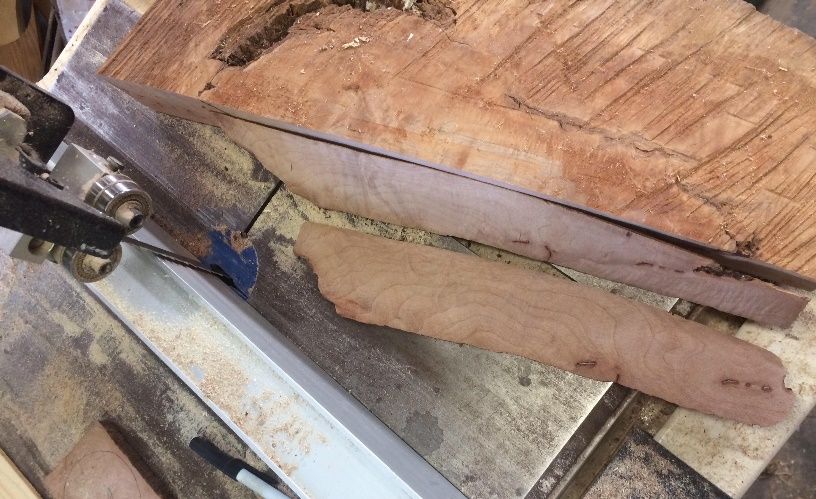
To begin with, I used a bandsaw to slice off the rib material. Then, I laid out the actual shape I needed for the back and neck. (I did not make the traced “shape” visible in the above photo. That is just the way tonewood dealers “spark the imagination” of their customers.)
I sliced the back plate shape in half lengthwise, originally. Next I planed the two edges perfectly smooth and flat. Finally, I glued the halves together, to form the back plate.
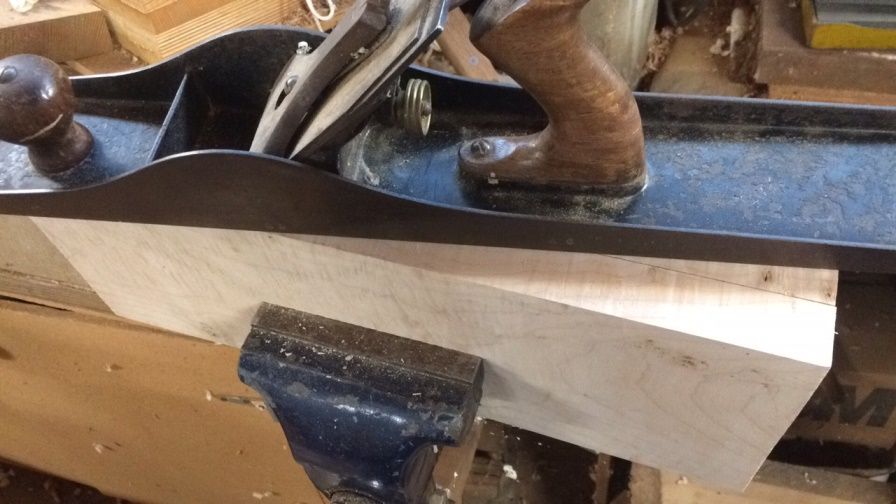
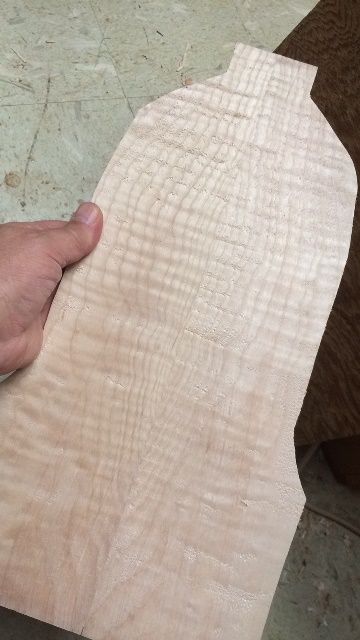
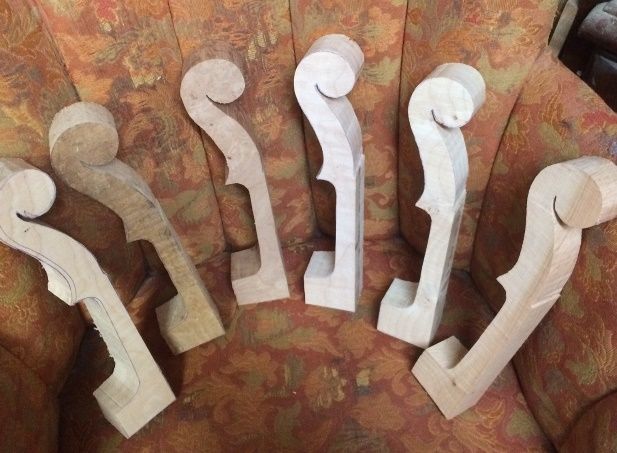
While the glue was drying on the plates, I traced out all the neck billets. I used a bandsaw to cut them out, to produce “neck blanks.”
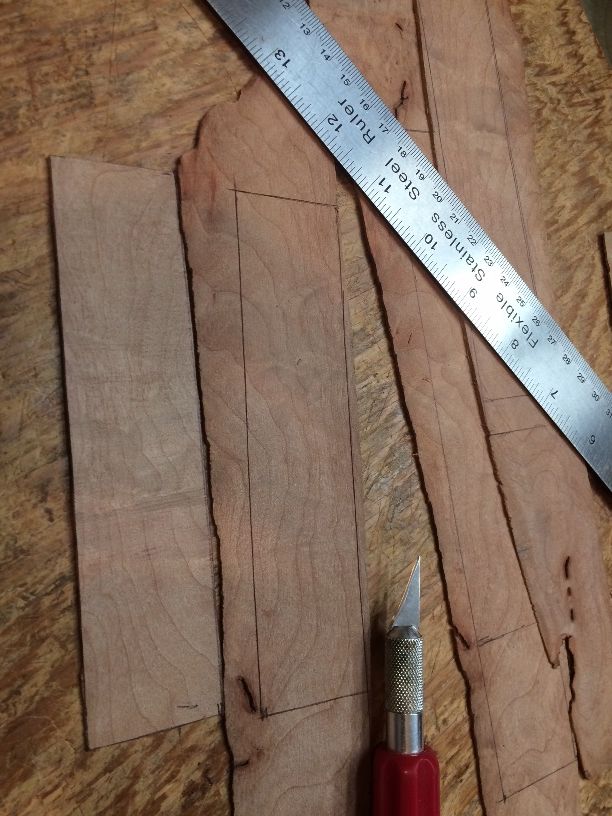
In addition to the preparation of the heavier components, I used a bandsaw to slice rib material from appropriate wood to match the wood of the backs. For example, a darker maple back required darker maple ribs. I then sanded them to 1 mm final thickness, using the oscillating spindle sander.
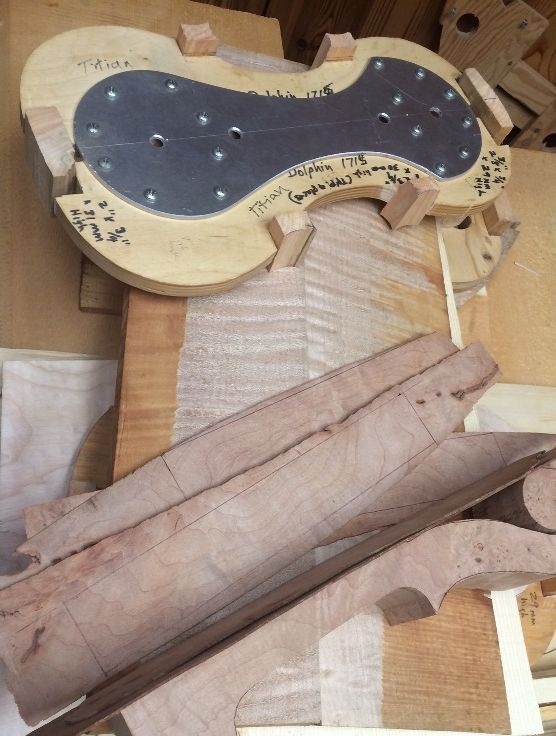
After thinning the ribs, I used a knife to cut the ribs to size.
Douglas Fir
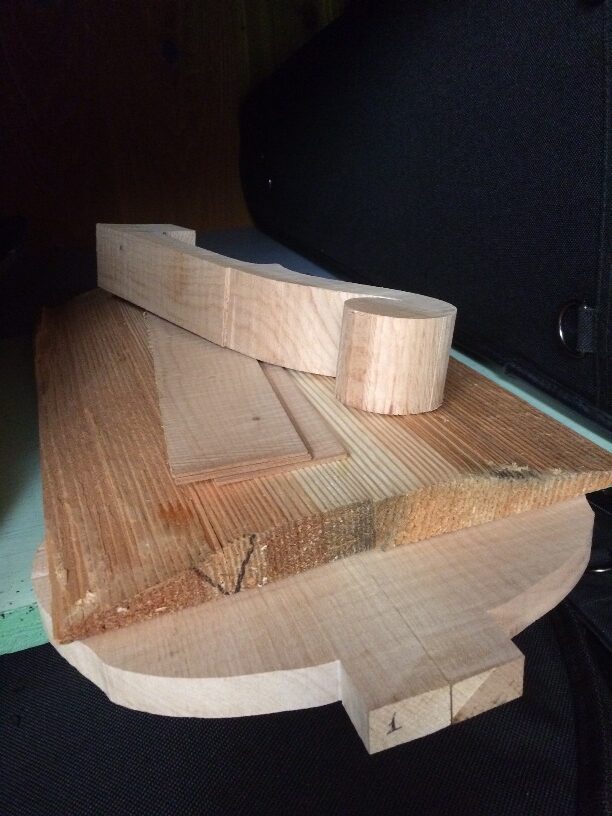
Usually, I make the top plates of my instruments from some type of spruce. (Sitka, Englemann, European or other species all work well.) But, sometimes (rarely) I use other woods: this one is Douglas Fir.
Otto Erdesz used Douglas fir for the front plates on many instruments. I have seen and played one of the violas he made of Douglas Fir. When I found some Douglas Fir with great tone qualities and very straight grain, I decided to try it, emulating his success. Thus far, I have only used Douglas Fir once, but it turned out to be an excellent fiddle, so, I am doing it again.
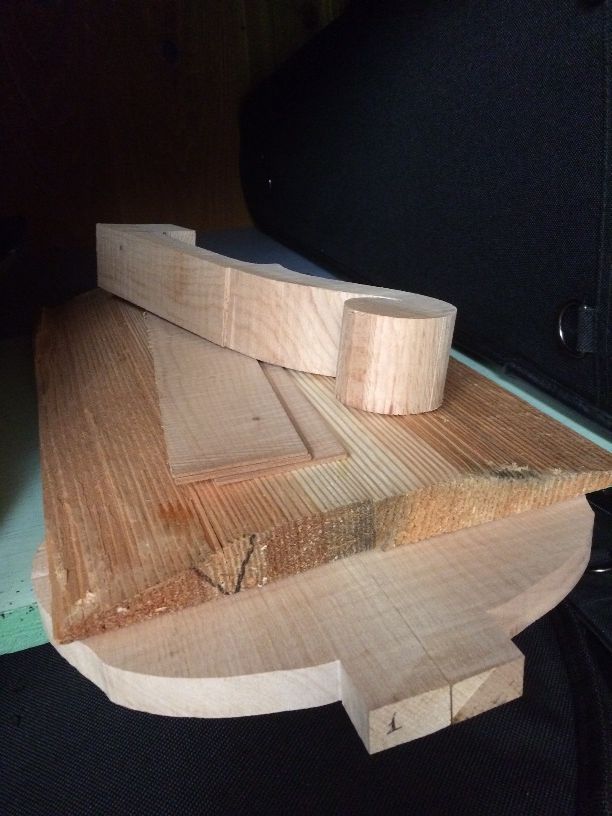
And, finally, I see the “kits” beginning to emerge!
I will try to provide updates and to post progress reports.
Thanks for looking.

