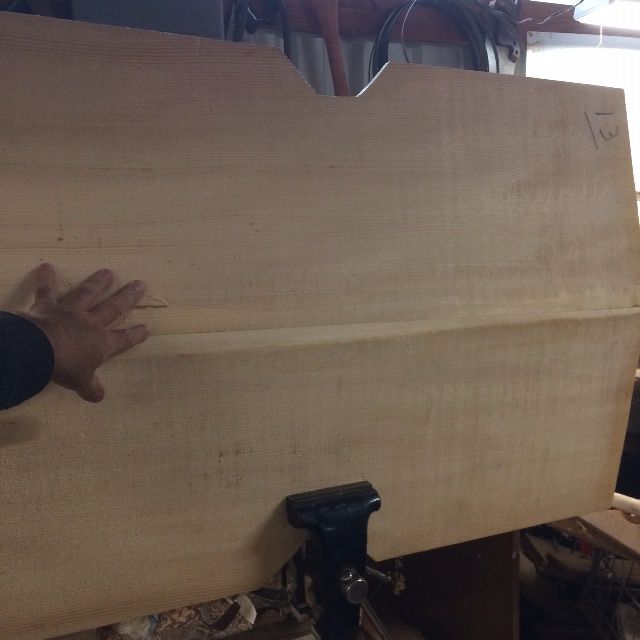
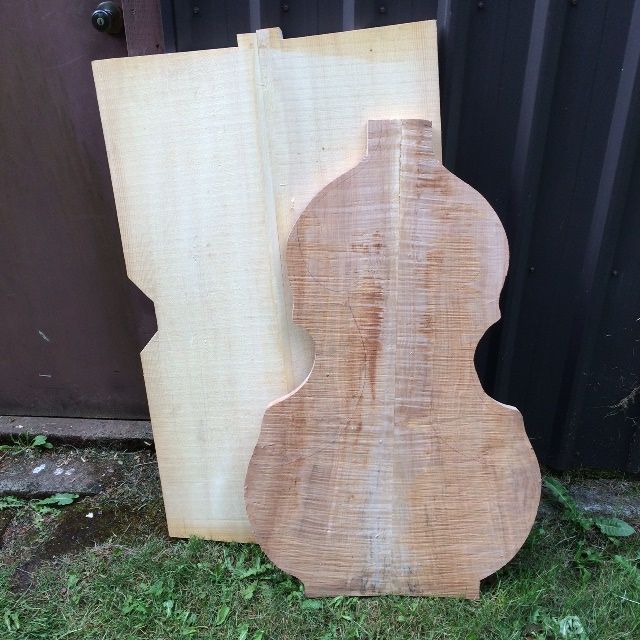
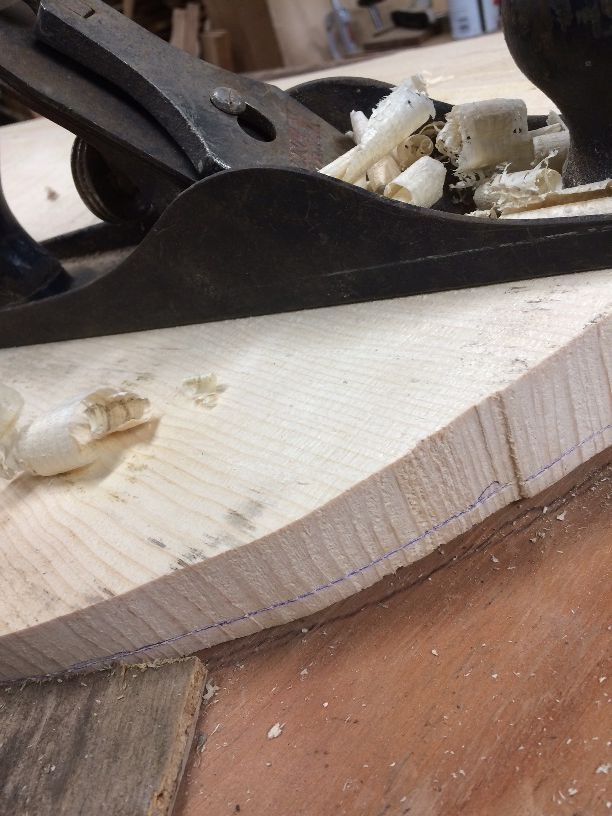
So, when I saw that there were two sections of “scrap” left over, near where the neck end of the five-string double bass back was cut out, I realized that a 5-string fiddle back could fit into each of those two pieces.
So, I salvaged the wood, and not only got two backs, but also the neck blanks for two 5-string fiddles.
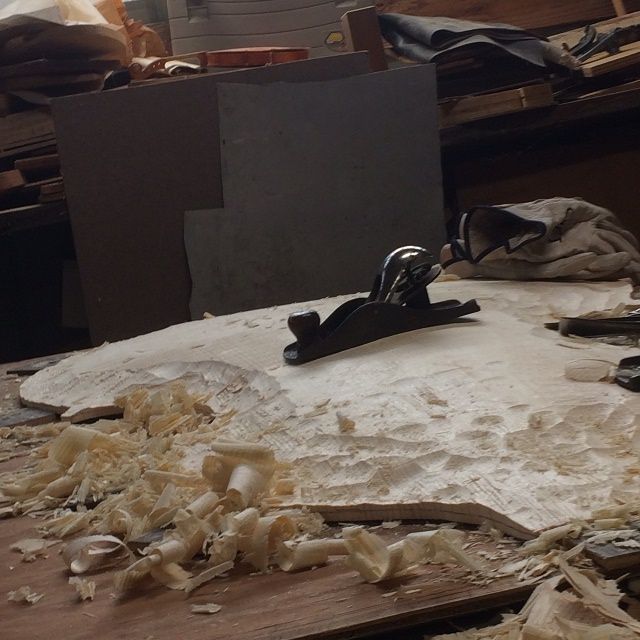
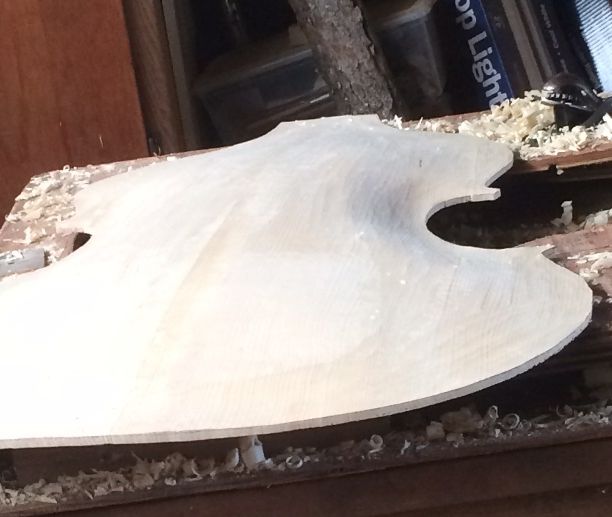
Five-string fiddle back cut from the scrap left from a 5-string double bass back.
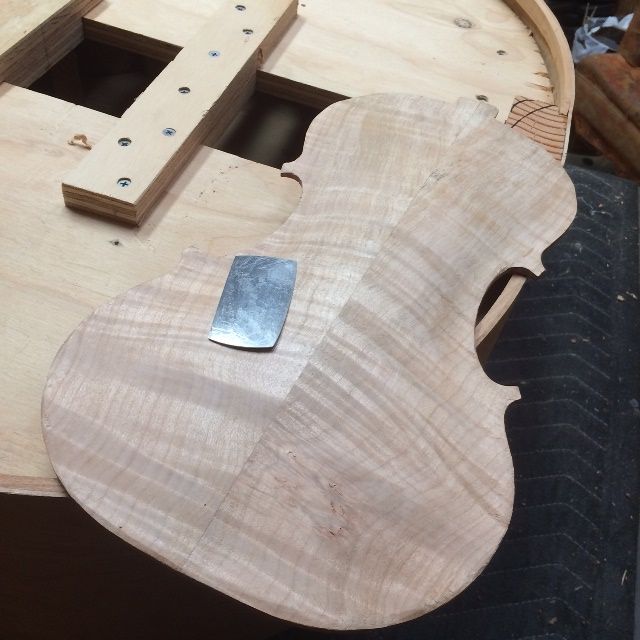
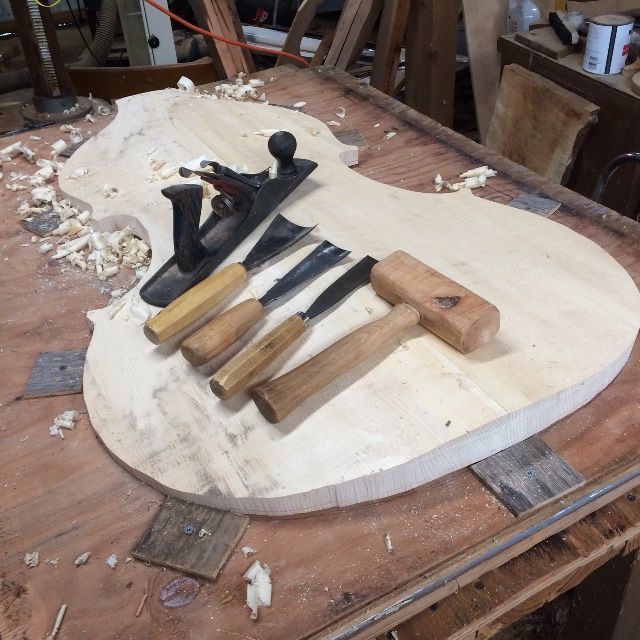
Arching the Plate
Five string fiddle begun, with back and neck from scrap from a 5-string double bass back.
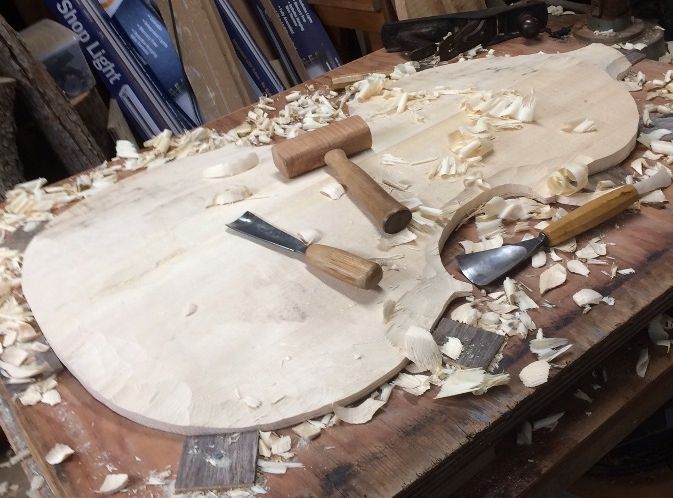
I really like the look of the Oregon Big Leaf Maple back wood. I enjoyed arching the plate.
Five-string fiddle back arching nearly complete. It is sitting on the five-string double bass garland whose back provided the scrap for the fiddle-back.
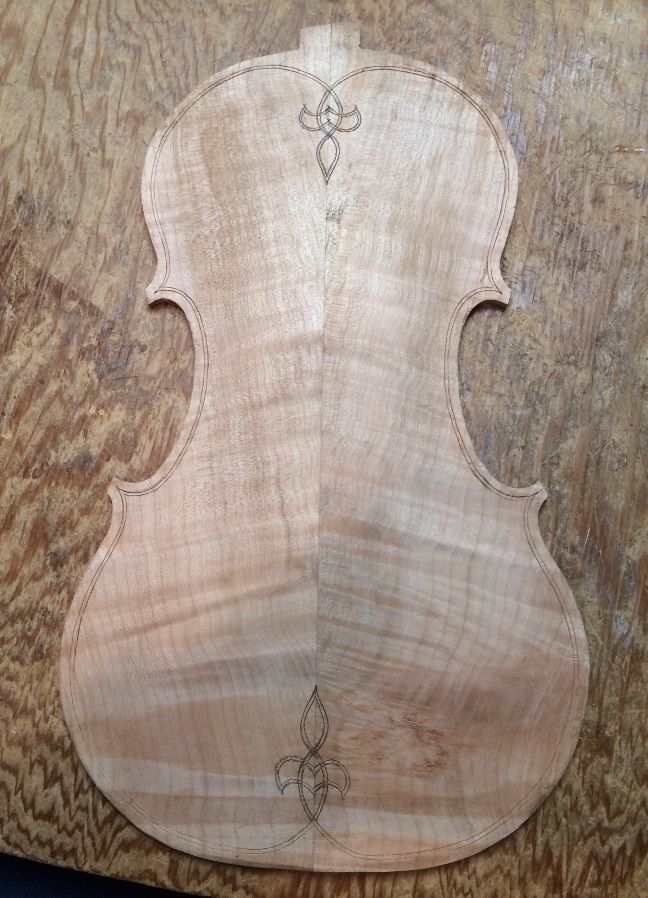
Purfling the Plate
On all my five-string instruments I usually include a purfling weave. It is a modified fleur-de-lis I designed for my first five-string fiddle and have continued to use on subsequent work.
Five-string fiddle back with purfling slots incised and ready to complete.
In this photo, the slots for the purfling have been incised, but not cut deeply, so the next step is to slice deeply enough that the waste wood can be removed from between the cuts, and the purfling strips inlaid in the resulting slot.
I will include the purfling process in subsequent posts.
When I last posted, I had the garland pretty much complete, and the materials were prepared for the neck and the front and back plates. I had cut the back plate roughly to shape, in order to use as much of the “fall-off” material from the back plates, as possible, from which to make the neck.
I went ahead with the neck and scroll, just because I find it encouraging to have some of the “pretty” work done, as it makes me feel that I am making progress. You can see the neck progress, here.
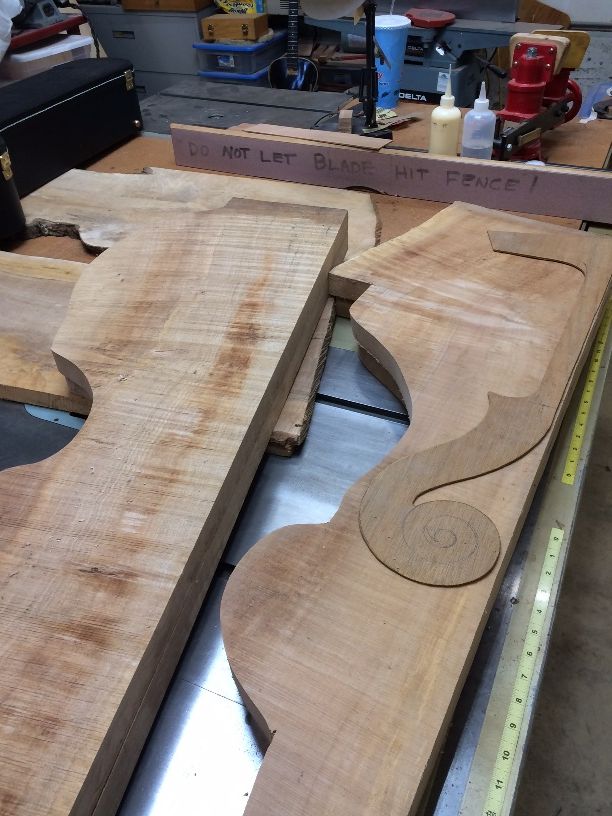
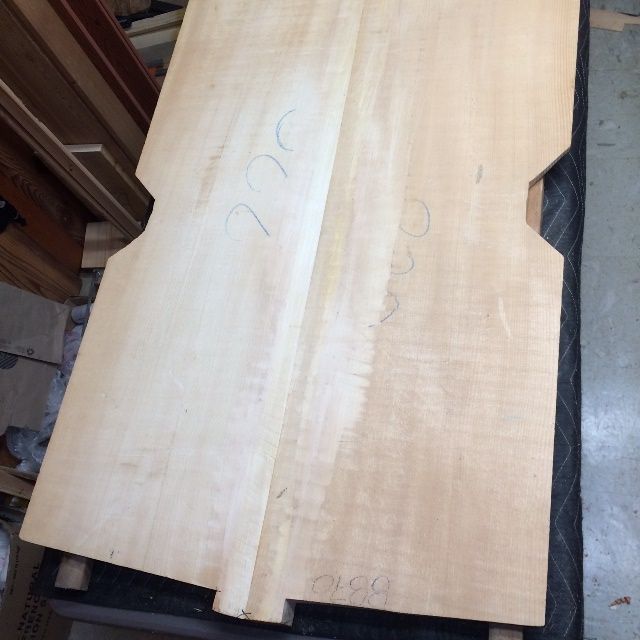
But at some point, one has to go ahead with the task of bookmatching the plates and getting them ready to carve.
Sitka Spruce front plate halves for the five-string double bass.Rough shape of the five-string double bass back plate, with the template for the neck. The neck was cut out of the scrap from the back.
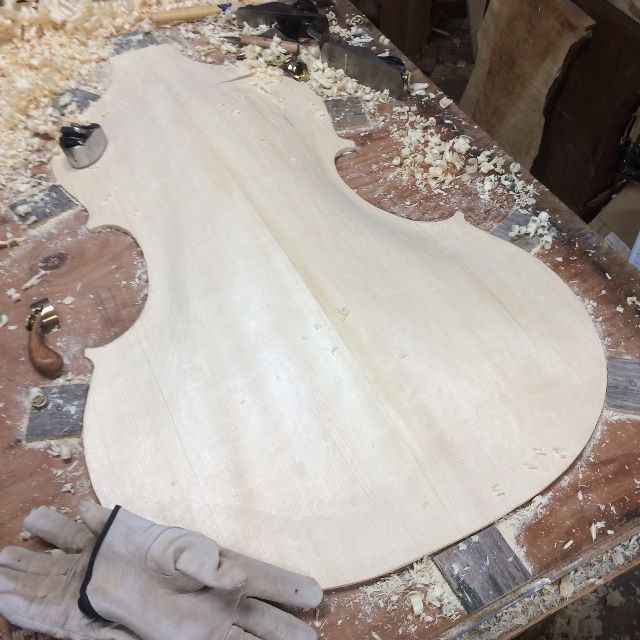
So, for the front and back plates, the next thing on the agenda was to plane the center-joints absolutely flat and straight and then glue them together. It took two tries on each of them, as it turned out that while they were technically “straight”, and if I put a try-square at any given point, they seemed to be square…in reality, there was a longitudinal twist to the surface I had planed, and the fit was not acceptable. (sigh…) No big deal… I just had to saw the joint back apart, and try again.
Finally, I got everything lined up correctly; then I glued and clamped the plate halves together, and produced the plate banks, ready to trace the actual shapes.
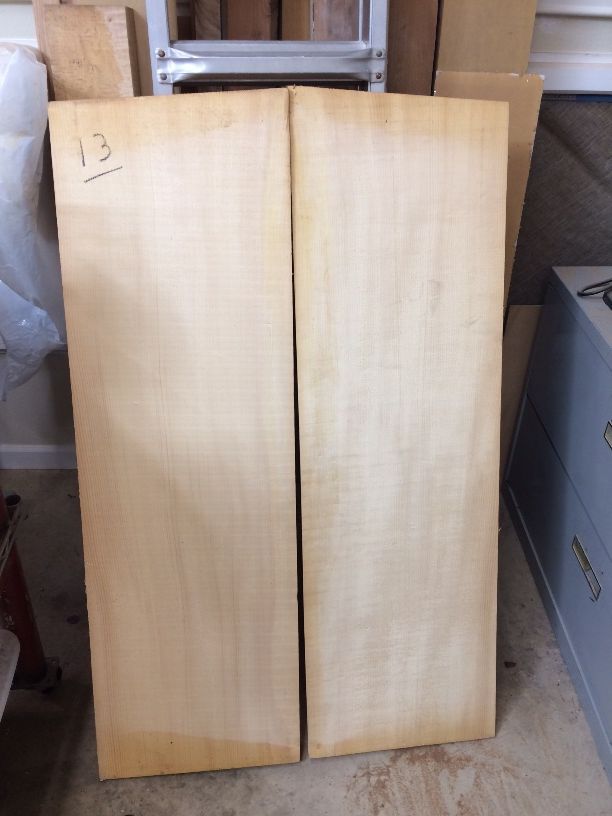
Sitka spruce front plate for five-string double bass, bookmatched, and ready to glue.
Front and back plates, bookmatched, and ready to trace shapes.
Tracing the plates
Sitka spruce front plate, ready to trace the shape.
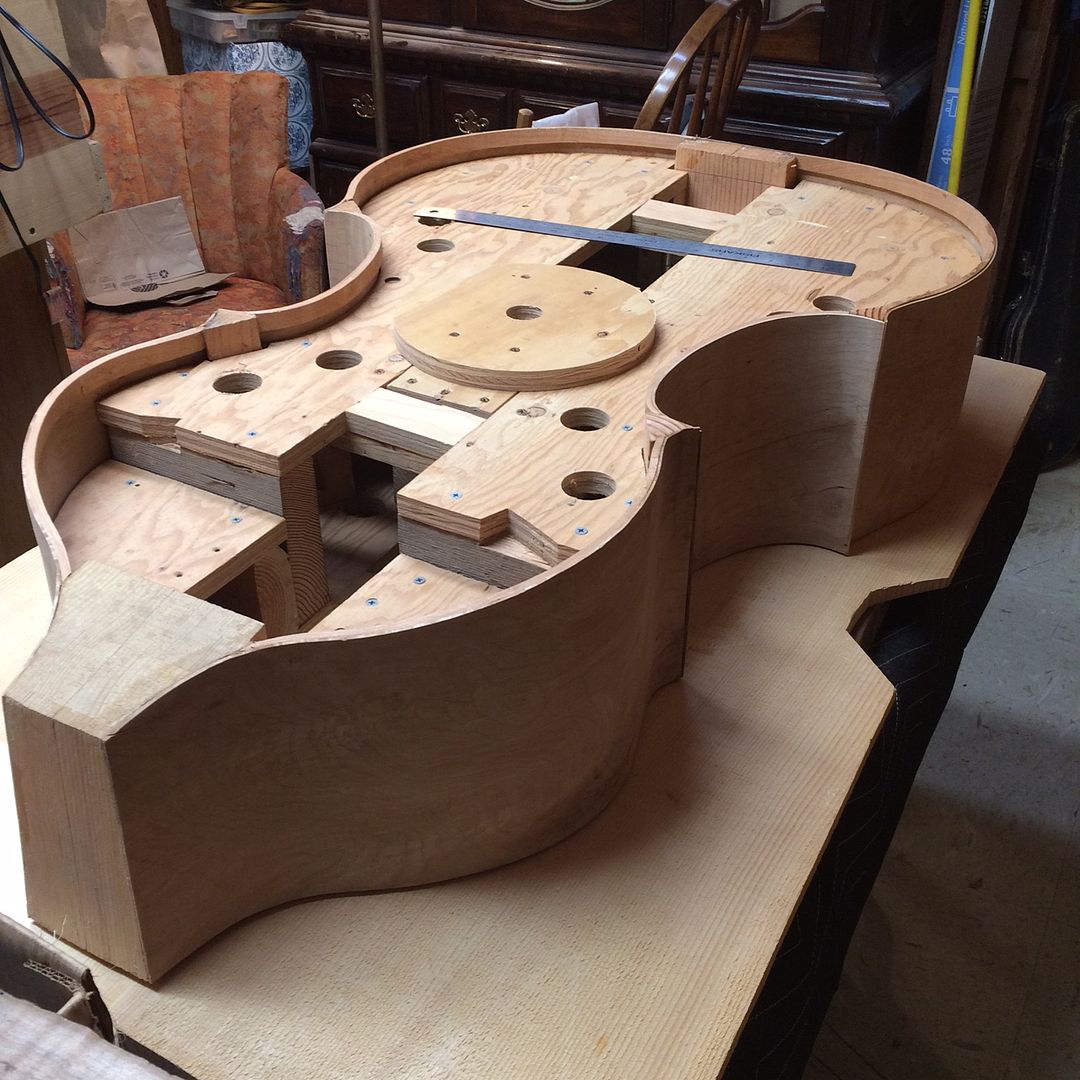
Ready to trace the shape of the garland onto the front plate.
Using a pipe spacer to trace the shape of the garland onto the Front plate.
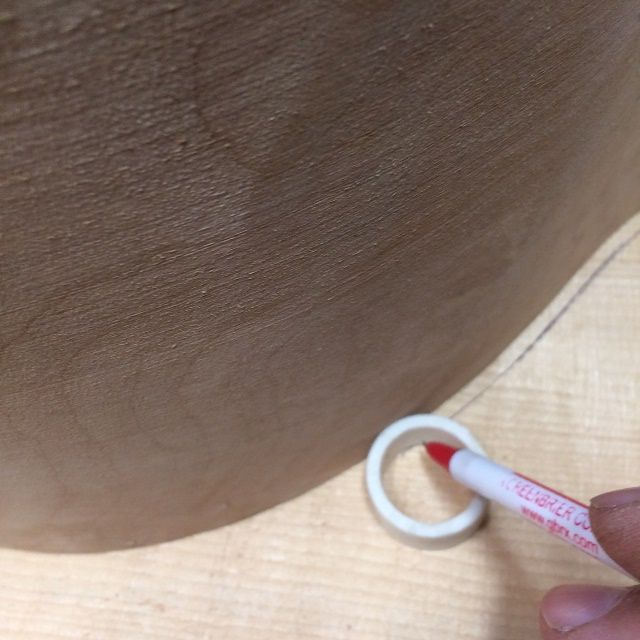
Tracing the plate out with a pipe spacer like that enables me to establish a very even overhang of about 4.5 mm. The problem is, it also makes round corners, which I did not want. So I had to correct, the corners, using a long straightedge to “point” the corners toward the center of the plate at the far end, and then use circle templates to extend the curvature of the plate edge above and below the corner to meet the straight lines. (Incidentally, the reason I have stopped using a washer for a spacer, is that any washer small enough to have the right distance from outside to inside also is so thin that if there is the smallest change in the fit between the plate and the garland, the washer will slide under the garland, changing the overhang distance to zero. The thin slice of PVC pipe never does that.)
Cutting out the Front Plate
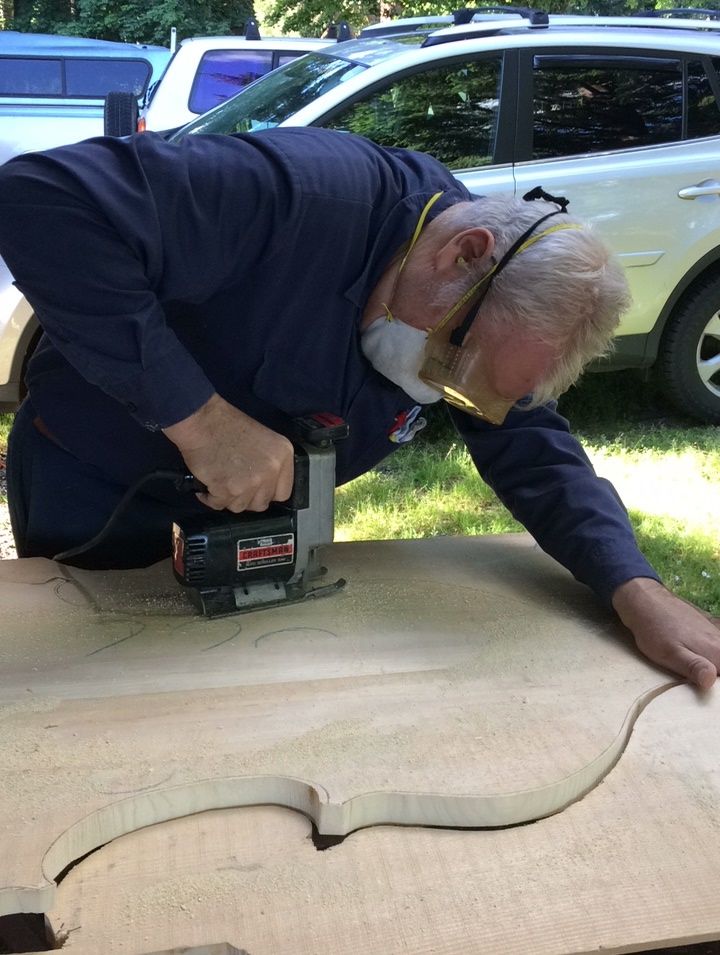
I used an old Craftsman “Auto-scroller” saber-saw (Hand-held jigsaw) to cut out the perimeter of the front plate. Ann, my beloved wife, bought me that saw 36 years ago, when we had been married for only about three years. That little saw has a lot of miles on it!
Cutting out the completed shape of the front plate. I am not attempting to cut exactly to the lines. I will correct to the lines, after the arching has been completed.
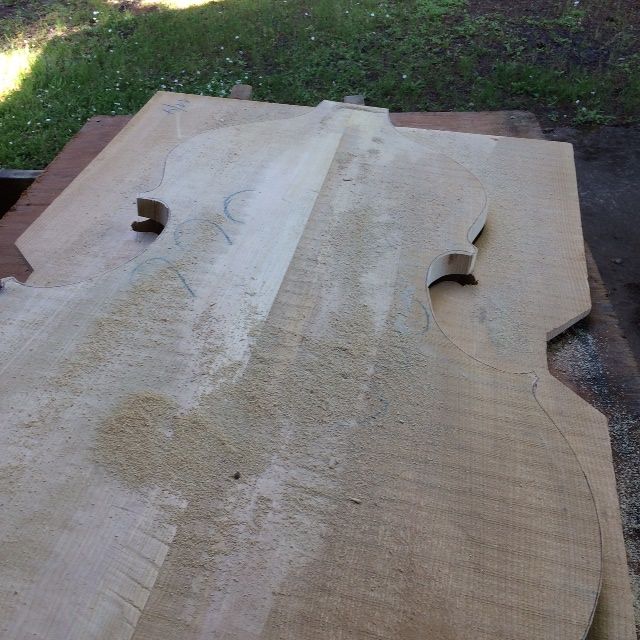
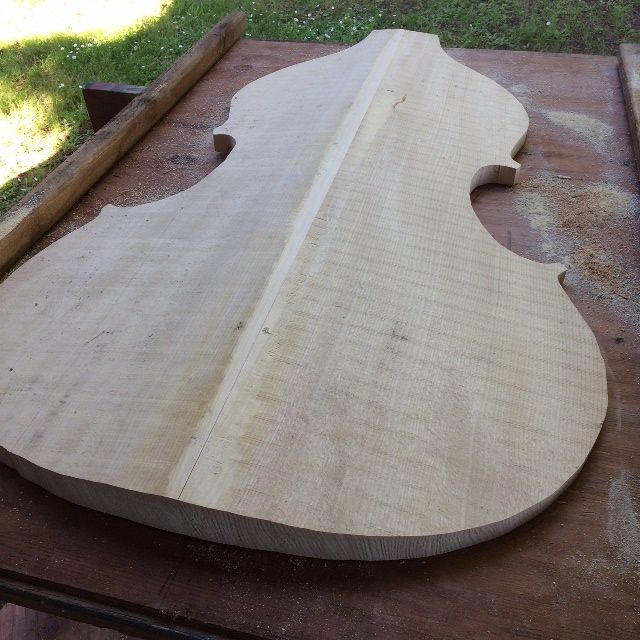
Inside view: the cutting is complete: the front plate is ready for arching.
Outside view of the front plate.
Arching is Next:
Before I could begin arching, I needed to mark the intended plate thickness: I used a marking tool to scribe a line all the way around the plate at 6 mm. Before the plate is done, this will be reduced to 5 mm in most areas. I used a ballpoint pen to highlight the groove so that I could more easily see it when I am working, and not accidentally go past it.
Edge-thickness scribed into front plate.
Then I secured the plate in a cradle especially made to fit this design, and secured it in place by affixing small squares of 1/4″ plywood around the perimeter so that the plate will not shift laterally, while I am working on it. The reason the little stop-blocks are so thin is that I do not want them to be in the way when I am planing the edges.
Front plate secured in a work cradle.
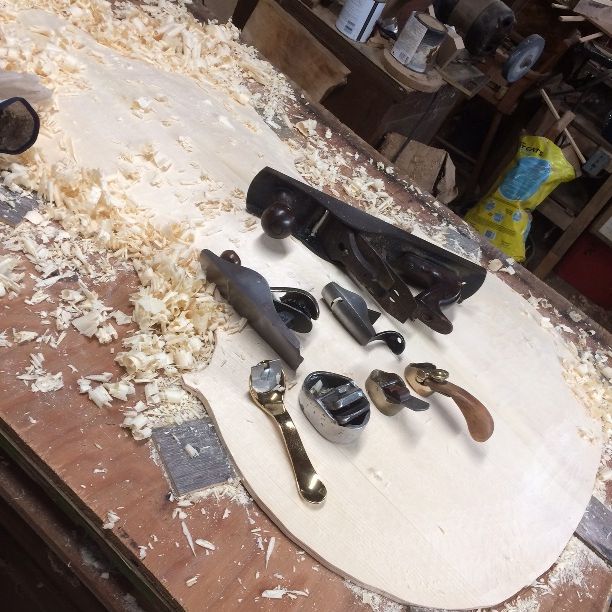
Tools for arching: cradle, gouges and planes.
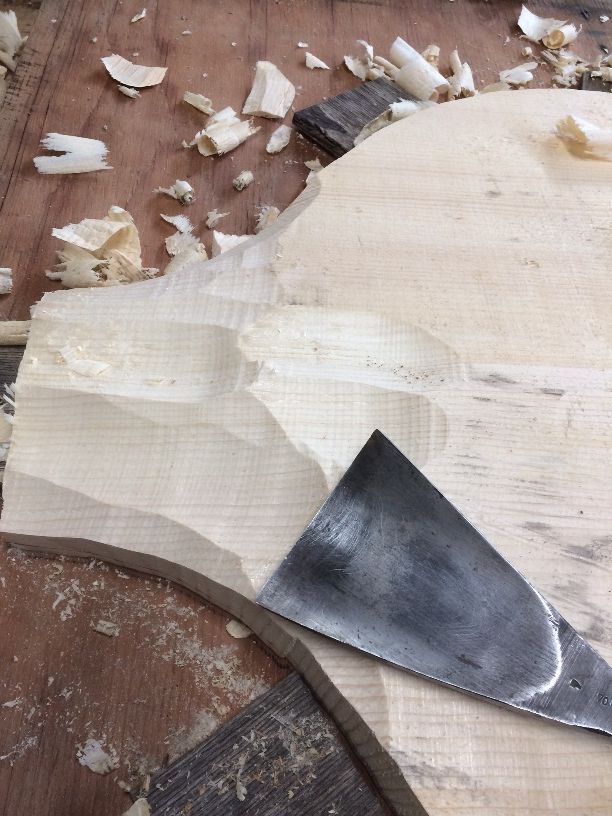
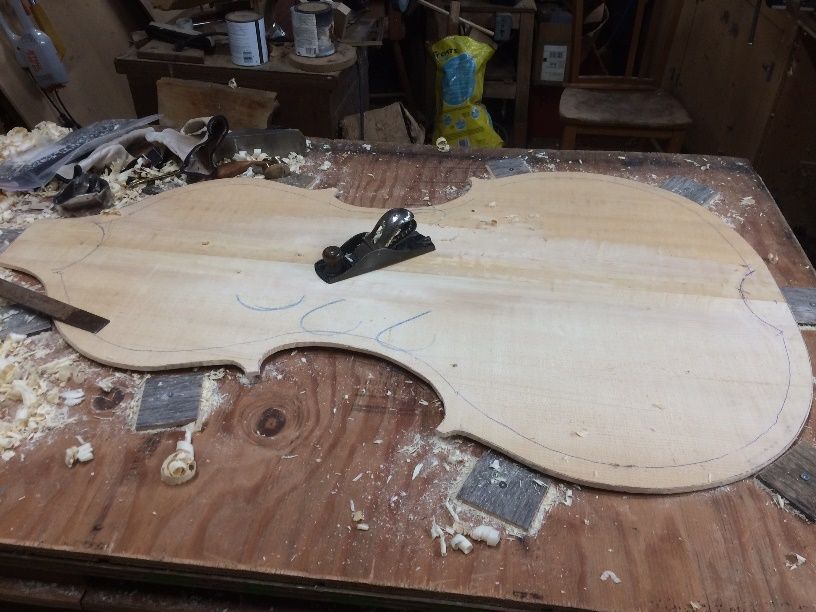
Sculpting the front plate arch.
Front plate arching in progress!
Planing the arching surface smooth.
Some of the planes used to shape the bass.
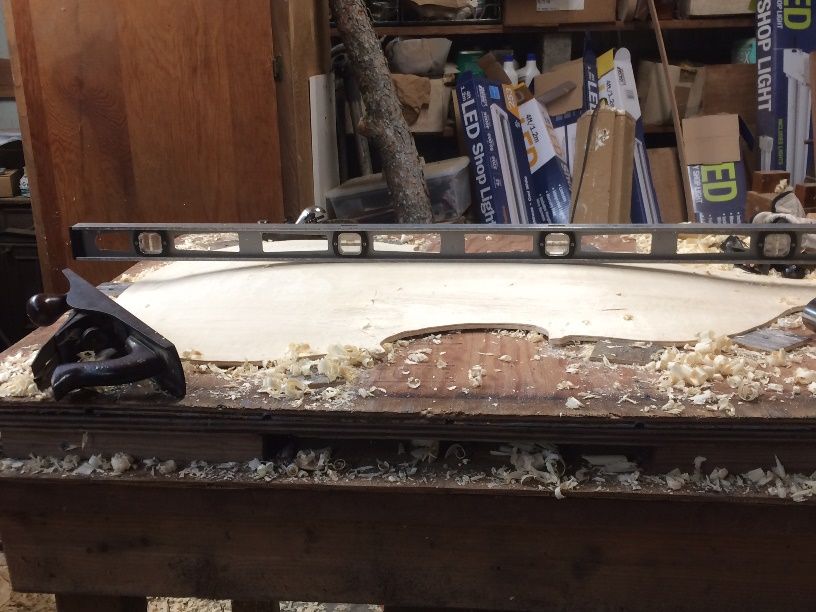
Shadow line defining the longitudinal arching shape.
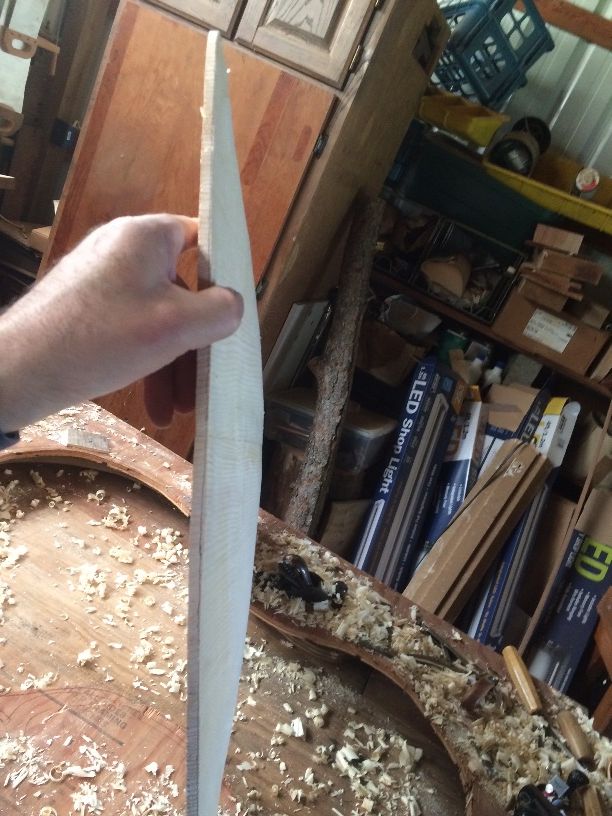
Transverse arching shape.
Arching nearing completion.
Arching and outline completed.
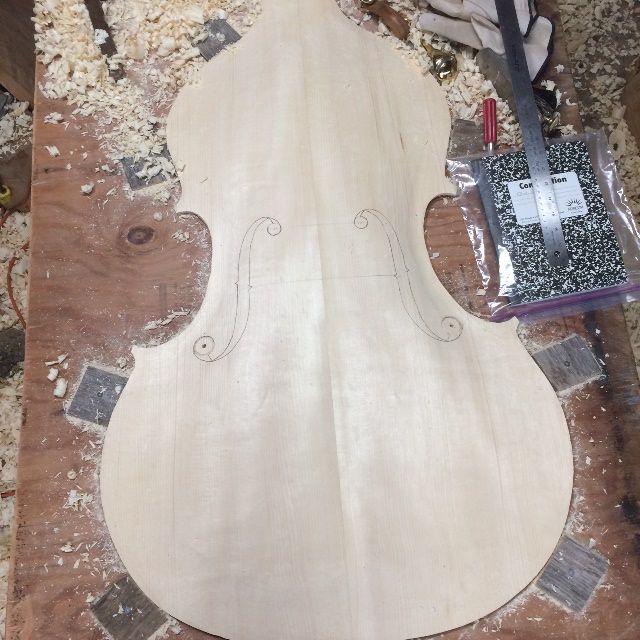
Time to lay out the F-holes!
F-holes laid out, incised, and inked.
When I build the smaller instruments, I inside the f-hole perimeters quite deeply, knowing that, without exception, I end up needing to correct the arching, using the f-hole side-profile as a guide. I want the “stem” portion of the f-holes to be essentially parallel to the plane of the garland-plate joint when viewed from the side. On the violins and violas I have built, I have universally found that, in spite of my best intentions, I have left too much “puffiness” in the area of the lower wings of the f-holes and I need to plane away more wood. If I have incised them deeply enough, I don’t lose the marks when I remove the wood.
I was quite pleased to find that, on this instrument, the side profile was exactly what I had hoped for, as soon as I laid it out. So I incised them, but not very deeply, and then inked them with a ball-point pen, so that I could easily see them while perfecting the arching later, using a scraper.
So– the next step will be to complete the “graduation” of the plate– carving away the majority of the wood thickness from the inside of the plate, so that the plate is the correct thickness all over…ranging from 9mm at the center, all the way down to 5mm in the flanks.
All of the Big Leaf maple portions of this bass are made from a log I was given, years ago, by the late Terry Howell. The fellow I hired to mill it up said he did not know how to do quarter-sawing or flitch-sawing, so I settled for plane-sawing, which means that all I have is slabs. That is OK, because I like using slab-sawn wood, especially for backs; but it also meant I had no pieces thick enough for a neck on a bass. So…I chose to glue-laminate the neck billet, and produce a piece thick enough to use.
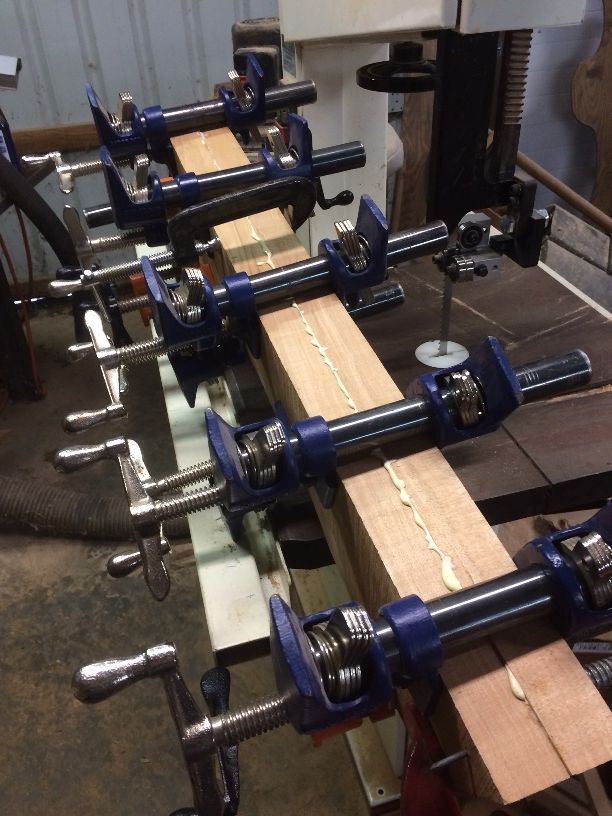
Contrary to my usual rule of “nothing but hot hide-glue,” I chose to use Titebond on this, reasoning that it is not supposed to ever come apart. One of the reasons we usually stick with hot hide glue is that it is always reversible. Titebond is not.) My son Brian lent me about a dozen clamps to make the job easier. He makes exquisite guitars, and learned early the value of having lots of clamps available.
Neck billet bookmatched, glued and clamped.
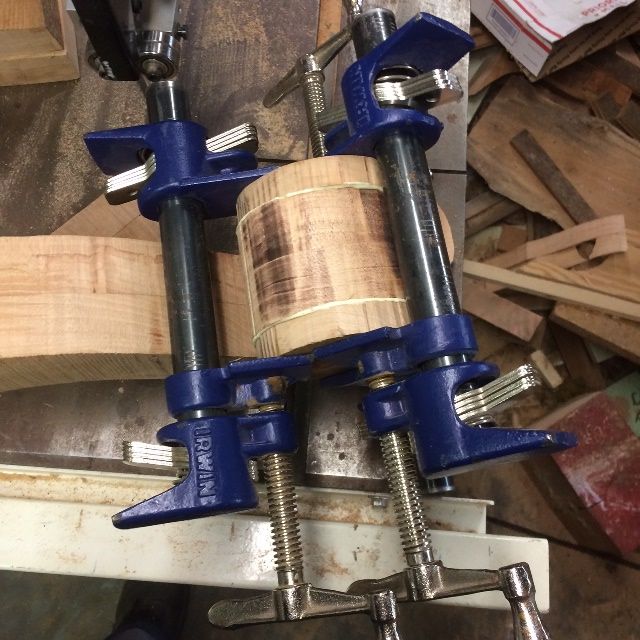
The resulting billet was still about 3/4″ too narrow to accommodate the “ears” of the scroll, so I added a layer on each side, carefully chosen from nearby grain, so they would match (hopefully), and not be too obtrusive.
Extra wood glued on for “ears.”
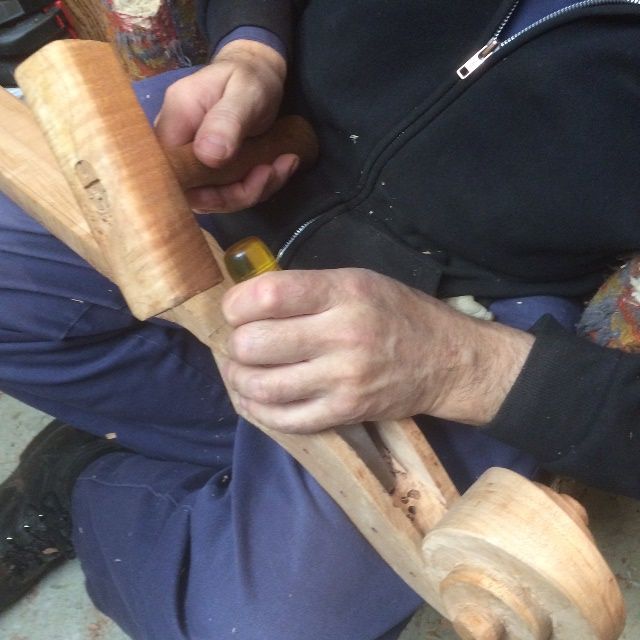
Carving the scroll
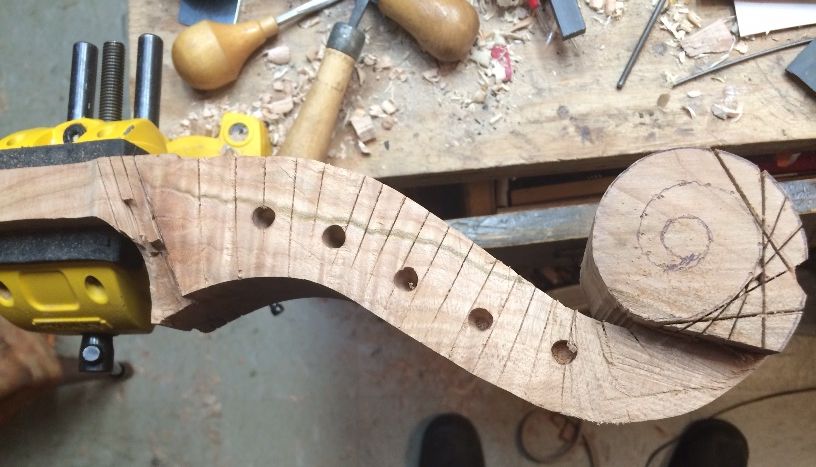
Finally, I drew in the planned shape of the entire scroll and pegbox, and proceeded to cut away as much waste-wood as possible, using a saw.
I forgot to photograph the initial carving portion, so this is from a five-string cello I made earlier. The same process is followed.
Saw-work on a viola scroll…I forgot to photograph this step on this bass.
Removing waste wood using gouges. (Again, this is a viola scroll; but the same principle applies.)
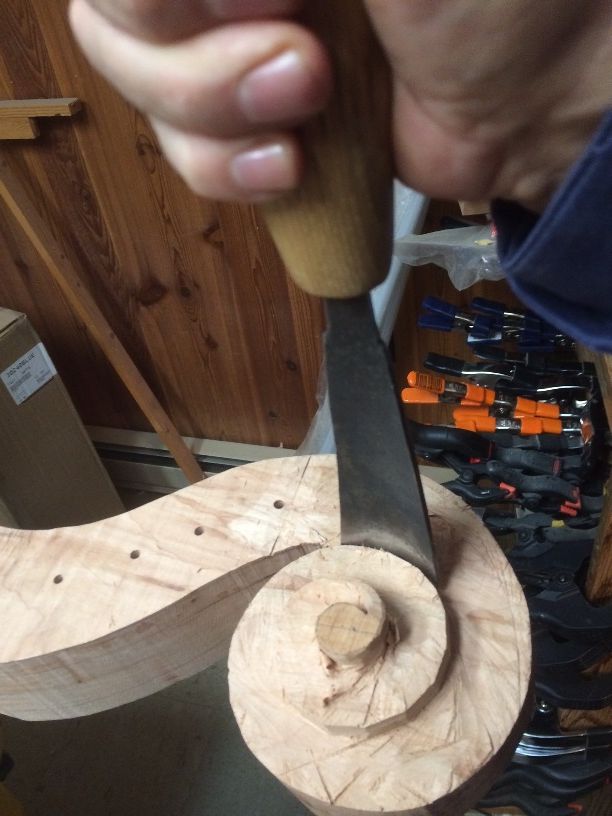
All saw-work is done on the scroll…time to remove wood using gouges and planes.
Removing waste wood using a gouge.
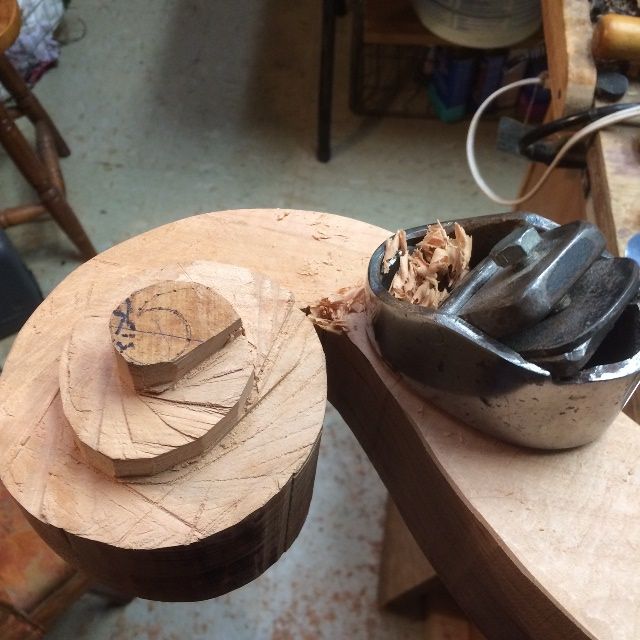
Removing waste wood using a palm-plane.
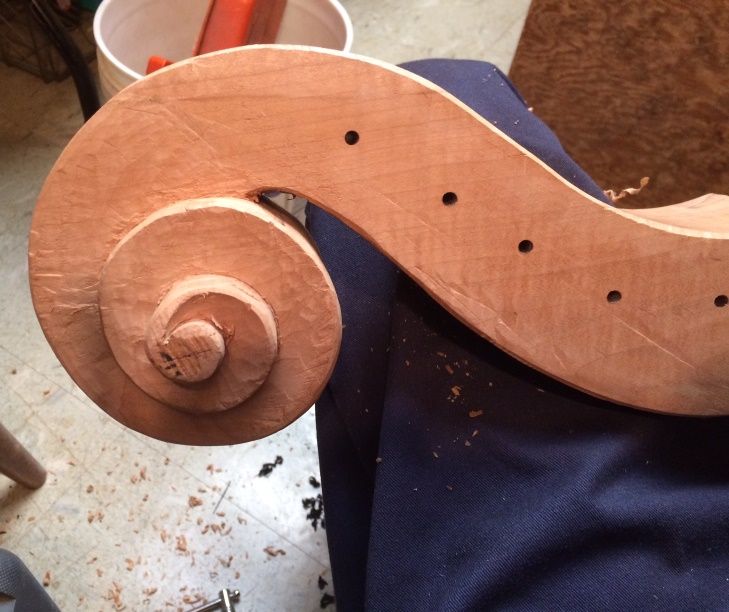
Waste wood has mostly been removed. Time to begin the pegbox and volute.
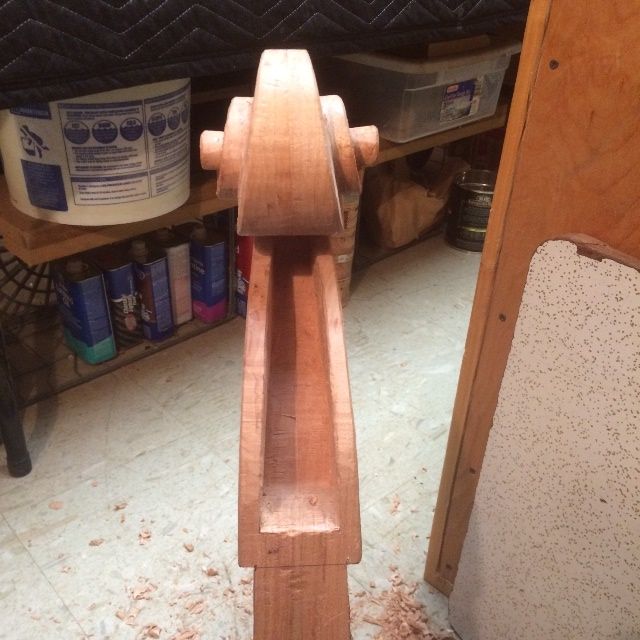
Carving the Pegbox
Pegbox has been drawn and is ready to carve.
Beginning the interior of the pegbox.
Pegbox carving is complete.
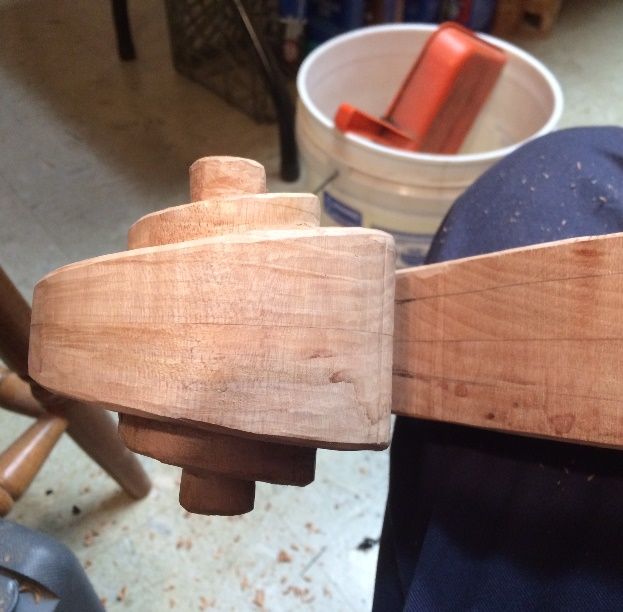
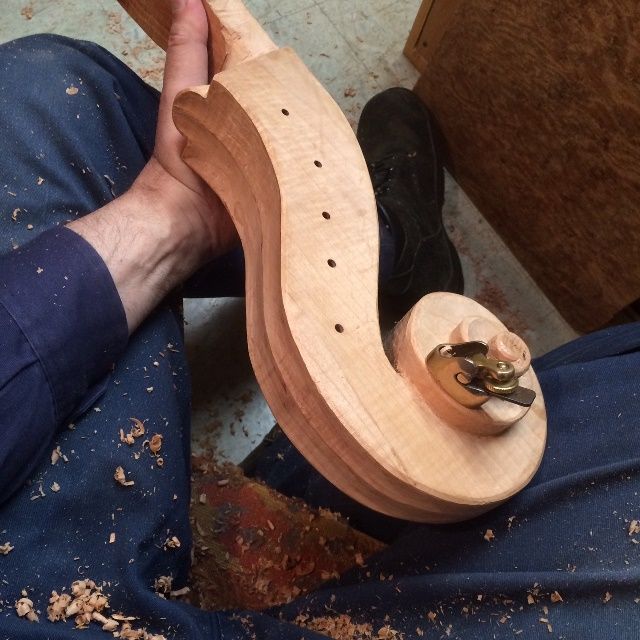
Carving the Volute
Beginning the volute for the 5-string double bass scroll.
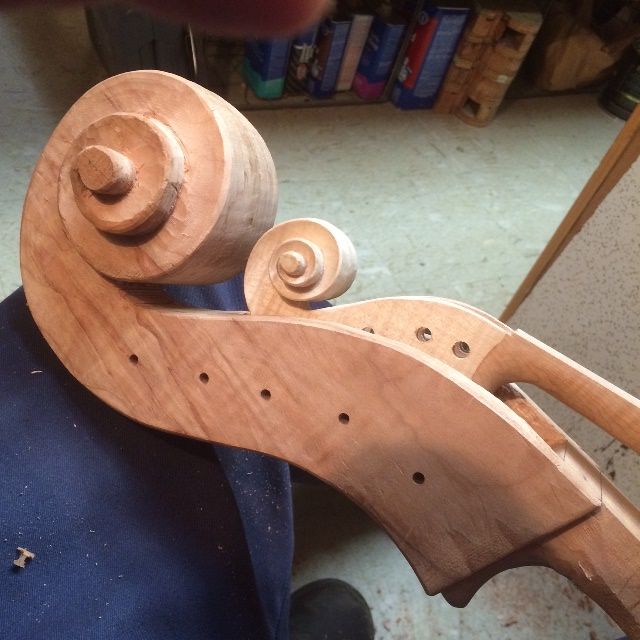
Bass Scrolls are BIG!
That large viola scroll fits easily…loosely…inside the bass pegbox. Reminds me of a mother monkey cuddling her baby. The bass scroll is simply huge, compared to any other instrument I build. (No, I will never build an octobass.)
As you can see, there is a lot that goes into carving a scroll…and this thing is really big! So, though I’m not done, I will go ahead and post this, and share the rest as it gets done. (The turns of the scroll will be more deeply undercut, and all surfaces more refined.)
I get a fair amount of demand for five-string fiddles; in my case, that means a five-string instrument with the same footprint and scale-length as a violin, but with the added C-string, so that it carries the full range of both a violin and a viola. I have mastered this genre to the point that the low end of my five-string fiddles sound like a good, small viola, and the high end sounds like a good violin…and the neck width is just barely wider than that of a violin (25 mm) so that it plays like a violin.
Teachers like them, because they can teach the viola part or the violin part, without having to change instruments.
Wood Selection
One of the beauties of a five-string fiddle is that, because it is non-traditional, I am not under the burden of using traditional woods, so I am free to experiment, and, as it turns out, there are other woods that work quite well: I have made them of domestic woods; Big Leaf Maple/Sitka Spruce (or Englemann Spruce), but I have also used Koa/Sitka Spruce, Myrtle/Port Orford Cedar, and all these combinations worked quite well. I will soon try a five-string fiddle of Bubinga and Sitka Spruce and am open to other experiments.
I will continue to build and sell five-string fiddles either on speculation or on commission, as the demand increases.
Five-String Violas
I am beginning to hear a call for Five-String Violas as well. These have the same range of pitch as a five-string fiddle, but the physical instruments are whatever size viola is preferred by the customer. Though I have already built several sizes, until I get an increased demand, these will likely remain as custom commissions, not just built on speculation, such as how I currently produce the five-string fiddles.
The practical difference, then, between a five-string fiddle and a five-string viola, is that the (usually larger) five-string viola will usually have deeper, richer, louder tone, just because it has a larger resonating body, both of air and wood. But not everyone can comfortably play a larger instrument, so this is a matter of personal choice.
Five-String Cellos
Five-string cellos are not a new thing. The cello-piccolo and the cello da spalla (Sometimes also called either “Violoncello da Spalla” or “Viola da Spalla”) have been extant for centuries, and music has been specially written for both. I hope to see a rising demand for these instruments, but, for the moment, they are a rarity. I can build both, and hope to soon have some to display here, but, for the moment, I do not. I have had customers ask about them, but usually, it was just an idea they had, and they were not prepared to place an order.
Five-String Double Basses
Five-string double basses are increasingly common, as people want the freedom to reach for lower bass notes, and not have to have a “B-Extension” added to their bass (which can also be done, of course, but it does add length to the bass scroll, and an additional source of fragility.)
I build an occasional double bass, but they are a lot of work, and they completely monopolize my small workspace when they are a work in progress; so I am more likely to default to smaller instruments. There is a special thrill, however, in building a huge instrument, seeing the beauty of the beast, and feeling the floor shake when I draw out long bass notes with the bow. I can certainly understand why players fall in love with the double bass, and especially the five-string double bass, with the lowest-of-the-low B-string at their beck and call.

.JPG)
.JPG)

.JPG)
_2.JPG)