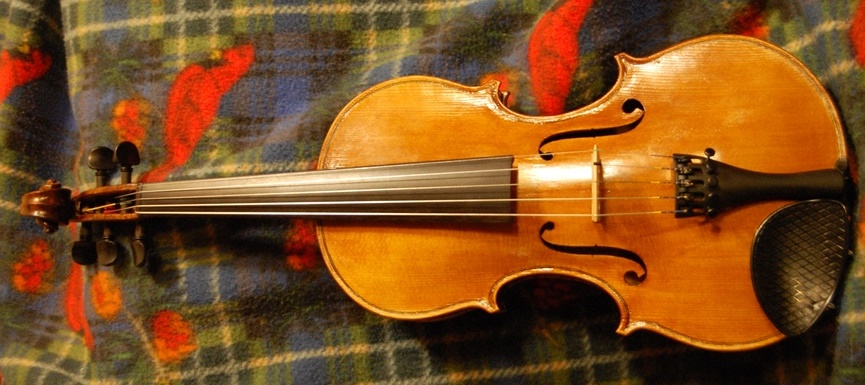
Commissioned Progress Report: 5-String Fiddle
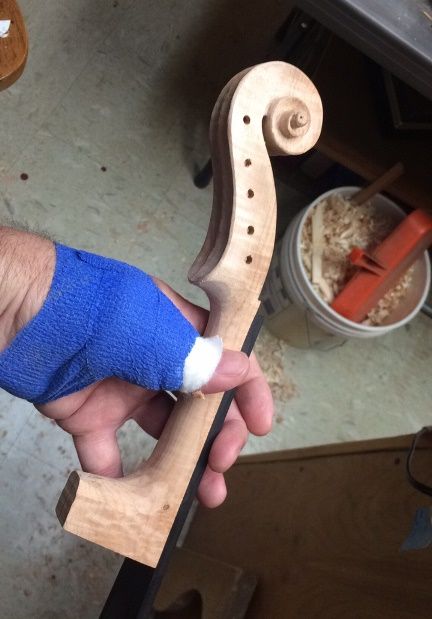
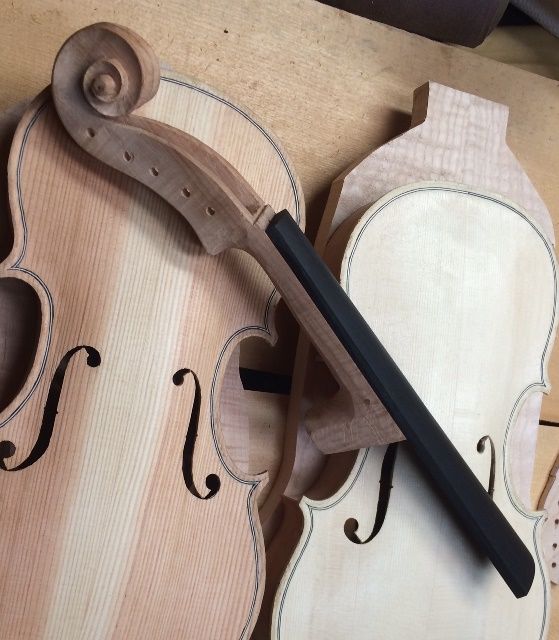
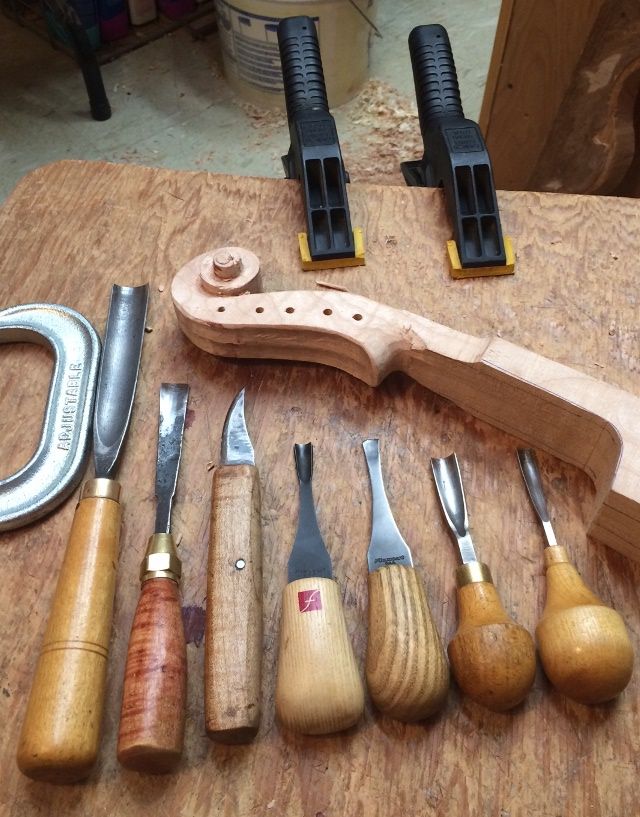
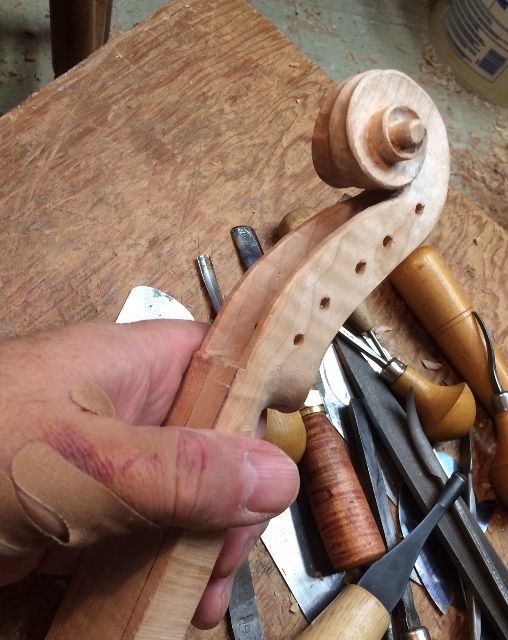
When I last posted, it was to explain my neck and scroll procedure on the commissioned fiddle. Before that, I had left the project with both plates partially carved. The garland was complete, but with linings on the front side only.
Front Plate Procedure
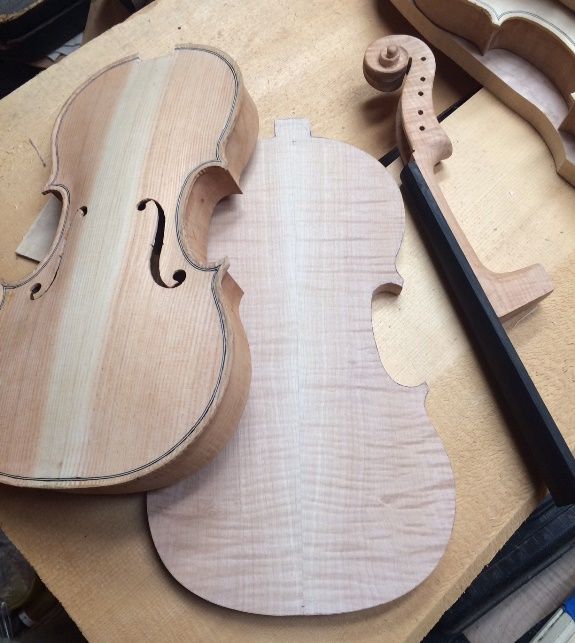
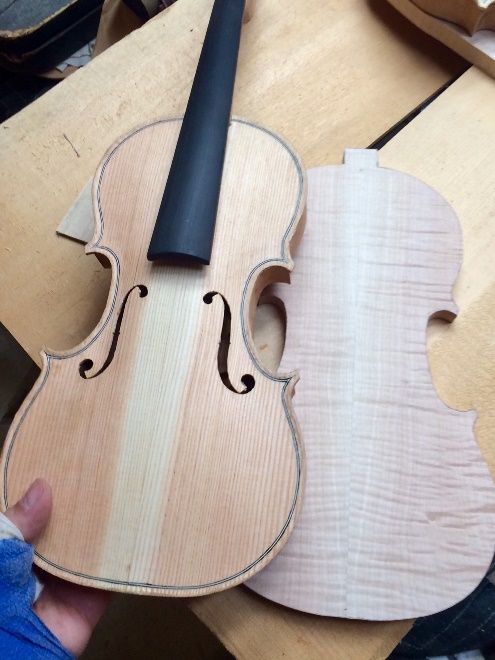
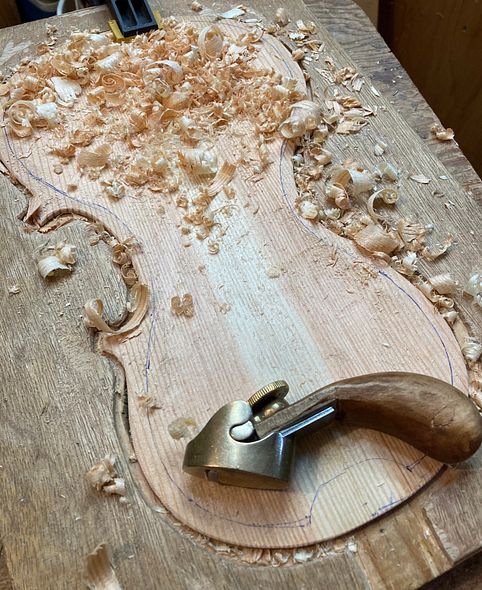
So, moving forward, the next thing was to complete the front plate. I explained to the Customer who commissioned the fiddle that the white band up the middle of the plate would disappear under the varnish. This instrument is unusual in that it has a front plate made of Douglas Fir.
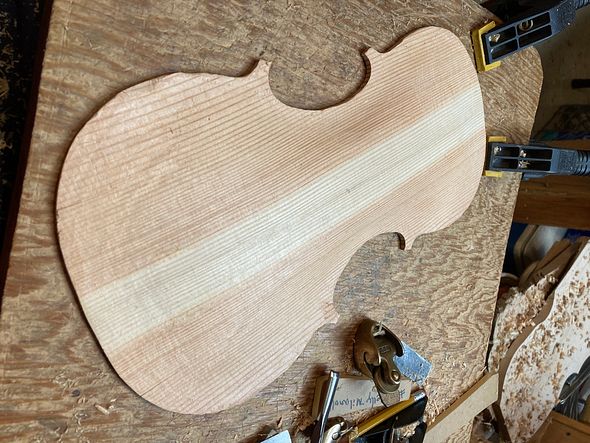
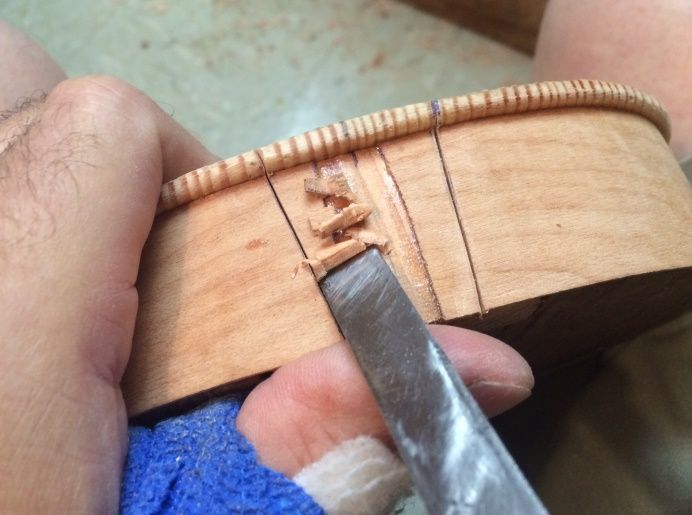
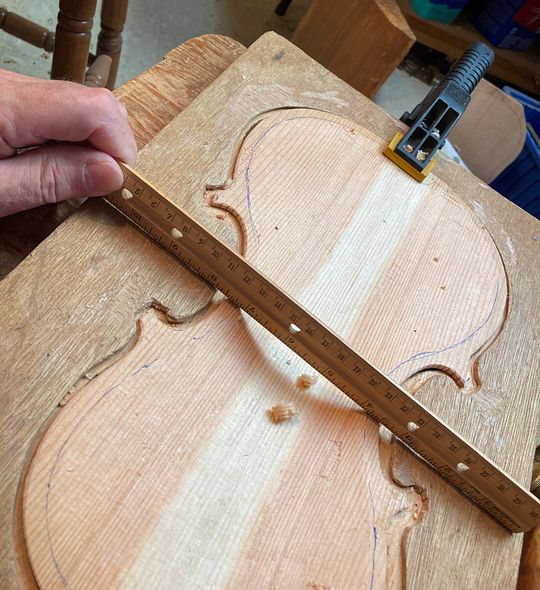
Once the arching was nearing correct values, I carved most of the interior and then began laying out f-holes and purfling lines. The Douglas Fir is extremely difficult to work with, because the winter reeds are incredibly hard, while the summer reeds are nearly as soft as spruce… so the knife tends to follow the winter reed, instead of your intended path, making it very difficult to cut a smooth line.
Purfling Procedure
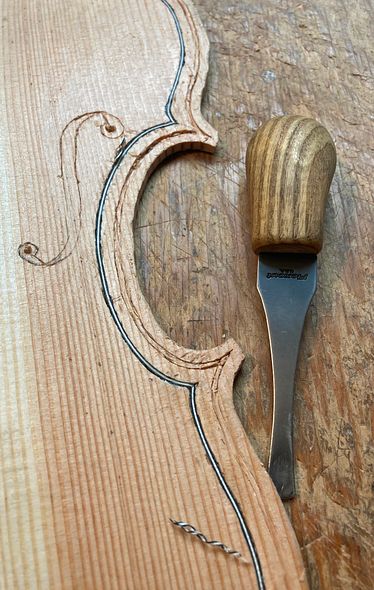
It was discouraging seeing how rough my beginning looked. Especially for a commissioned instrument! But, as things progressed, I was able to clean up my lines a little and they began to look more acceptable:
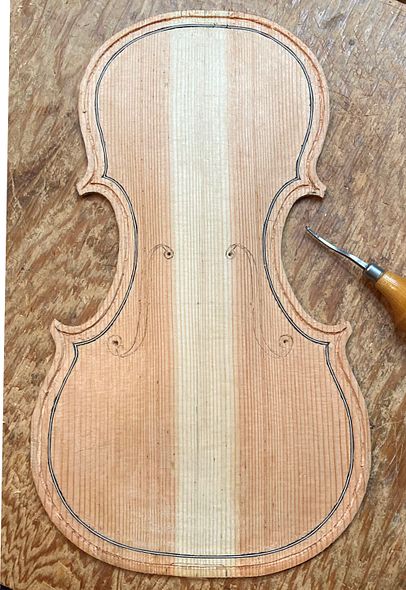
Outer Purfling for the Commissioned Five String
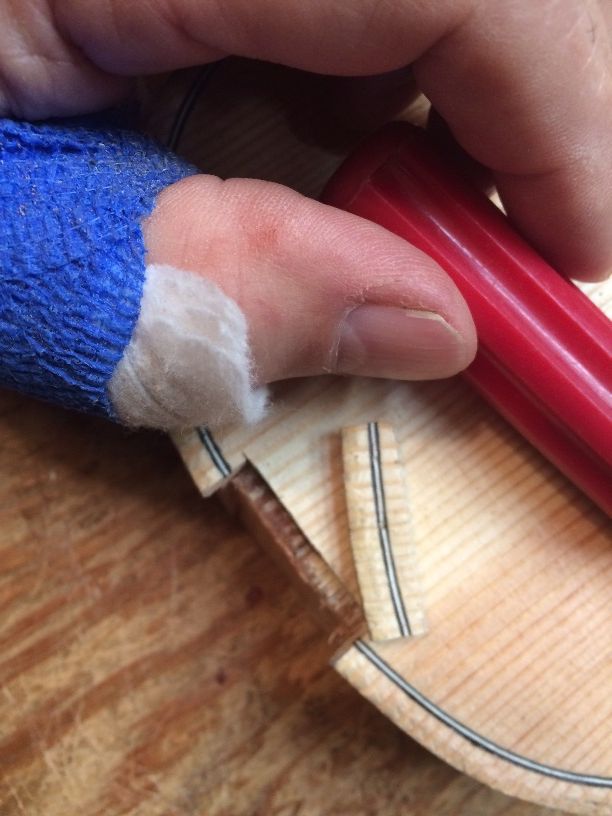
And then, The outer purfling. I was being careful to not inlay the purfling too deeply, for fear of causing problems, but that meant the purfling did not want to stay in the slots by itself, while the glue set. So I had to clamp it down until the hot hide glue gelled and set up.
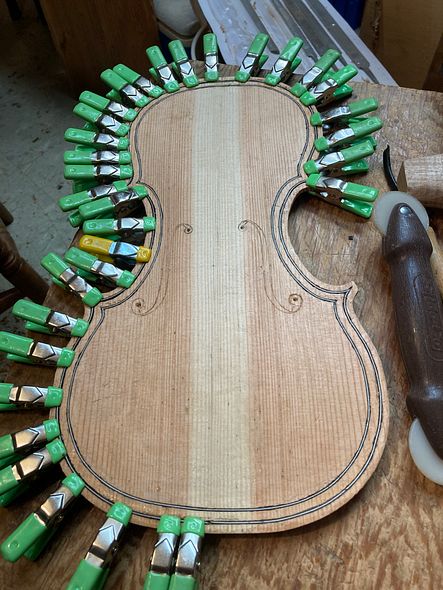
But it looked pretty good after I planed it flush with the Douglas Fir.
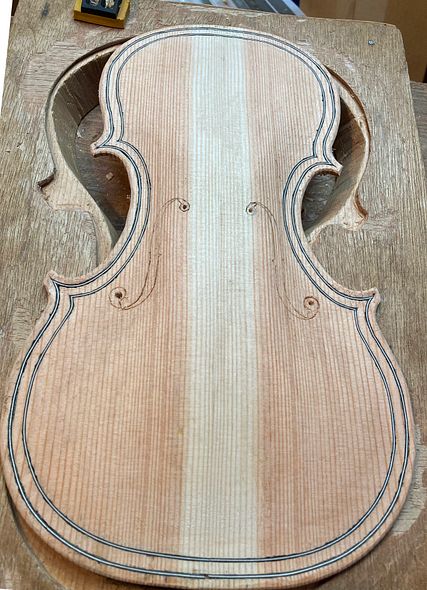
When the interior and exterior were correct, I could finish cutting out the f-holes.
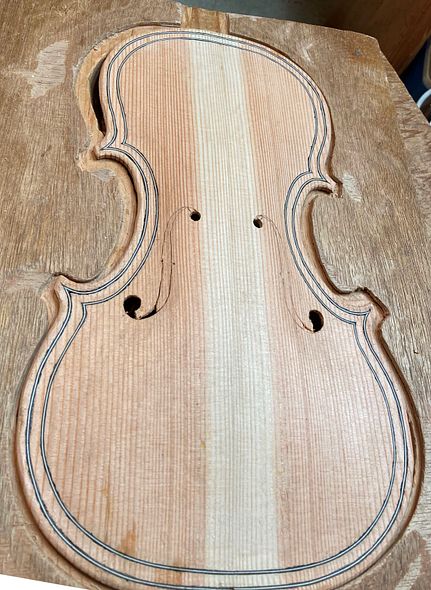
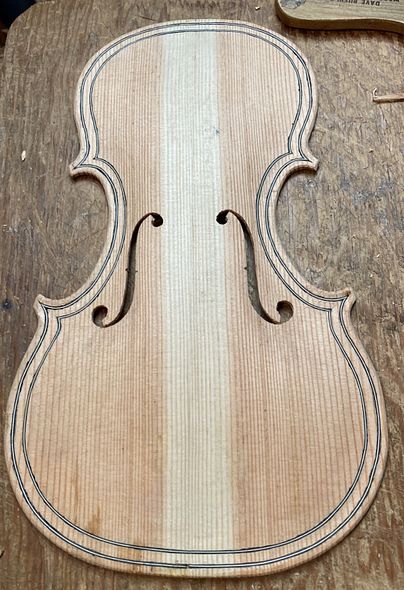
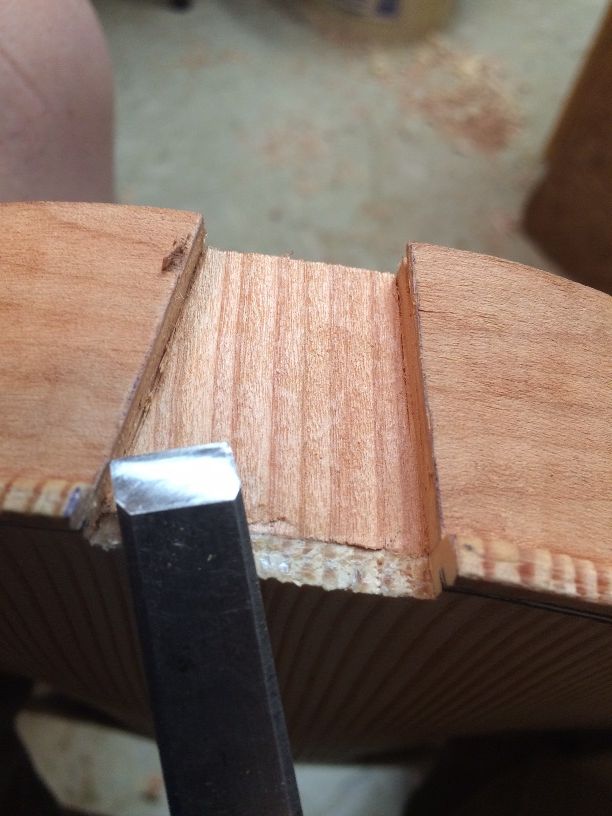
I forgot to take pictures of the sequence of steps installing the bass bar on the commissioned instrument. I constructed it of Douglas Fir, to match the top plate, and chalk-fit it to the correct location inside the plate. After the glue was dry I shaped it to the correct height, thickness and curvature.
(There are a couple of links in the above paragraph to other builds, where I did remember to take pictures…sorry for the inconvenience!)
Then, after completing the inside scraping and edge preparation, I installed the front plate, using hot hide glue and spool clamps.
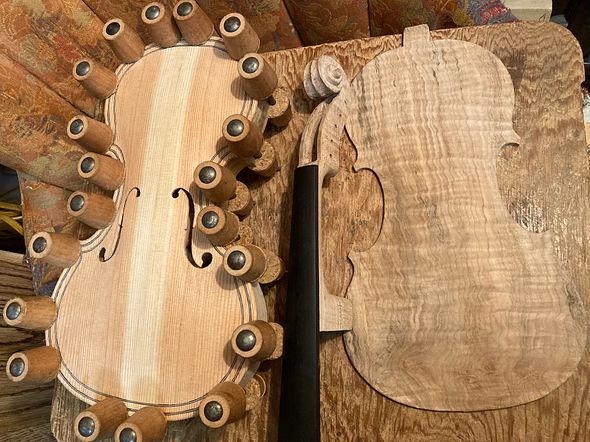
Next time, I will show the procedures for setting the neck, completing the back plate and closing the corpus.
Thanks for looking!