
Varnish Progress on the Commissioned 5-String Fiddle
Varnish Procedure for All my Instruments:
- Complete all scraping, shaping and smoothing: varnish preparation.
- Wet the instrument down to raise the grain, then
- Lightly sand with fine-grit abrasive, to remove rough bits of raised wood.
- Rub in a mineral ground, then use a rag to remove excess.
- After the ground dries, sand lightly again, to remove any rough excess mineral.
- Seal using turpentine and rosin.
- After the sealer is dry, begin adding coats of varnish.
Following the above format, here are the results:
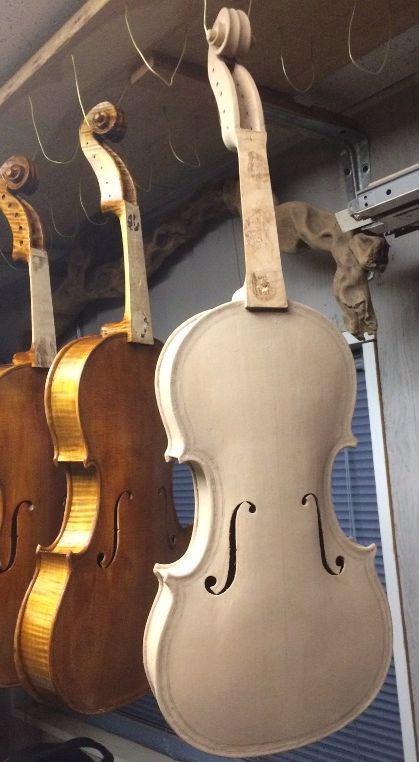
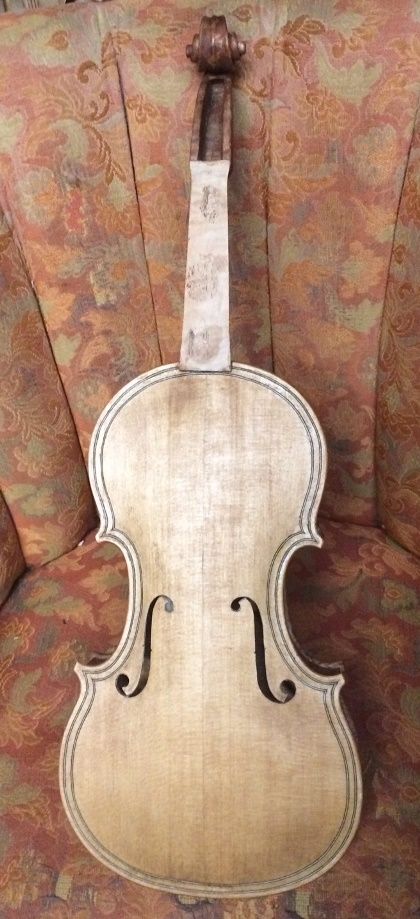
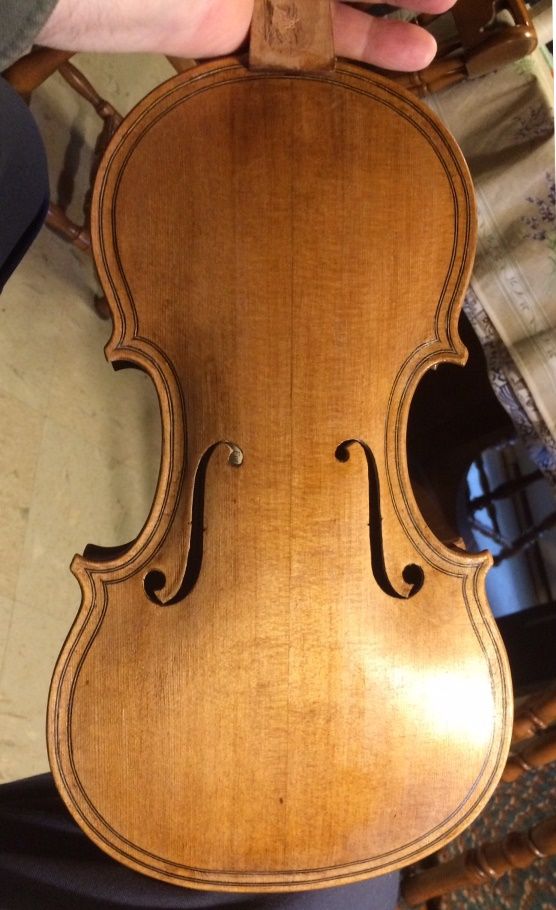
Now the varnishing begins!
The mineral ground was intended to close all the open pores in the wood so that the varnish will not saturate the wood. Then the sealer locks the mineral ground in place and causes it to become transparent. (Think “wet t-shirt material.” White stuff becomes transparent when wet, as a rule.)
So, now the varnish further seals the wood and begins to add gloss and protection from moisture, dirt, etc. And, if we do it correctly, it will add the color we want, as well, without losing transparency.
I have used both oil varnishes and spirit varnishes. I believe the old masters used oil varnish, but currently, I have moved to spirit varnish. Perhaps one day I will use oil varnishes again
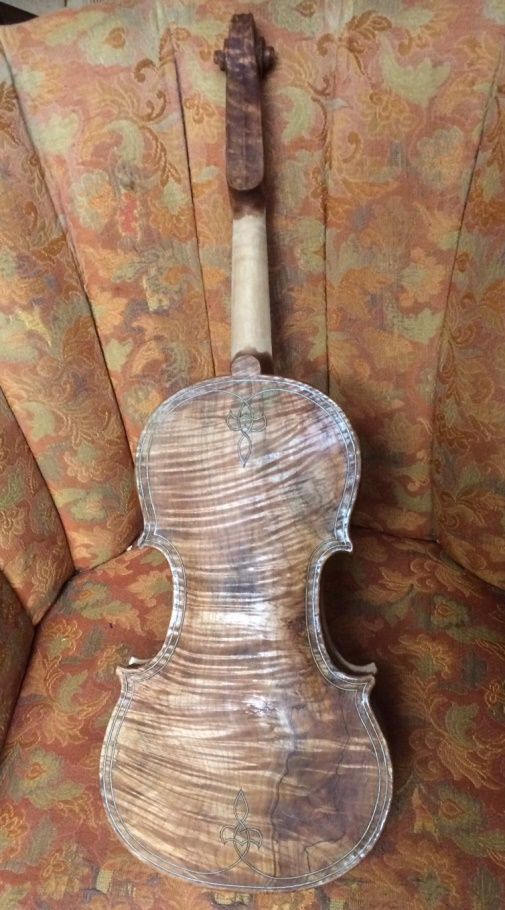
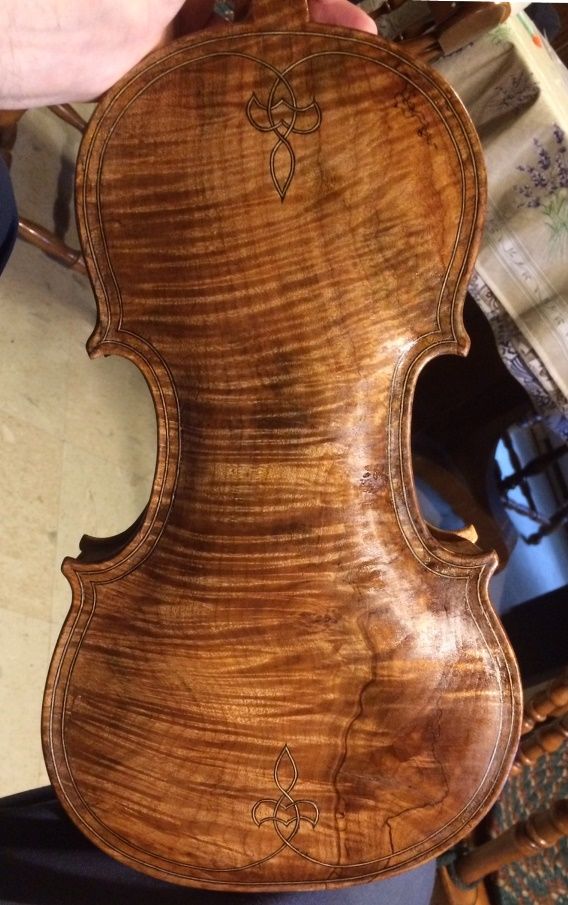
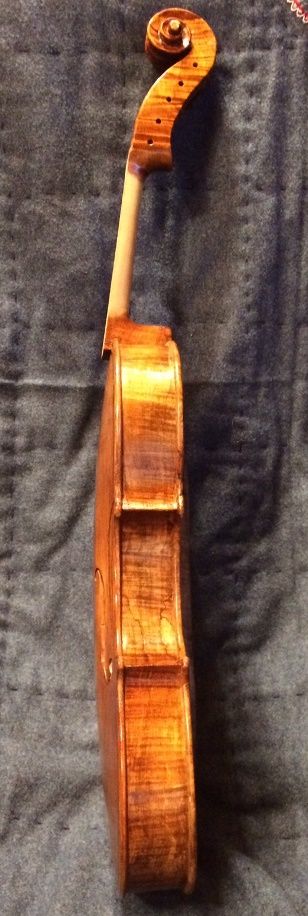
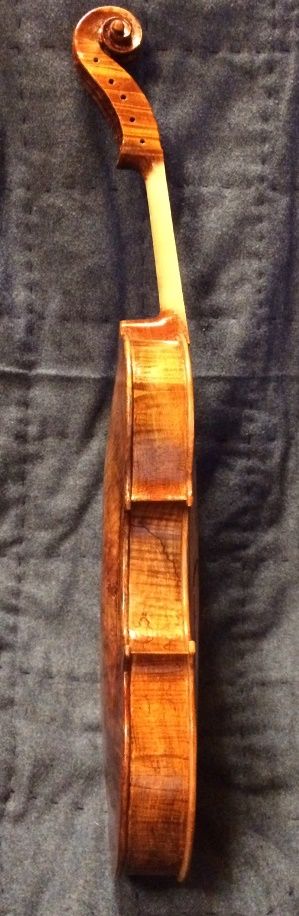
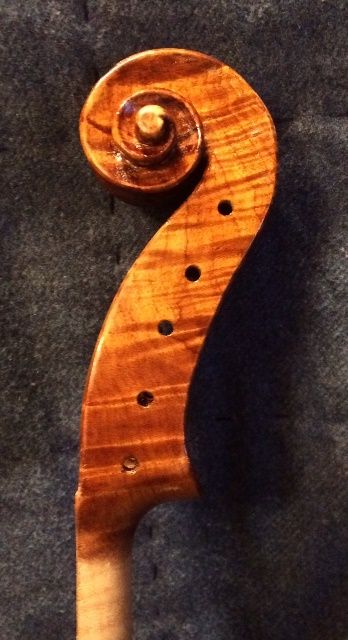
Spirit varnish dries so rapidly that I can usually apply four coats of varnish the first day. So here is the fiddle with four coats of spirit varnish:
Leveling the varnish
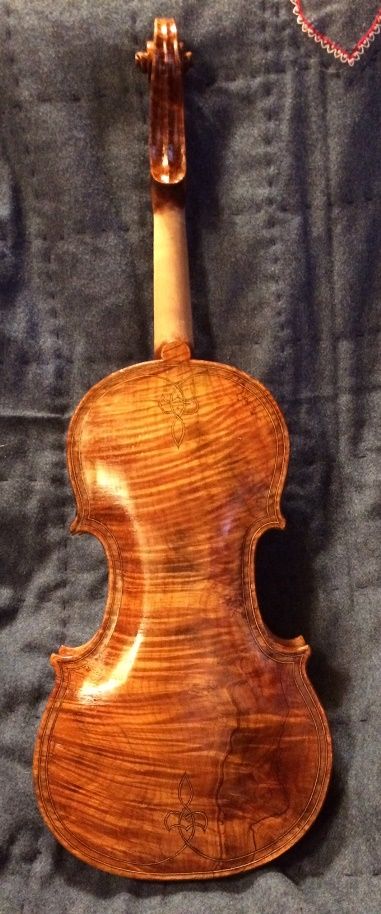
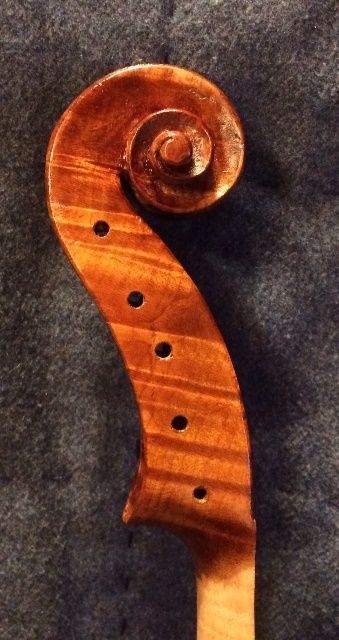
So, then, after the first few coats have dried hard, we sand lightly to remove brush marks, sags, drips, etc. and begin to add color coats. Usually, I have a pattern of shading I use, to emulate light “wear” patterns. This one has very little of that.
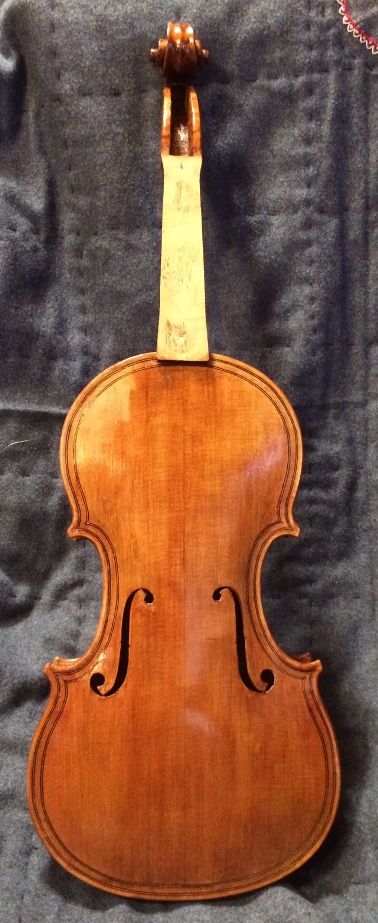
Final Finish Work
So, now we will let the varnish thoroughly dry, and harden; after which there may be retouching and minor changes to make, but the main focus will become set-up after that. (In case anyone is interested, the customer has been kept abreast of every step in the build, and is getting quite anxious to take possession.) 🙂
Thanks for looking!

The customer is loving getting to watch every step from maple log to violin! Magic! Thanks Chet!
I am looking forward to hearing you play it for the first time!