Time to close things up!
First things first:
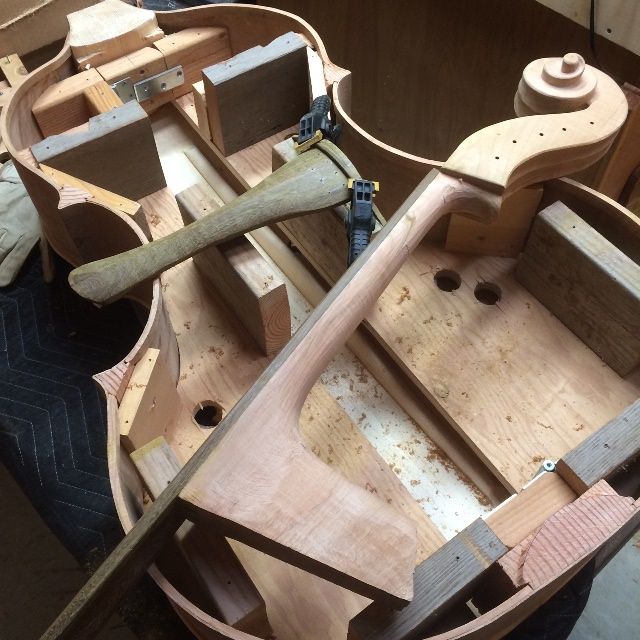
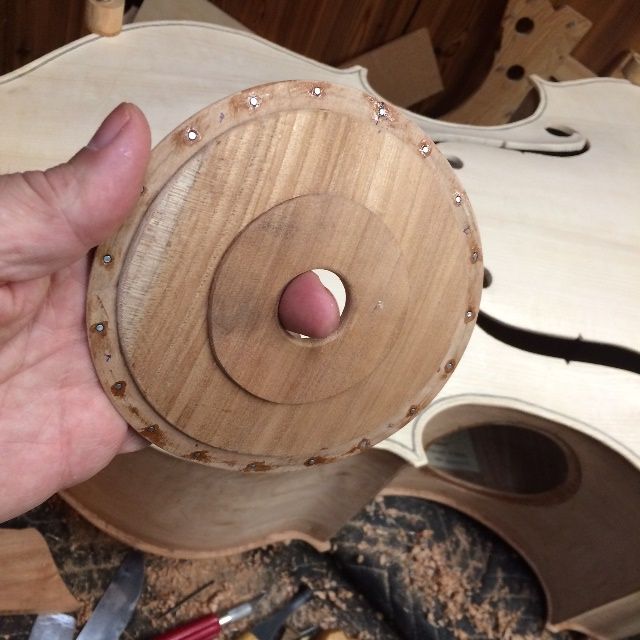
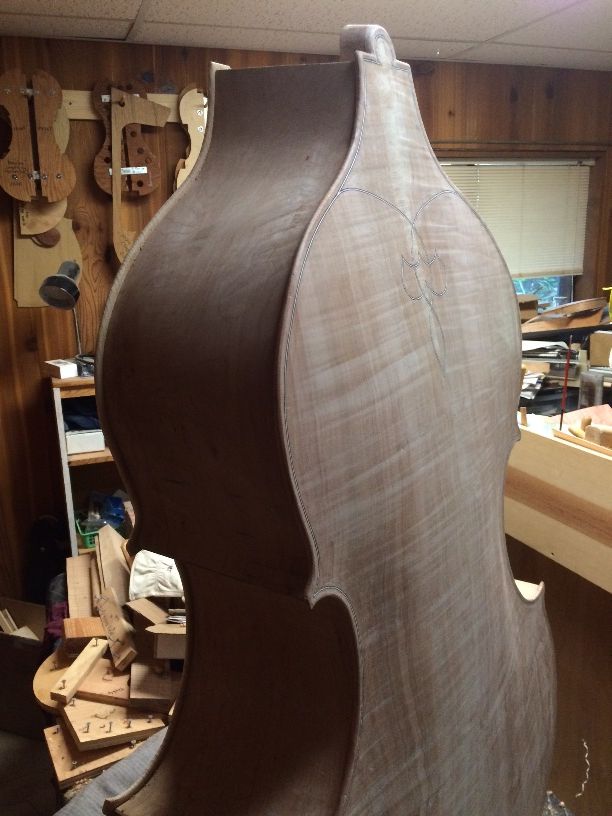
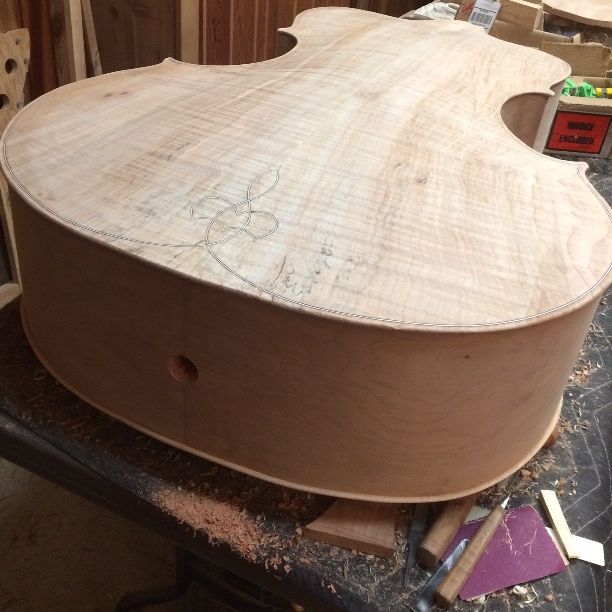
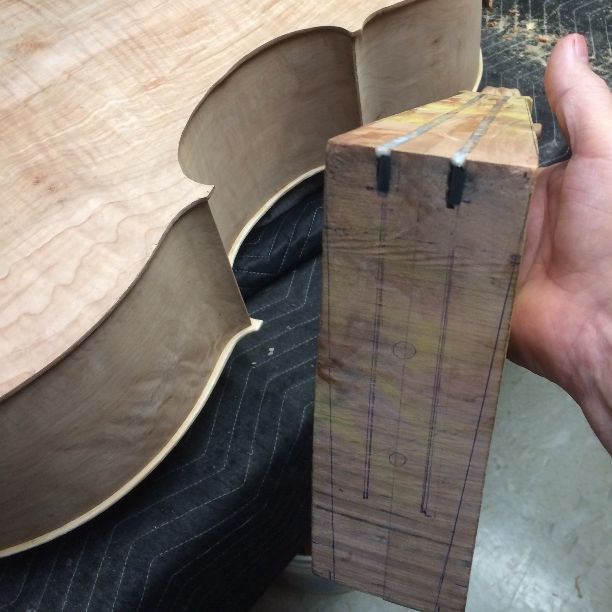
The last time I posted, I had temporarily installed the neck, and (I thought) I had glued the neck heel root in place, as it was to be a permanent part of the corpus, glued to both the neck mortise and the back button.
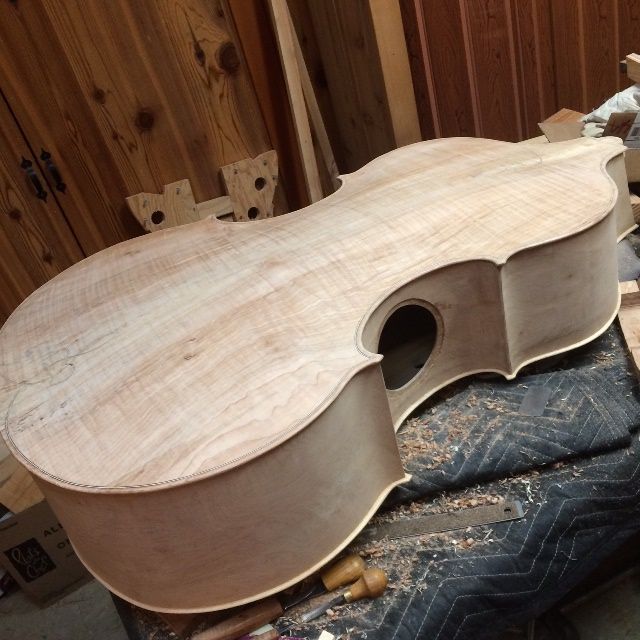
So the bass looked like this:
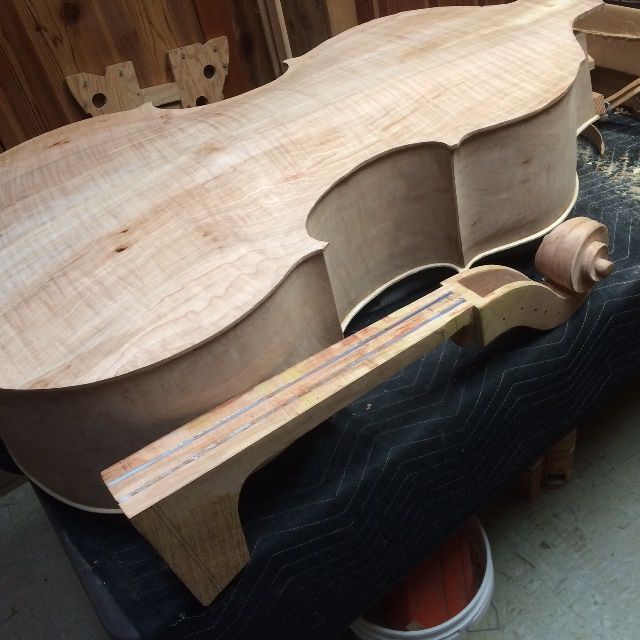
The heel root looked like this:
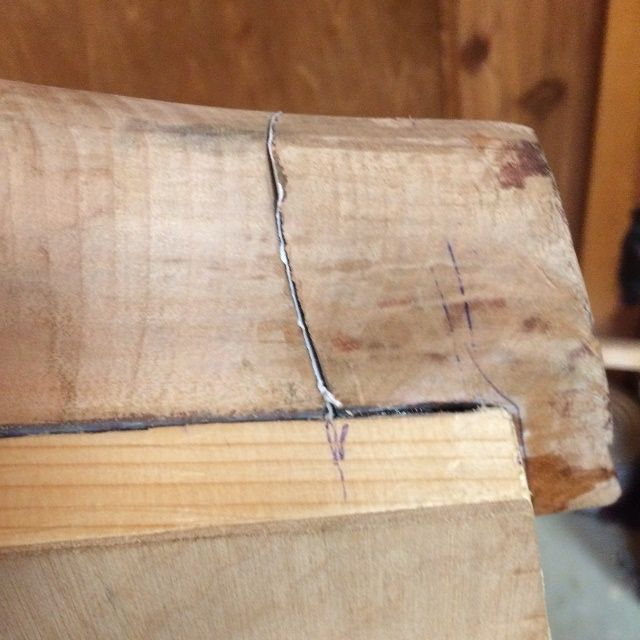
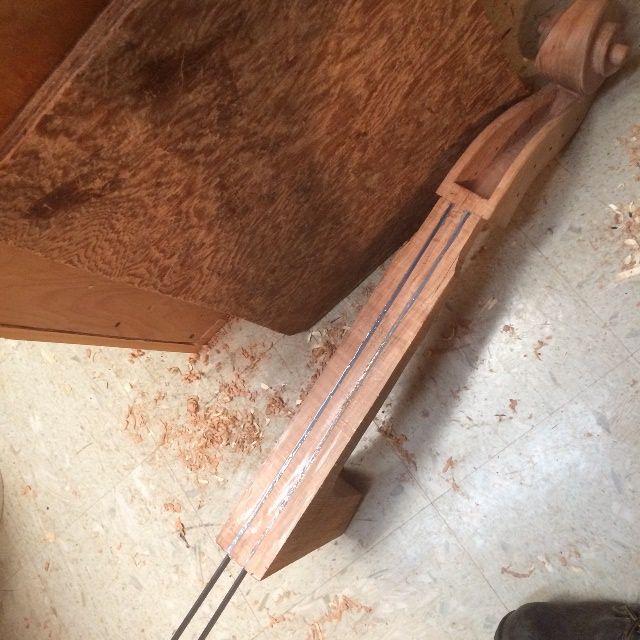
I was so confident that everything was right, that I even sawed off the excess heel root, visible in the above photo, and planed it flush with the back of the neck block, in preparation for installing the back plate. But! When I broke the paper “break-away joint” (see the above photo) the heel root gently let go of the mortise and was completely loose. (Rats!)
It turns out that hide glue doesn’t stick to carbon fiber plate! Ok… so I had to start over, and this time glue it home with epoxy. I put a plastic bag around the neck heel to protect it, coated the heel root with epoxy on the bottom and two sides, and slid it all back into place, this time bolting the neck in solidly, and clamping the heel root tightly against it. It all worked this time.
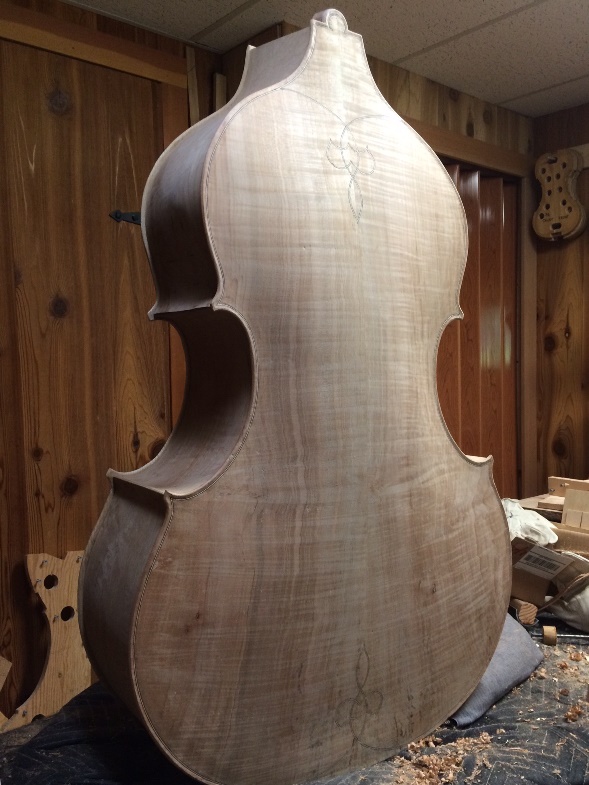
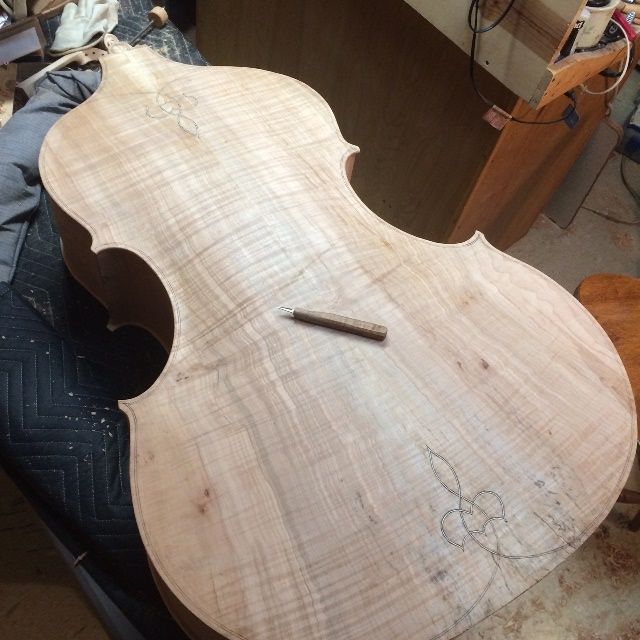
Beginning the purfling of the back plate
While the epoxy was curing, I decided it would be a good idea to at least install the “purfling weave” portion of the back plate purfling, before installing the plate. I figured it would be easier while the plate was still loose. The reason I wait until the back plate is installed to do the rest of the purfling, is that the corpus often changes shape a little when the mold is removed, so I can’t guarantee that the overhang will still be the same. If I have already installed the purfling, then I am stuck: but if I have not, then I can maneuver the overhang to being as close as possible to what I wanted, and install the plate, then plane away excess all around until the overhang looks right again, and finally put in the purfling so that it looks as though everything just worked out right, to begin with.
.JPG)
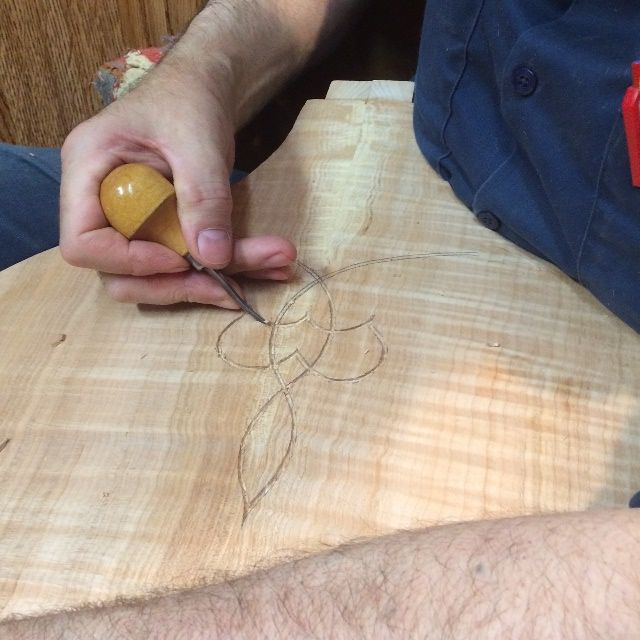
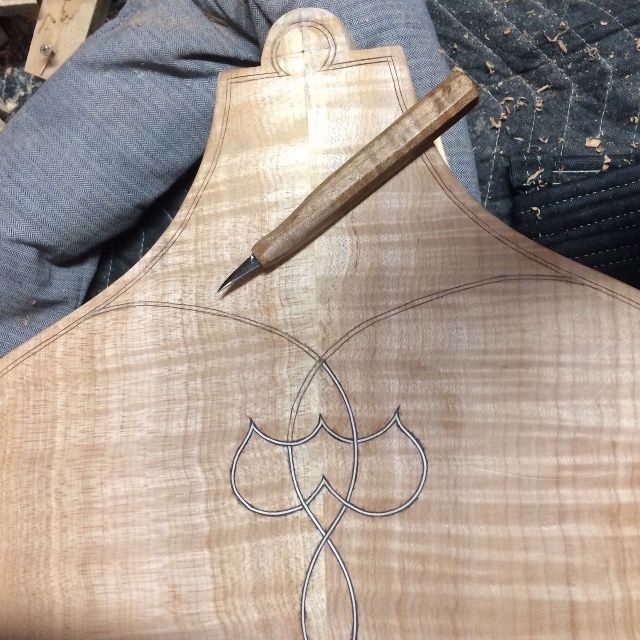
This is a weave that I came up with for my very first five-string fiddle and which I have tried to incorporate on all my subsequent five-string instruments. It is just a modified “fleur-de-lis”…nothing really special, but I like it. I use the same design, upside down, in the upper end.
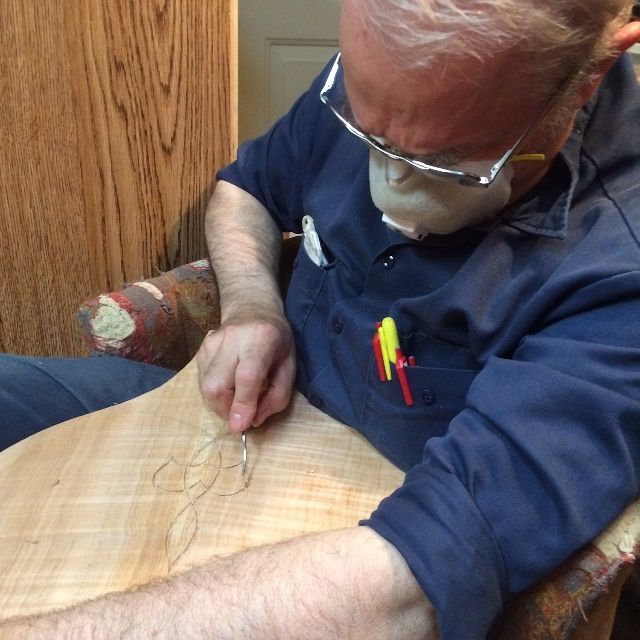
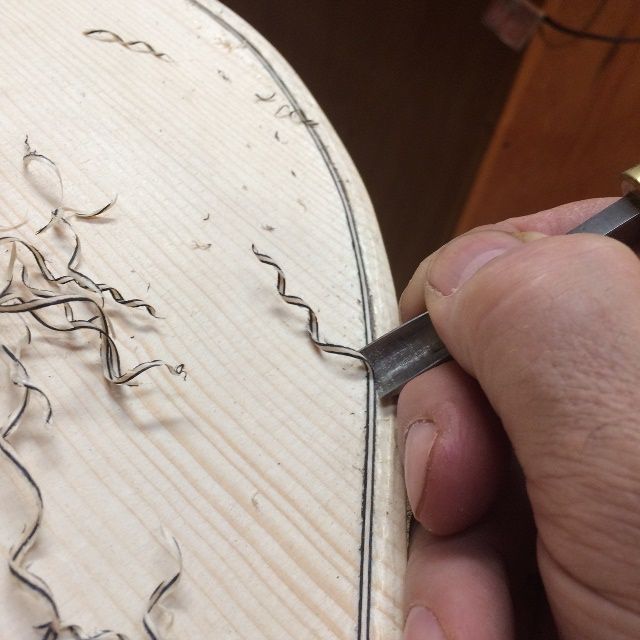
After cleaning the slots out, I used heat and water to bend the purfling strips to fit the curves of the weaves, and glued them in using hot hide glue.
.JPG)
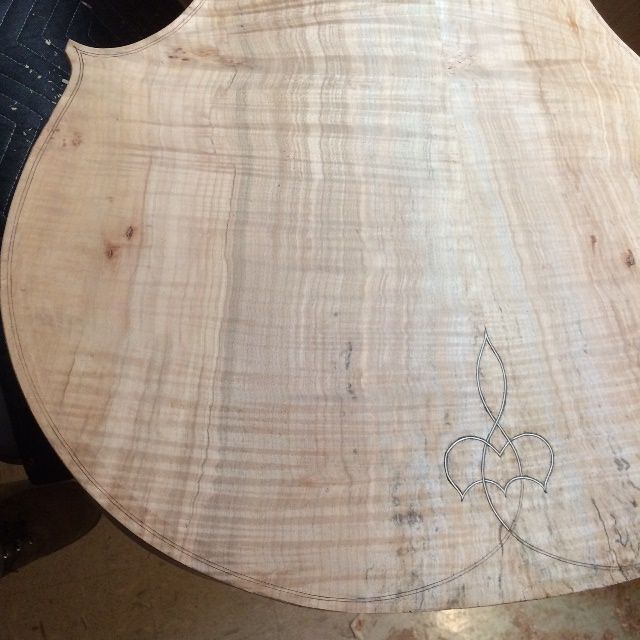
I planed the weaves flush with the plate after they were dry, using a gouge, a small finger-plane, and a scraper. You can see the beginning of the rest of the purfling slots, how they will connect to the weaves.
.jpg)
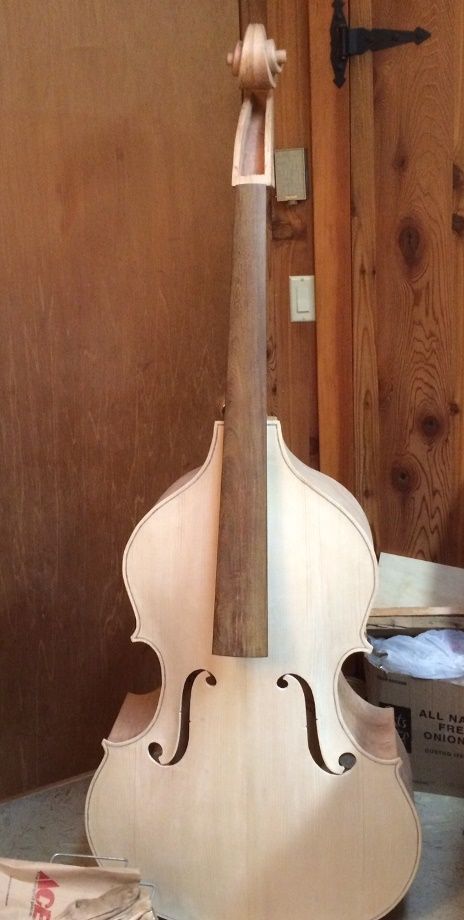
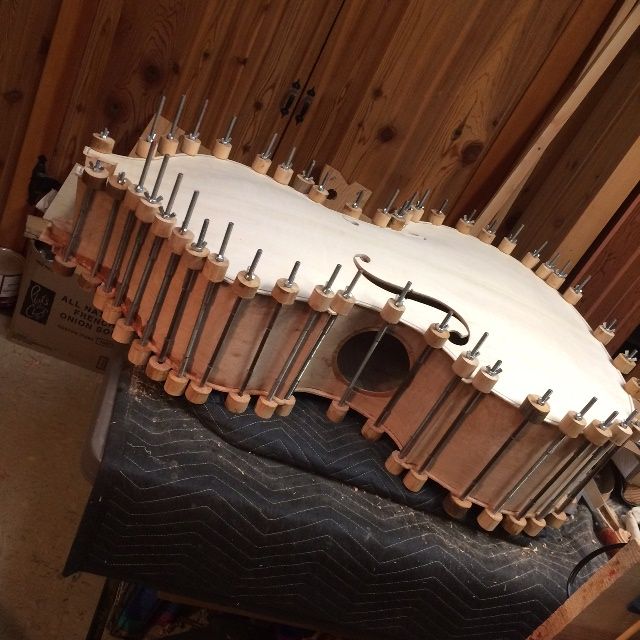
Closing the corpus
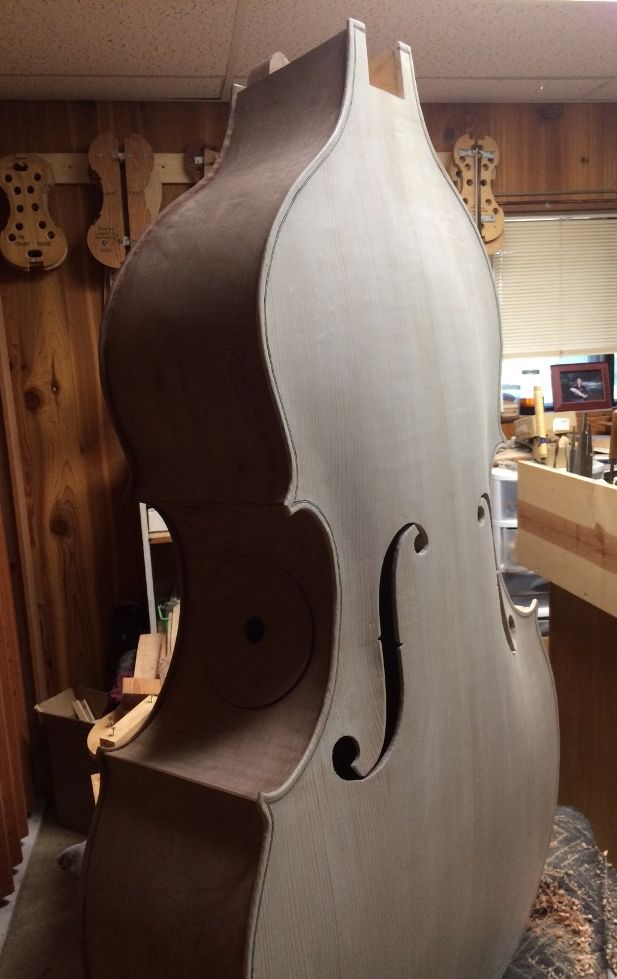
I finished scraping the interior and then laid the corpus onto the back plate, positioning it carefully, adding spool clamps, and constantly checking the overhang all the way around. When everything was as close as I could get it, I removed a few clamps at the bottom block, used a thin palette knife to ladle in the hot hide-glue, and replaced the clamps, tightening them securely. I added more clamps over the glued area, then repeated the process for the next section on either side of the bottom block, and worked up around the sides that way: removing clamps, inserting glue, replacing the clamps and adding more…until it looked like this:
I still had not put the magnets into the cover plate, because, when I added the reinforcements to the cover plate, it changed the curvature, and it no longer fits cleanly into the access port flange. (Rats, again!) So I kept wetting and clamping the cover plate in different configurations until I got it to a close fit, then I added the magnets.
Annnd… it turns out they are too weak. (Sigh…) I will have to order some bigger magnets after all.
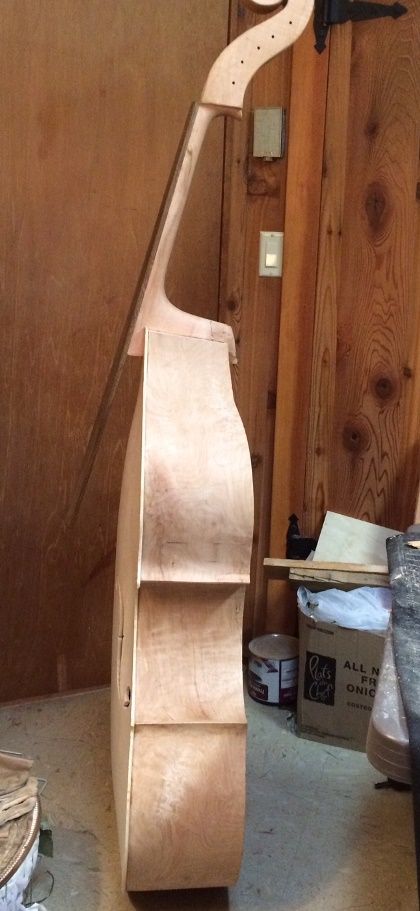
At any rate, I was now ready to correct the overhang all around, and begin the final purfling.
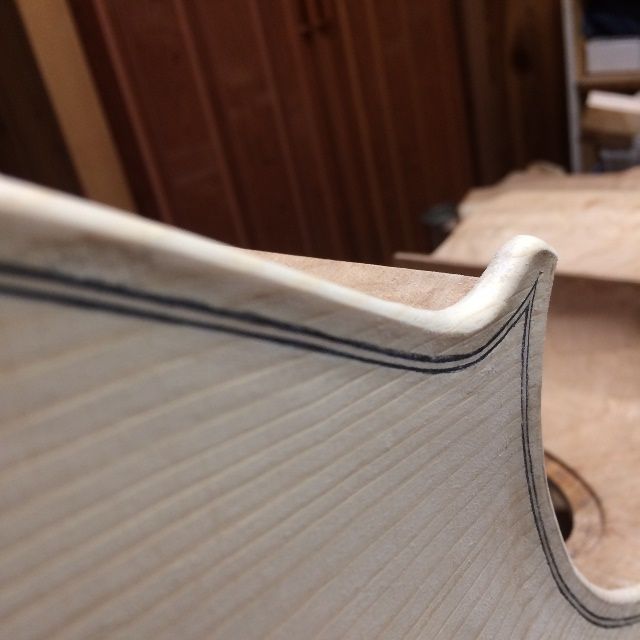
Carving the Channel
After the purfling was completed, I still needed to trim back the purfling and carve the plate channel. This involved marking the edge crest all the way around, about 2 millimeters inside the outer perimeter, and carving the channel to barely touch that line. I used a sharp gouge, in the manner of a drawknife, to carve the channel, then used a riffler file to smooth the outer curve, where it meets the crest line.
(I actually made a very short video of how this works, but I was unable to successfully link it to this post. Sorry.)
After the channel was complete, it was time to begin final edgework:
The goal is to make sure that the edge contour is correct all the way around, and that the plate channel fairs smoothly into the surface of the plate, without ridges or lumps. Getting the light at a low angle across the plate makes shadows which will show me where the lumps and ridges are so I can scrape them away.
It suddenly occurred to me that my bass-varnishing fixture requires that the end-pin hole be drilled, so I drilled the endpin hole but did not ream it to the taper it will eventually have. On smaller instruments I usually varnish before drilling the endpin hole, so that there is no likelihood of causing sags or runs where the varnish brush touches the hole. But on the bass, I have to have that hole as a place to attach the support for varnishing. (I can’t hold the bass in one hand, and the brush in the other, as I can with a violin!)
And, that is pretty much where it sits, for the moment! The bass is ready for final varnish-prep, which will involve wetting down the whole surface to raise the grain, so I can sand it smooth again, then repeating until the grain no longer responds to moisture. Then I will rub in a compound to add color to the wood itself (not a stain, which might “reverse” the grain colors) and a mineral ground to close the pores in the wood. Finally a sealer locks in the mineral ground, and I will be ready for varnish.
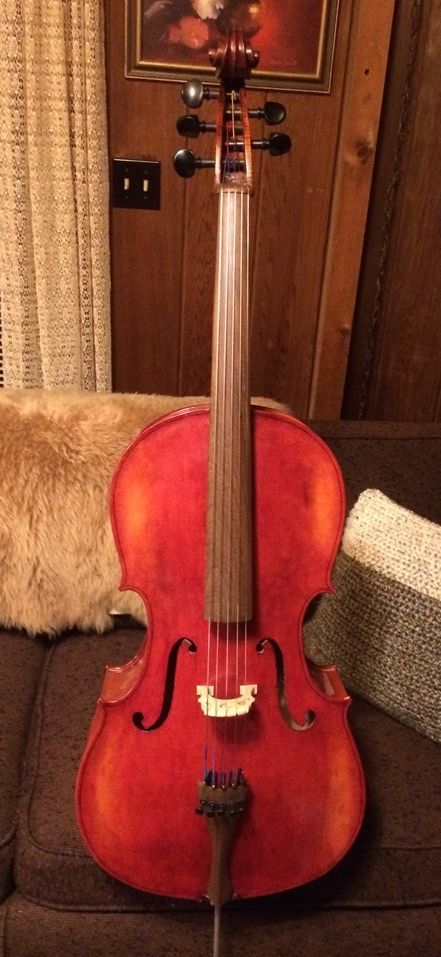
So there is the bass corpus, ready for final varnish prep!
Thanks for looking.
.JPG)