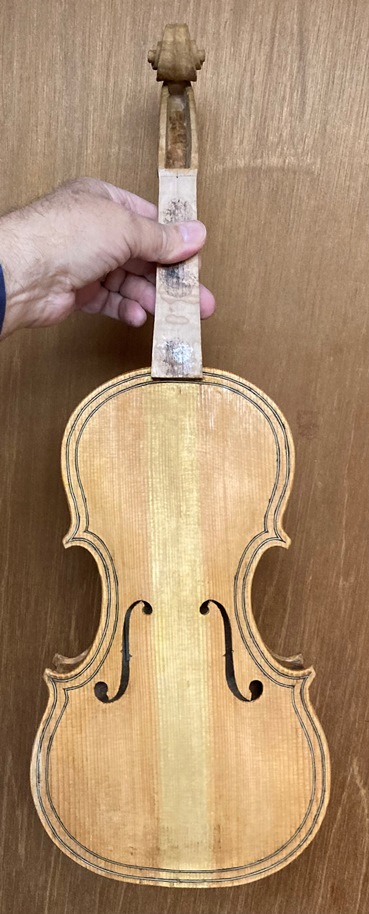
Setting the Neck
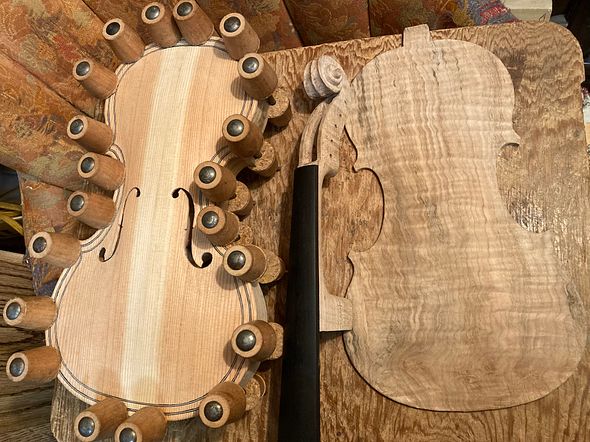
I failed to take photos of the actual neck-setting procedure on this violin. (Sorry.) I will link to a series of photos from a previous instrument. That one had a major “flesh-wound” mishap. (I accidentally thrust a gouge through my left thumb…but it does include the neck-setting process. And the wound healed!)
This one went very smoothly: I think it took less than an hour to achieve a perfect fit. Then I removed the interior mold, and installed the back linings, so that the corpus was complete and ready to receive the back plate.
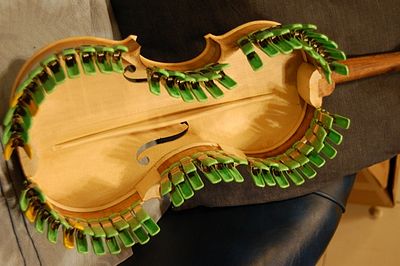
Completing the Back Plate
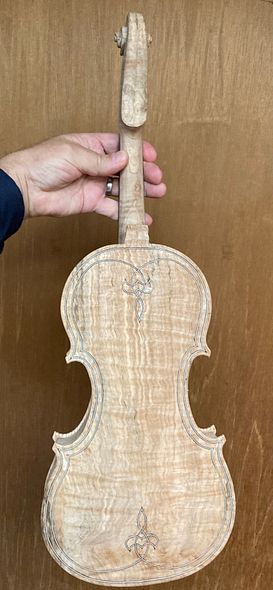
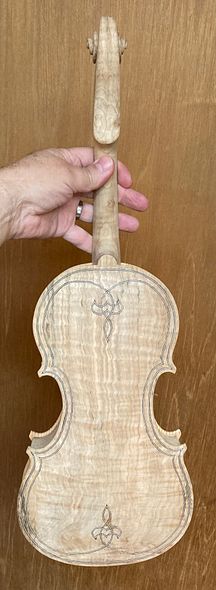
I also had to complete the back plate. I had already completed the outside arching, and most of the interior carving, as well. Still had to finish scraping the interior dead-smooth, then install the purfling, and the label.
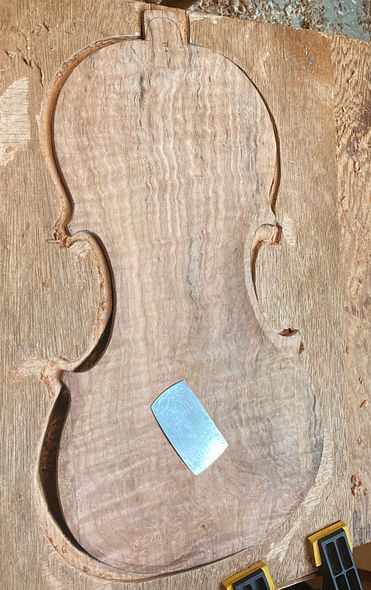
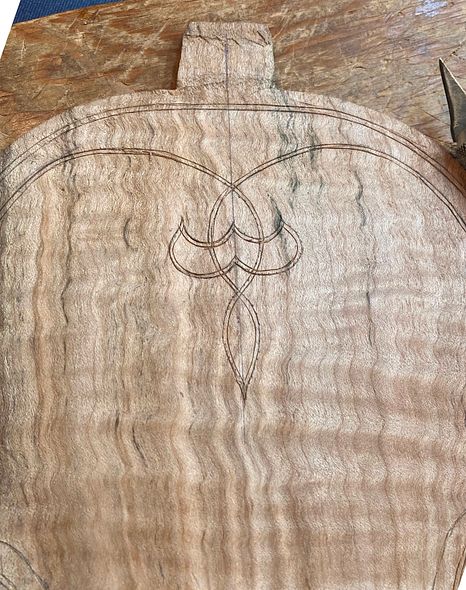
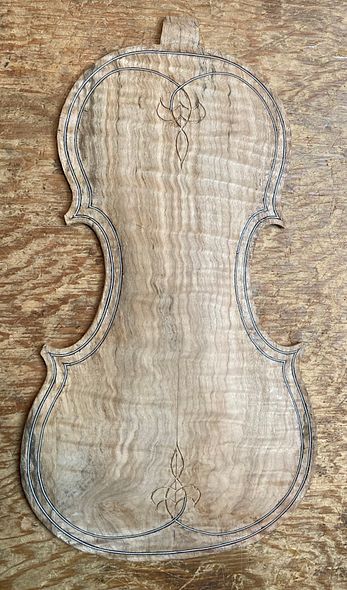
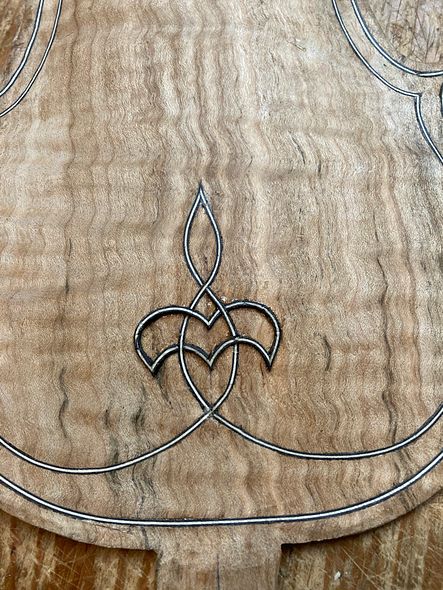
Once the plate was truly complete, I added the label, and installed the back plate on the corpus.
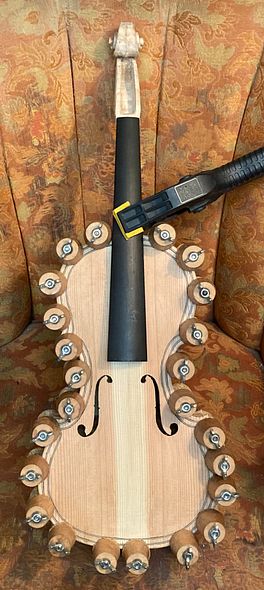

Preparing for the Varnish
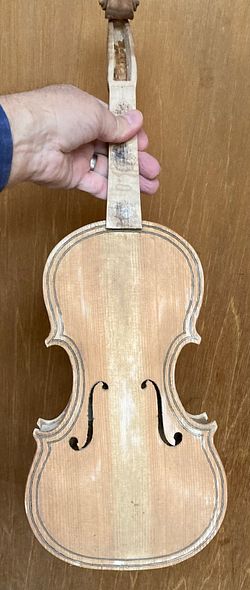
I removed the fingerboard, to give me easy access to all parts of the front of the fiddle. Notice that the fingerboard had only been held by three “dots” of hide glue. even so, the glue took off a microscopically thin layer of ebony when I removed the fingerboard. (That is what the “black stuff” is.)
Edgework and Varnish Prep
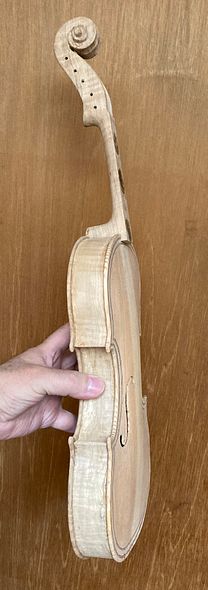
All final shaping has to be completed at this point: any bumps, humps and hollows have to be carefully addressed, using a sharp scraper, before the mineral ground is applied. The mineral ground is a suspension of extremely fine particles that “plug” the pores in the wood, so that the varnish does not penetrate deeply and deaden the sound.
I apply it wet, with a brush, and vigorously rub it into the wood with my bare fingers, then rub off as much of the excess material left on the surface as I can. It is not supposed to be “on” the surface, so much as “in” the surface of the wood.
The wet mineral ground temporarily darkens the wood, but, as it dries, it turns stark white.
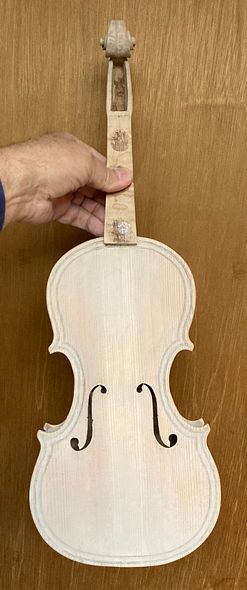
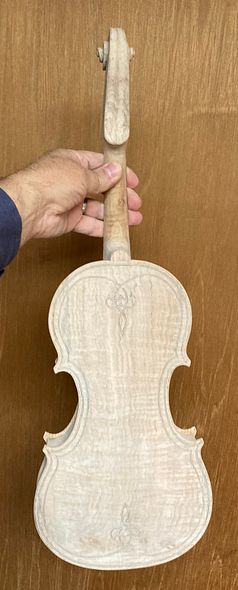
The next step is always pretty amazing: when I brush on the sealer, it surrounds all the “white” particles in the wood, and they become transparent. Look at the “before and after” photos of the back plate, as the sealer is applied:
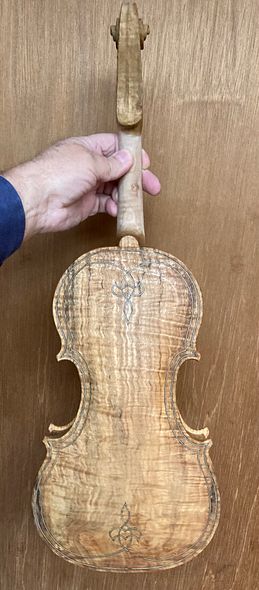
From this point forward, it is just a matter of applying numerous coats of varnish, and adjusting the color as the process progresses. Furthermore, I want all the parts to “fit together” in terms of color. (You can see that there is a difference between the front and back color, for example.)
Next time, we will talk about color varnish coats.
Thanks for looking.

