Five String Fiddle is headed for the Bluegrass Festival!
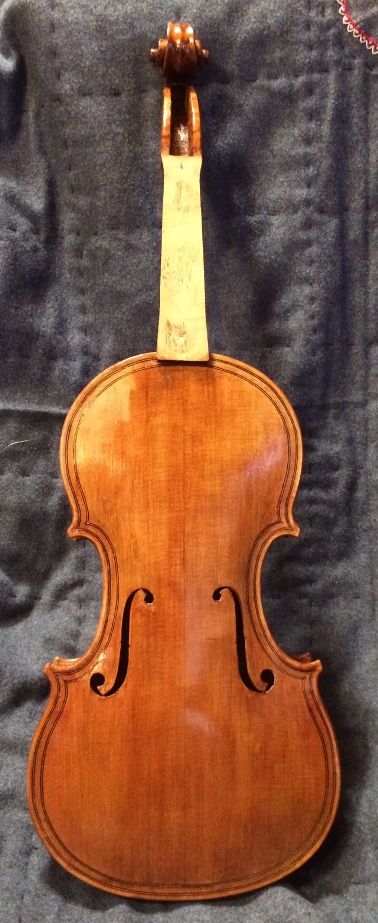
The customer gave her enthusiastic blessing to my taking her precious new fiddle to the Wintergrass festival; hopefully to be played by some real professionals. Last night I completed most of the set-up, and I had it playing this morning.
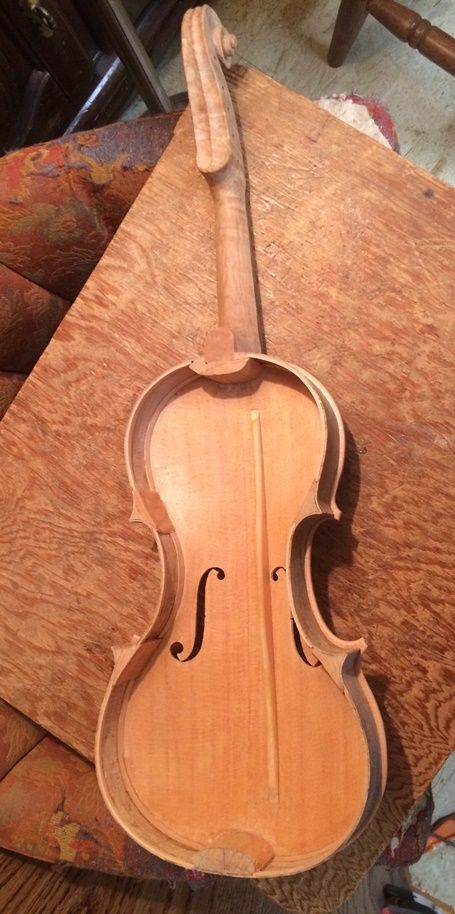
So, here is most of the set-up process:
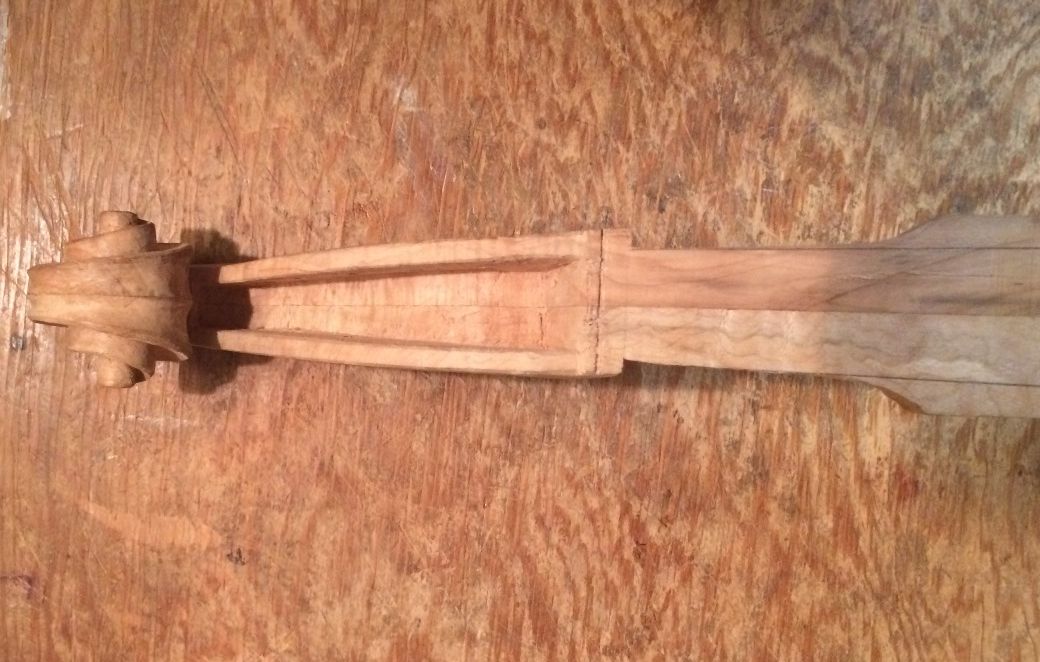
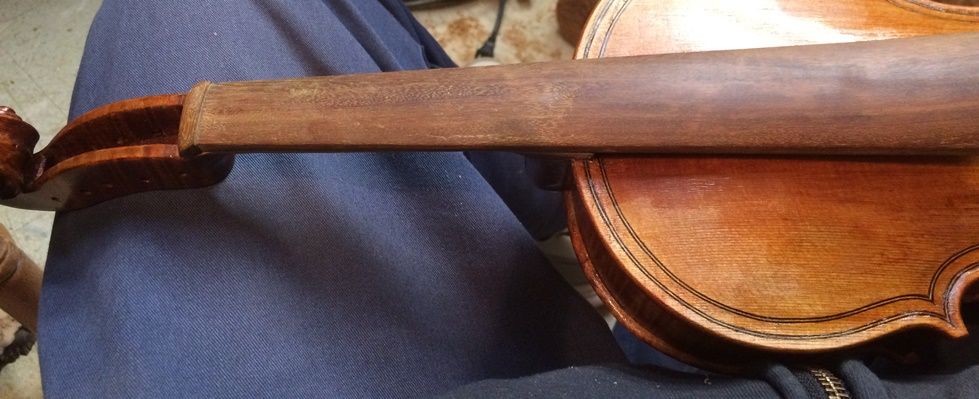
- Re-install the fingerboard.
- Carve and install the nut (final shaping later.)
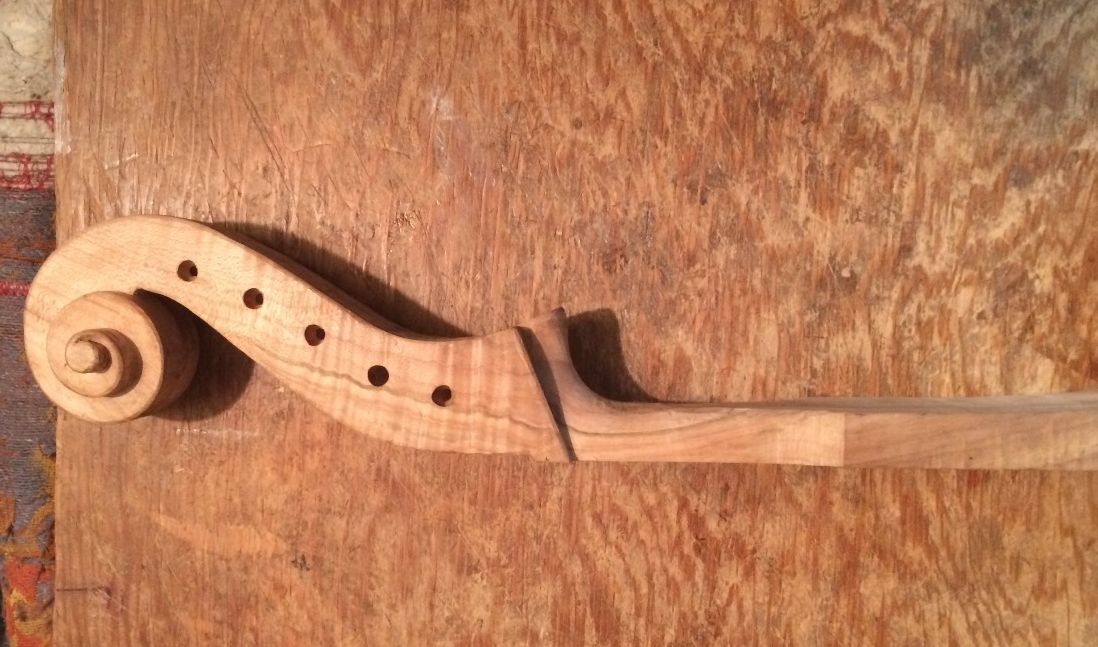
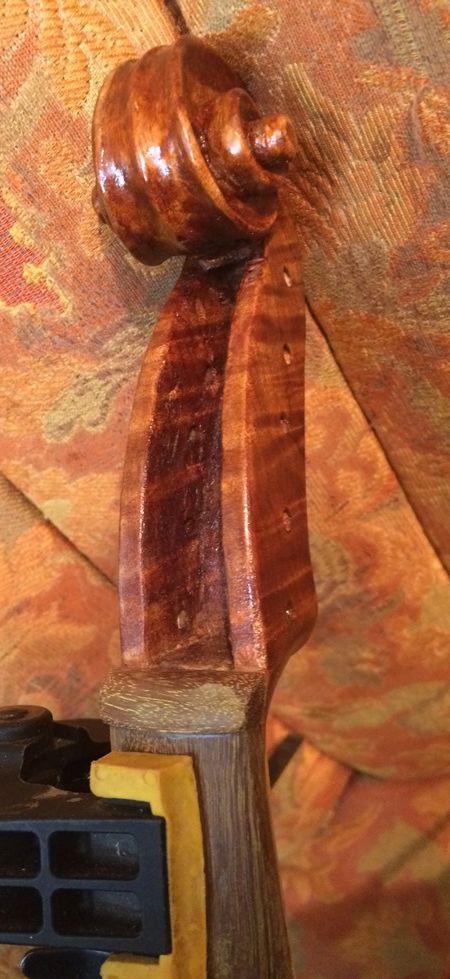
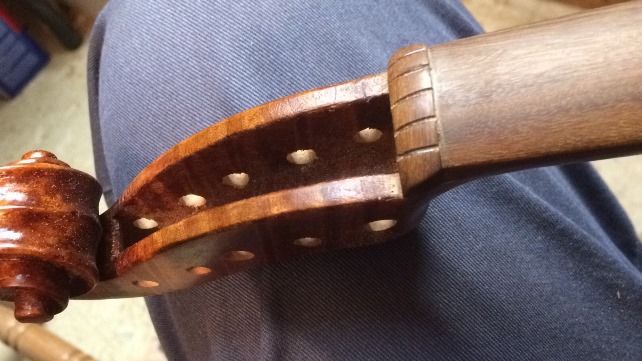
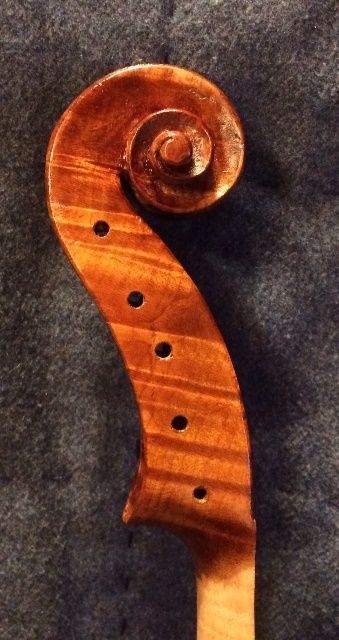
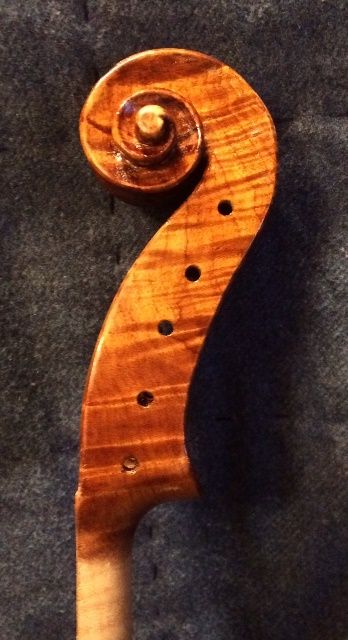
- Ream peg-holes
- Carve and install the saddle.
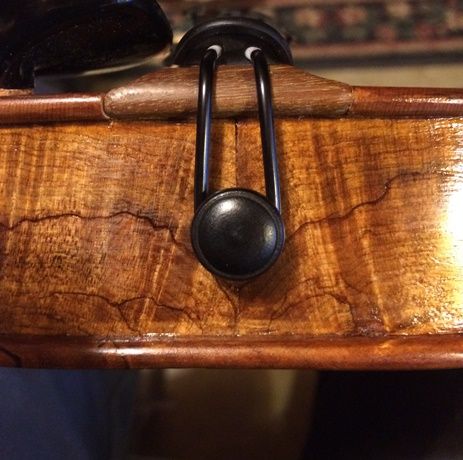
- Install the end button.
- Install the soundpost
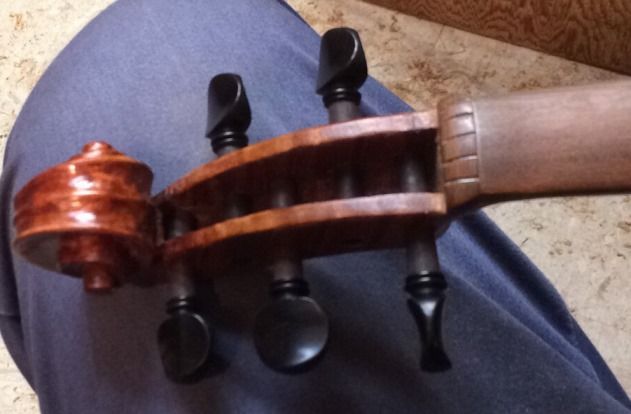
- Install the pegs.
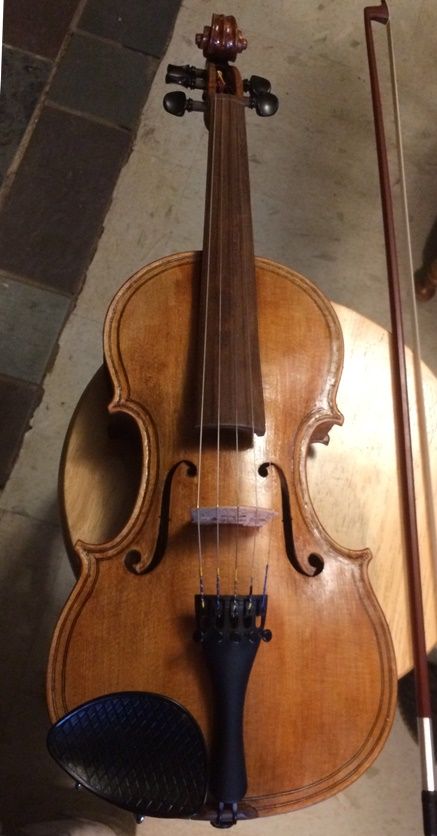
- Cut the bridge to proper fit, shape, and height.
- Install tailpiece and strings.
- Play it for final adjustment of soundpost, bridge, nut height, etc.
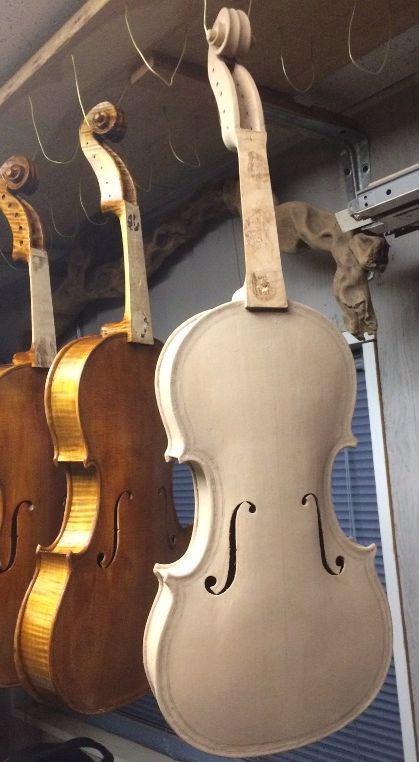
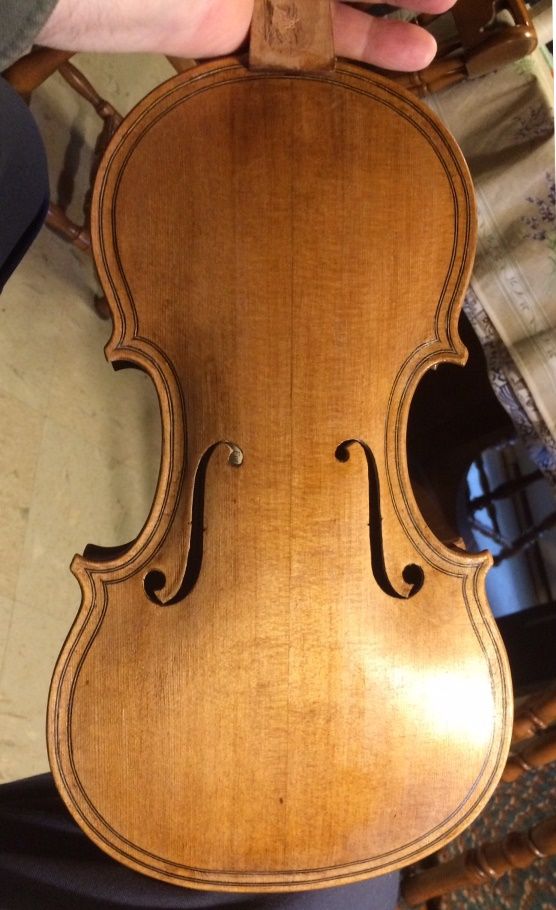
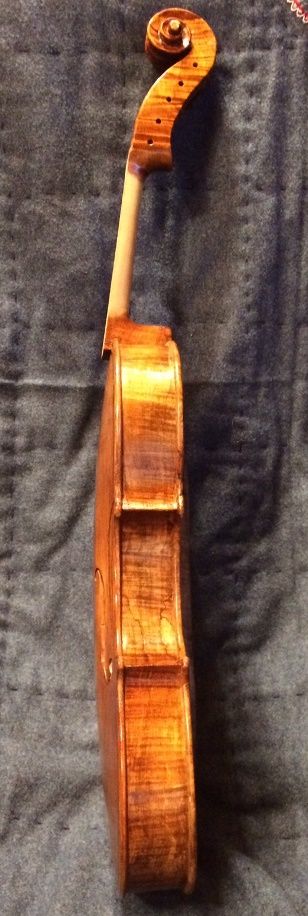
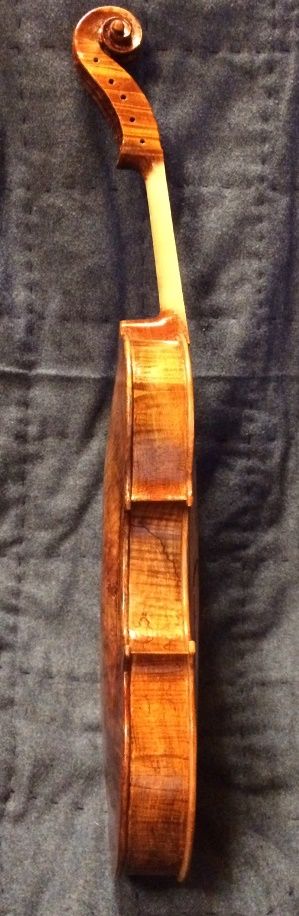
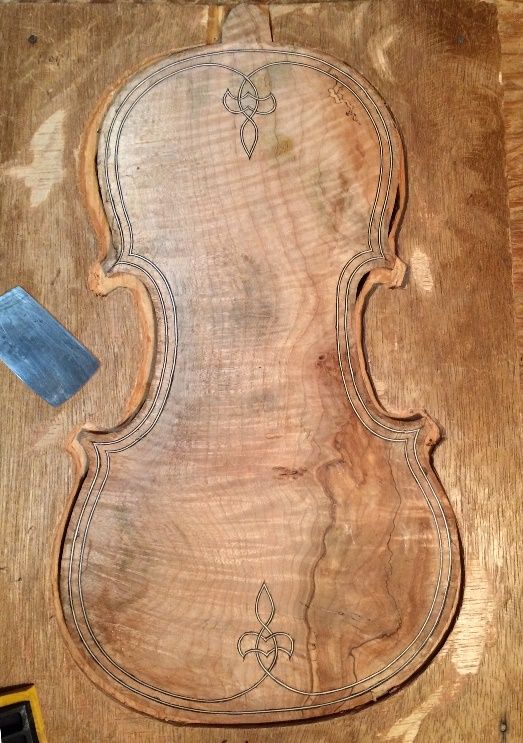
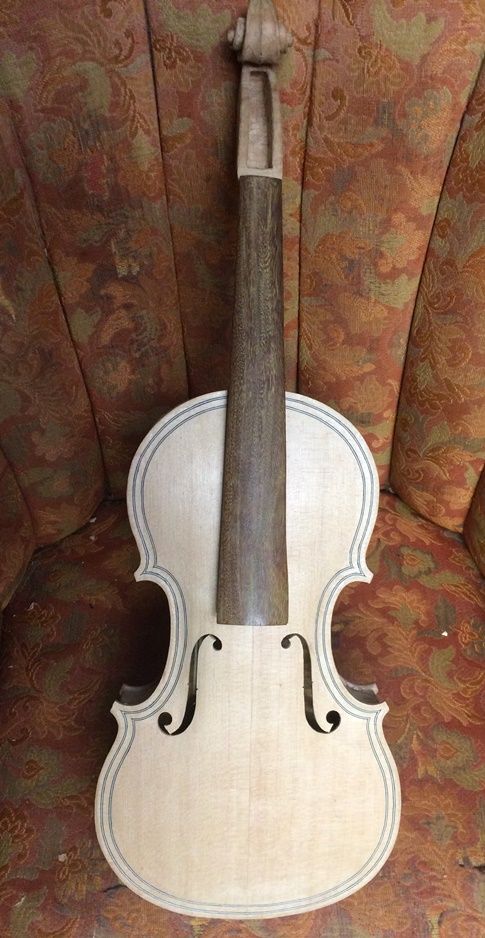
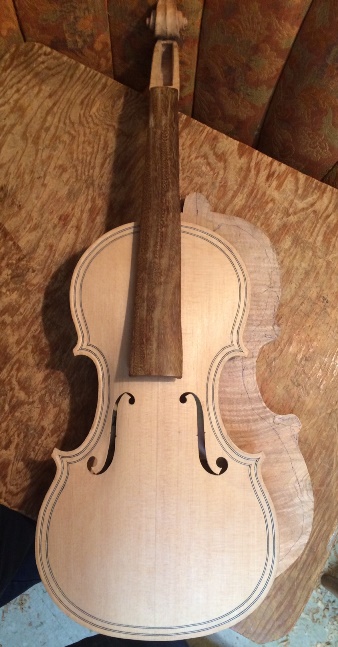
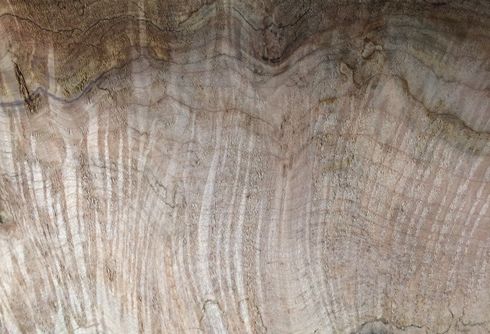
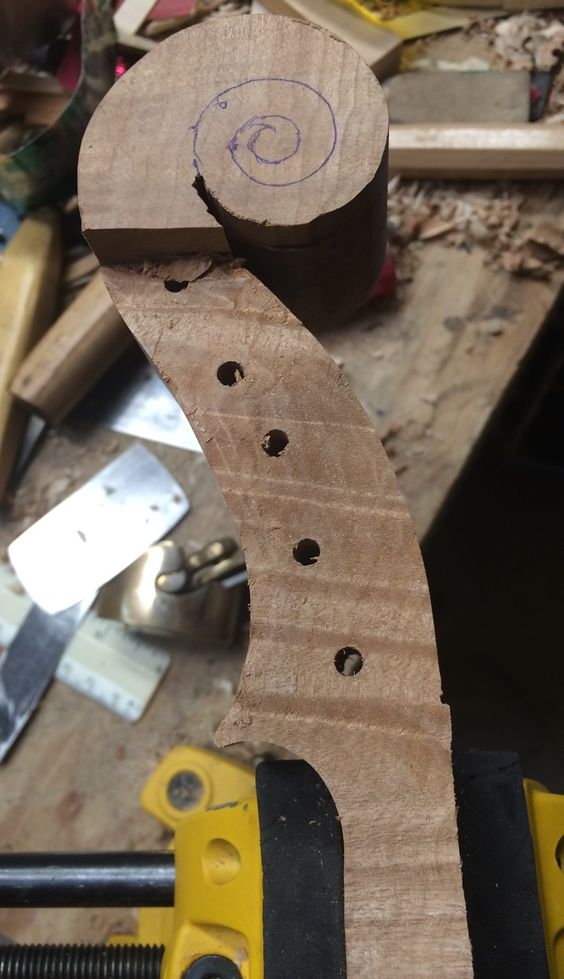
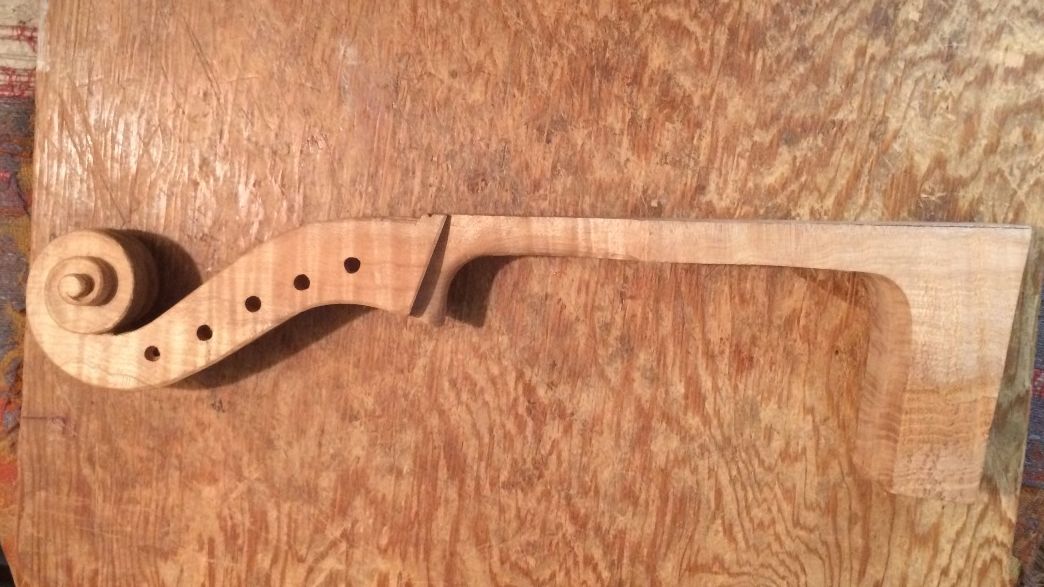
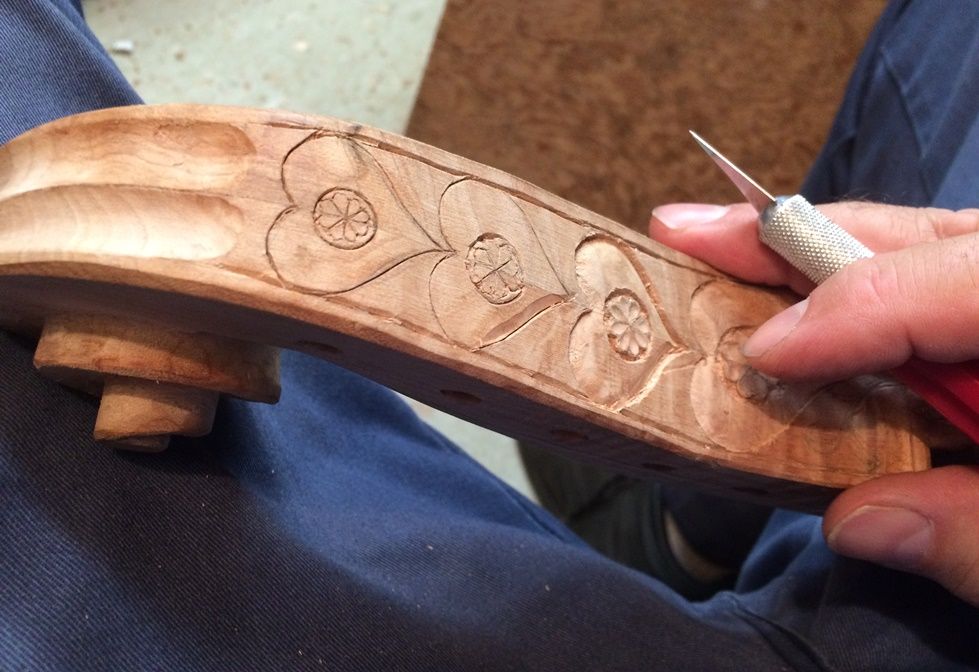
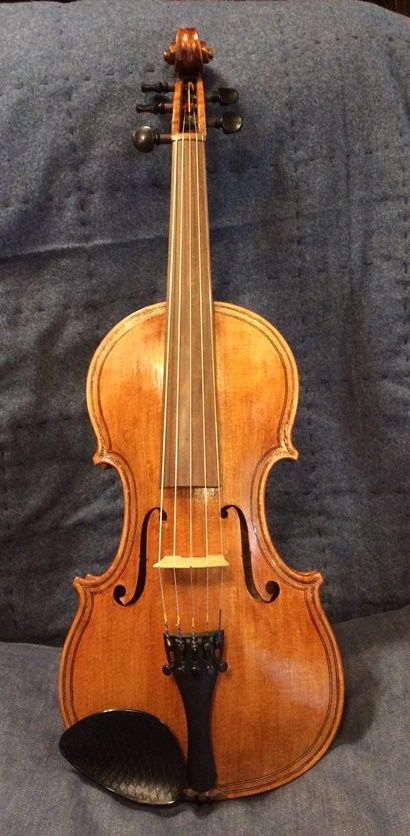
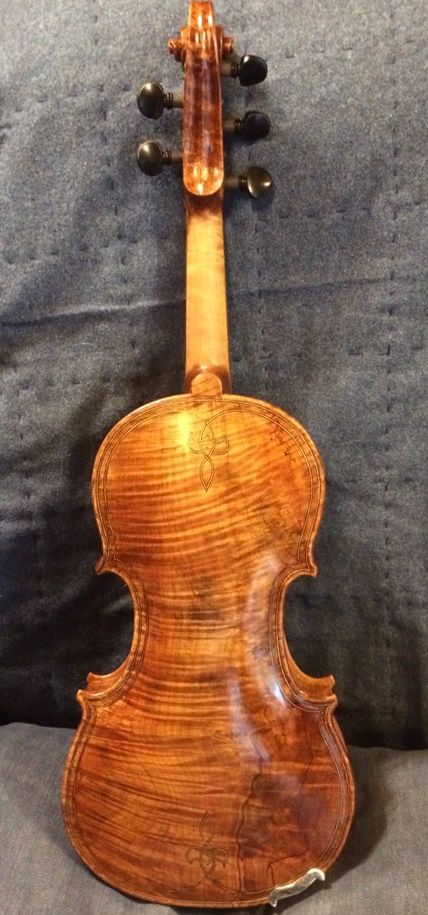
As you may recall, the customer chose Ipe wood for fingerboard, nut, and saddle. It is an extremely hard and dense wood, but not a threatened species, so it is still easy to obtain. In fact, the board I purchased was being sold for decking. I actually have some Apitong wood, too, salvaged from a railroad boxcar floor. Also very dense and hard, but not as pretty as Ipe.
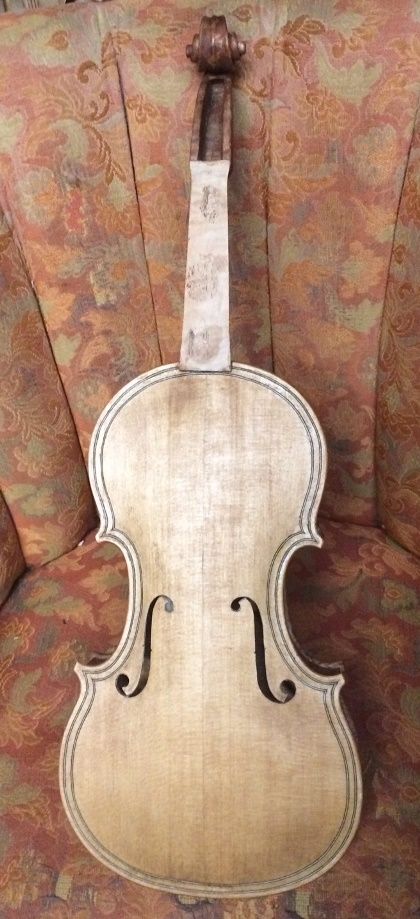
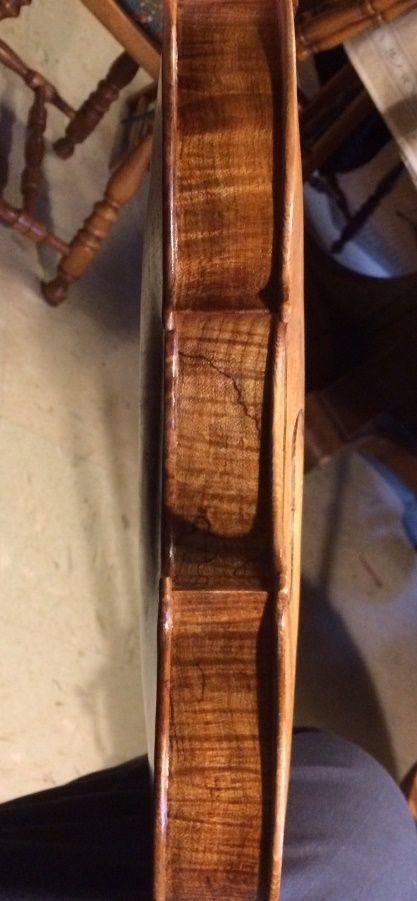
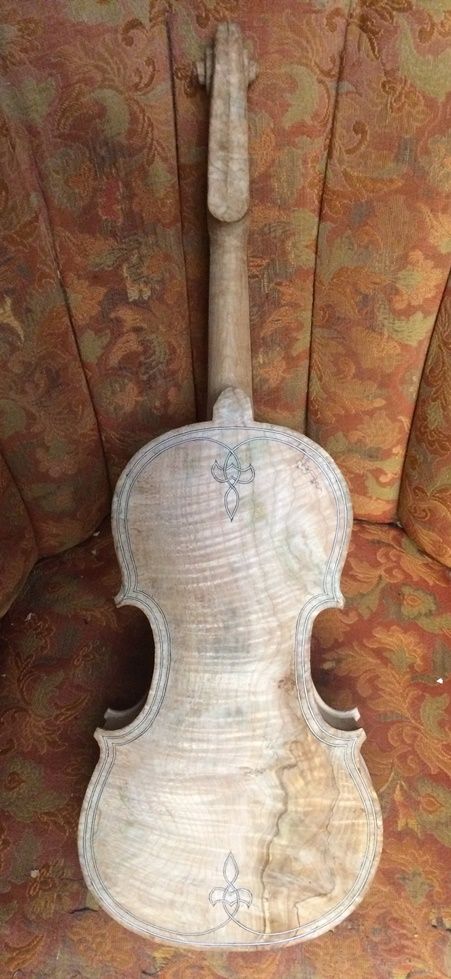
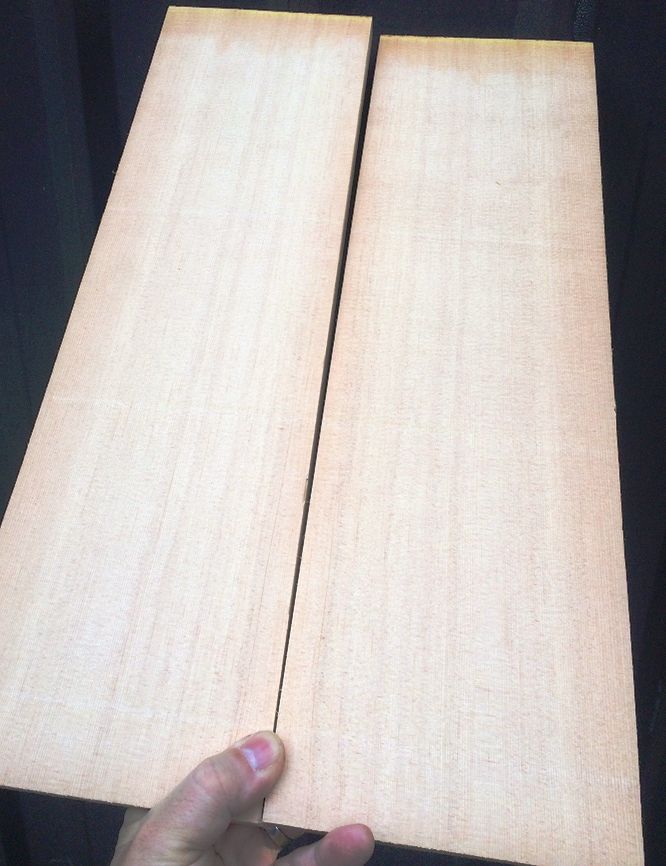
The color of the Ipe wood looks good with the Oregon Big Leaf Maple and the Sitka spruce under their varnish. The only finish on the Ipe is a very light rub of linseed oil.


“Playing it in.”
So, at this point, the main thing is to play the instrument as much as possible, so that it settles into its new life as a fiddle, instead of a bunch of pieces of wood! This period is called “play-in”, and there is much controversy as to what is really happening. But my observation is that there are definite positive changes that come about through vigorous playing of a new (or newly restored) instrument. I’m not going to try to “prove it:” it is just my observation and one I feel comfortable acting upon.
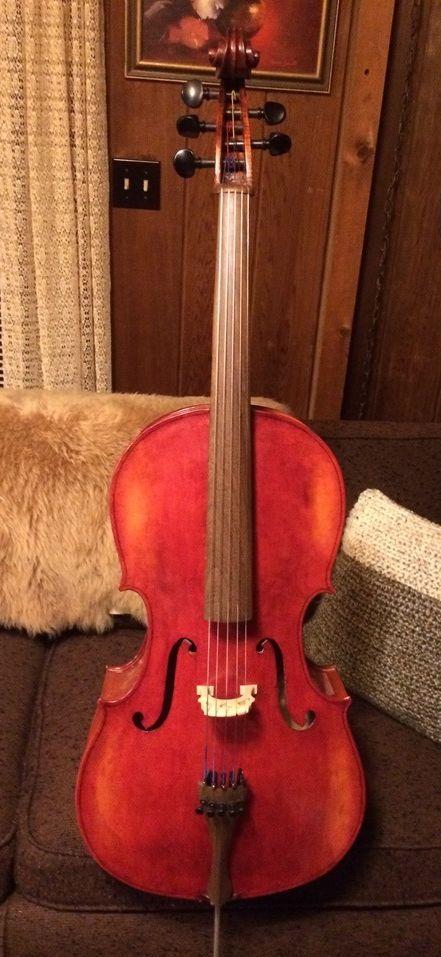
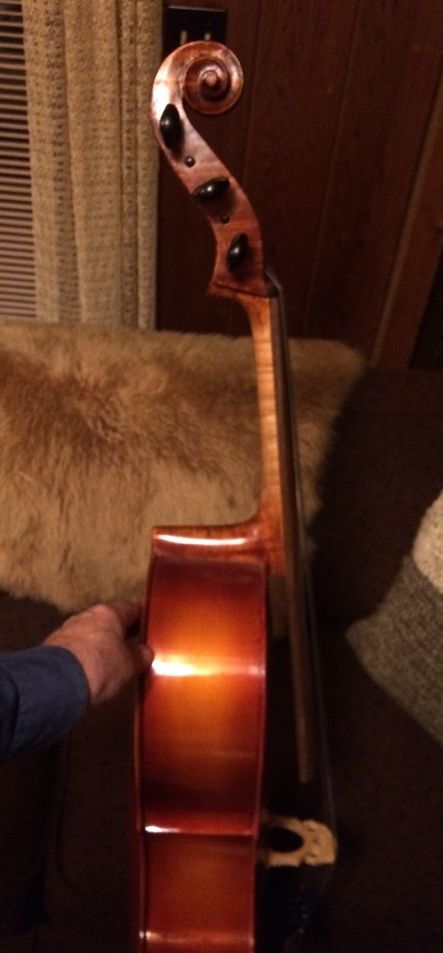
How does she sound?
So far, so good! Very good, deep C-string tone, and well-balanced across all the strings. I would like a little more volume, and I may do some tinkering with the soundpost to that end, but I have to say, “Not bad for a brand-new fiddle!”
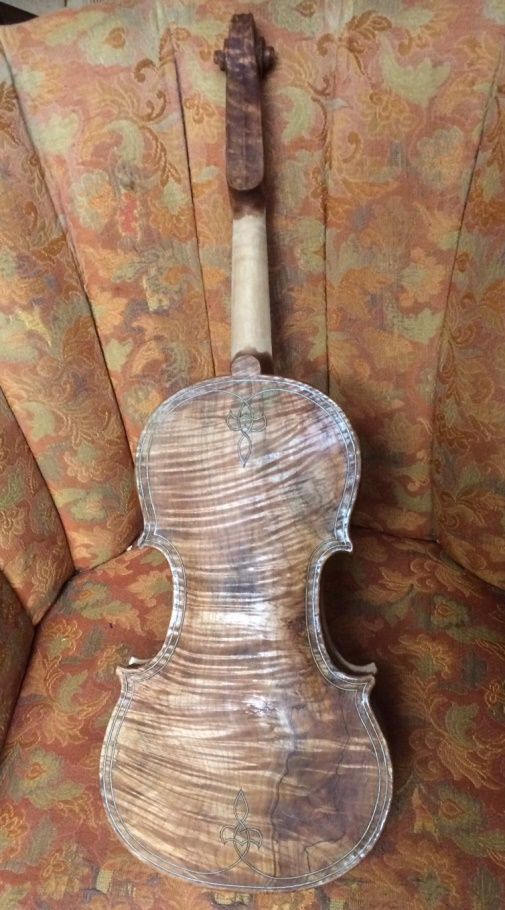
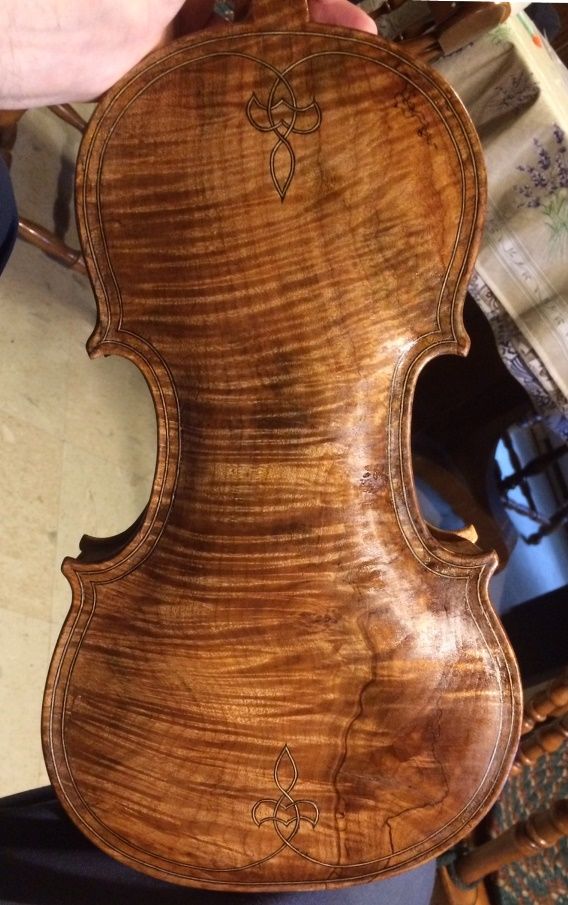
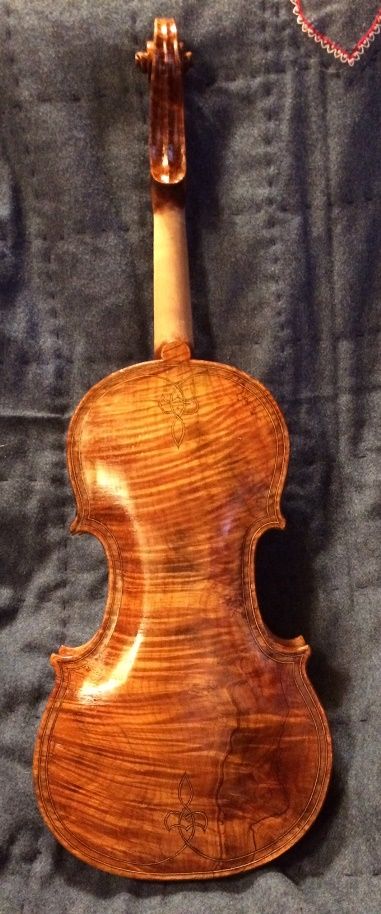
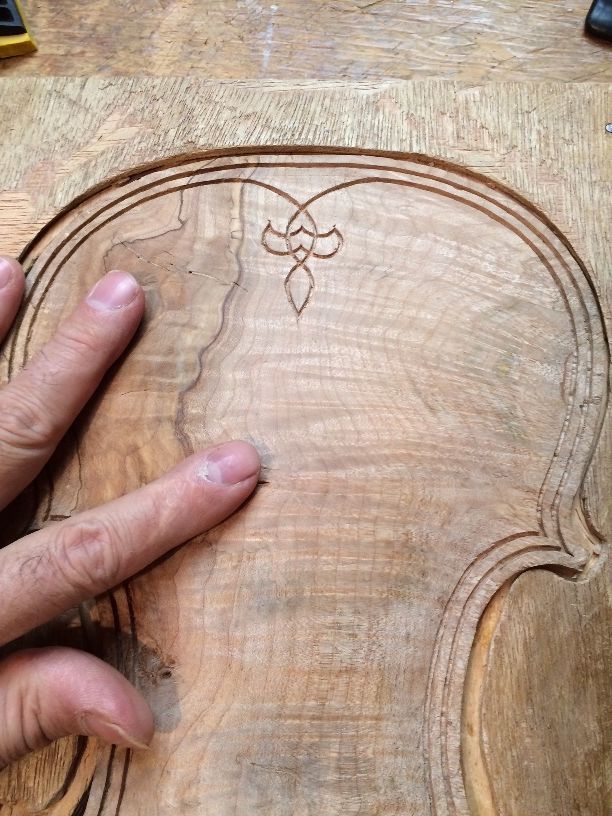
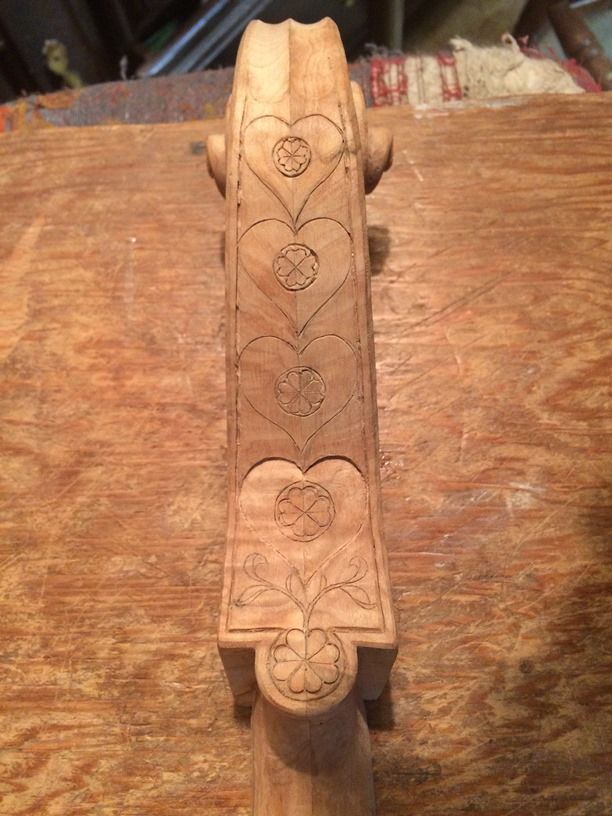
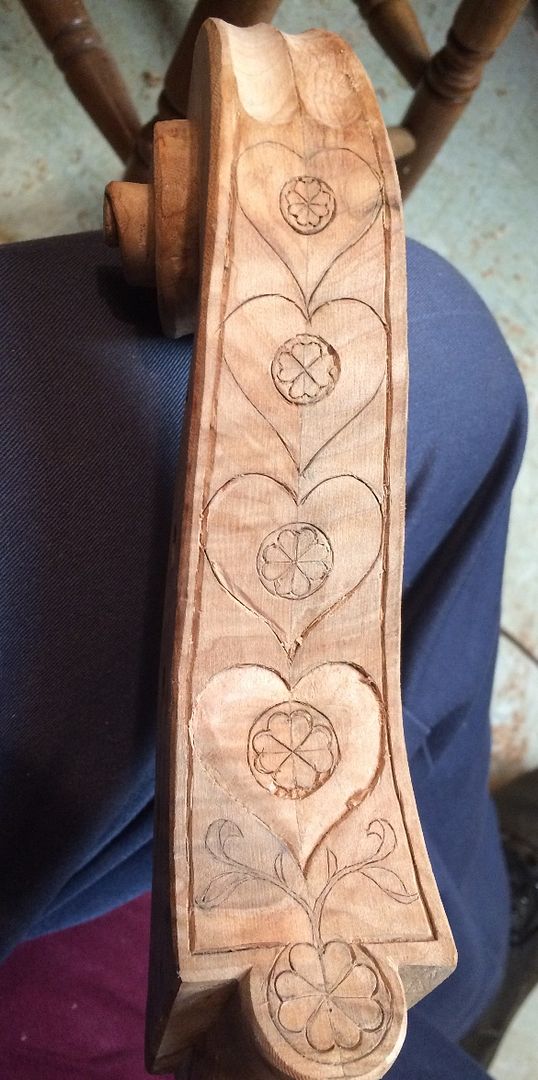
I think it is a winner! (Very pretty, too, but I didn’t do that…the tree did.)
Thanks for looking.