Five-string viola Varnishing Process

Varnish Procedure For a 15″ Five-String Viola

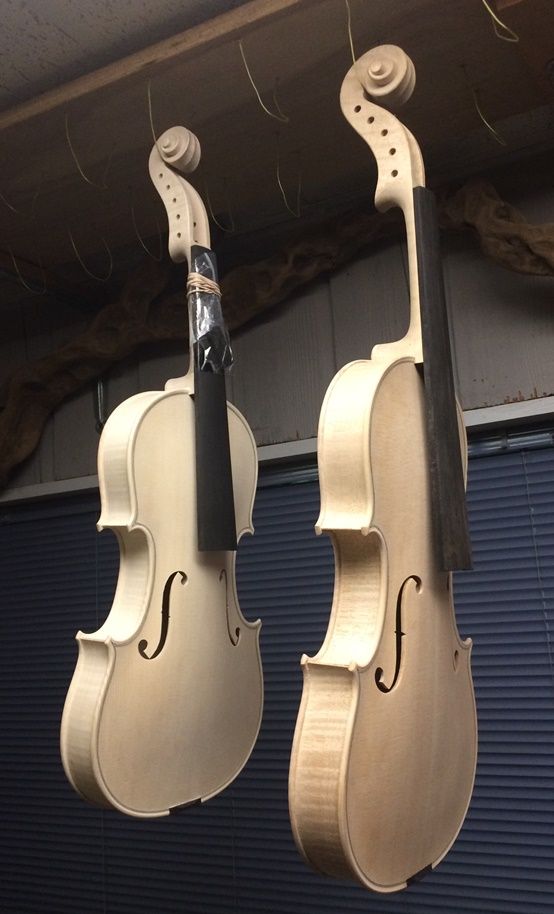
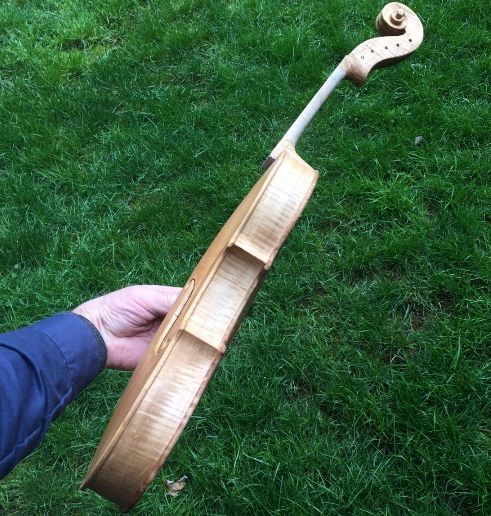
First things first: Mineral Ground

The raw wood is quite porous, and would soak up varnish like a sponge…which would dampen the viola sound. So we don’t want that to happen! The solution to the problem seems to be to fill the pores of the wood with very fine particles of mineral of some sort. I don’t particularly want something that would form a concretion, as some makers have done, because I think that also changes the sound, but in a different way.

I used Gypsum, ground very fine in a mortar, then suspended in water, and daubed onto the surface; then vigorously rubbed into the pores. After rubbing the mineral into the entire surface (except the “handle” area of the neck) I used a damp cloth to rub all the excess gypsum back off. While it is wet, it just looks like wet wood, but as it dries, it turns chalk-white, assuring me that the surface is truly saturated with the particles.

Partially dry mineral ground, front side of 15" Five-string viola.
Partially dry mineral ground, front side.


Partially dry mineral ground, back side of 15" Five-string viola.
Partially dry mineral ground, back side.


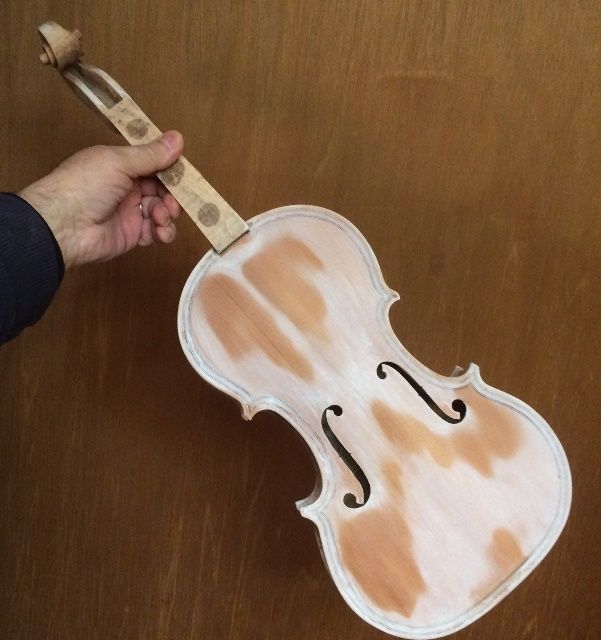
Then, after the gypsum suspension is completely dry, I use fine sandpaper to remove any excess mineral from the surface, so that there are no thick patches of mineral.

15" Five-string viola, with Dry Mineral ground, rubbed clean.
Dry Mineral ground, rubbed clean.


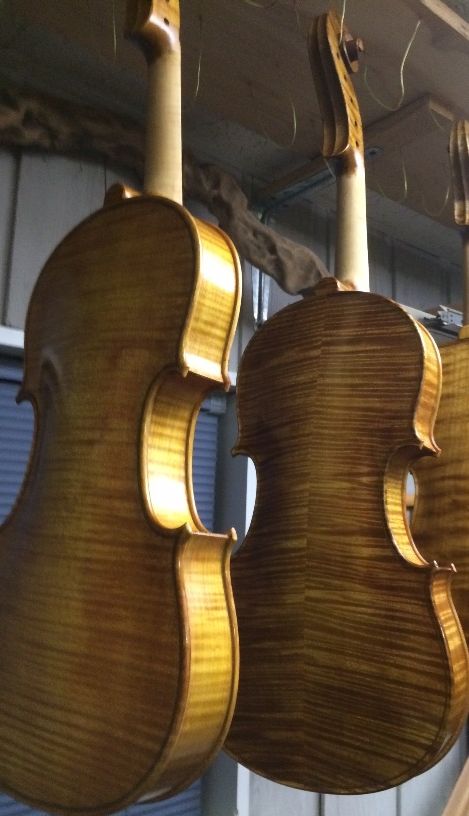
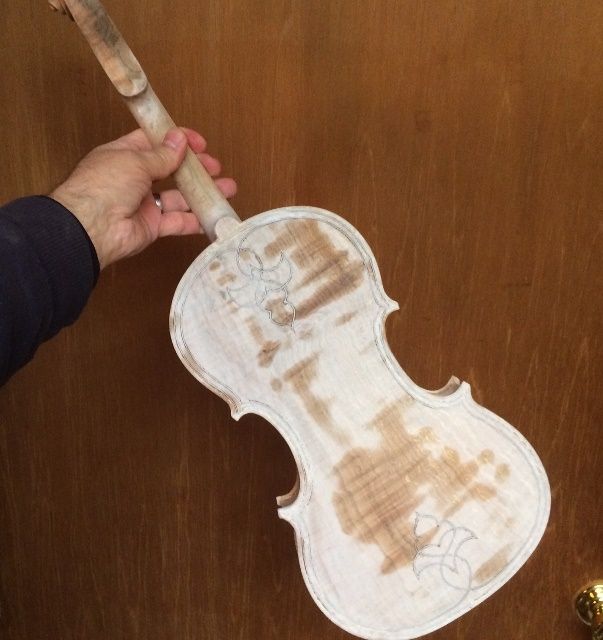
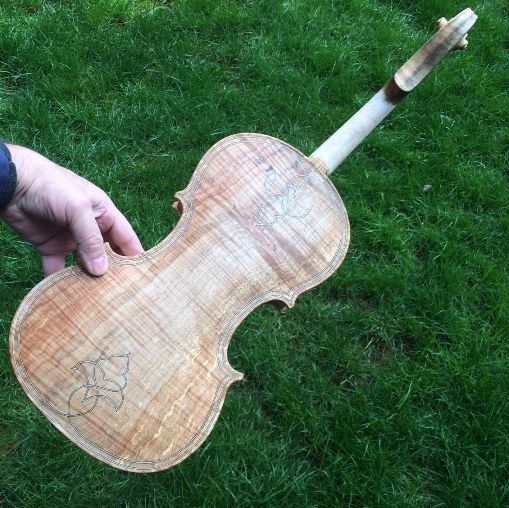
Locking the mineral ground in the wood: Sealer

As you can see in the above photograph, the mineral is still saturating the surface, and obscuring the grain. However, when I apply the sealer (in this case, a mixture of rosin, turpentine, and alcohol) the mineral ground will become completely transparent, and will permanently disappear. The varnish will then be free to show off the grain of the wood.

Front side of 15" Five-string viola, with sealer.
Front side with sealer.


Side-view of 15" Five-string viola, with sealer.
Side with sealer.


Back-view of 15" Five-string viola, with sealer.
Back with sealer.


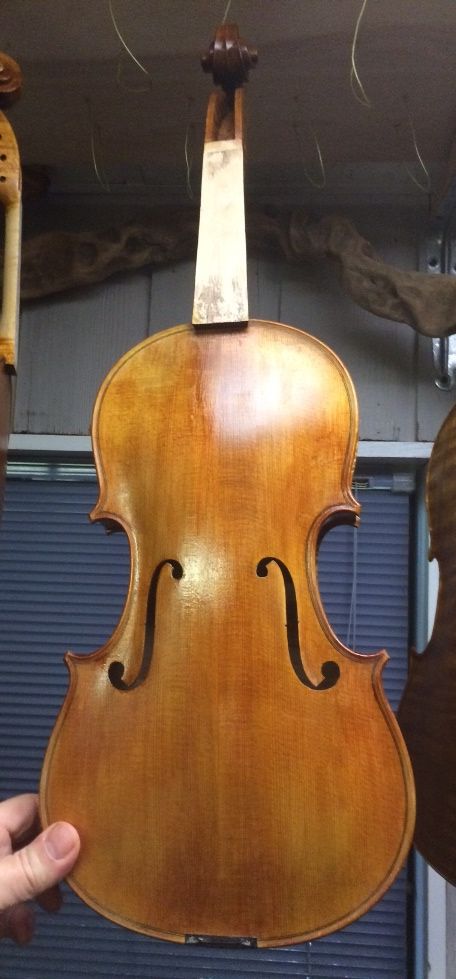
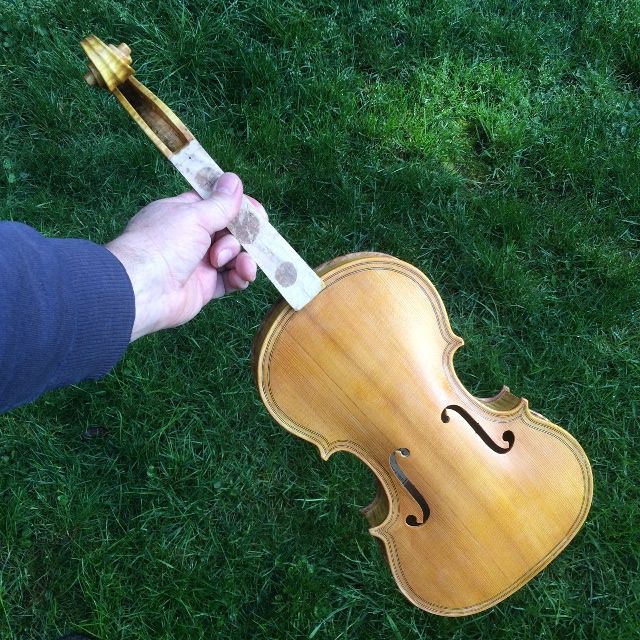
Making it Shine: Beginning the varnish

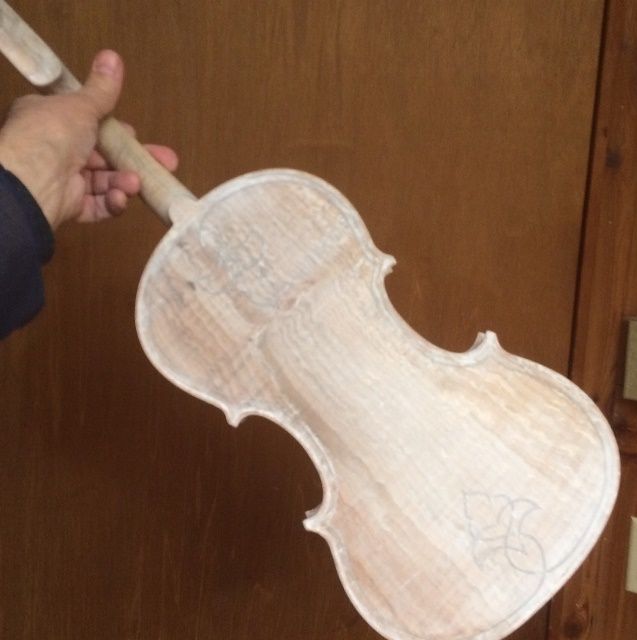
It takes a while for the sealer to dry, because of the turpentine content, but as it dries, the alcohol evaporates first, then the turpentine, leaving the rosin in the wood (which is where rosin comes from in the first place, of course) locking the gypsum particles in place. and further sealing the wood against saturation with varnish.

Before proceeding to the varnish, I carefully sanded all over, to clean up any spots that still felt rough or sticky, then wiped the entire instrument down with alcohol to remove any rosin residue from the surface.

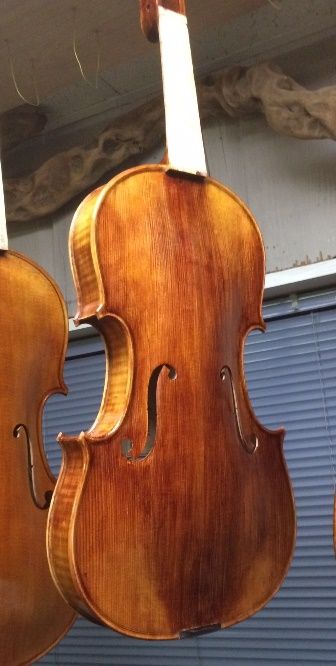
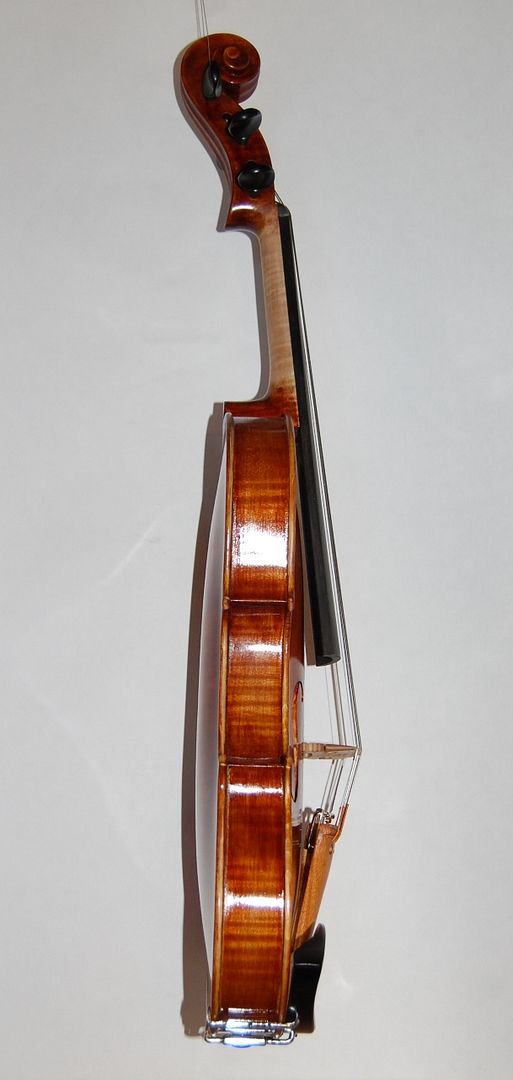
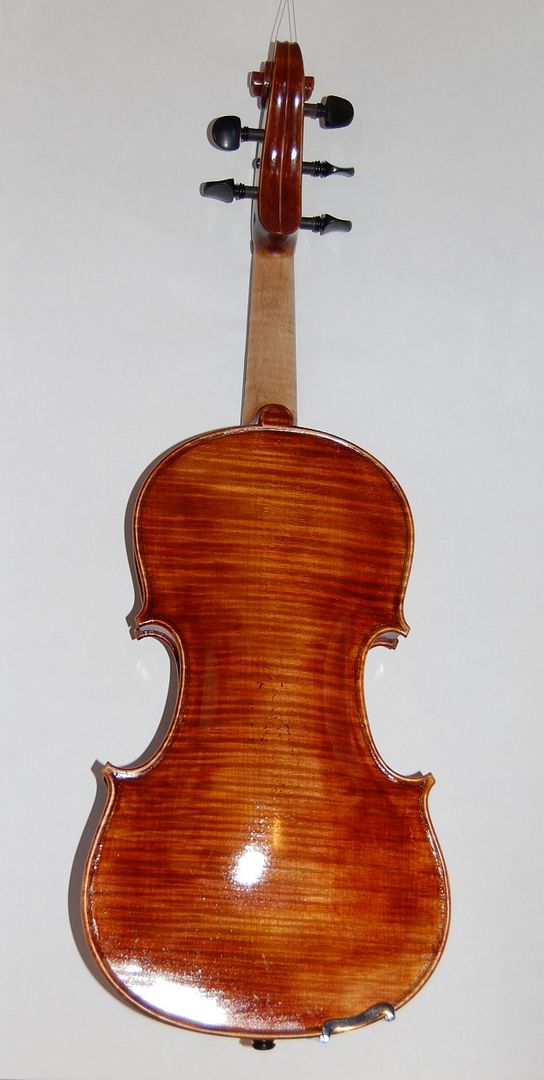
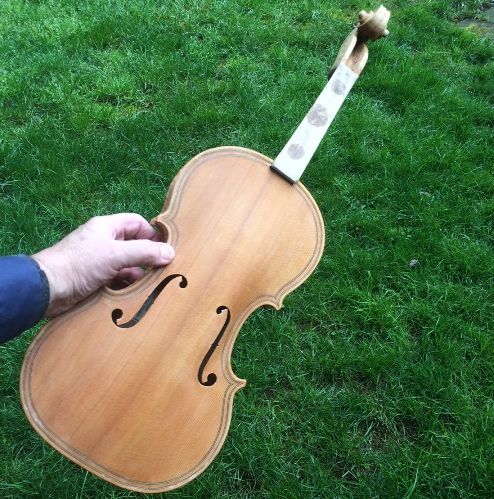
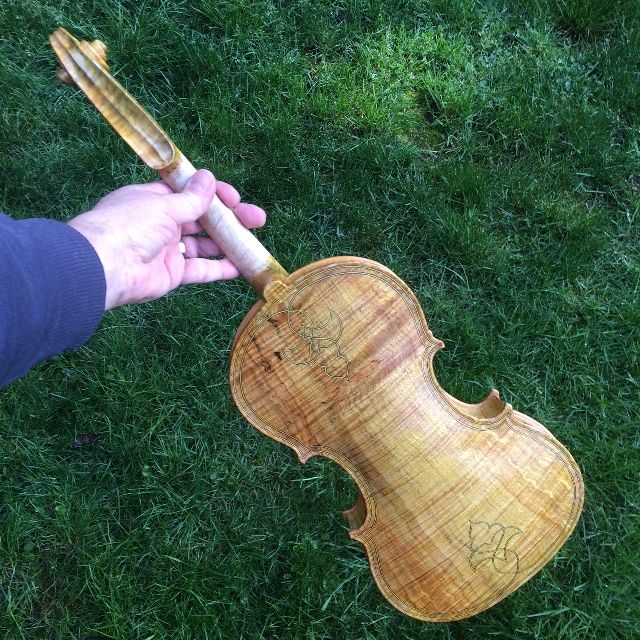
Then I applied a first coat of yellow varnish, as I have noticed that many of the old instruments seem to have something yellow under the darker red or brown varnish. You can especially see it in the areas where the colored varnish has worn thin, or is completely gone. (Not all of them have this color, but I like it, so that is what I have chosen to do.)

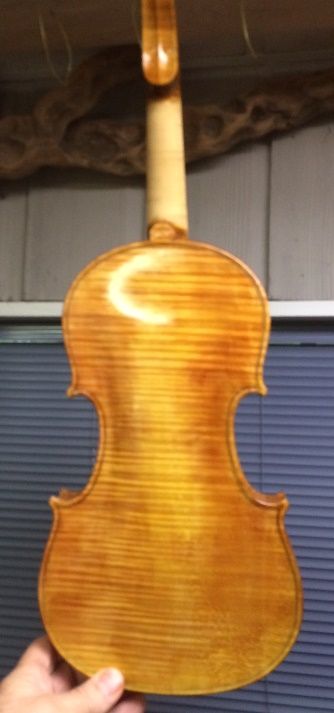
So, here is the base coat of yellow varnish:

Base coat of yellow varnish on front side of 15" Five-string viola.
Base coat of yellow varnish on front side.


Base coat of yellow varnish on the side-view of the 15" Five-string viola.
Base coat of yellow varnish on the side.


Base coat of yellow varnish on the back side-view of the 15" Five-string viola.
Base coat of yellow varnish on the back side. The grain of the spalted maple is showing better, again.


Base coat of yellow varnish on scroll and neck heel of the 15" Five-string viola.
Base coat of yellow varnish on scroll and neck heel.


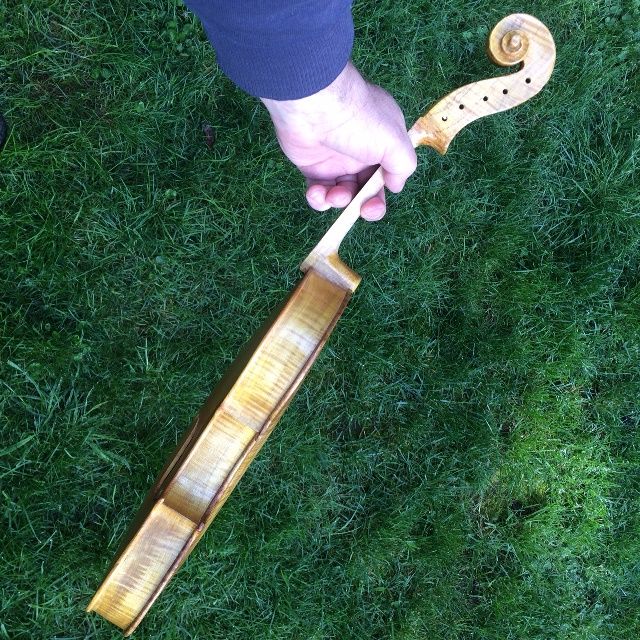
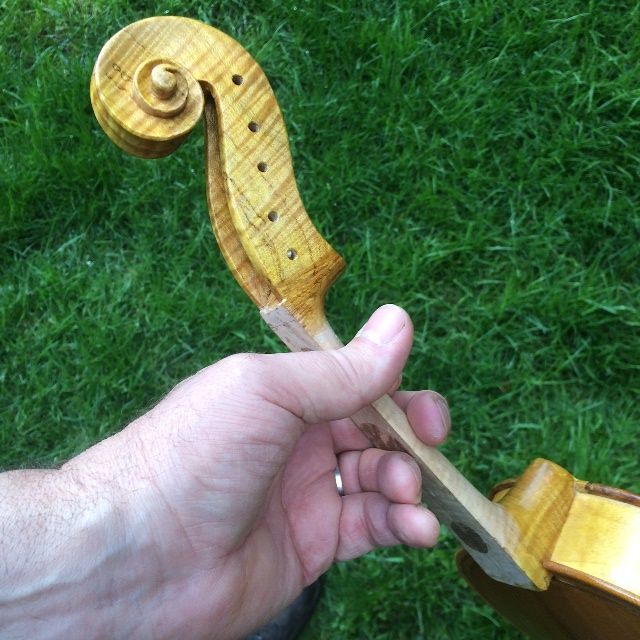
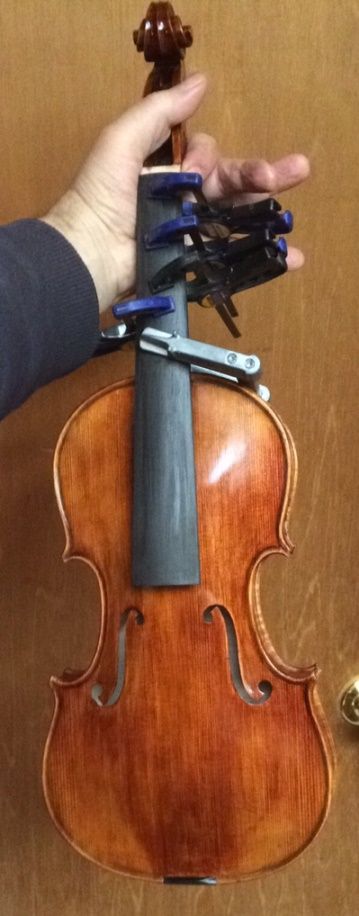
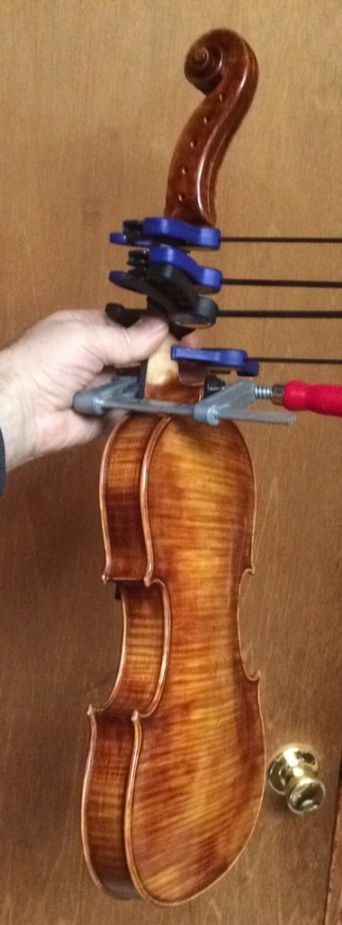
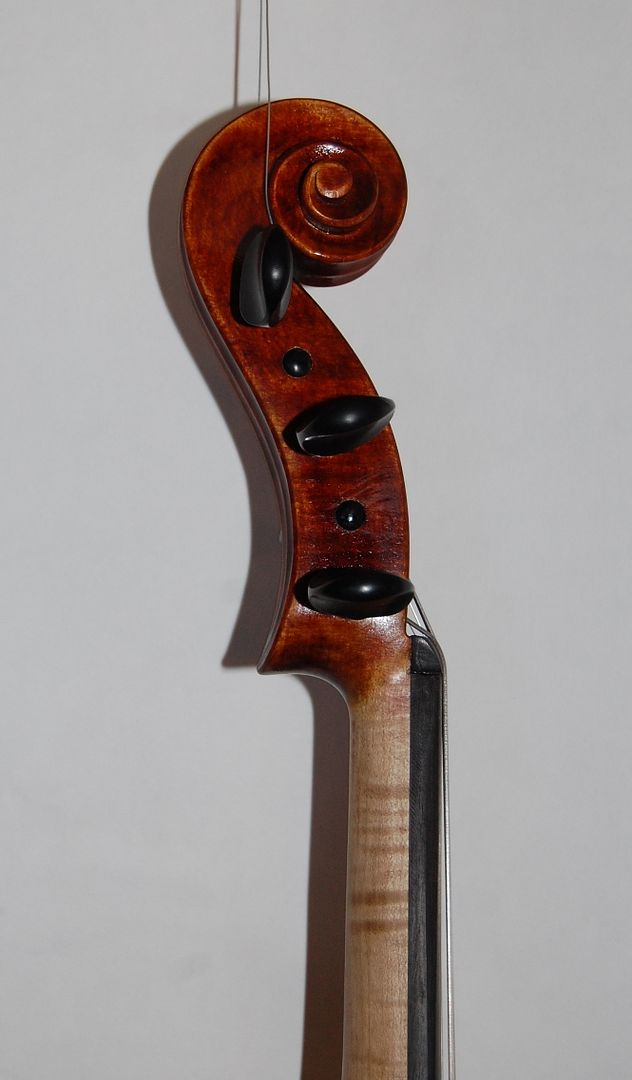
I do not apply varnish to the “handle” portion of the neck until everything else is completely done. After everything else is done, including set-up, I will rub down the handle area with 400-grit abrasive one last time, and then put about a dime-sized dot of shellac on a rag, on the end of my finger, and vigorously rub it into the wood of the handle area, until it is completely dry. This somewhat seals the wood against sweat and dirt, without leaving a heavy, “slick” coating that would cause drag on a player’s hand.

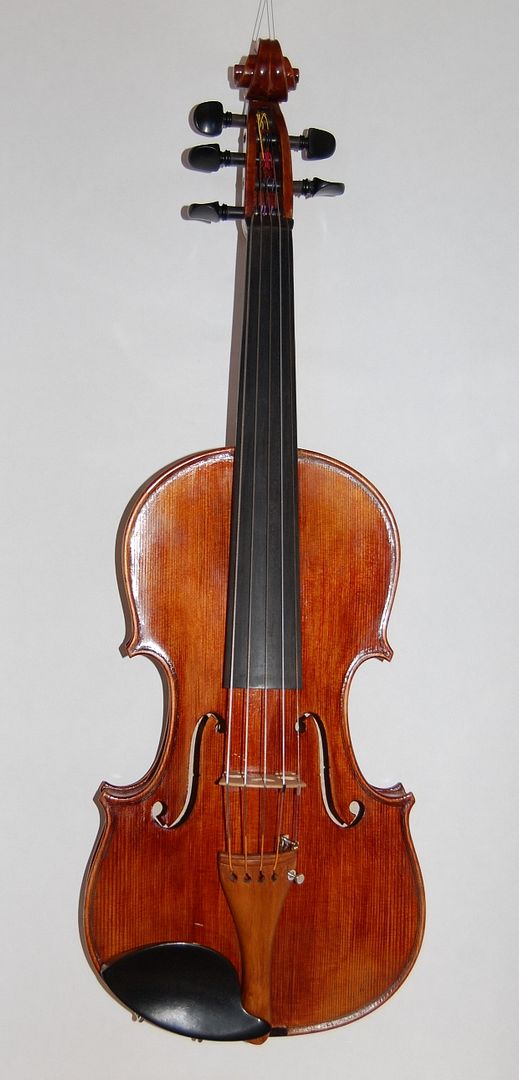
The rest of the varnish coats will be building color toward the final look of the instrument. I will include them in another post.


Thanks for looking.


Beginning of a “Chez Les Eveques” Five-string fiddle.

Advanced Student Instruments, including Five String Fiddles

A less expensive option:

I had originally hoped to only build “new, made from the raw wood” instruments, but, as it turns out, fewer people are willing (or able) to pay for the labor involved in building such an instrument. So, reluctantly, some years ago, I began to offer “advanced student instruments,” which meant I bought an unfinished instrument “in the white”, and completed the building, finishing and set-up as if it were my own creation, but labeling it as having been “from my shop” (meaning, not made by me,) and selling it at about 1/4-1/3 the price of my handmade instruments. For better or worse, these were a popular option, as the buyer gets a very good violin or viola, for a low price, and a 100% trade-in, if they later decide to buy one of my original handmade instruments. I named the new line of instruments “del Atelier Chez les Eveques” (From the workshop at the Bishops’ place.) I like the sound of it, and it sounds a lot more “bien sophistique” in French,  for some reason. 🙂

Five String “Chez Les Eveques”

I recently found that there were now also 5-string instruments available in the white, and, as an experiment, I bought two of them: a five-string fiddle (which seems to simply be a regular violin with a 5-string scroll,) and a 15″ 5-string viola (which, again, seems to be a normal 15″ viola body with a 5-string scroll.)

5-string violin and 5-string viola in the white
5-string violin and 5-string 15″ viola, in the white.

A good starting place:

As had been my experience in the past, the workmanship is quite good. The rest is up to me, as a rule. I do see some improvements I would make if I were in charge of the factory producing them, but that is OK, too. (Can’t give away all the secrets!)

I began the finishing process as if they were my own work; but with no specific plan, as I had no customer in mind, so I could not ask their preference.  Just my usual gound, sealer, and first varnish coats.

five string fiddles early varnish look
Early varnish look for both instruments.


Annnd … a Customer!

I was also in the midst of completing a commissioned instrument, so that was taking priority, but sometime along in the middle, there, I received a message from an individual who wanted this level of five-string fiddle. Annnd, she wanted to see what it looked like as it stood now… I actually had the customer on the phone, when I went into the next room and clumsily took two photos with my phone (see below) and sent them to her.

Five-string fiddle snapshot front
Snapshot of front.


Snapshot of back of Five-string fiddle.
Snapshot of back.


Bingo! She liked it, and said, “Let’s get it done!” So, we were off and running!

I asked questions as to her preferences, saw photos of her current existing instruments, and got a clear idea of where I was going with the look: (fairly deep color, some antiquing, etc.), and I began laying on color to suit, but sending her progress reports with photos, for approval.

Five-string fiddle Varnish getting close to completion.
Varnish getting close to completion.


Once the varnish was nearing completion, I installed the fingerboard and began set-up:

Front view of Five-string fiddle with fingerboard.
Front view with fingerboard.


Back view of Five-string fiddle with fingerboard.
Back view with fingerboard.

Having received assurance that all was well, so far, I continued on into set-up, and completed the instrument.

 Front view of Completed Five String Fiddle.
Front view of the completed instrument.

That tailpiece is hand-carved of Osage Orange, per the customer’s request: she was classically trained and does not like the multiple fine-tuners I usually supply.


Side view of the completed Five String Fiddle.
Side view of the completed instrument.


Back view of the completed Five String Fiddle.
Back view of the completed instrument.


Close-up of Five String Fiddle scroll.
Close-up of the scroll.

So…you may be thinking, “How does it sound?

Well, actually, disgustingly good! I always hope that my handmade instruments are just “head and shoulders above” the ones I buy in the white, but this is really a good five-string fiddle! The main advantage of the handmade original is that the customer gets to choose what type of (and in some cases what specific pieces of) wood will be used, as well as the overall look, and set-up. I can tailor an instrument to the needs of the specific player, if I start from the beginning with that player in mind. Not so much with the factory-made, in-the-white instruments. But, in this case, I think we have a winner!

The customer is a violist, so she knows good viola sound, and will undoubtedly mix and match strings until she finds the perfect match for her, but she is starting off with excellent balance across all five strings: nothing flabby or unfocused about that C-string at all! So, she should be able to put her favorite strings on it and get “instant gratification.” I expect so, anyway… There are so many possible combinations that I can’t say for certain that they will all work. I will ship it with a decent set of strings that work very well, and after that, it is the customer’s game, for life! 🙂

Here is her new baby, hanging in my dining room, ready to ship!

Five String Fiddle Ready to ship
Ready to start a new life!


Thanks for looking.