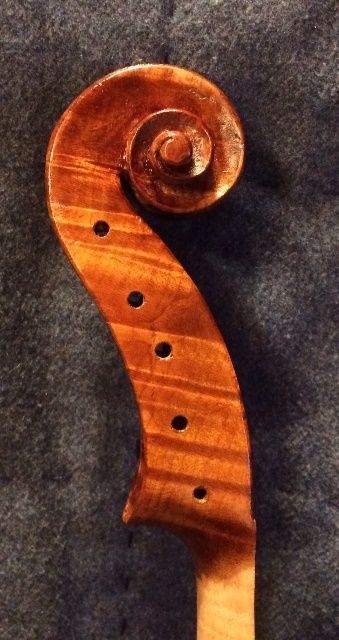
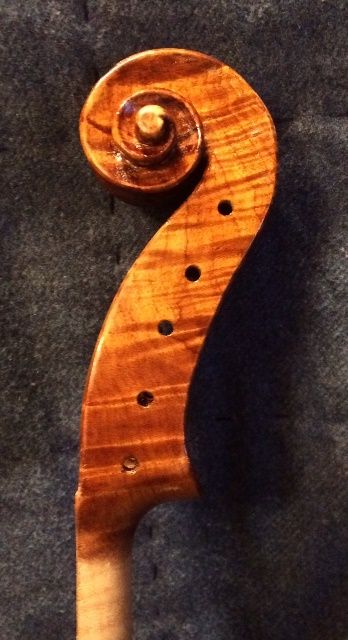
Finishing Procedure for an Oliver Five String Fiddle

Starting With Bare Wood

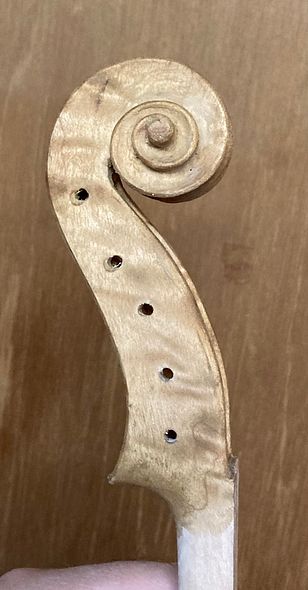
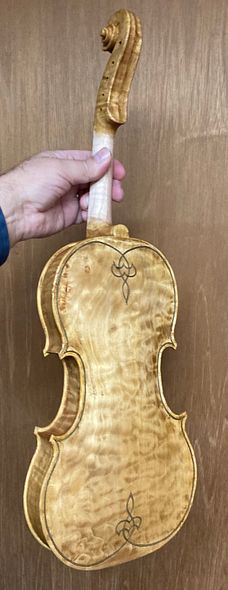
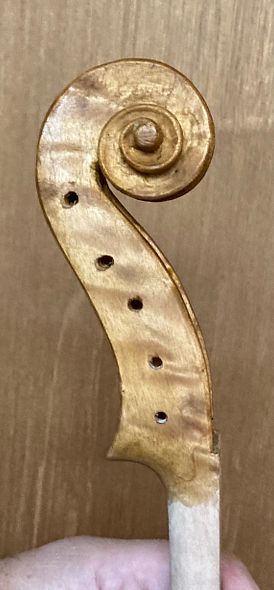
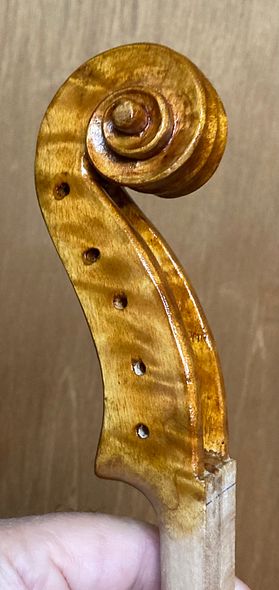
Last time, I gave a preview of some of the varnish procedure.

But, to be more specific, let’s walk through the varnishing process:
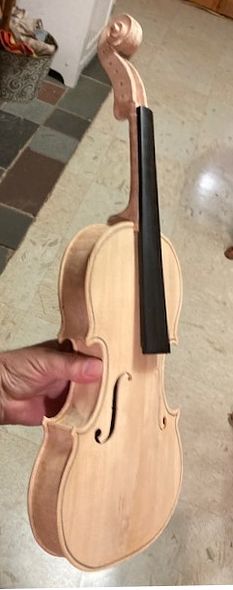
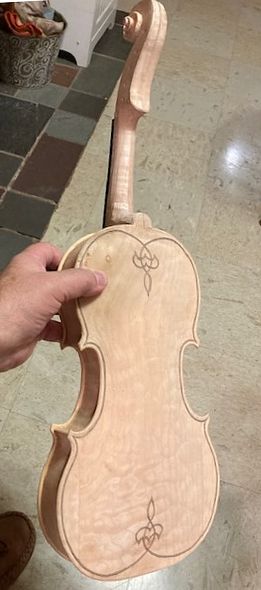
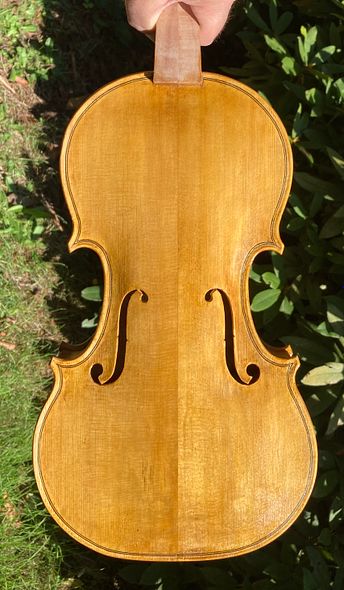
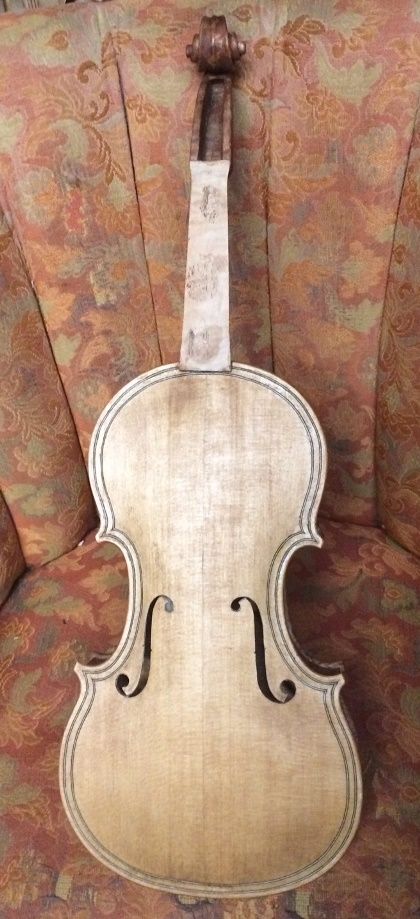
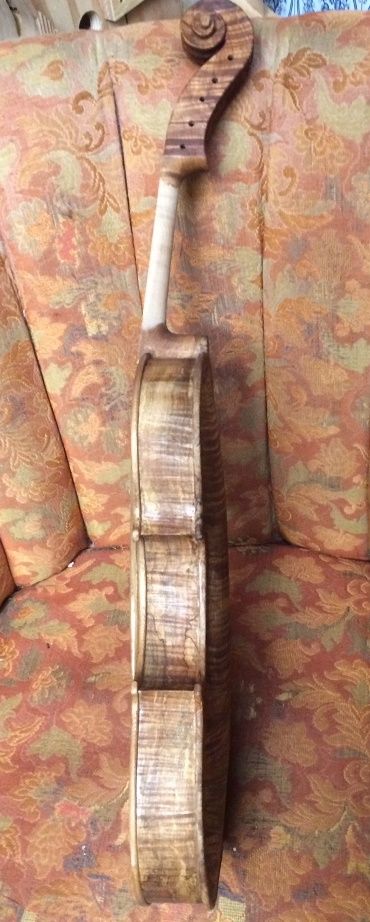
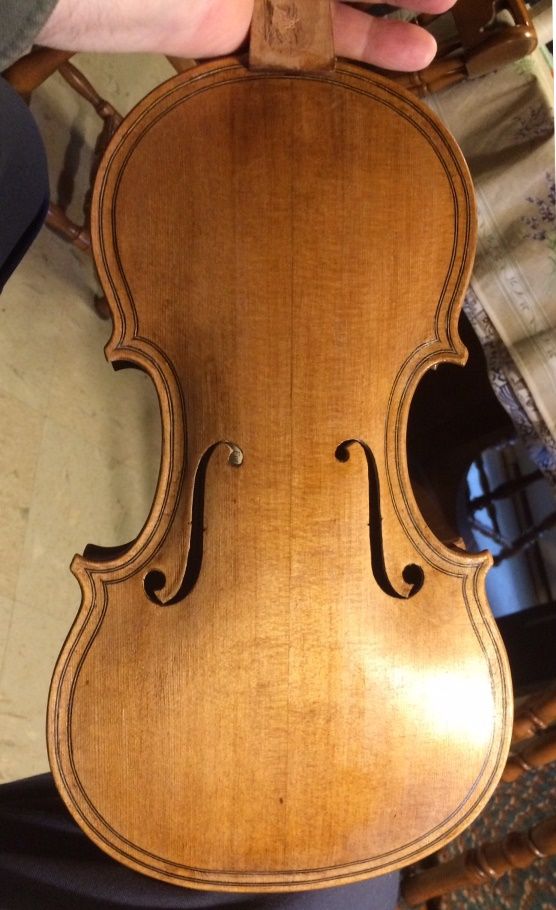
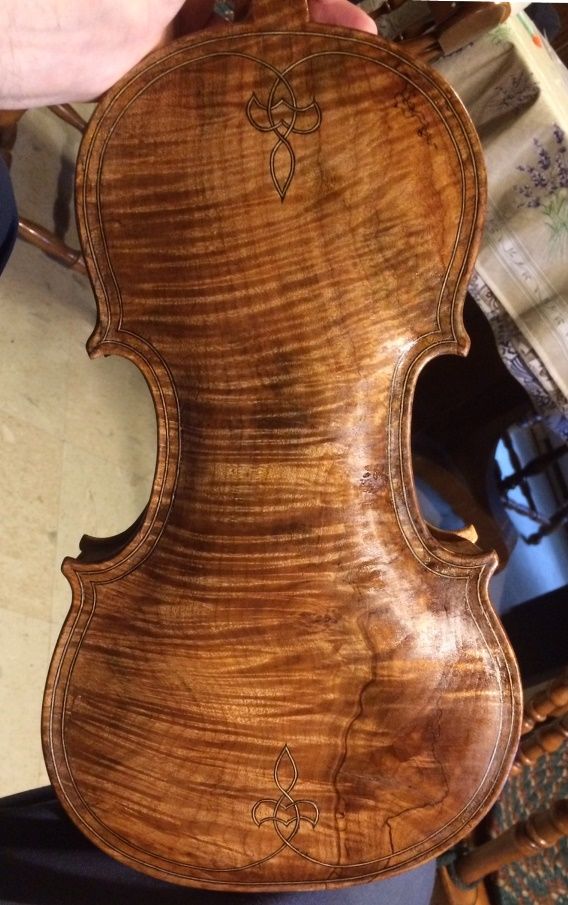
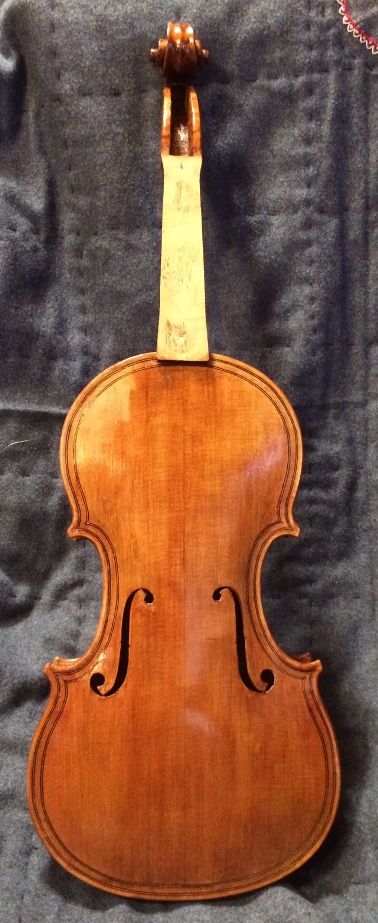
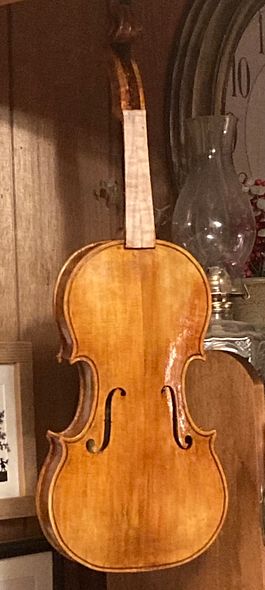
Bare wood front of five string handmade bluegrass fiddle handcrafted in Oregon by artisanal luthier Chet Bishop
Bare wood, front view
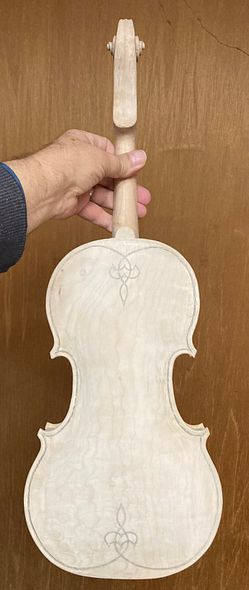
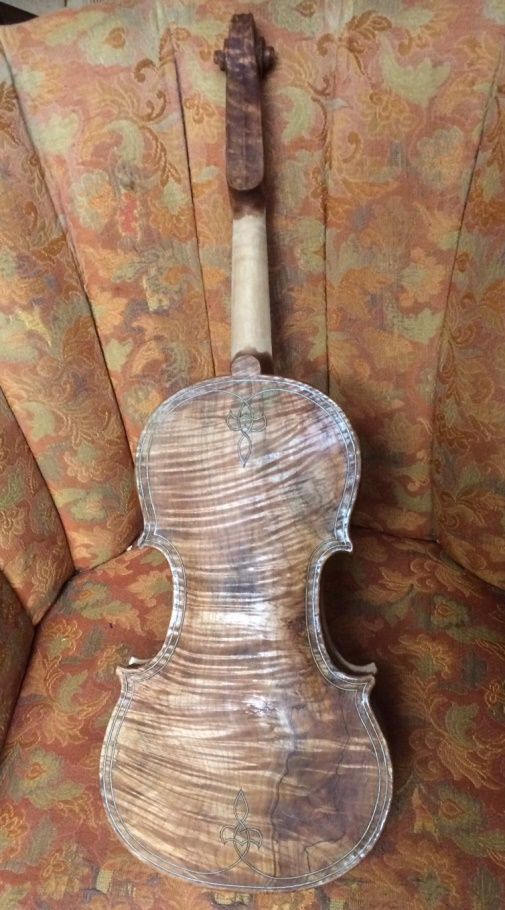
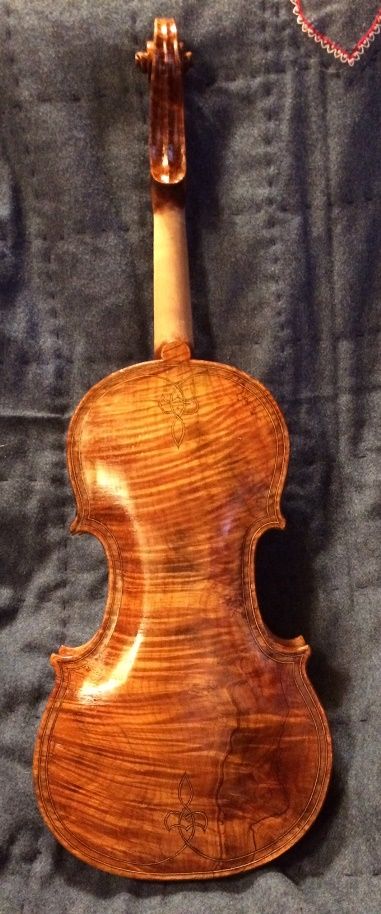
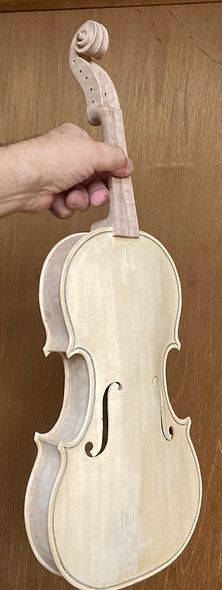
Bare wood back of five string handmade bluegrass fiddle handcrafted in Oregon by artisanal luthier Chet Bishop
Bare wood, back view

Peparing for Varnish

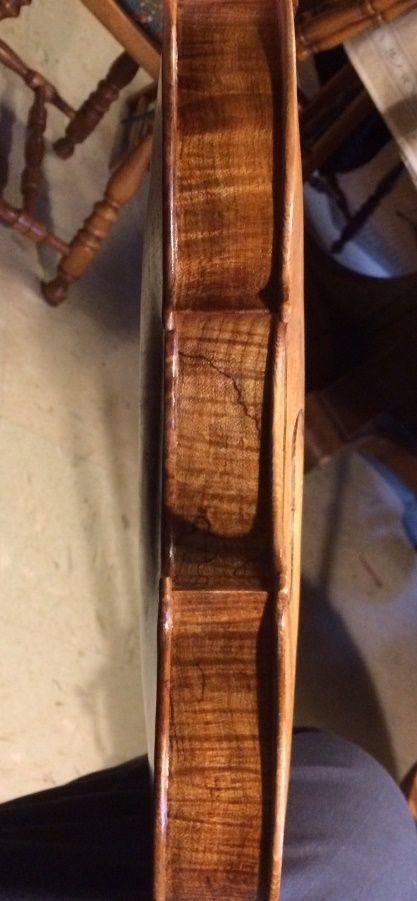
First, I removed the fingerboard to give me access to every square milimeter of the outside of the instrument. Next, I used low-angle light, to cast dark shadows so that I could see all the discontinuities, humps and hollows. Then, I gently scraped all the surfaces to remove all of those discontinuities.

Finally, I was ready for the varnish procedure:
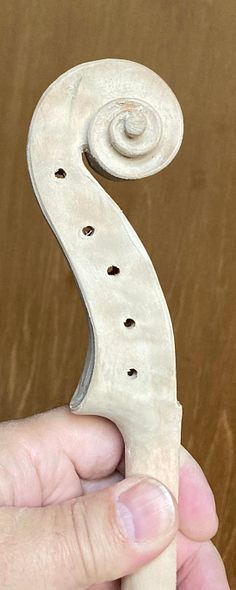
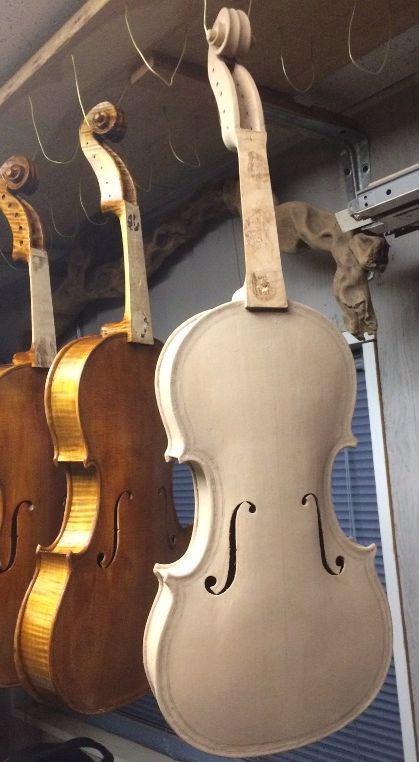
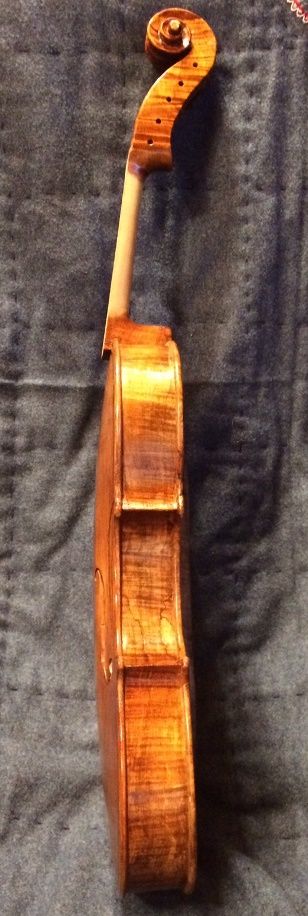
Five string fiddle ready for finishing, handmade in Oregon by artisanal luthier Chet Bishop
Bare wood, scraped and ready for finish

Mineral Ground to Close the Pores

To begin with, I used a suspension of fine particles of gypsum in either water or coffee, to form a mineral ground.  First, I brushed the mixture onto all the outside surface except the handle area of the neck, Then, using my fingers, I rubbed the mixture into the wood, so as to fill the natural pores wtih “nano-particles” of the gypsum.

After the mixture dries, the instrument looks chalk-white, and the mineral ground obscures the wood grain.
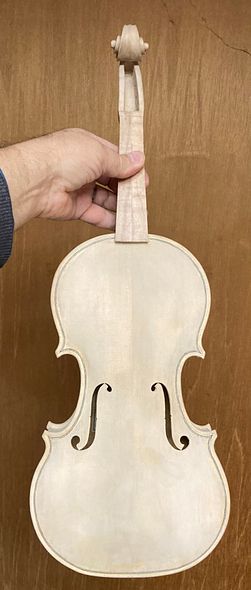
Front view of five string fiddle in gypsum, ready for varnishing.
Dry Gypsum, Front View
Side view of five string fiddle in dry mineral ground
Side View, Dry Gypsum ground.
five string fiddle back in dry mineral ground
Back view, Dry Gypsum ground
Five String scroll in dry Mineral Ground
Scroll with Dry Gypsum ground

Then, I used 400-grit sandpaper to very lightly rub off any excess dry gypsum, which still left the violin looking stark-white, as the gypsum had filled the pores of the wood.

Obviously, that (mineral ground) stage of the process looks pretty awful. but the next step (sealer application) always feels like “magic” to me. The sealer makes the mineral ground permanently “disappear!”

Sealer

For the last ten years, or so. I have used a sealer which is simply a thin solution of rosin in alcohol. Sometimes, I use turpentine instead of (or in addition to) the alcohol. Either way, the solvent carries the rosin into the pores, surrounding the particles of gypsum, and thereby rendering the particles tranparent. (However, on this fiddle, I chose to use alcohol as the solvent.)
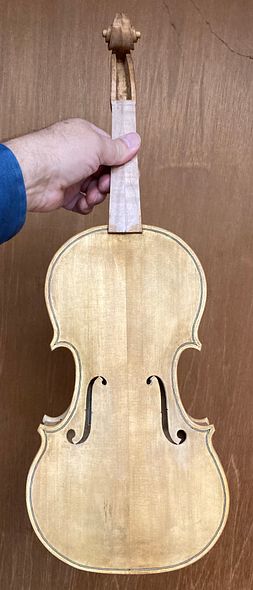
Front of five string fiddle with rosin sealer applied
Front view with sealer
side view with sealer
Side View With Sealer
back view with Sealer
Back View With Sealer
Scroll with Sealer
Scroll With Sealer

Obviously, the mineral ground has done its work, plugging the pores against penetration by varnish. However, it has also become permanently invisible.

NOW we Varnish!

When I began making violins, I was using oil varnishes. Later, I switched to spirit varnishes. Today, I am still using a spirit varnish.

The main chemical difference between the two is that an oil varnish is composed of a mixture of a drying oil and a resin of some kind. The varnish-maker cooked the oil and resins together at a high heat, thereby forming a polymer, which is no longer either oil or resin. It does not dry by evaporation so much as by a continuation of the poymerization process, and by “off-gassing” the volatile portions left in the mix.

Varnish makers prepare the spirit varnishes, on the other hand, by dissolving one or more resins in a solvent. Incidentally, the solvent is usually, (but not always) alcohol. When the solvent evarporates, the resin (or resins) remain(s) in and on the wood, to finish hardening. (The mineral ground helps  to prevent deep penetration of the varnish into the wood. This is desireable because the varnish-saturated wood does not vibrate the same in comparison to the unsaturated wood, and it can thereby dampen the sound.)

I always begin with a yellow varnish, so that the yellow base coats will “shine through” any thin areas of the darker vanish, providing a reflective “glow” from within.

Yellow Varnish Base Coats

Here is the fiddle with two coats of yellow varnish:
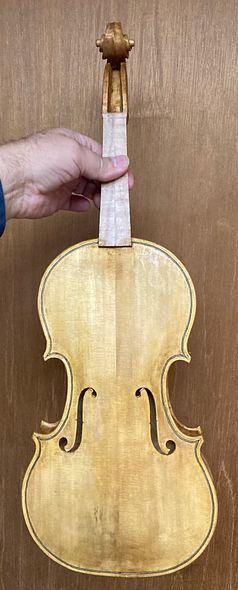
Two coats yellow varnish on a handmade bluegrass five string fiddle handcrafted in Oregon by artisanal luthier Chet Bishop
Front View, two coats Yellow
Treble side view five string fiddle 2-coats yellow varnish
Side View, Two Coats Yellow
Back view 5-string handmade bluegrass fiddle with two coats yellow varnish, handcrafted in Oregon by luthier Chet Bishop
Back view with two coats yellow varnish
5-string bluegrass fiddle scroll with two coats of yellow varnish; handcrafted in Oregon by artisanal luthier, Chet Bishop.
Scroll with two coats yellow

The grain begins to become more visible with thje addition of the varnish. There is a temptation to stop early, because the grain becomes highly visible after about three or four coats of varnish. But it will look better with more.

Building the Color

I began deepenind the color by simply adding a thin coat of brown varnish, over the yellow base coats.
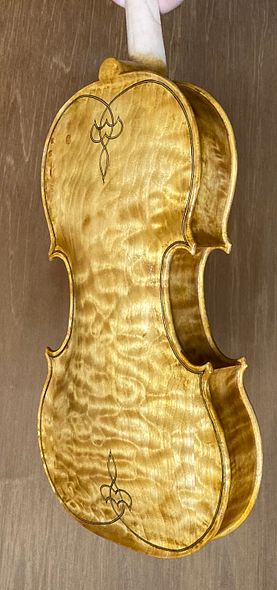
One thin coat of brown varnish over the yellow varnish
Deepening the color: one coat brown varnish.

I loved this look…it seemed as though the Quilted Maple wood was in flames, or perhaps as if I was seeing an incredibly dramatic sunset in progress. But I knew it needed more.

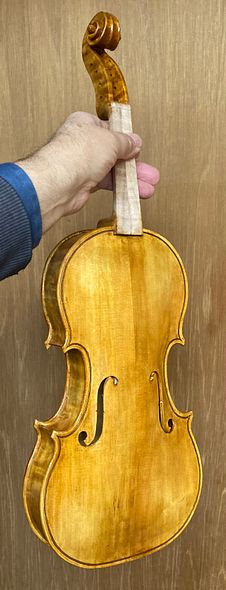
two coats brown over yellow
Two coats brown over yellow. Back
two coats brown over yellow front
Brown  (two coats) over yellow, front view
Brown over yellow varnish on scroll of five-string bluegrass fiddle handcrafted in Oregon by artisanal luthier Chet Bishop,
Scroll with Brown varnish over Yellow

Shading

Obviously, (as you can see) I am applying more color in certain areas. I am attempting, thereby, to give the impression of truly aged varnish (where the colored varnish has ben worn away in certain areas through much use.) Some people don’t like that look, but many do. Most importantly, I like it. Charles Beare was famously quoted as having said, “There is absolutely no reason  to ‘antique’ or ‘shade’ a new instrument...unless you actually hope to sell it!” (Apparently I’m in good company!)

So, I apply more varnish in the areas where hands would be least likely to touch, and where the surface is least likely to be abraded by any means. But, I try to be gentle about this, not heavy-handed. Some (few) makers deliberately damage the wood, in an effort to imitate advanced age. Their instruments sell to people who like that look, but I don’t want to do that. Therefore. I simply brush on deeper color in the areas of least wear.

Usually, I prefer instruments to be at least a little leaning toward a red-brown color, so, I needed to add some red.

More Color

I brushed on a thin coat of red-brown varnish all over:
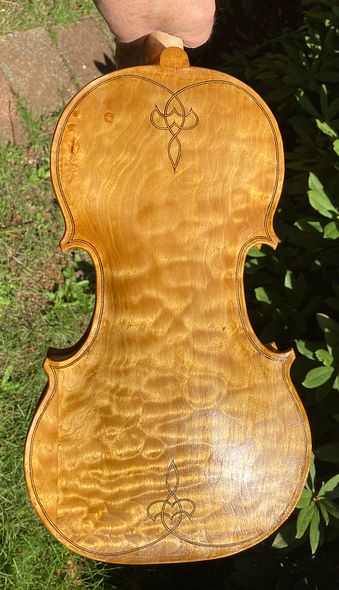
back of five string fiddle in varnish process.
Back view, leaning toward red
front view leaning toward red
Front view, leaning toward red
Scroll, leaning toward Red

But it still needed more! Consequently, I added more brown in the corners, and allowed it to dry. Then I added more red.
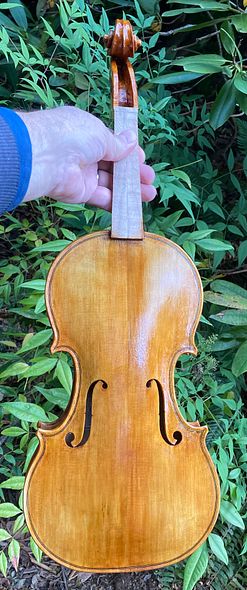
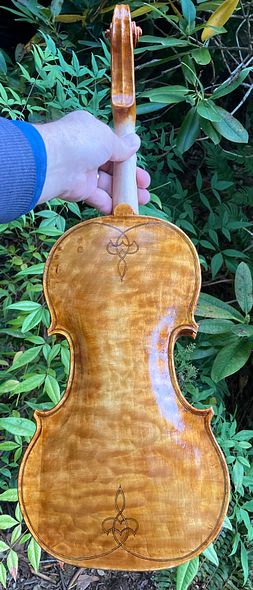
Shading begun, with more red
Back with more red
Back with more red
Scroll with more red


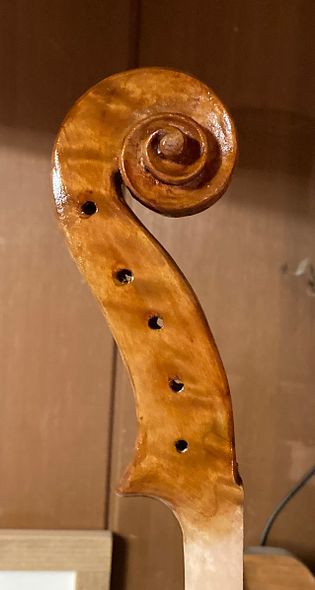
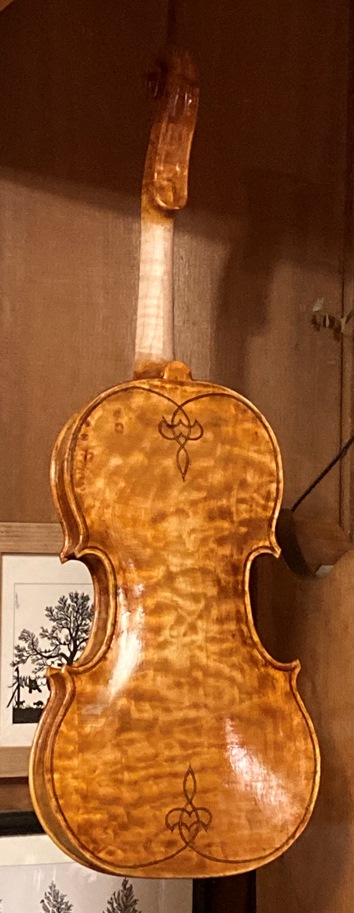
Finally, the varnish reached a depth of color about which I felt pretty good!
Final Color Front
Final Color Front
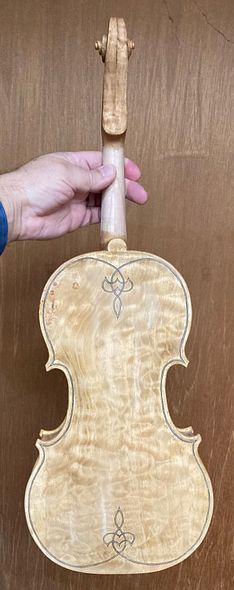
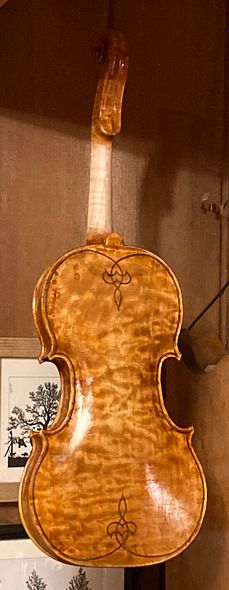
Final Color Back of handmade bluegrass 5-string fiddle, handcrafted in Oregon by artisanal luthier Chet Bishop
Final Color Back
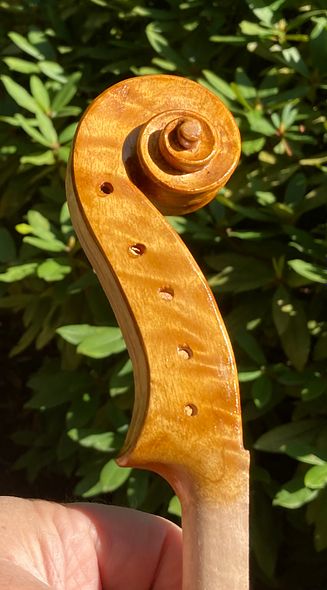
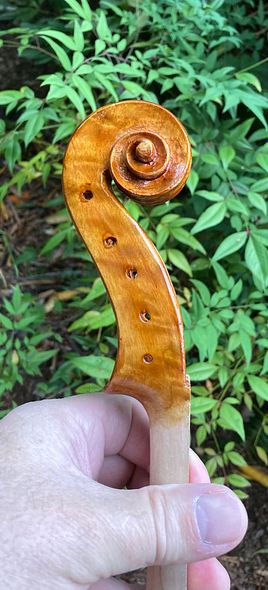
Scroll of handmade bluegrass five string fiddle, handcrafted in Oregon by artisanal luthier Chet Bishop
 Scroll in its Final color 

Then, I french-polished the instrument, to flatten any brush-marks. Now I will allow it to dry and harden for a couple of weeks before I set it up for playing. Otherwise, it will acquire deep fingerprints as I work on it.


Thanks for looking!

Commissioned 5-String Varnish Progress

Varnish Progress on the Commissioned 5-String Fiddle

Varnish Procedure for All my Instruments:

  1. Complete all scraping, shaping and smoothing: varnish preparation.
  2. Wet the instrument down to raise the grain, then
  3. Lightly sand with fine-grit abrasive, to remove rough bits of raised wood.
  4. Rub in a mineral ground, then use a rag to remove excess.
  5. After the ground dries, sand lightly again, to remove any rough excess mineral.
  6. Seal using turpentine and rosin.
  7. After the sealer is dry, begin adding coats of varnish.

Following the above format, here are the results:

Dried Mineral Ground, on the Five-String Fiddle, compared with varnished instruments.
Dried Mineral Ground, compared with varnished instruments.


Five-String Fiddle front view with sealer
Front view with sealer…mineral has disappeared.


Five-String Fiddle Side view with sealer
Side view with sealer…the grain is visible; the ground is transparent.


Five-String Fiddle back with sealer
Back with sealer; the grain is very visible, the ground has disappeared.


Now the varnishing begins!

The mineral ground was intended to close all the open pores in the wood so that the varnish will not saturate the wood. Then the sealer locks the mineral ground in place and causes it to become transparent. (Think “wet t-shirt material.” White stuff becomes transparent when wet, as a rule.)

So, now the varnish further seals the wood and begins to add gloss and protection from moisture, dirt, etc. And, if we do it correctly, it will add the color we want, as well, without losing transparency.

I have used both oil varnishes and spirit varnishes. I believe the old masters used oil varnish, but currently, I have moved to spirit varnish. Perhaps one day I will use oil varnishes again

Spirit varnish dries so rapidly that I can usually apply four coats of varnish the first day. So here is the fiddle with four coats of spirit varnish:

Five-String Fiddle with four coats varnish front view
Front, with four coats varnish…still pretty yellow.


Five-String Fiddle side with four coats varnish
Bass side with four coats of varnish: Too much contrast between side and front plate.


Five-String Fiddle back plate with four coats of varnish
Back plate with four coats of varnish… looking pretty nice!


Leveling the varnish

So, then, after the first few coats have dried hard,  we sand lightly to remove brush marks, sags, drips, etc. and begin to add color coats. Usually, I have a pattern of shading I use, to emulate light “wear” patterns. This one has very little of that.

Five-String Fiddle Final color front plate
Final color front plate…the light patch on the upper left is a reflection.


Five-String Fiddle Final color treble side
Final color treble side: notice that the front and side match nicely, now.


Five-String Fiddle Final color bass side
Final color bass side.


Five-String Fiddle Final color back plate
Final color back plate.


Five-String Fiddle Final color bass side scroll
Final color bass side scroll.


Five-String Fiddle Final color treble side scroll
Final color treble side scroll.


Final Finish Work

So, now we will let the varnish thoroughly dry, and harden; after which there may be retouching and minor changes to make, but the main focus will become set-up after that. (In case anyone is interested, the customer has been kept abreast of every step in the build, and is getting quite anxious to take possession.)  🙂

Thanks for looking!