More 5-string Fiddle Progress

Five-String Fiddle Progress

(Further progress on building a custom-made 5-string bluegrass fiddle.)

Neck Set

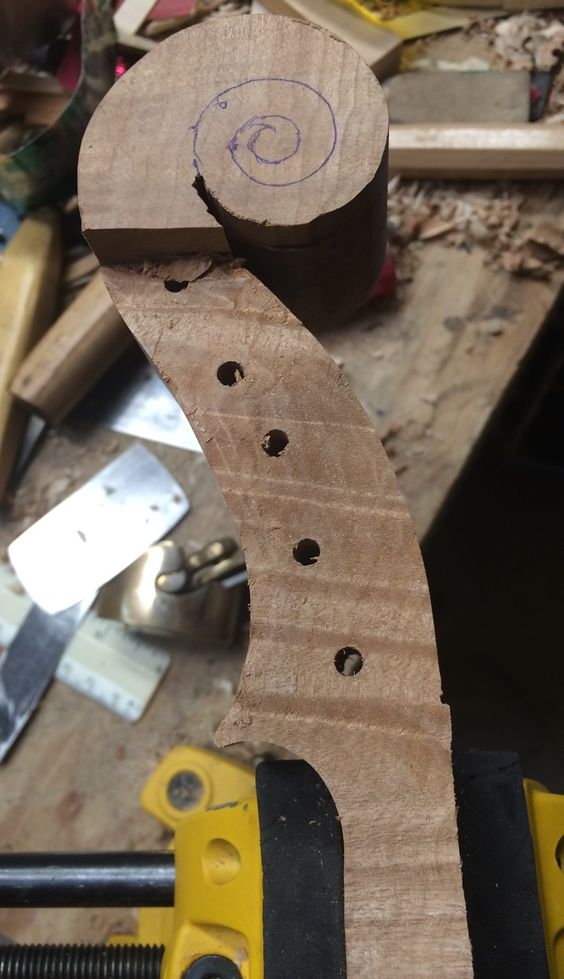
The neck was ready to set into the neck-block, late last night, but I had reached my physical limit. So, today, I prepared both the neck and the garland, by ascertaining that all angles and dimensions were correct, and then laying out the shape of the neck mortise on the neck block of the garland.  This is a critical step in violin-making and always raises my blood pressure a little, as I know that, if I make a mistake, it will require serious rework to get back to a usable status.

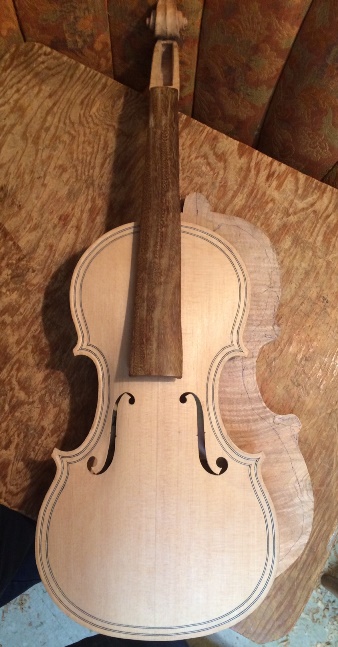
However, this time, the job went pretty smoothly, and I was able to set the neck in a fairly short time. One thing I do a little differently than I was originally taught, is that I set the neck before installing the maple back plate. This allows me to achieve a good fit with the rib garland and neck block, and not have to worry about the fit against the back plate button. Then I saw off the stub of the neck heel, and plane and file it flush with the rib garland. After I remove the mold and add the back linings, I will level the back of the garland, and be ready to trace the back plate shape.


Five-string fiddle neck Set Complete.
Neck Set Complete: still have to remove the neck-heel stub.


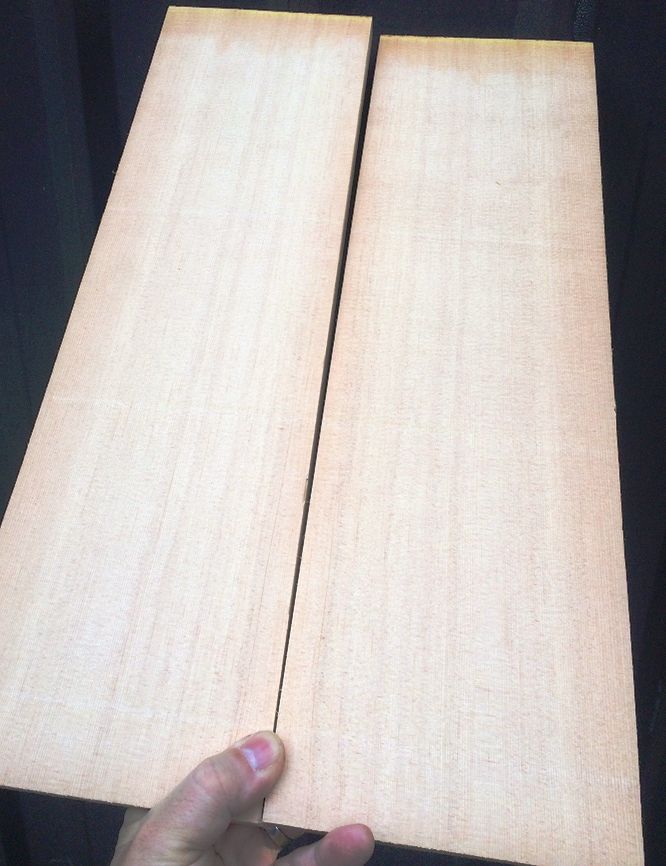
Here is the completed corpus (Sitka Spruce top plate and Big Leaf maple ribs still on the mold) with the wild-grain Big-leaf maple back plate billet.

Completed Corpus of Five-string fiddle with Back Plate Billet.
Completed Corpus with Back Plate Billet.


Mold Removal

So, the next step was to remove the plywood mold. This is another stressful step because it involves literally using a hammer and chisel, to break the glue-bond between the blocks and the mold, so as to release the garland from the mold.  I used to have a difficult time doing this, because occasionally a drop of hide glue had seeped between the rib and the mold, and anchored the fragile rib material to the very solid mold. The likelihood of breaking a rib at that point became nearly 100%. Eventually, however, I learned to liberally coat all the non-gluing surfaces of the mold with candle-wax (paraffin,) by vigorously rubbing a candle over all the areas I felt were likely to get a drop of glue on them.

The result today was that, when I removed the mold, it went smoothly, and I could see a place where glue had definitely intruded but it had dried with zero adhesion to the waxy mold. (What a relief!)

Five-string fiddle mold removed, ready for back linings.
Mold removed, ready for back linings.

Installing the Back Linings

The linings are important for two reasons: they strengthen the fragile rib-edges, and they triple the gluing surfaces between the rib-garland and the front and back plates.

So, I cut the mortices in both sides of each of the six blocks to receive the lining strips, and then inserted the linings dry, to get a perfect fit.

Afterward, I removed each lining, one by one, coated them liberally with hot hide-glue, and re-inserted them, clamping immediately with small spring-clamps.

Five-string fiddle back linings installed, glued and clamped.
Back linings installed, glued and clamped.

Shaping Blocks and Linings

If you look closely you can also see, in the above photos, that I had trimmed the blocks on the front side, before removing the mold. After the glue is dry on the back linings, I will also trim the back side of the blocks, to achieve a smooth, curved surface on the interior of all the blocks. At that same time, I will taper the linings so that they are very thin on the edge toward the middle of each rib, but still 2 mm thick at the edge where they will contact the back and front plates.

After that, it will be time to level the back surface of the entire corpus (garland and neck-heel) so as to fit tightly against the back plate billet. Then I can trace the final shape of the back plate, cut it to shape, and get going on completing the back plate.

For now, I am satisfied to allow the glue to dry, and take the rest of the evening off.


Thanks for looking.

Commissioned Handmade Five-string Fiddle Beginning

Starting a new 5-String Fiddle

The Materials:

A few weeks ago I announced that a new fiddle would be beginning. Now I have a few photos to show:

The top plate is Sitka Spruce, from Bruce Harvie. The customer wanted “Oregon wood,” and the Big Leaf Maple is definitely from in my neighborhood, here in Oregon (I helped harvest it;) but the Sitka is just a species that grows here…I don’t know where it was harvested.

Wild-grain Big Leaf Maple for Five-string fiddle back and ribs!
Wild-grain Maple for back and ribs!


Fine-grained Sitka Spruce for Five-string fiddle top plate.
Fine-grained Sitka Spruce for the top plate.


Preview of the grain in the Five-string fiddle neck billet.
Preview of the grain in the neck billet.


Beginning the work of building a 5-string fiddle:

I book-matched the spruce, to form the basis for the front plate: a solid plate with a tight glue-line down the center.

I used the mold (or form, as many people prefer to call it) that matched the fiddle the customer liked best. Then I added willow blocks to become the corners and end-blocks, and I traced the intended shape of the blocks from the mold template onto the back-side of the blocks, where they are flush with the mold.

Blocks and mold with Five-string fiddle template.
Blocks and mold with template.


Five-string fiddle Preliminary block-shaping complete.
Preliminary block-shaping complete.


Added the ribs, of the spalted maple the customer liked, and glued them to the willow blocks. Afterward, I added linings, also of willow, and let them into the blocks and glued them to the ribs and the blocks.

Spalted Maple ribs and willow linings on beginning of Five-string fiddle.
Spalted Maple ribs and willow linings.


Five-string fiddle Rib garland nearly complete.
Rib garland nearly complete.


Then I traced the shape of the garland onto the top plate material, using a small washer as a spacer, and a ball-point pen as a scribe. I completed the corners using a straightedge and a series of circle templates. Finally, I marked the edge at exactly 4 mm thick, and carved the arching, using gouges and planes and scrapers.

Sitka top-plate arching complete for Five-string fiddle.
Sitka top-plate arching complete.


Then I marked the layout of the double purfling and the f-holes, and began incising them into the Sitka Spruce.

F-holes and purfling traced and cutting begun for Five-string fiddle.
F-holes and purfling traced and cutting begun.


Sometime in the midst of all the above work, I laid out and began carving the scroll and pegbox. That wild grain is very tricky to carve, as it changes direction constantly.

Rough-carved scroll and pegbox of Five-string fiddle.
Rough-carved scroll and pegbox.


I went ahead and completed the purfling and the f-holes, so that I could prepare the plate to be glued to the garland.

Completed top plate and neck work with garland for Five-string fiddle.
Completed top plate and neck work with garland.


I also added the bass-bar, chalk-fitting it to perfection, and gluing it in place, with hot hide glue. The bass-bar will be carved, planed and scraped to the proper shape after the glue dries.

Five-string fiddle Bass-bar glued and clamped.
Bass-bar glued and clamped.


Five-string fiddle Top plate glued and clamped to the garland, fingerboard glued to the neck.
Top plate glued and clamped to the garland, fingerboard glued to the neck.


The fingerboard is Ipé, as requested by the customer. It is an extremely dense hardwood, but not threatened as Ebony is beginning to be. It finishes to a dark brown and looks good, as well as wearing well. It is extremely difficult to work, though, so it may take time to become popular with makers. The saddle and the nut will also be Ipé, but the pegs will be ebony, simply because I have never mastered the lathe-turning of tuning pegs.

Working on the fingerboard for the Five-string fiddle.
Working on the fingerboard.


And that is pretty much where things stand, for now. I will try to post pictures as they become available.


Thanks for looking.