Completing the Varnish
Protecting the Color
The color varnish, as you might imagine, gets the instrument looking the way we want, but the clear coats keep it that way…we hope.
So, after the color coats were mostly complete, I waited a few days for the varnish to cure a bit and then added two clear coats as a protection for the color coats, so that they will not experience undue wear.
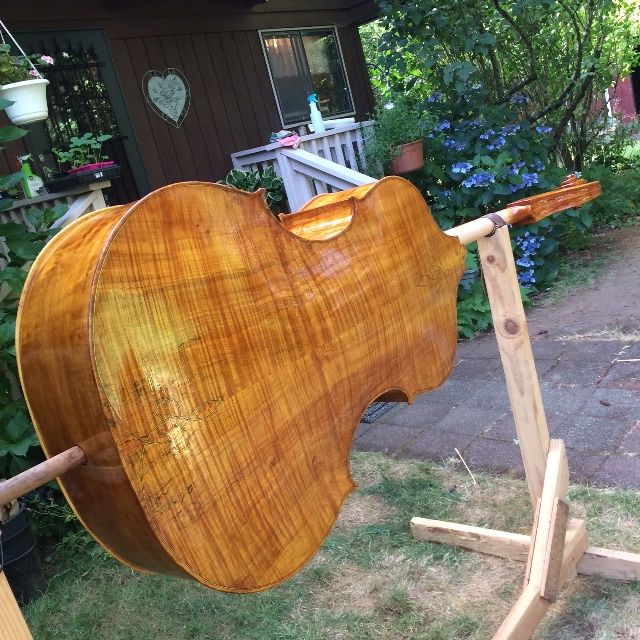
There is still a lot of work left to do at this point: There will be endless “re-touch” of spots in the varnish that I wasn’t quite satisfied with, but they can wait until after the set-up is under way.
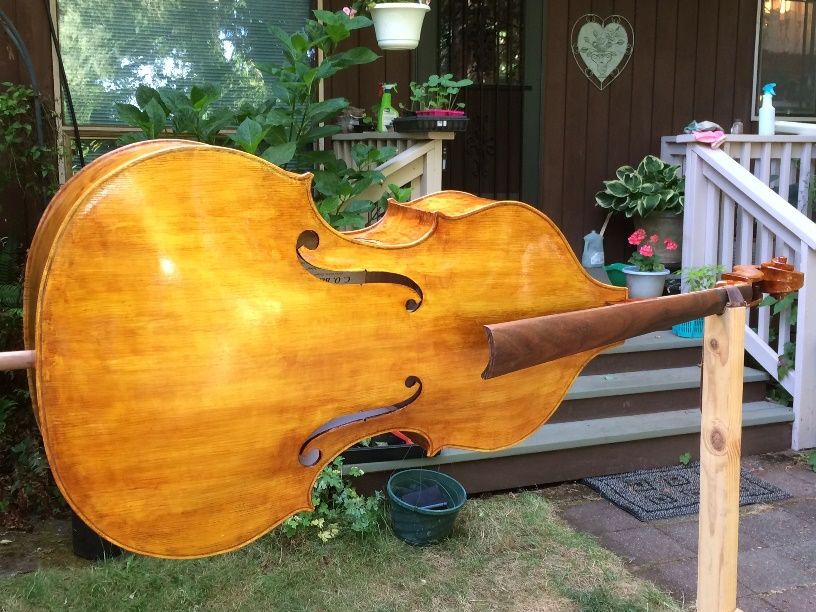
Saddle
I usually wait until the varnish is complete, before installing the saddle. The saddle is the transverse piece of hardwood upon which the tail gut rests, as it crosses the edge of the front plate. (Ebony, frequently, but, as I had opted for an Ipé fingerboard, Ipé seemed the right choice for the saddle as well.)
I make my saddles with radiused ends, to avoid saddle-cracks. To some extent, saddle cracks are caused by the shrinking and swelling of the spruce plate against an essentially unmoveable ebony (or Ipé) saddle. However, the other factor (possibly more important) is that, for hundreds of years, luthiers have cut the saddle with sharp-cornered, square ends, requiring a sharp-cornered square-ended mortise in the spruce…which inevitably inclined itself toward eventual cracks. Sharp corners are extreme stress risers.
Round discontinuities (holes, for example) do not cause stress risers, and are far less likely to cause cracks. I try to leave the ends just a little loose, as do most luthiers, but the fact is, the sharp notch is the primary cause of the cracks. So I make round corners.
.jpg)
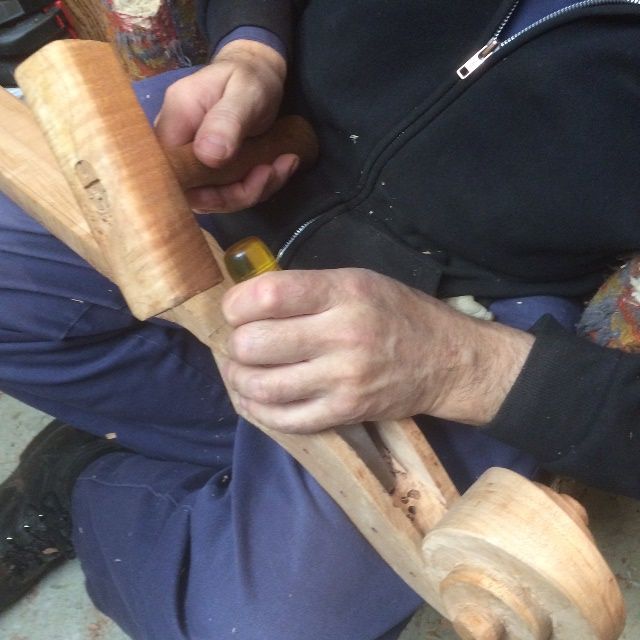
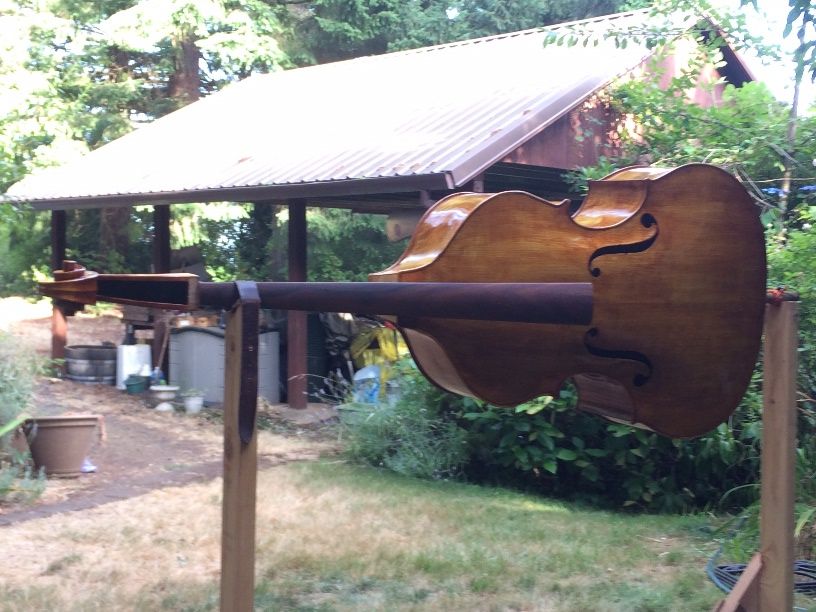
Tuning Machines
The next task was the tuning machines. There are many possibilities to choose from: I chose these tuning machines partly based on looks, partly on cost, but primarily because, with the curvy pegbox, I wasn’t completely sure that any other style could be made to work. (There are some multi-piece tuning machines, which, I would imagine, could be made to fit nearly any configuration, but I have no experience with those, so I opted for something I knew about.)
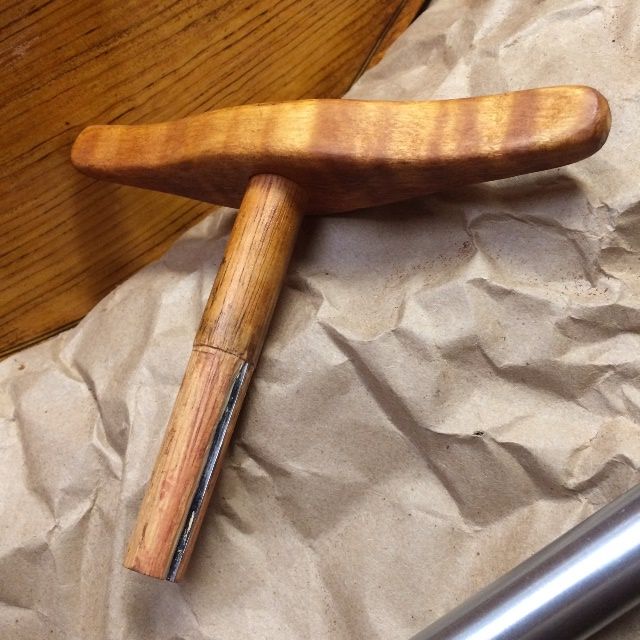
Anyway, I knew that this type of tuning machine has a tapered spindle, which is not designed to go all the way through the pegbox, so I designed and built a small reamer, all wood, except for the blade, which is spring steel (just because that is what I had available.) It works well, but I have to be gentle with it, and stop periodically to clean the chips from the reamer.
I made a template, laying out the hole locations with the hope that I could avoid the strings from the G and D tuners rubbing on the tuners below them in the pegbox. I used the template to lay out the holes on the pegbox, then drilled to appropriate depths and used the reamer to taper the holes to match the spindles of the tuning machines.
Finally, I installed the machines and secured them with screws.
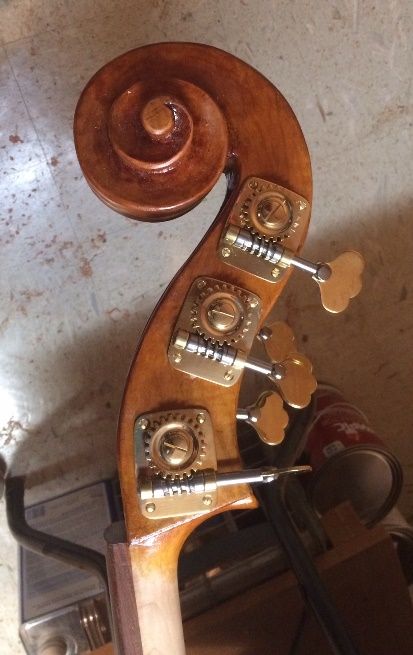
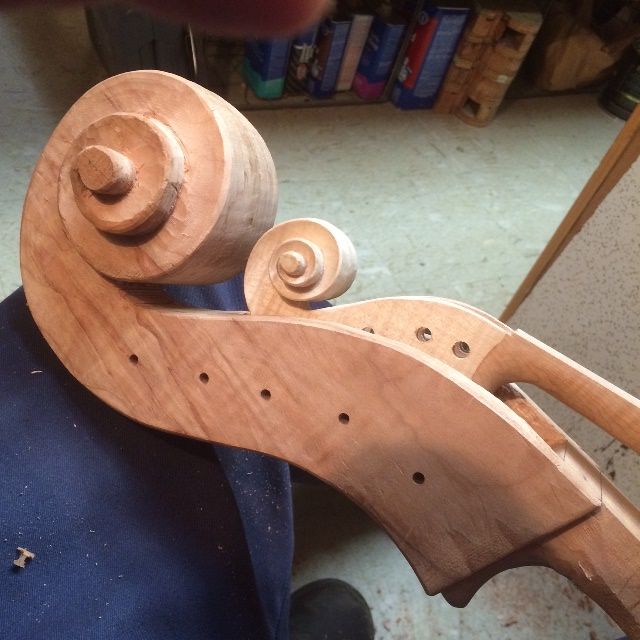
It was amazing to see how much weight the tuning machines added. The bass no longer easily balances on the two bouts: it wants to rock down and put its head on the floor!
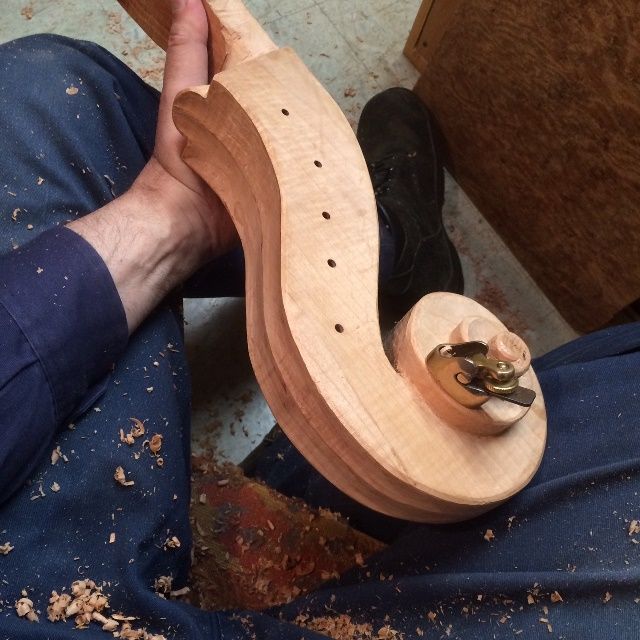
Ready for set-up!
I installed the nut at this point, as well, so the bass was really complete.
.jpg)
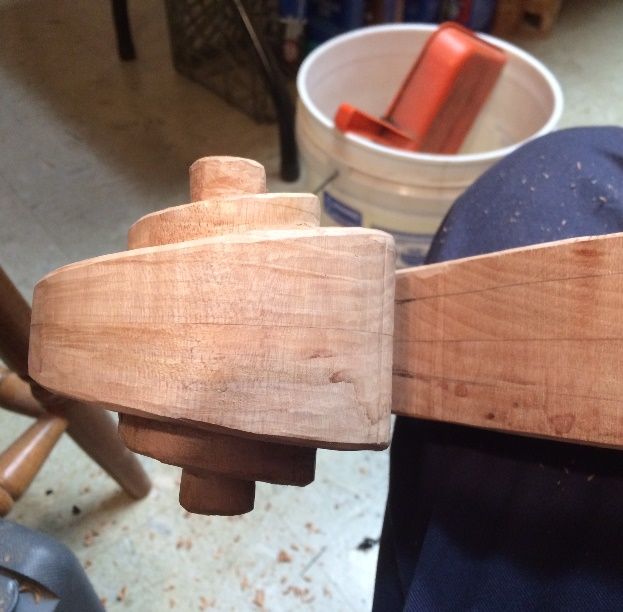
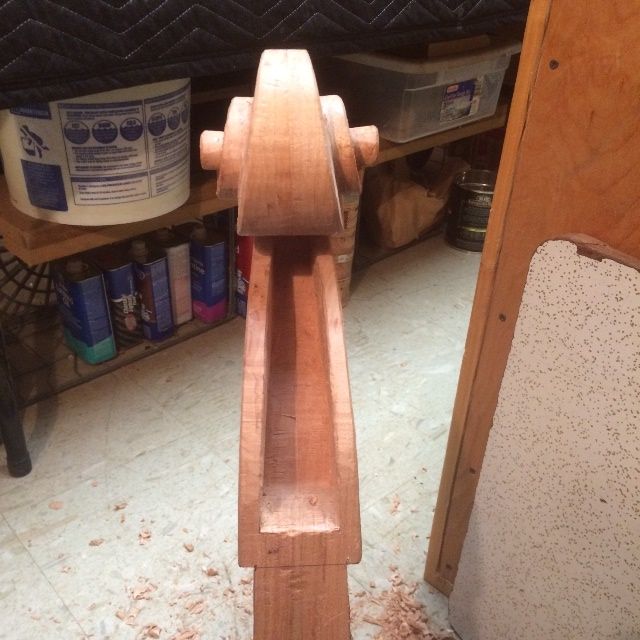
If you have sharp eyes, you will probably notice the hole above the tuning machines on the bass side. The pegbox was narrow enough there, that I actually went through the second side by accident, and was forced to create a plug for the hole, from some leftover rib material. I cut it to exactly fit the hole, and glued it in place, pressing it home, so that it was nearly exactly flush, then scraped the wood of the plug to exactly match the wood of the pegbox, and was ready to begin varnishing to complete the repair.
.JPG)
Anyway… that is as far as I wanted to go today. Some of you may have known from other forums’ content, that I had also had trouble getting the tailpiece fret to “stay glued” in its slot. So I eventually gave up, removed the fret, scraped all the layers of glue down to clean wood, and washed the Ipé with acetone. Then I reglued with epoxy, but this time I drilled and anchored the fret with six brass rivets! (It’s permanent, this time!)

Next time, I hope to complete the set-up of the bass and have it ready to play!
Thanks for looking.
.JPG)
_2.JPG)