Varnish Procedure For a 15″ Five-String Viola
First things first: Mineral Ground
The raw wood is quite porous, and would soak up varnish like a sponge…which would dampen the viola sound. So we don’t want that to happen! The solution to the problem seems to be to fill the pores of the wood with very fine particles of mineral of some sort. I don’t particularly want something that would form a concretion, as some makers have done, because I think that also changes the sound, but in a different way.
I used Gypsum, ground very fine in a mortar, then suspended in water, and daubed onto the surface; then vigorously rubbed into the pores. After rubbing the mineral into the entire surface (except the “handle” area of the neck) I used a damp cloth to rub all the excess gypsum back off. While it is wet, it just looks like wet wood, but as it dries, it turns chalk-white, assuring me that the surface is truly saturated with the particles.
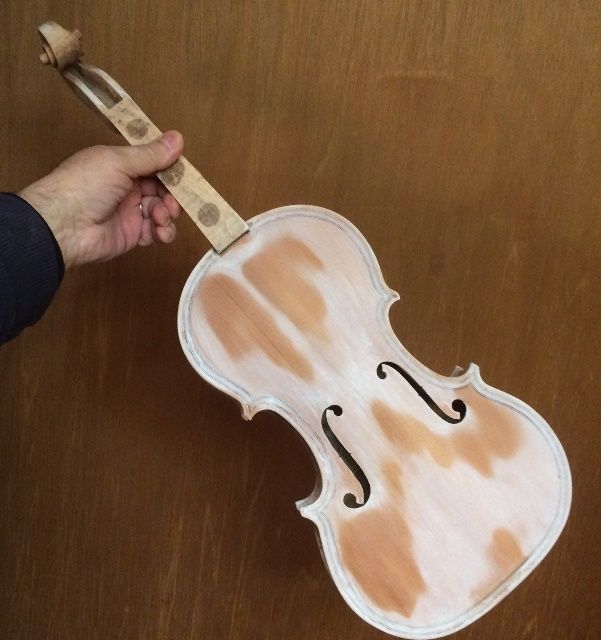
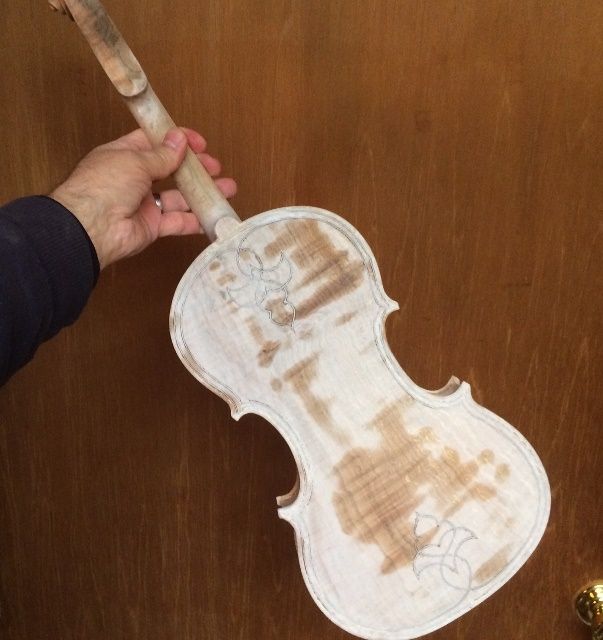
Then, after the gypsum suspension is completely dry, I use fine sandpaper to remove any excess mineral from the surface, so that there are no thick patches of mineral.
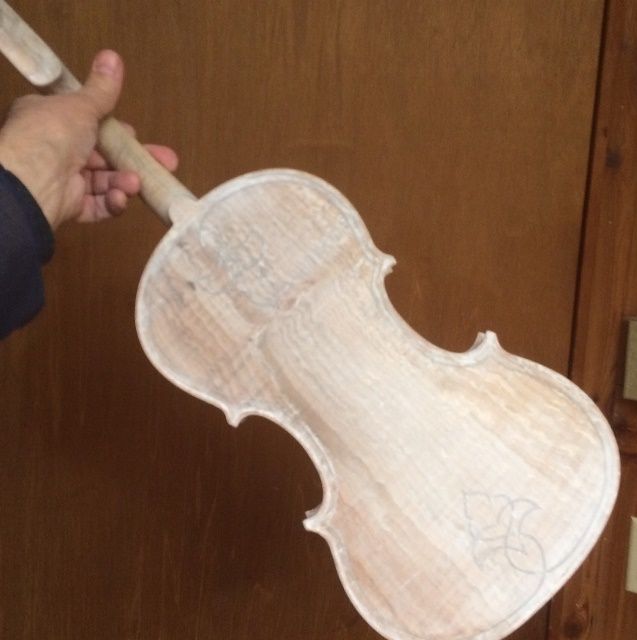
Locking the mineral ground in the wood: Sealer
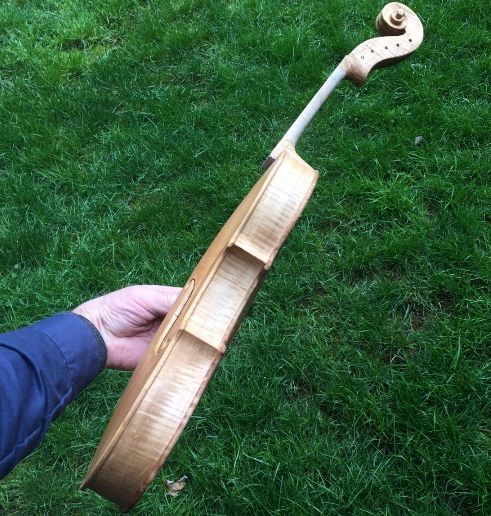
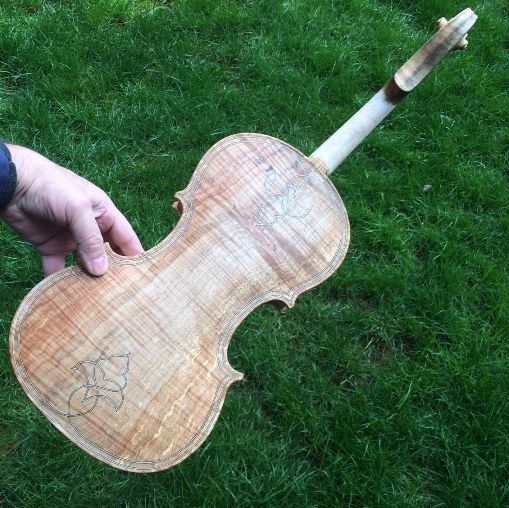
As you can see in the above photograph, the mineral is still saturating the surface, and obscuring the grain. However, when I apply the sealer (in this case, a mixture of rosin, turpentine, and alcohol) the mineral ground will become completely transparent, and will permanently disappear. The varnish will then be free to show off the grain of the wood.
Making it Shine: Beginning the varnish
It takes a while for the sealer to dry, because of the turpentine content, but as it dries, the alcohol evaporates first, then the turpentine, leaving the rosin in the wood (which is where rosin comes from in the first place, of course) locking the gypsum particles in place. and further sealing the wood against saturation with varnish.
Before proceeding to the varnish, I carefully sanded all over, to clean up any spots that still felt rough or sticky, then wiped the entire instrument down with alcohol to remove any rosin residue from the surface.
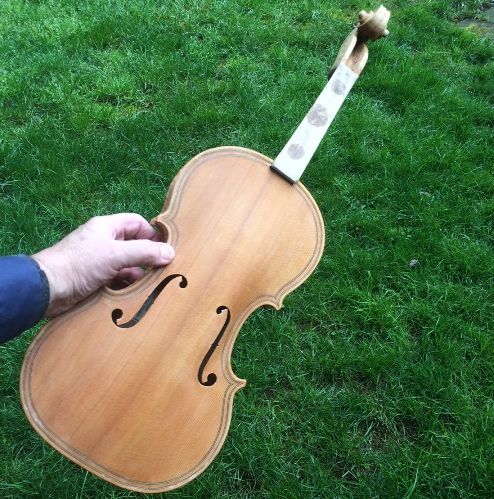
Then I applied a first coat of yellow varnish, as I have noticed that many of the old instruments seem to have something yellow under the darker red or brown varnish. You can especially see it in the areas where the colored varnish has worn thin, or is completely gone. (Not all of them have this color, but I like it, so that is what I have chosen to do.)
So, here is the base coat of yellow varnish:
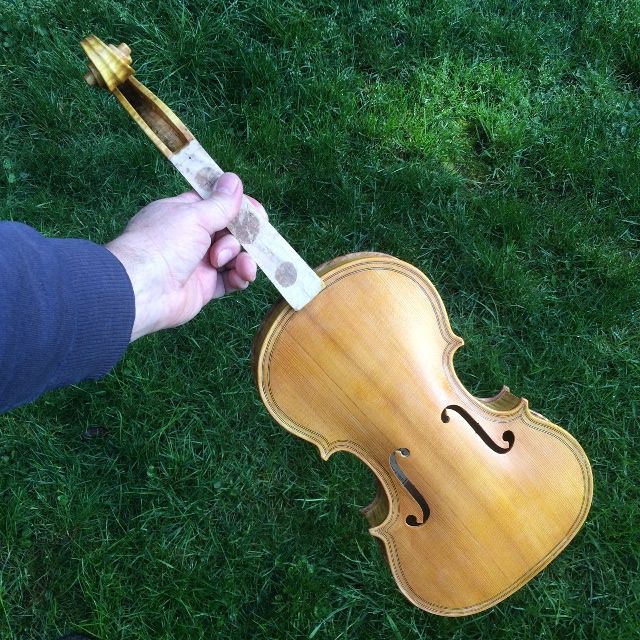
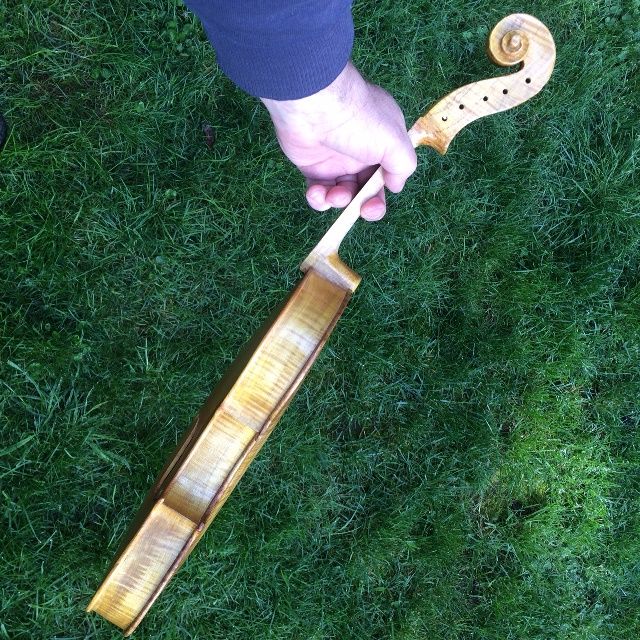
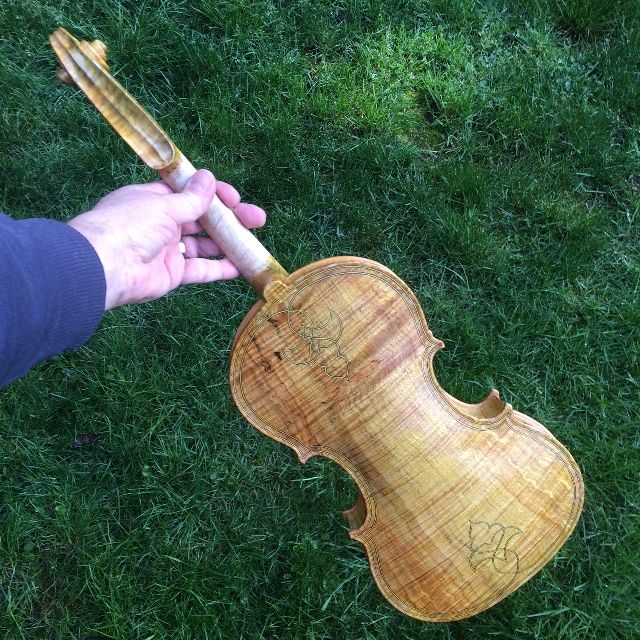
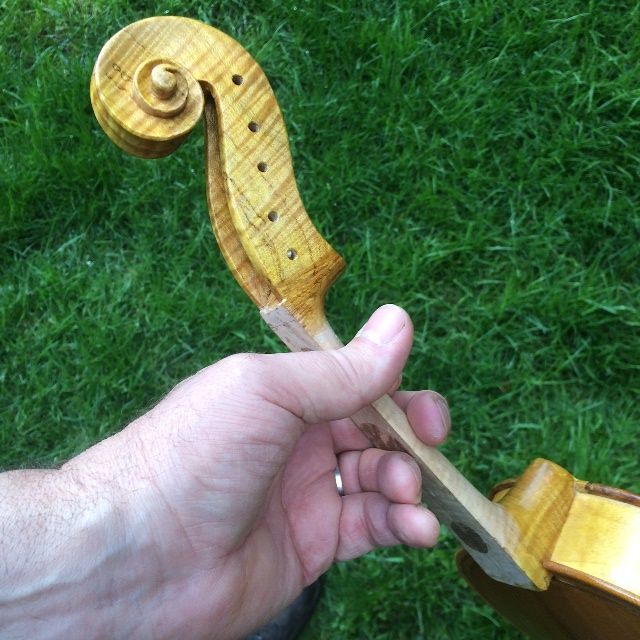
I do not apply varnish to the “handle” portion of the neck until everything else is completely done. After everything else is done, including set-up, I will rub down the handle area with 400-grit abrasive one last time, and then put about a dime-sized dot of shellac on a rag, on the end of my finger, and vigorously rub it into the wood of the handle area, until it is completely dry. This somewhat seals the wood against sweat and dirt, without leaving a heavy, “slick” coating that would cause drag on a player’s hand.
The rest of the varnish coats will be building color toward the final look of the instrument. I will include them in another post.
Thanks for looking.
