
A History of Homemade Tools.
Bass Caliper
As I was ready to begin the inside carving of the front plate, I realized that the little caliper I use for graduating violins and violas was simply not going to serve. I had a much larger caliper I had built 13 or 14 years ago, when I built my first bass, but it had been hanging in my workshop untouched for all those years and I was afraid that the battery might have corroded and ruined the digital indicator.
I had purchased the electronic tool from Harbor Freight, back in 2006 for about $10 (If I remember correctly,) and built the caliper out of hardware from a local outlet and a scrap of 1″ plywood decking. It was pretty crude, but it worked and was quite accurate.
I took out the little “battery-tray” thing, to see if my fears were justified, and it seemed as though the battery had not leaked, but was simply dead. So I went and bought a new battery, inserted it, and “Hey! It works!”

One of the things I like about the tool is that I can actually read the display. My small caliper has such a tiny display that I have difficulty reading it. Notice that it is reading .03 mm when it is not in use. The plywood flexes that much, under the weight of the lower jaw, so I hold the instrument upright and level, and press the “zero” function. Then it reads “zero” when it is held upright, and .03 mm when it is lying flat on its side.
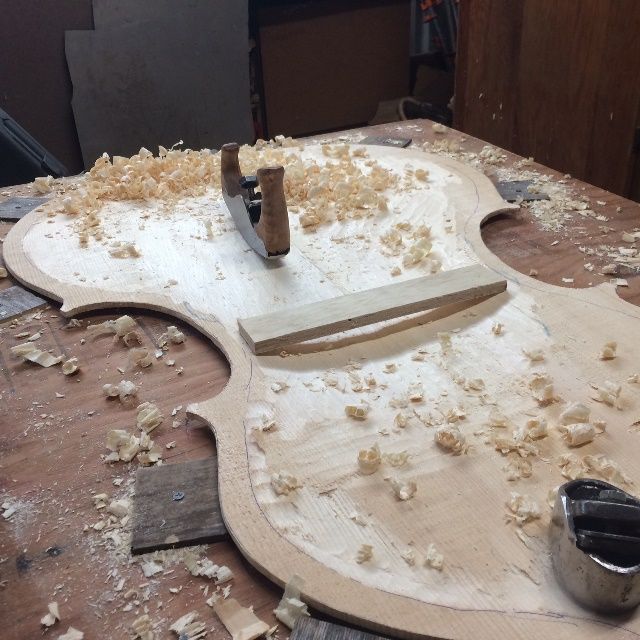
So that was the first tool I was concerned about. The next concern was that I really did not want to gouge out the interior with mallet and gouges, as I had done the exterior. I was fearful of cutting too deep. So, in my mind, a “scrub-plane” with a curved sole was in order.
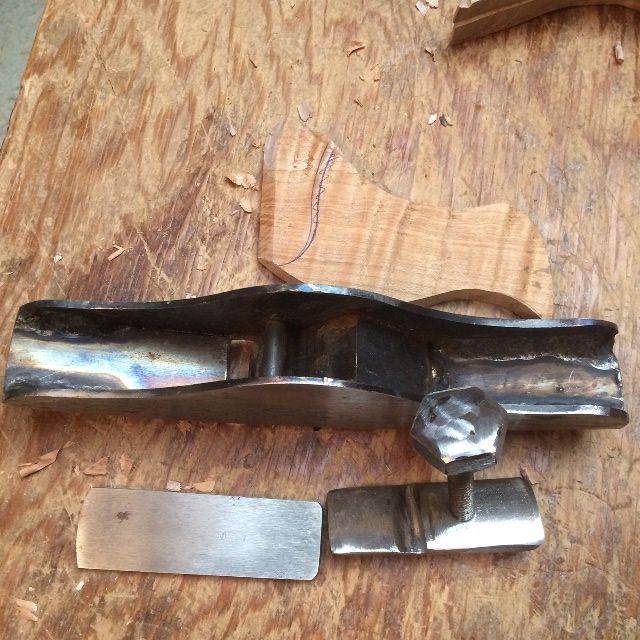
Curved-sole Scrub-plane
This also was one I began years ago, but did not complete soon enough to use it on the bass, nor even the cellos I made later, so the pieces languished in my toolbox drawer, waiting for me to finish the job.
I had made the body by welding together a slice of scrap stainless steel pipe, and some mild steel plate, along with a little section of angle iron and a 1/4″ pin. The cap iron was a shorter section of the same slice of stainless pipe, and the blade was (if I remember correctly) a piece of A1 tool steel. I had even gone so far as to cut sections of curly maple for handles, but had stopped there, and all the pieces were together in the toolbox. So– the time had come!
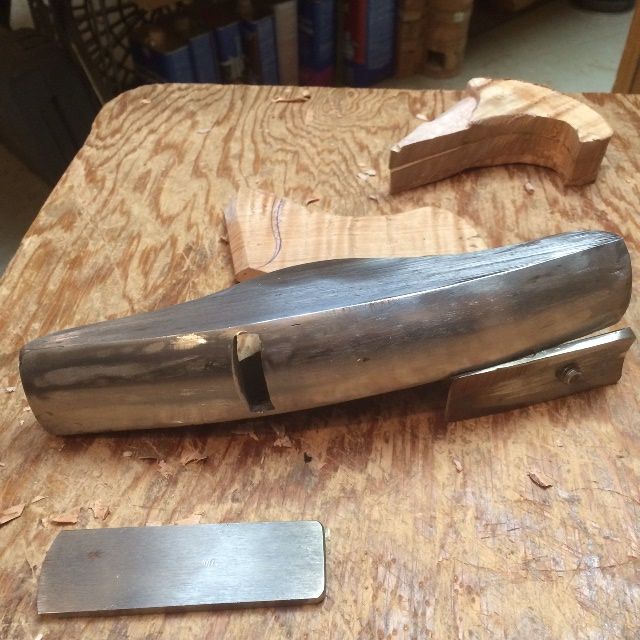
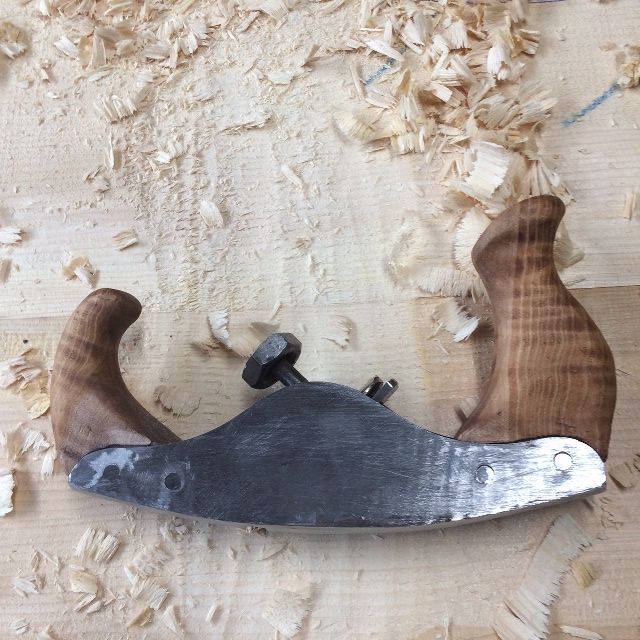
The completed plane, after a little adjusting, worked very well, and fit my hands comfortably, so the task of carving the inside of the bass front plate went very well.
The only fault in the scrub-plane, because of the deeply curved sole, is that it tends to leave a rather un-smooth surface– like ruts in a dirt road. So, as I got closer to the desired thickness of the plate I was going to need a plane with a much less aggressive curved sole, and broader, as well, to produce a smooth surface.
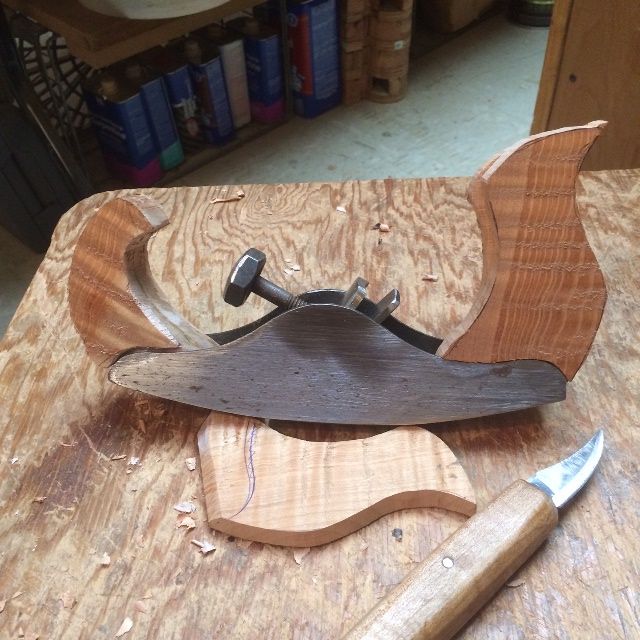
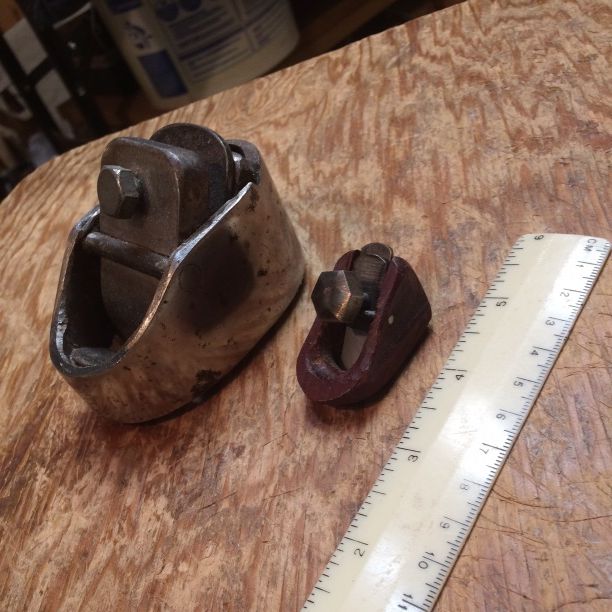
Palm Plane
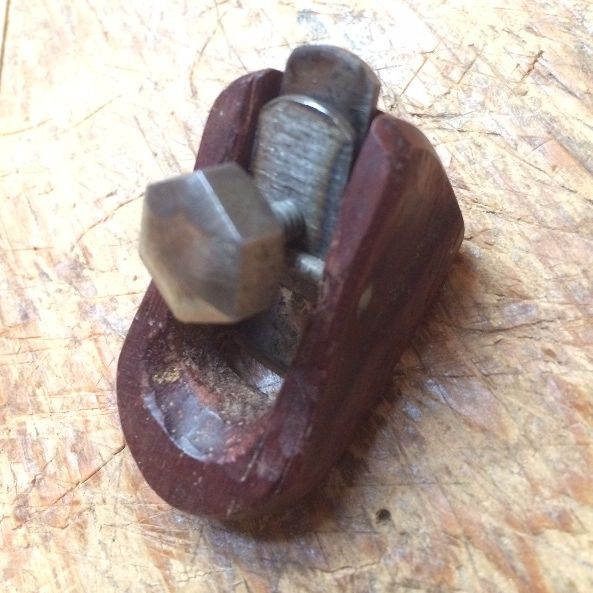
Fortunately, this one, I had built during my first bass-build, though it had not seen much use, as I never really got it adjusted right, and was busy enough that I just set it aside and completed the first bass using other tools. I got it back out and carefully sharpened the blade and adjusted the depth of the cut, and it turned out to work splendidly, though it took a little practice to get the angle in my grip just right.
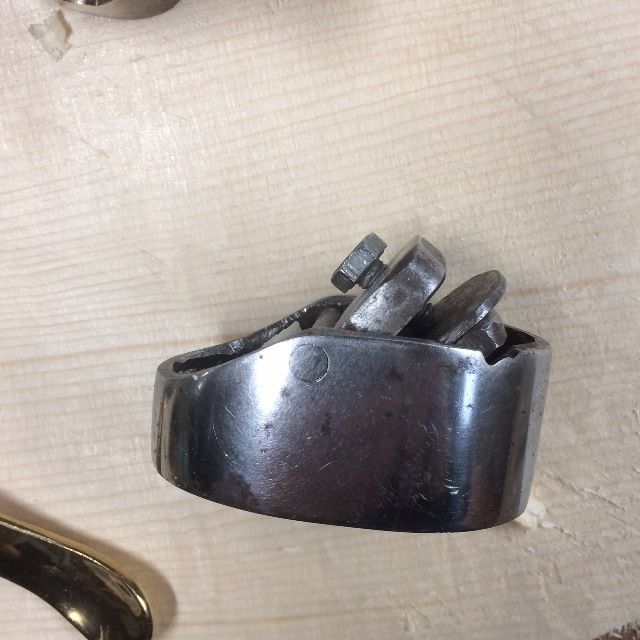
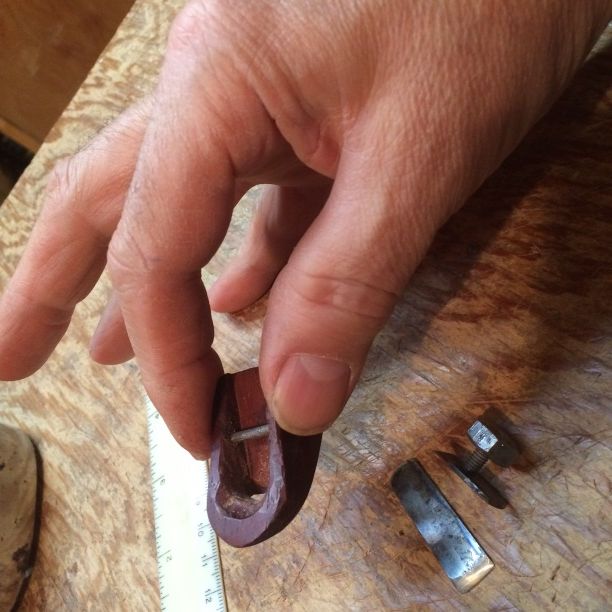
All of the planes I have built work on the same principle: a blade is fixed at a given angle, and clamped in place by means of a cap-iron that slides under a transverse pin, and a screw that wedges the cap-iron between the pin and the blade. The principle is very old, and works well. It is used in many commercial planes, and predates all the companies that use it.
This little wooden plane was the first one I ever made. It is made of Padauk wood and is pretty crude, but it works well. (Ibex planes work better, but at the time I made it I had no money for an Ibex plane.)
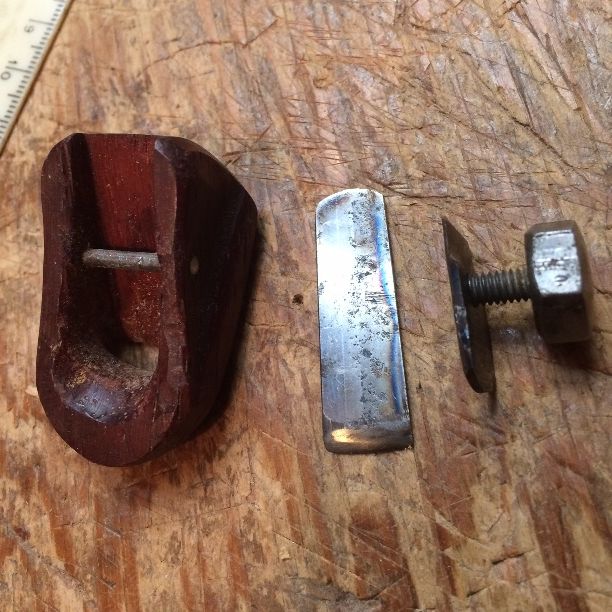
It is not a really tiny plane, but it fits my thumb and forefinger pretty comfortably. The blade was a section of scraper blade, and, while it works, I think I could improve it with a better choice of steel.
Other Tools
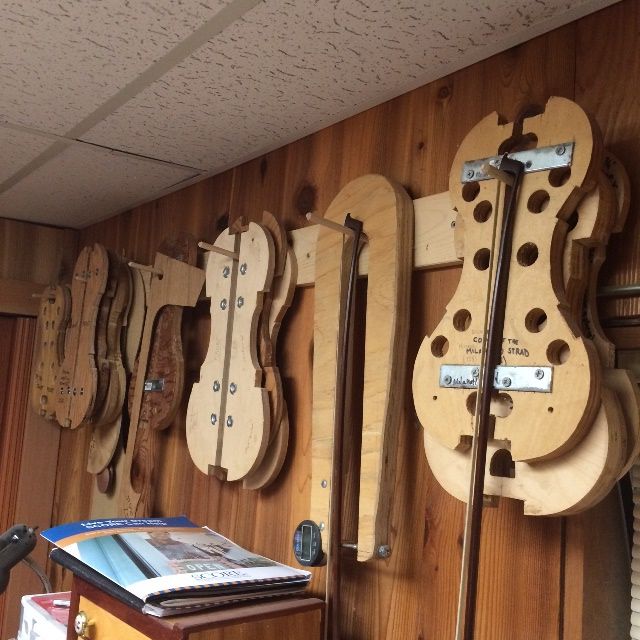
The other tools (below) I had made years ago, and have been using regularly.
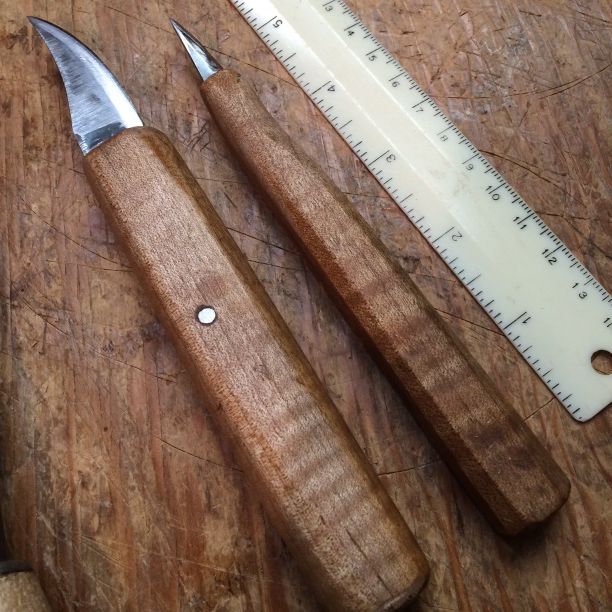
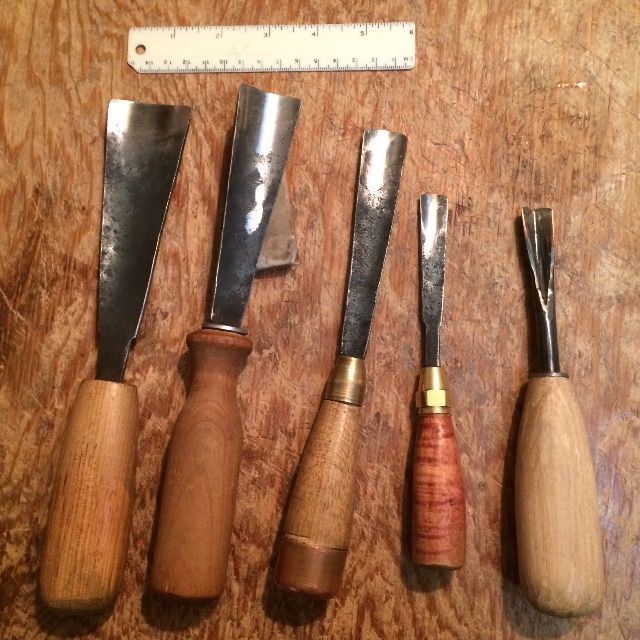
Many of my other tools are homemade, too– spool-clamps, scrapers, work cradles, templates and molds are all hand-made originals, as well as my workbench (which is usually buried in tools and materials…sorry).
So…that’s how I acquire tools! 🙂
Rationale
You might ask, “Why would you go to all that trouble when you can buy professional-level tools for reasonable prices?” The answer is two-fold:
In the first place, I really enjoy making tools! And then, there is a special joy in finding that the tools I make usually work very well, so I then have the pleasant experience of making musical instruments using the tools I made.
But the second reason is financial in nature: I simply did not have the extra money to buy every tool I needed when I began building instruments. But one does not have to expend a great deal of cash, to get started in a craft, if one is willing to think, read, and learn the skills to make tools.
The time I spend building a tool is repaid many times over, by the pleasure I get in using the tool and the fact that all these tools will be used for many years to come, as I continue to build instruments. Are there sometimes failures? Once in a while an idea doesn’t work as well as I expected, but usually I find it very rewarding to make my own tools.
Thanks for looking.