
Continuing the Varnishing Process:
Color Coats
On my last post, I had the base coat of yellow varnish applied and dry, so the next step would be to sand it smooth, removing any sags, runs, “orange-peel,” or other flaws, so that the color coats would lie down smooth and flat.
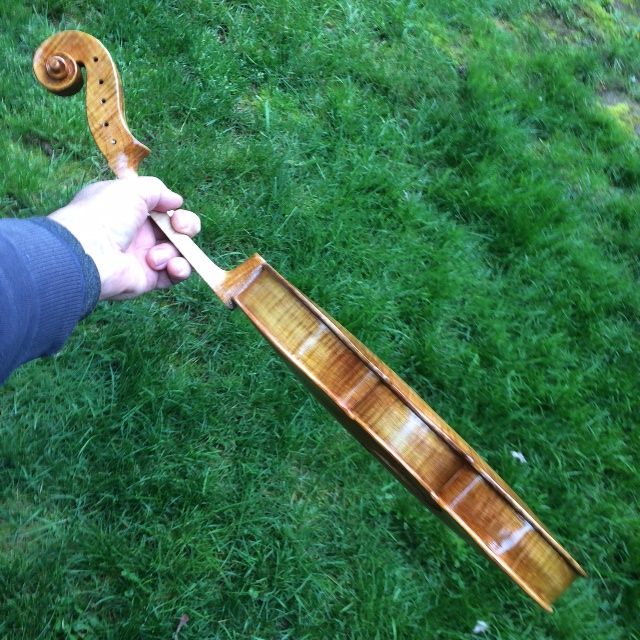
After sanding, and rubbing the dust away with a rag, I added heavily colored varnish, in very thin coats:
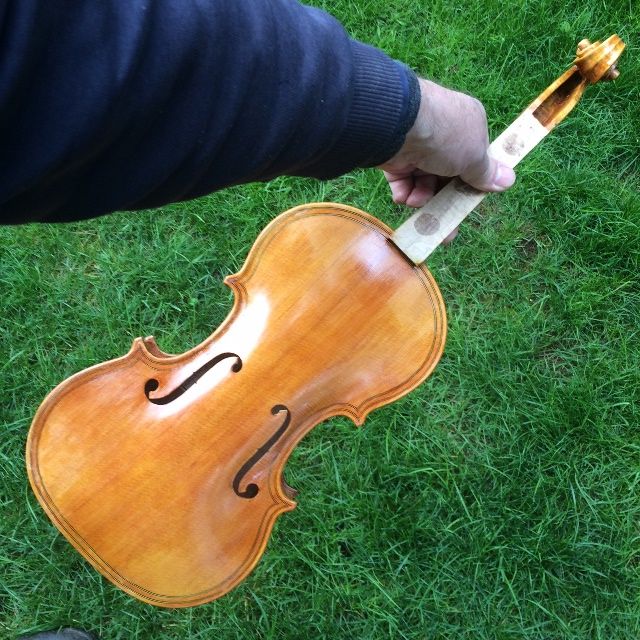

I let the varnish dry for a day, then sanded all over with 400-grit, to remove any flaws, and added a second color coat:
Decisions, Decisions!
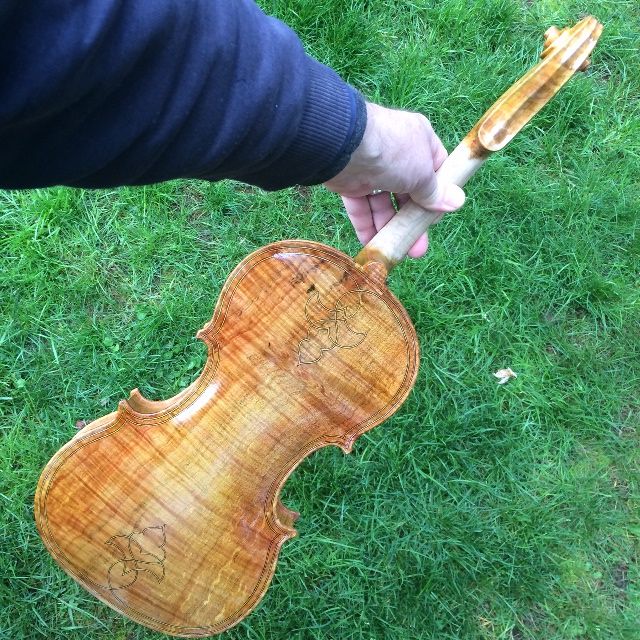
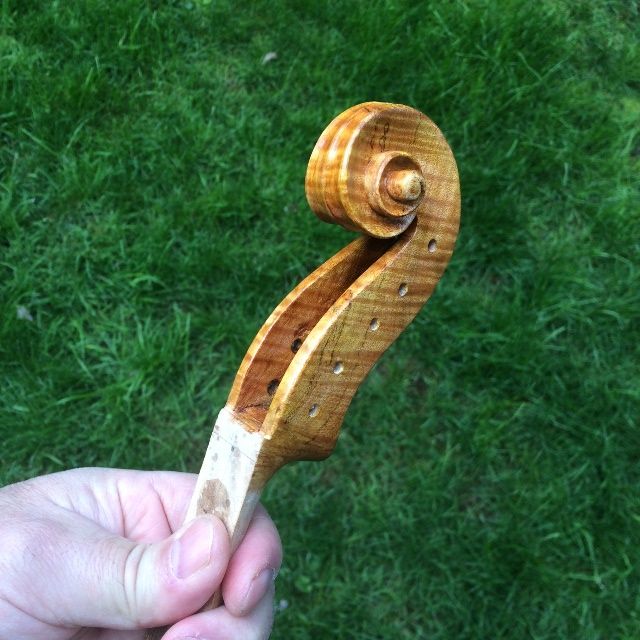
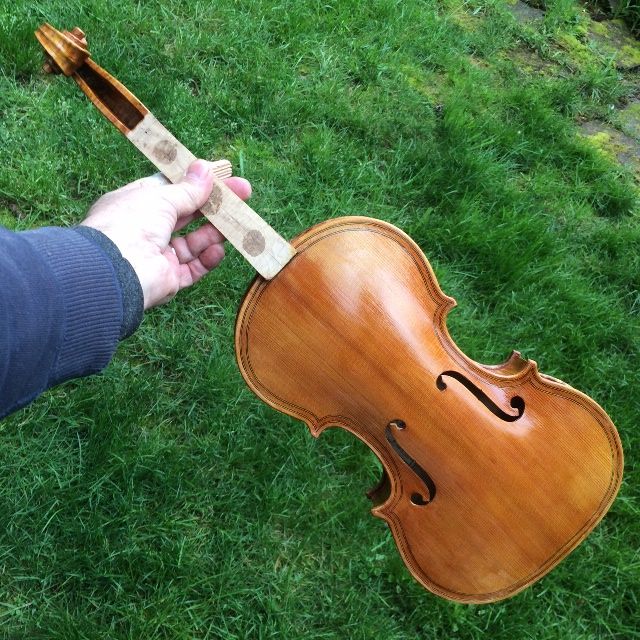
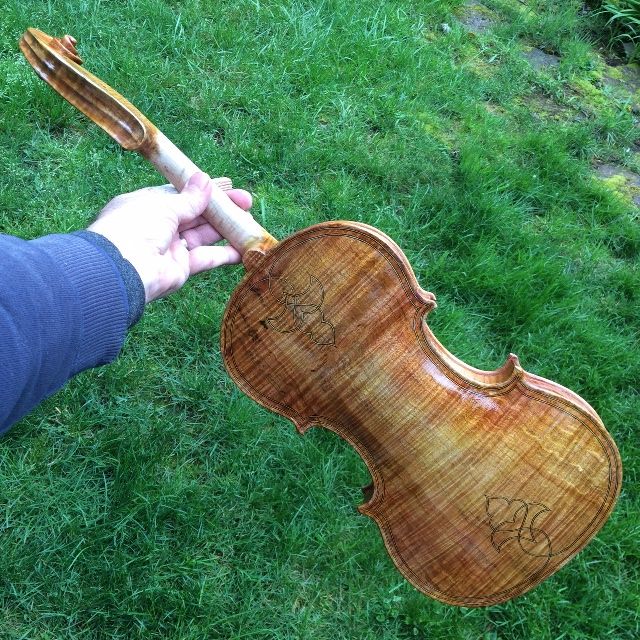
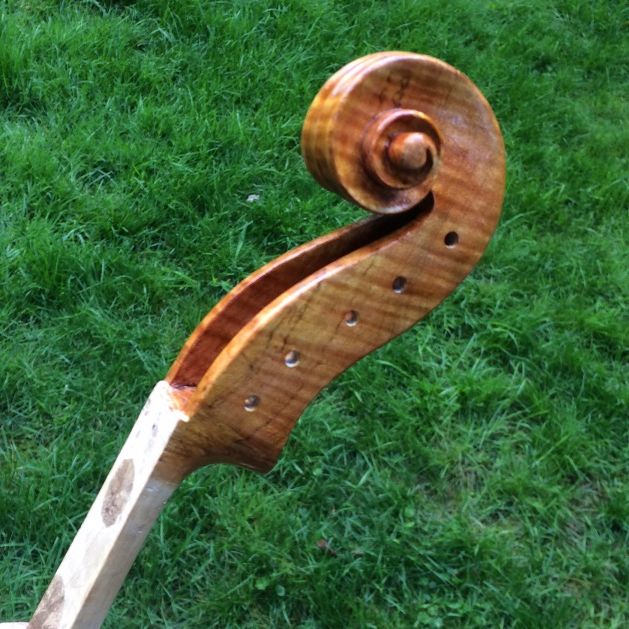
After this, the challenge becomes “knowing when to stop.” (I like the looks of the instrument right now, but perhaps I would like it better darker. On the other hand, if I don’t like it better darker, I will be stuck with it.) So I have to spend some time looking at it in different lighting, and from different angles.
When I decide that I have enough color applied, I will add a clear coat or two, to anchor all the color, and protect it from wear. Then it will be set-up time!
Thanks for looking.