
Five-String Viola in progress
Delayed Five-String Viola Completion
I have been seeing increased interest in 5-string violas, lately, so I am working to “populate” my five-string viola stock. This is the viola design I began with over 20 years ago (The mold says 1999; it was my very first instrument.) and it makes a very nice small viola. So I decided it would probably make a great 5-string viola as well.
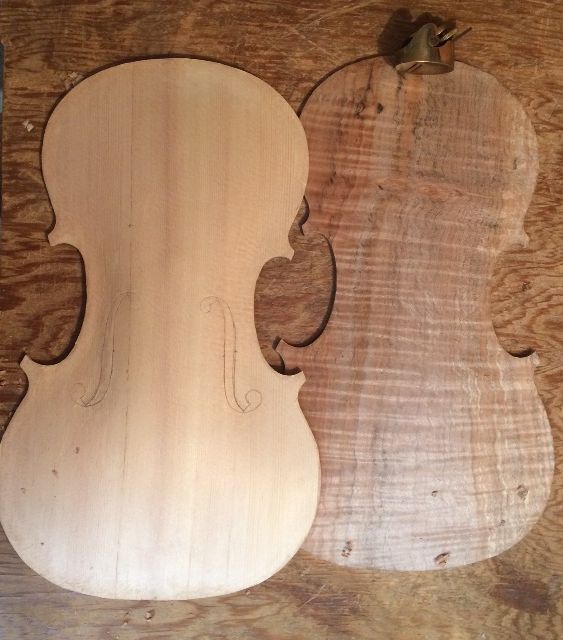
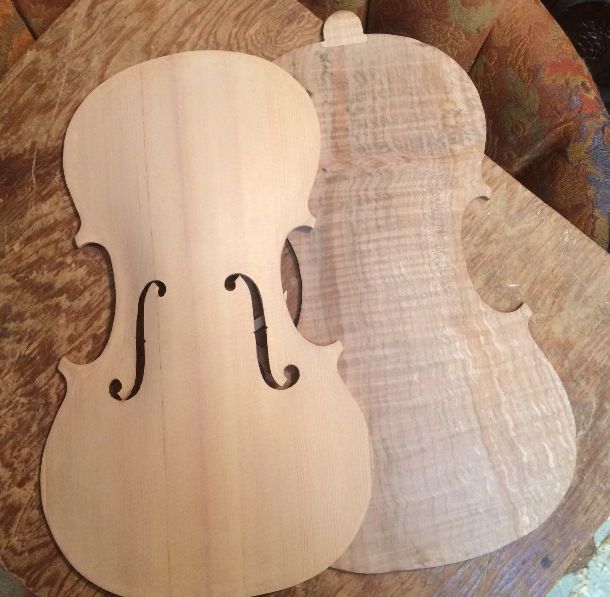
I began the work quite some time ago, but other projects took priority, so the little viola languished on the bench. The back is curly, spalted maple from a tree that had been taken down on my wife’s parents’ place, and the belly is Sitka spruce. Both the front and back plates are one-piece in this case…something I seldom do. (One-piece front plates are uncommon. One-piece backs are quite common, and I prefer them.)
The rib-garland had been completed and the plates traced out months ago; so, after delivering the last commissioned instrument, I finally felt free to get to work again on the viola.
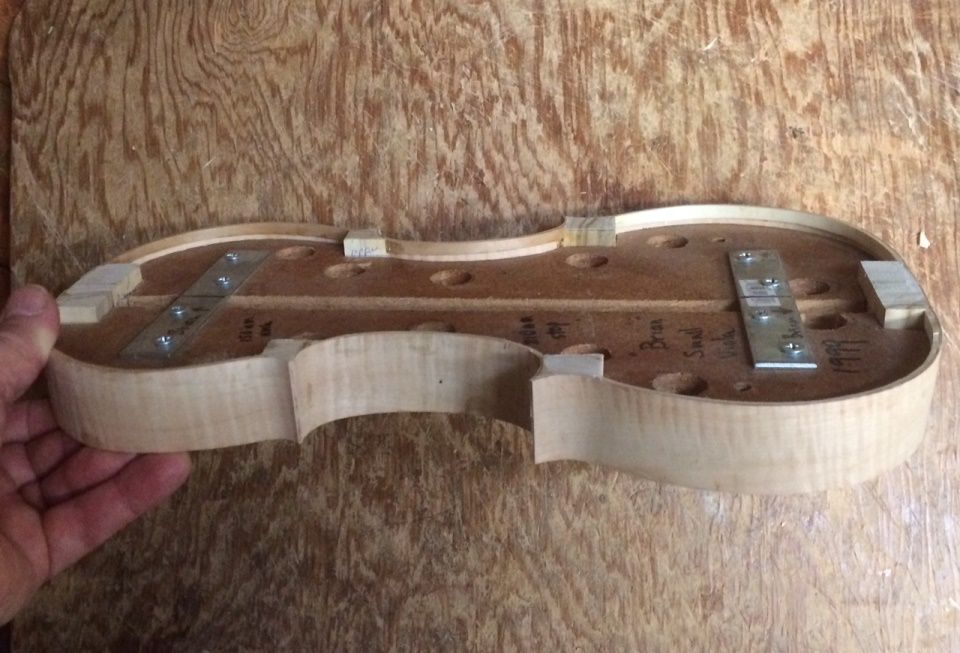
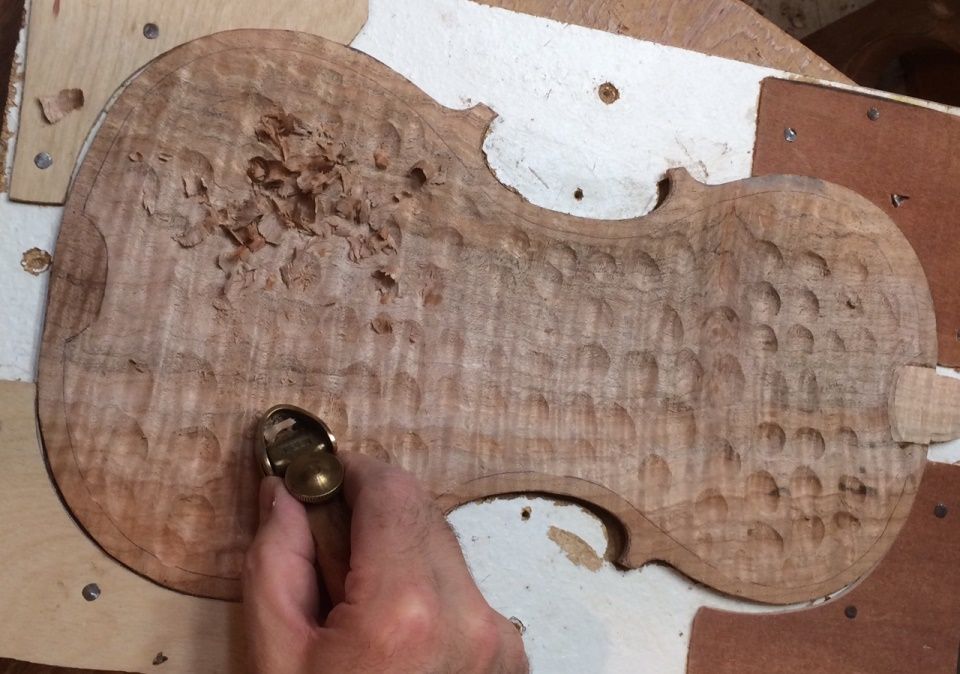
Five-string viola arching complete: ready to graduate the plates
I failed to take any photos while arching…so we are beginning with that portion complete.
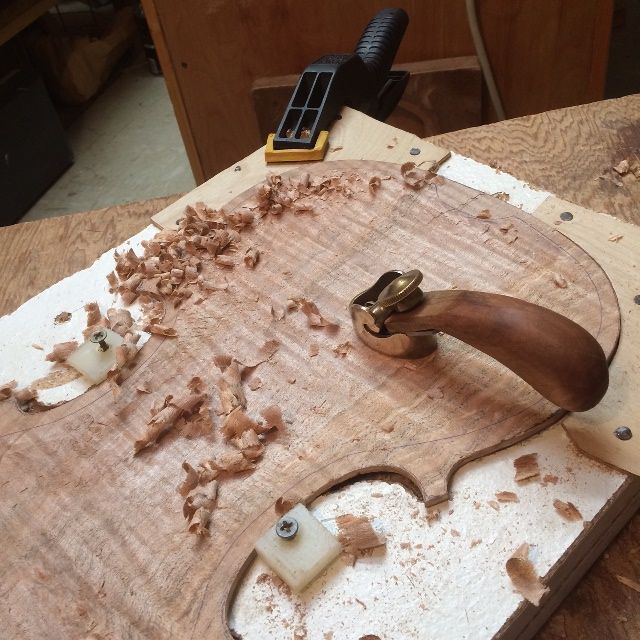
On the backs, especially, I make a practice of carving “dots” to specific thicknesses, following a plan in my mind. Once all the dots are correct, I “connect the dots” using small planes, until the entire interior is a smooth continuum, and all the correct thicknesses.
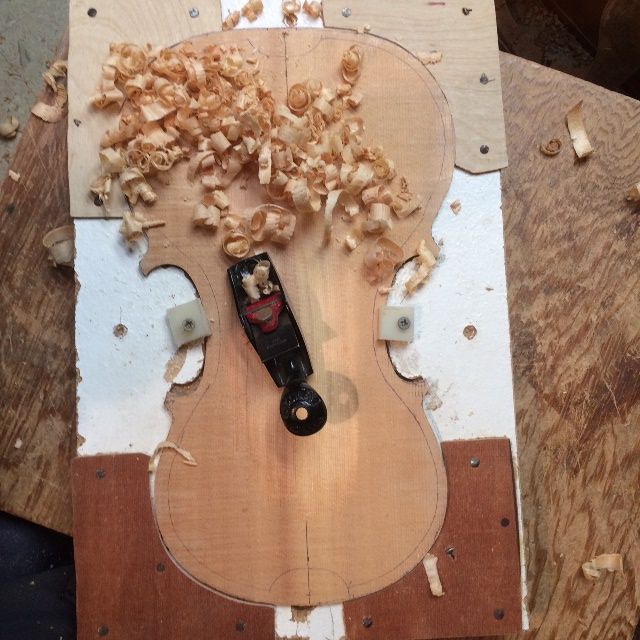
The Spruce is a lot easier to plane, so I tend to just measure and plane. Most people use gouges for all this work, but I like using the planes.
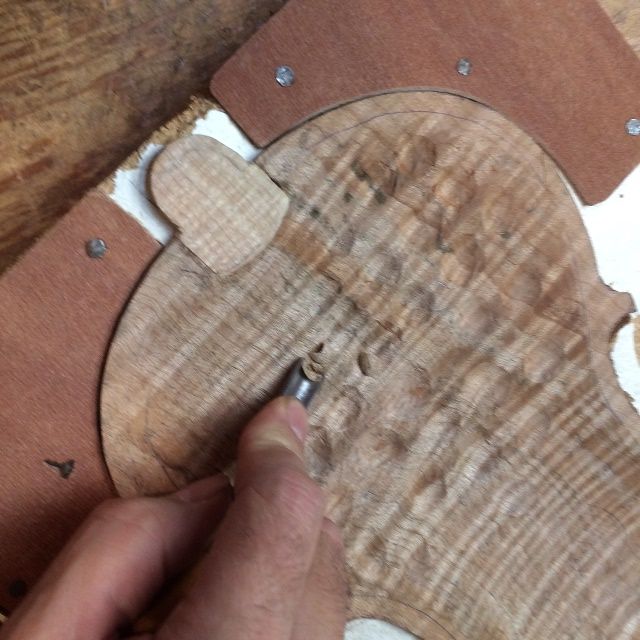
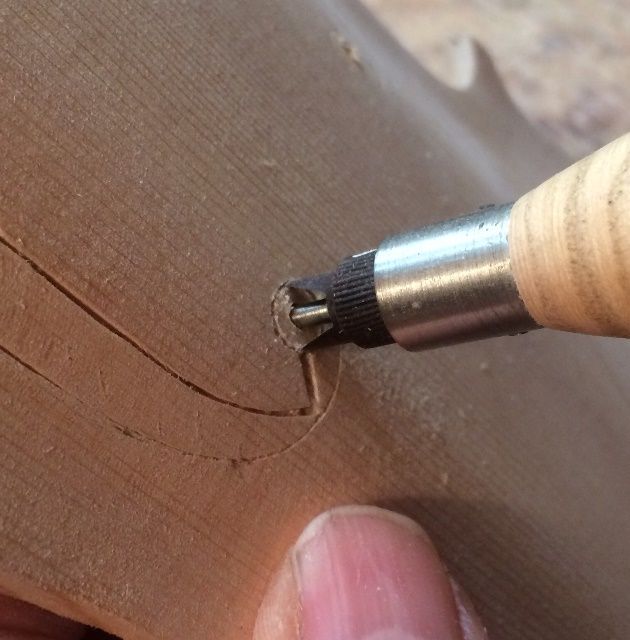
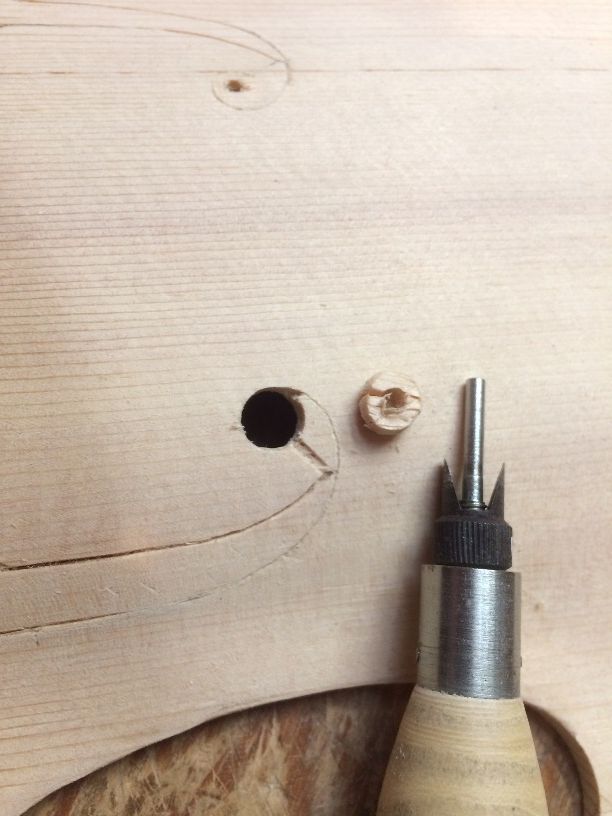
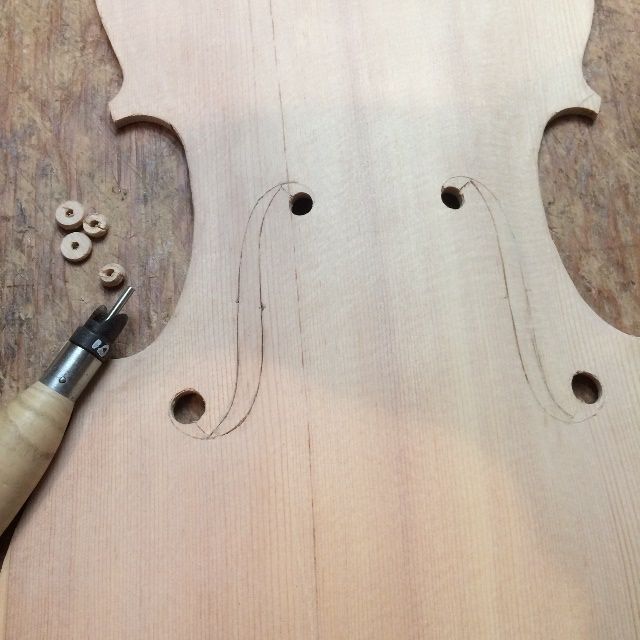
Cutting the f-holes on the Five-String viola
Once the plates are completed (which also involved laying out and incising the f-holes) I still have to actually cut out the f-holes. I used to do this using just a knife, but it was time-consuming, and I found it difficult to get the round parts “round.” My grown children bought this tool for me, a special tool for cutting just the upper and lower eyes of f-holes. It works beautifully!

Beginning the Scroll for the Five-String viola
While things were being sorted around, and different tasks became logical, I decided to get a start on the scroll and neck. Didn’t get very far, but here it is:
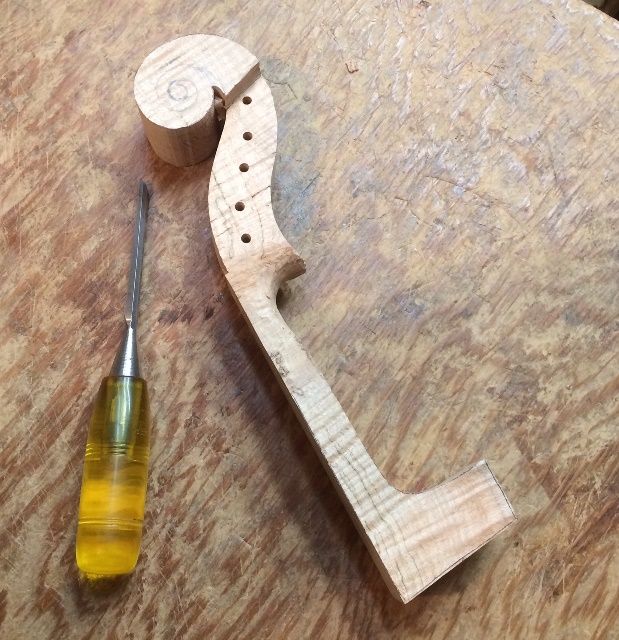
There is still a long way to go, but it is feeling more as if I was getting something done, at least.
Installing and cutting the Bass-bar is next.
Thanks for looking.