

Varnishing and Assembling the 5-String Viola for the Swiss Violist
Continuing Saga Of Varnishing
To begin with, I started building a 15-3/4″ five-string viola for a violist in Switzerland.
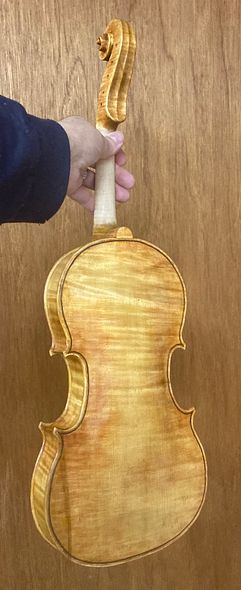
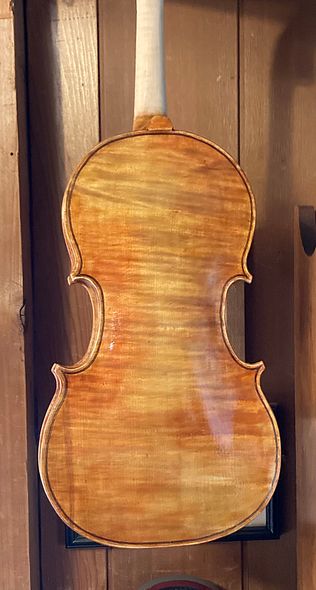
Simultaneously, I had purchased the European Maple one-piece back, as a solid wood billet, with sides, and neck billet. Additionally, I ordered the European Spruce front plate blank from International Violin Company in Baltimore Maryland.
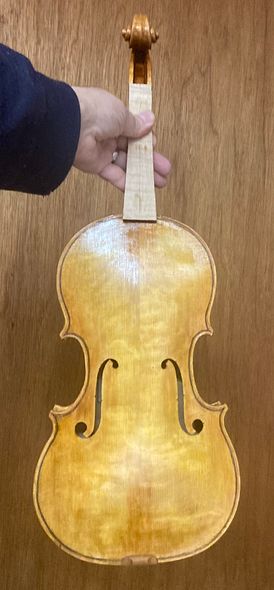
At the time when I last posted, I had just begun varnishing the viola and had only applied the yellow base coats of varnish. Obviously, the intent is that this yellow base will provide the “golden glow” shining from within the subsequent darker-color coats of varnish.
However, as I added increasingly dark varnish layers, the changes were increasingly slight. As noted earlier, the change from raw wood to sealer was obvious. Furthermore, the change from sealed wood to yellow varnish was amazing. But the subsequent steps move more gently into the final iteration.
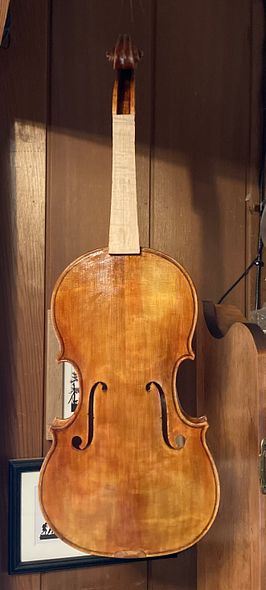
Second Color Coat
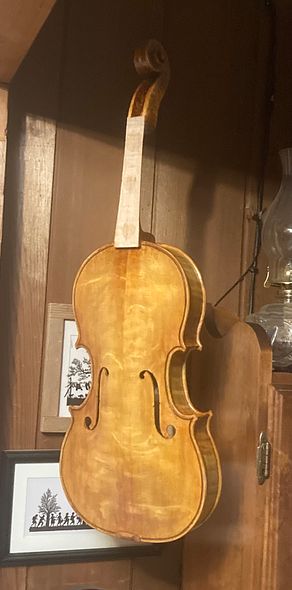
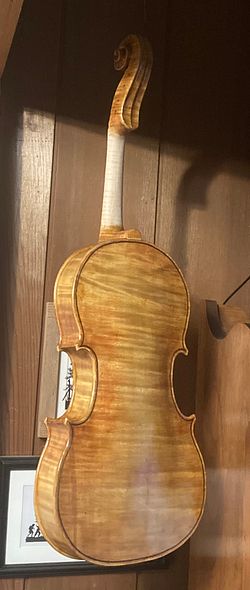
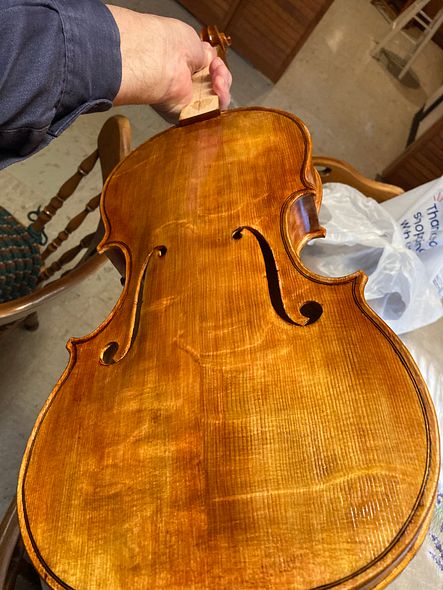
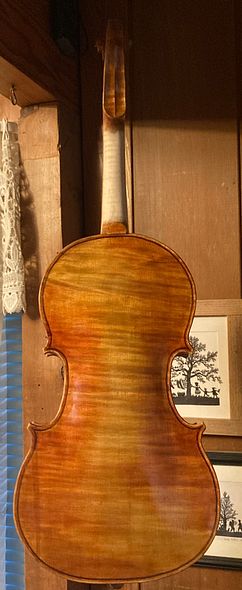
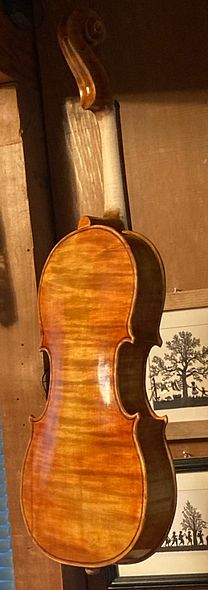
Third Color-Coat
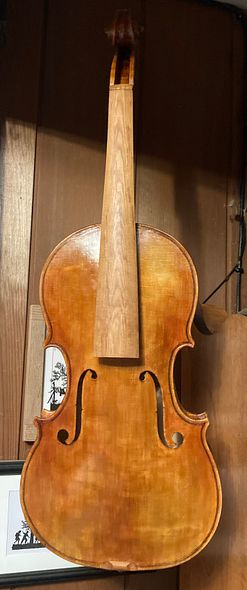
And Assembly!
To begin with the varnish procedure, I had removed the fingerboard and nut, to allow full access to the front plate for varnish-prep, varnishing and polishing. However, now it is time to replace those parts and begin final assembly.
I installed the soundpost, too, so that the instrument corpus could begin “getting used to” that pressure from within.
Then I re-installed the fingerboard and nut, and scraped the joint to make it completely smooth. Obviously, I will have to retouch the varnish on some of those areas.
What’s Next?
Following this, the next thing will be to install the “Knilling Perfection” (internally geared) tuning pegs.; Afterward, I will continue with final set-up. I can install the pegs now, but the final set-up will have to wait for the varnish to harden a little more.
Thanks for looking!
