
Front Plate Inside Carving
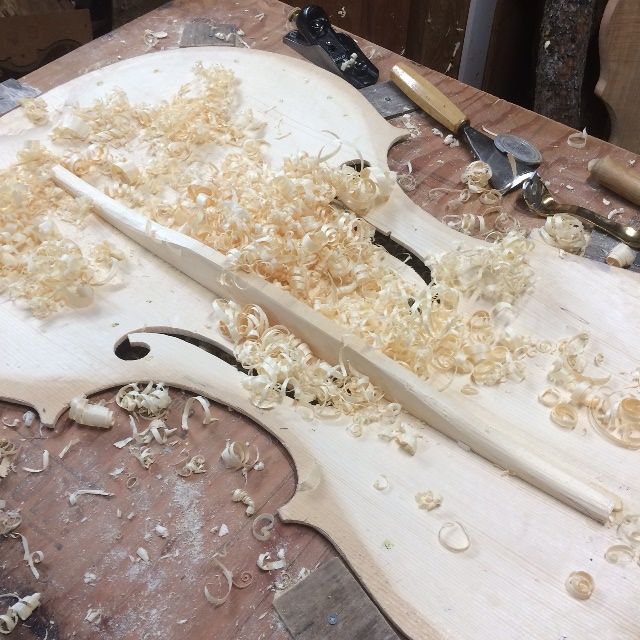
Rough carving the inside of the Front plate
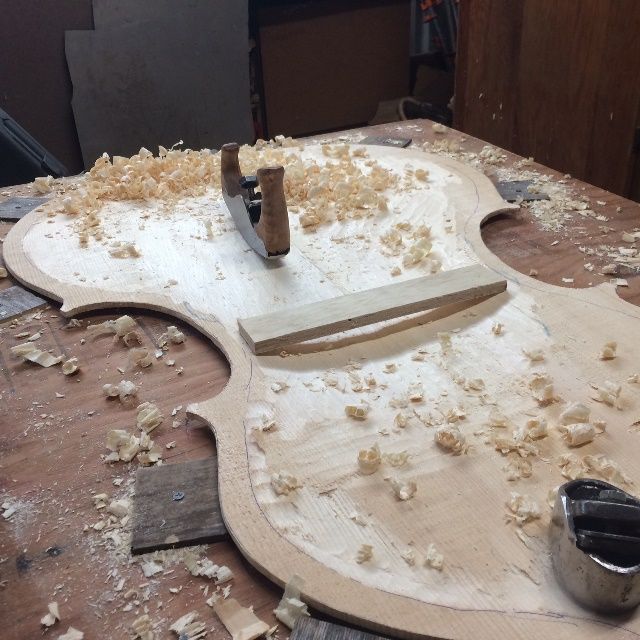
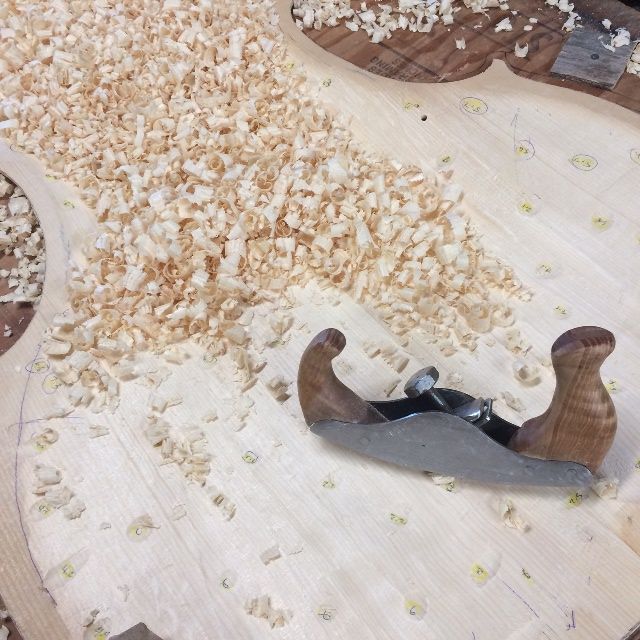
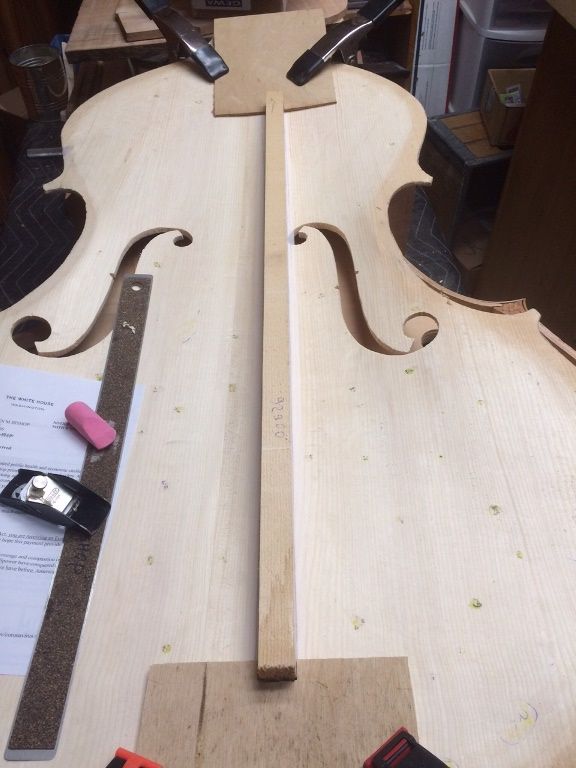
As I said in the post regarding tools, I built the little curved-sole scrub-plane with the specific intent of using it to carve out the inside of the Sitka Spruce front plate for this Five-string Double Bass.
Carving Dots
As the depth approached the correct value, I began switching over to the palm plane, there in the foreground. But as it turned out, I actually had a long way to go before I was anywhere near too thin.
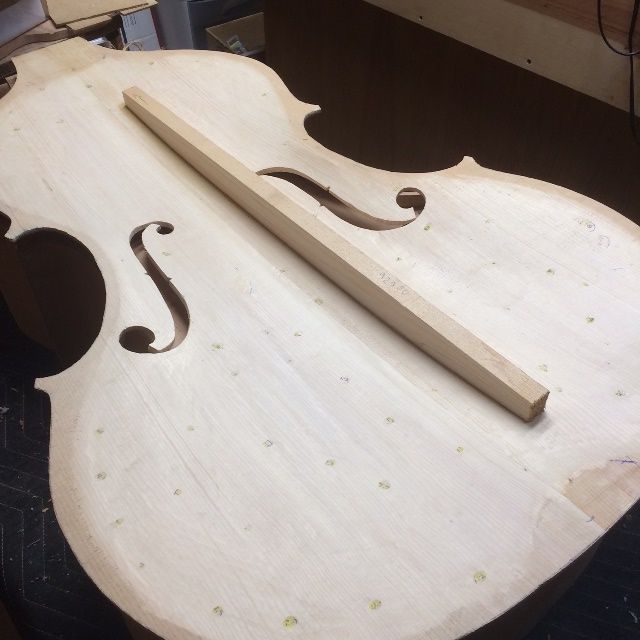
I used the bass caliper to register thicknesses all over the plate, and then began carving “dots” at each location, to the desired thickness.
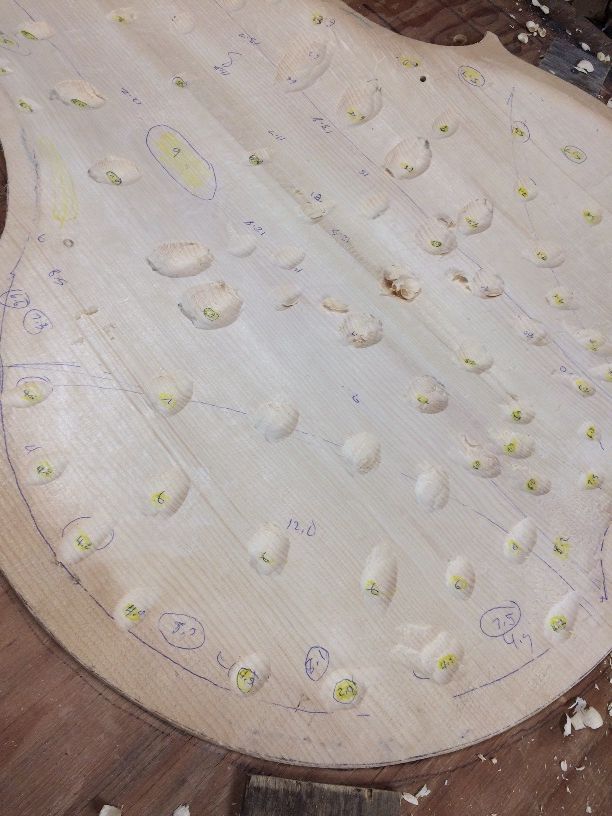
As I found (or created) spots that were at the correct thickness, I wrote in the thickness, and highlighted them in yellow, to warn myself against going any deeper. Eventually, I had mapped out the entire plate at least approximately according to this diagram from Peter Chandler’s book “So you want to build a Double Bass”:
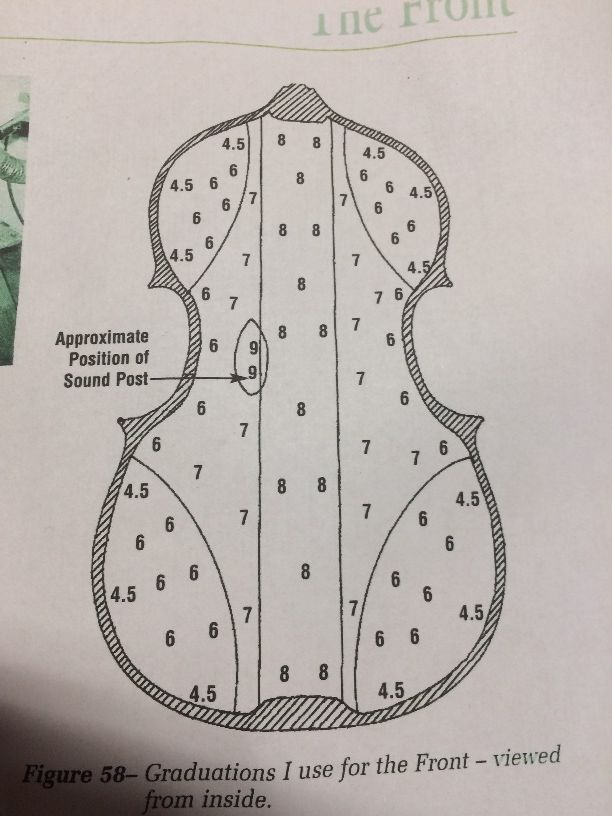
He had derived these measurements from a fine old master bass by Domenico Busan, which conveniently happened to be disassembled for repairs and restoration. He said that he had subsequently used these values on all his basses, and it always worked well. (Sounds good to me!)
I kept carving until I had “dots” all over the plate.
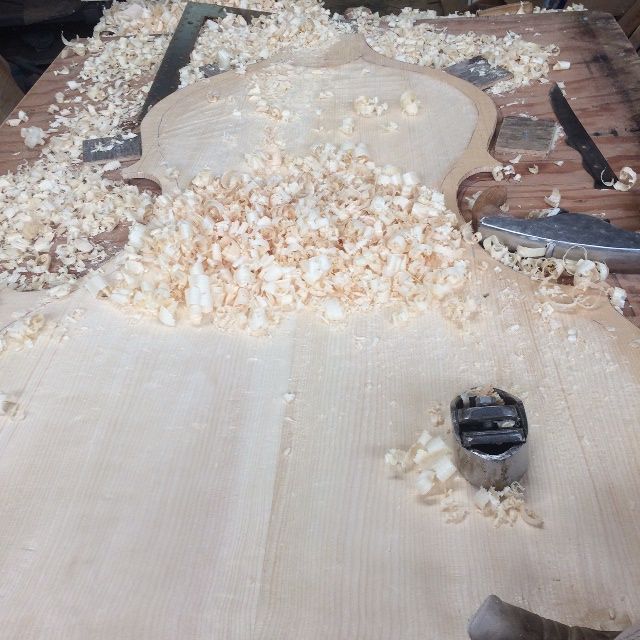
Connecting the Dots
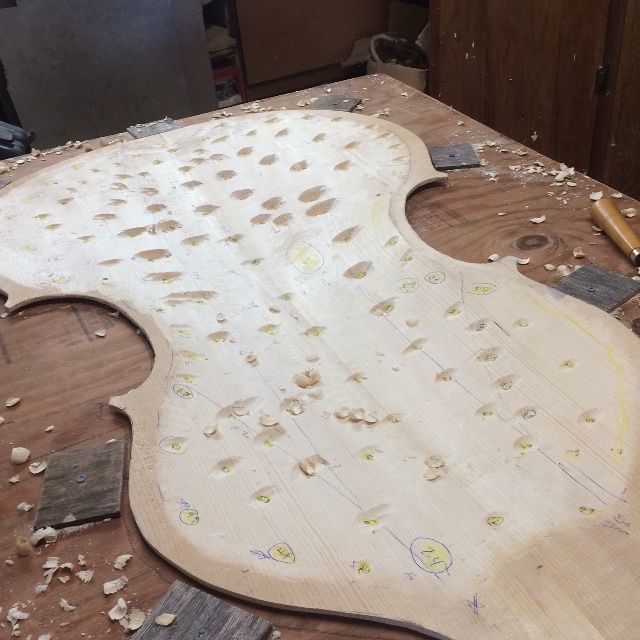
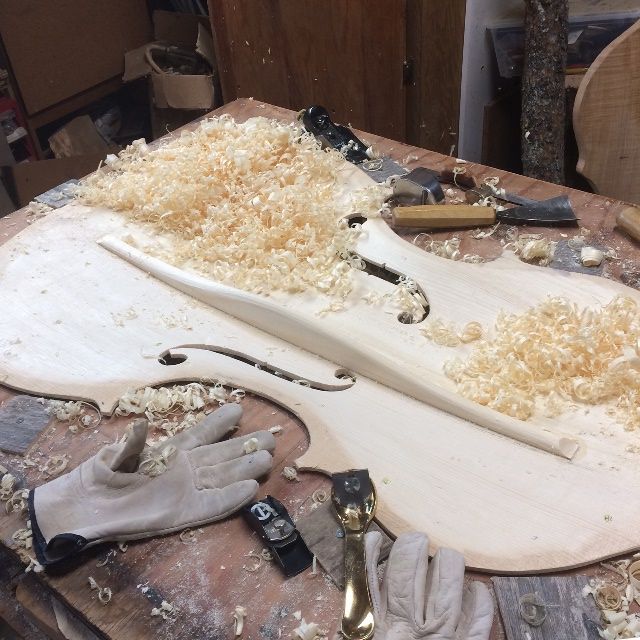
Then I began “Connecting the Dots”:
As I planed away the excess wood, the “dots” got smaller and smaller, and, in some areas disappeared. By that point I had switched over to the palm plane which is less aggressive and makes a smoother surface.
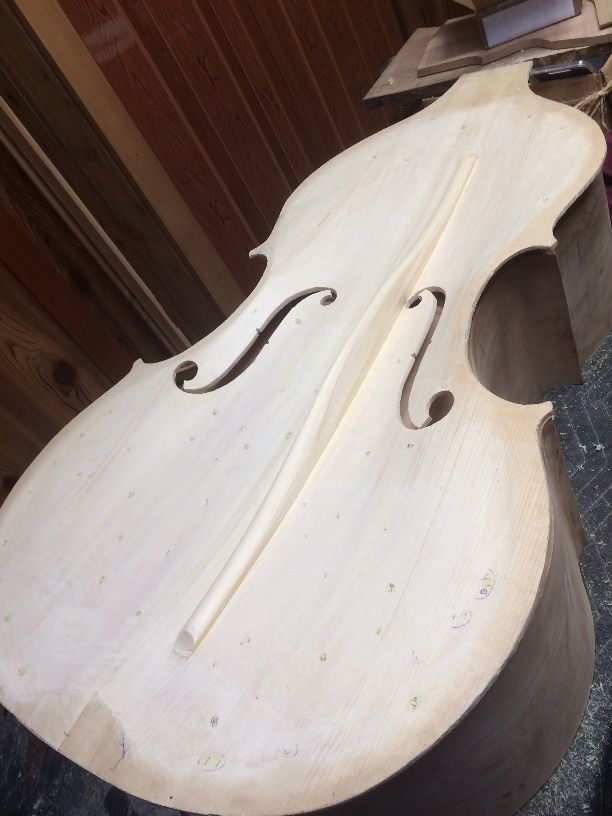
But eventually, it was pretty much all done, and time to cut out the f-holes. However, I decided to install the purfling first, and then cut out the f-holes.
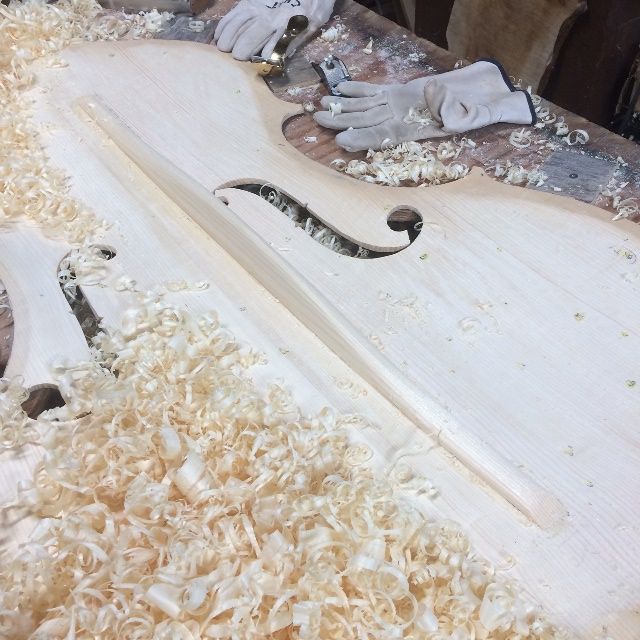
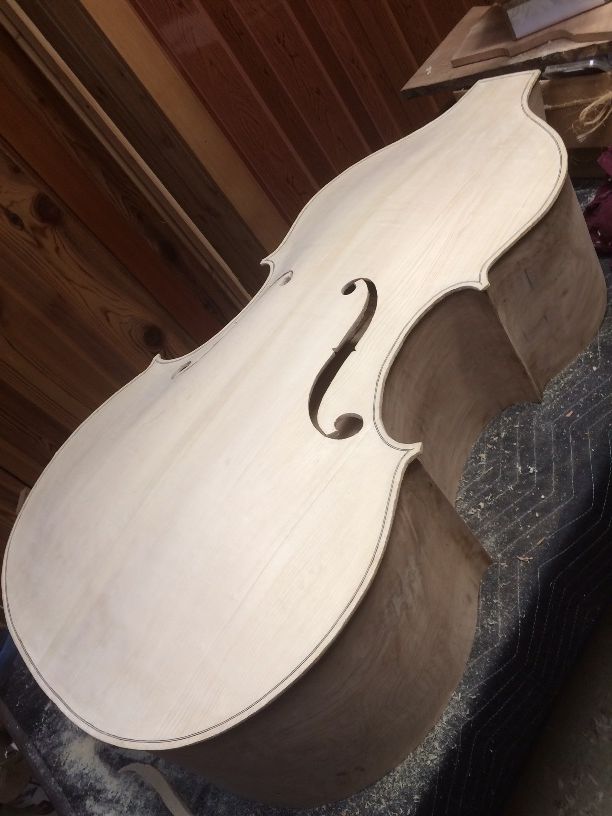
Purfling installed:
I did not take pictures while this step was in progress: I just got going and pressed on until the job was finished, then took a few pictures. Sorry. I don’t always think about pictures.
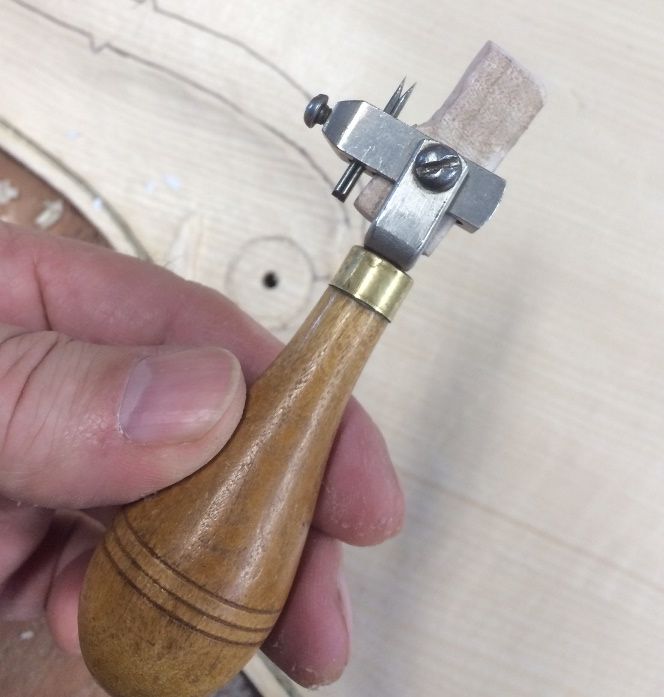
I used this old purfling marker to trace my lines, then a thin-bladed knife to slice along the lines to make a slot…then picked out the waste wood and inlaid the purfling.
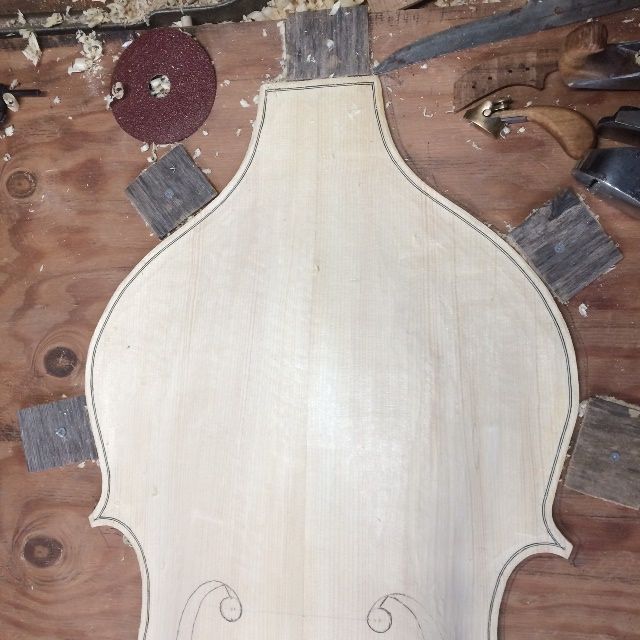
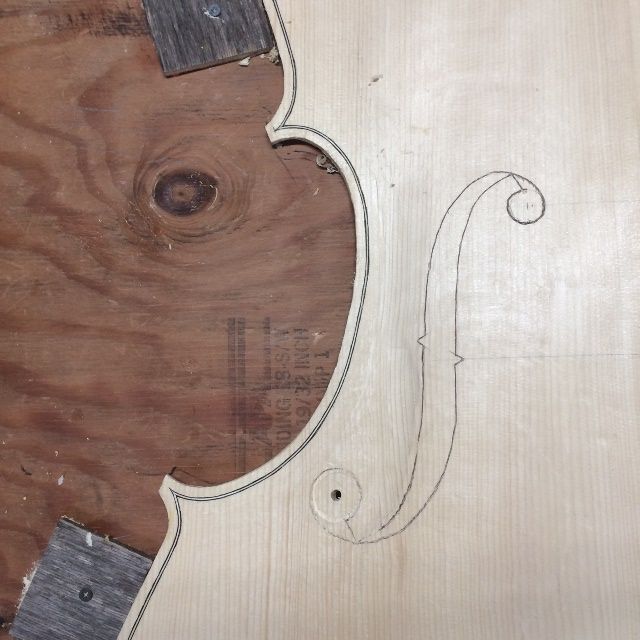
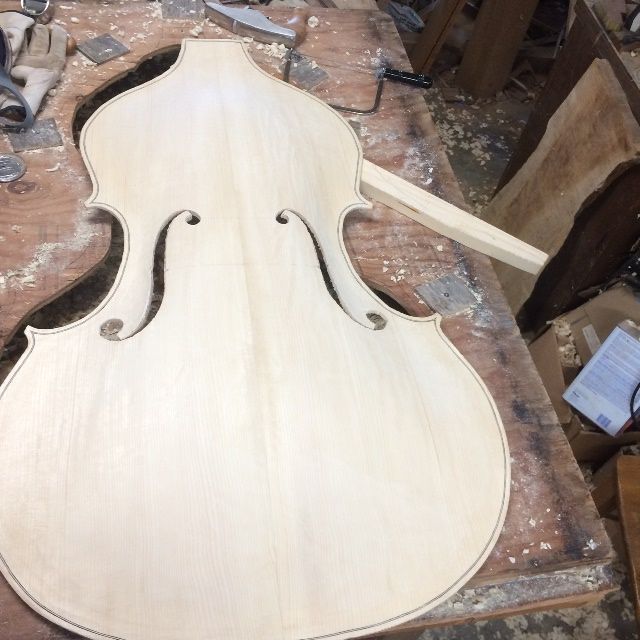
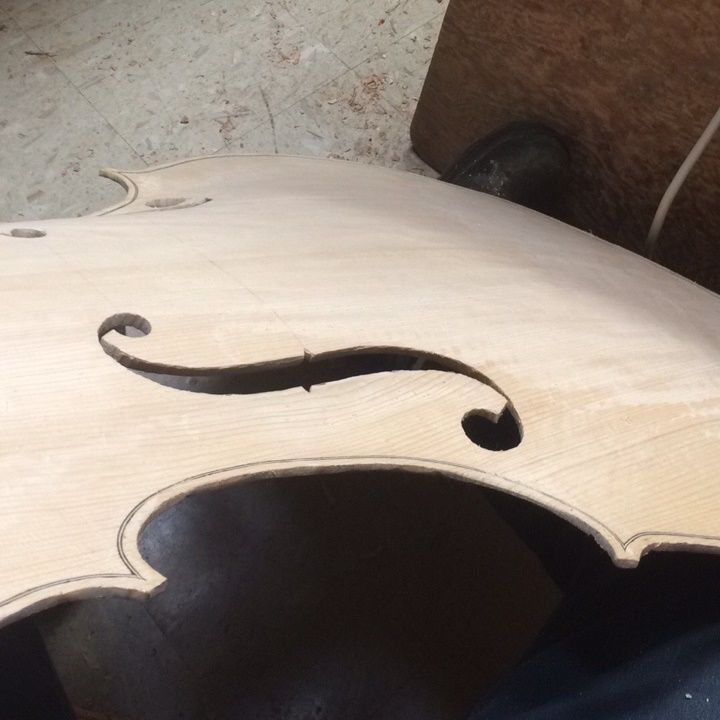
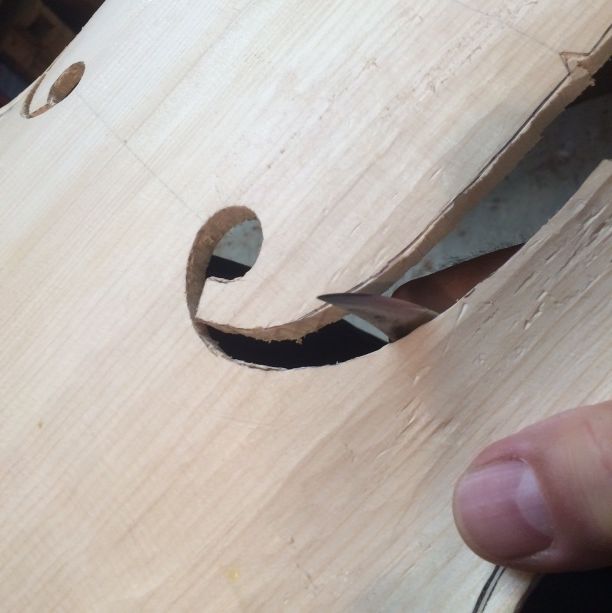
Cutting the F-holes
I used a coping saw to cut out the f-holes. It was slow and laborious but it worked, and there was little chance of any catastrophic errors. The result was two f-holes cut within a millimeter of the line and no errors. It is starting to look like a double bass!
Bass-bar fitting
I use a very thin paper gauze tape for chalk-fitting bass-bars.
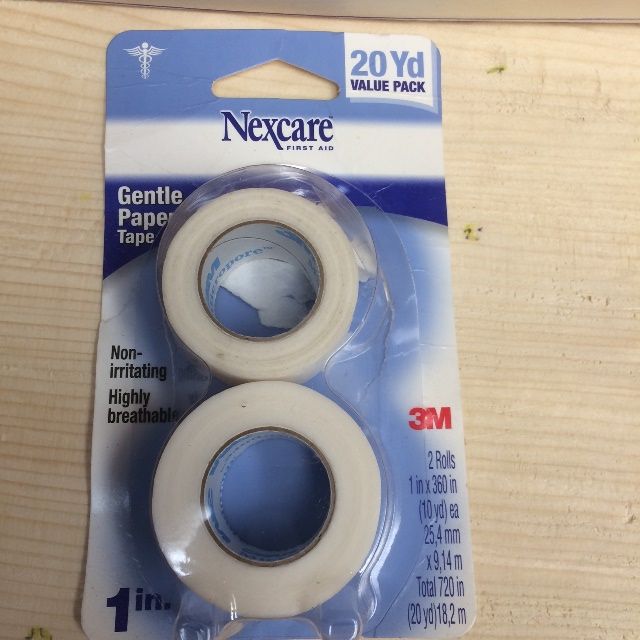
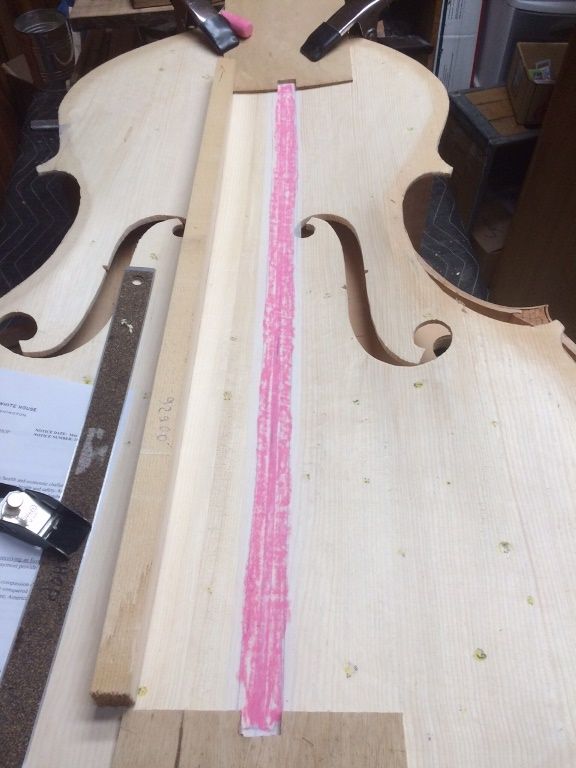
The trick is to press the bar into the chalked tape, and “wiggle it” slightly, to pick up chalk on the high spots. then plane off just the chalked places and do it again, until all of the bass-bar comes up with chalk on it. That achieves a perfect fit. When the tape is finally removed, it takes all the chalk with it.
Then I warm the wood using a heat gun, apply a liberal coating of hot hide glue to both surfaces and clamp the bar in place. I leave it overnight to dry, just to make certain it will not pop back off (I have had it happen.)
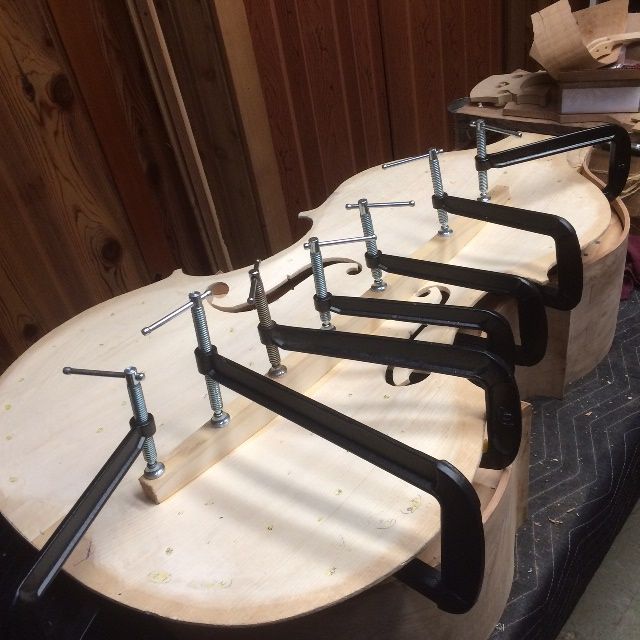
The properly-installed bass-bar still has to be carved to the appropriate shape. I use planes to accomplish the carving.
Back Plate Vision
There is still a good deal to be done, before I can install the Front plate, so I am stopping there for the time being.
But I really wanted to get a foretaste of what the Big Leaf maple of the back is going to look like; so I planed the inside and outside of the back plate flat, just to have a look at it:
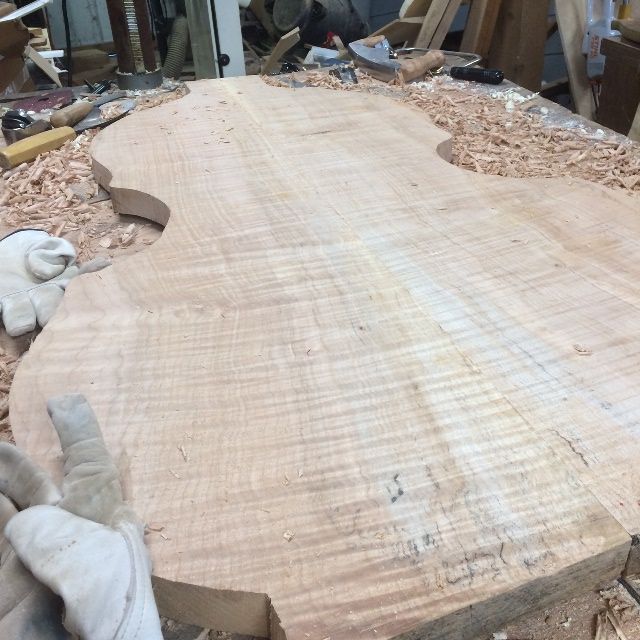
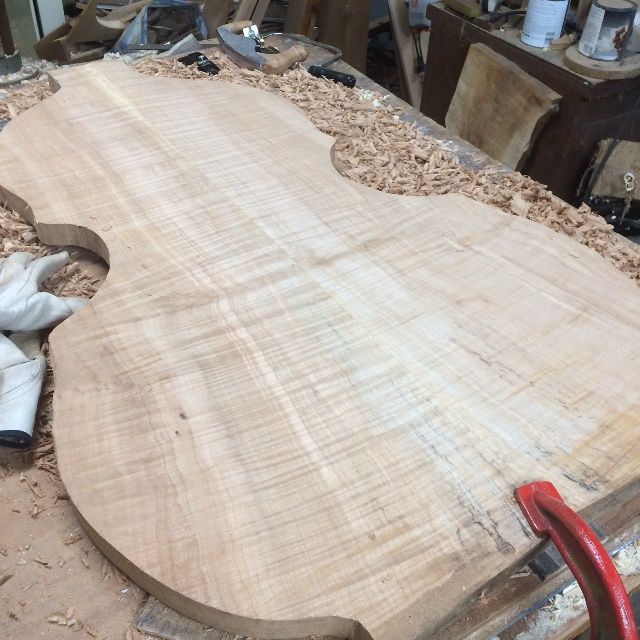
It is pretty stuff! I am really looking forward to seeing it completed.
Thanks for looking.